
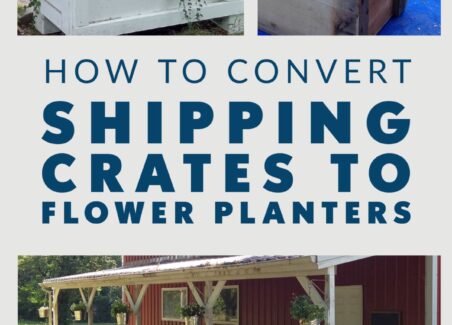

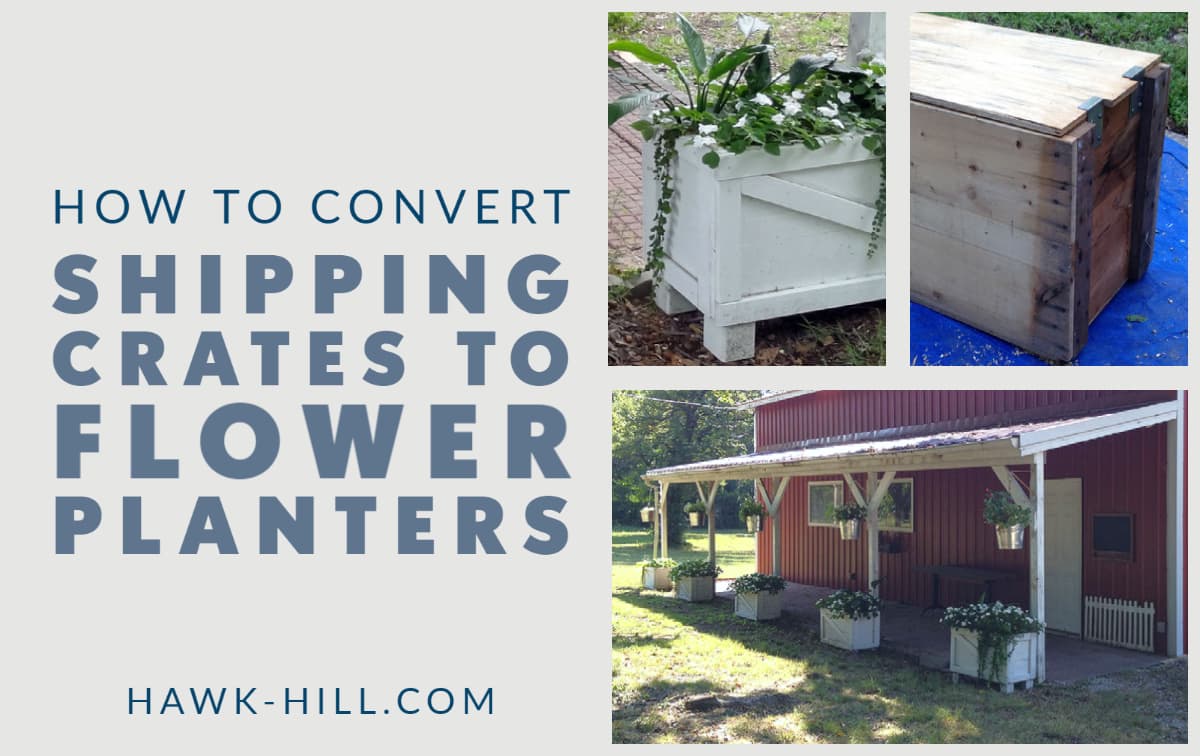
A few years ago, I found some discarded wood shipping crates and set to repurposing them into the french-country inspired large white wood planters you see in the photos and step-by-step tutorial I created below. Although I started with pre-made wood crates, I’ve created a woodworking plan you can use to build your own classic white planters below. These plants are at home nestled in the garden or flowerbeds near a farmhouse, cottage, or any traditional American style home with white siding or trim.
I LOVE these planters because they are sturdy and deep. Too many planters are so shallow that plants can’t really develop enough of a root system to thrive (or even, to survive a few hot and dry days without watering) but these deep planters support a healthy root system and healthy plants, which create beautiful low maintenance planters for your home, business, or farm.

Download my Free Woodworking Plans for these French Country Inspired Raised Garden Planter Boxes
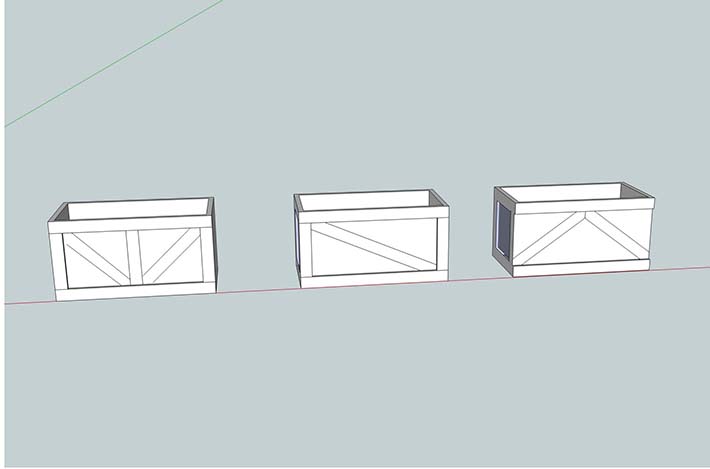
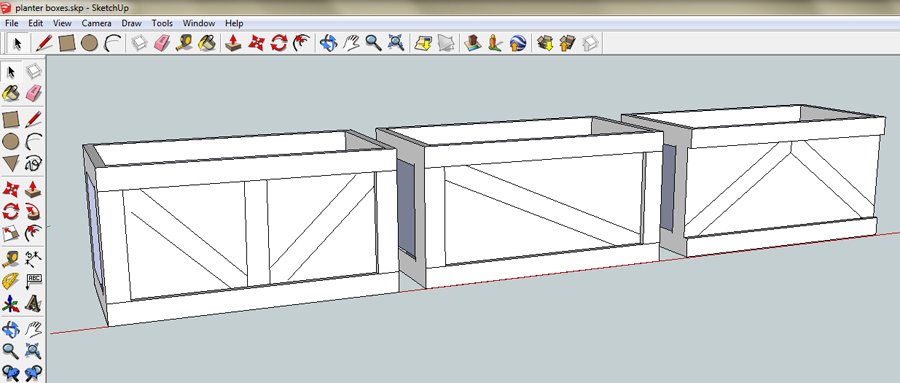
This free woodworking plan (for the three styles of planter boxes show below!) is delivered in the form of an SKP file format, which can be opened using the free web-based application SketchUp. With Sketchup, you can zoom, pivot, and explore every side of this 3D model- while viewing measurements, angles, and wood dimensions in depth.

My father loves the salvage yard- and occasionally I get to enjoy the spoils of his adventures. Last spring when he called and said he found small wood shipping crates for $2 each, I had him grab me 10. I’d planned on making planter boxes for months, but I didn’t know where to start and prefab boxes were a great shortcut.

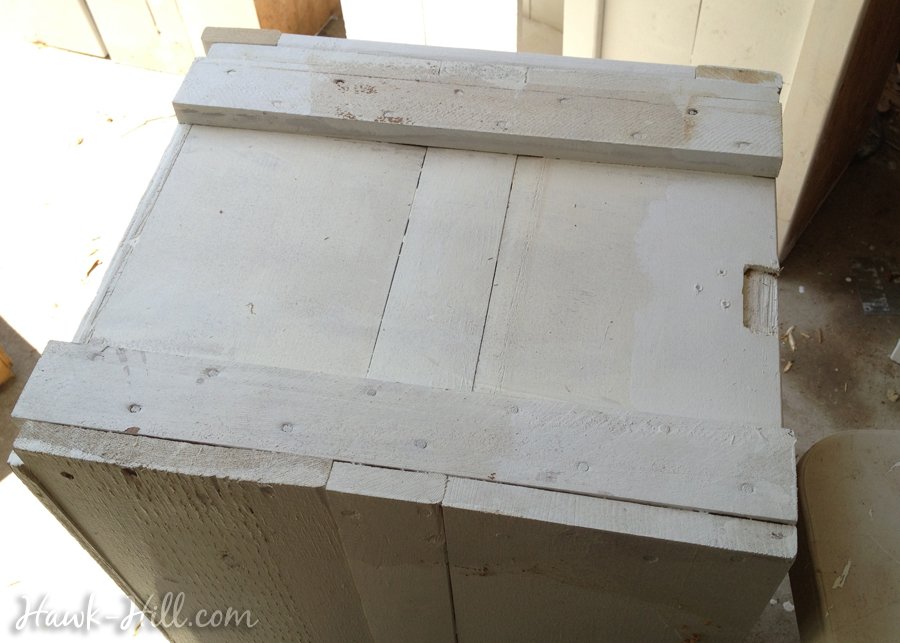
They arrived HEAVIER than expected, with tons of hardware and bottoms nailed on with seemingly a thousand nails. So each shipping crate got stripped of lids and hardware. Each crate got about 6 1-inch diameter holes drilled through the bottom to provide really good drainage, which is really important for prolonging the life of wood planters.
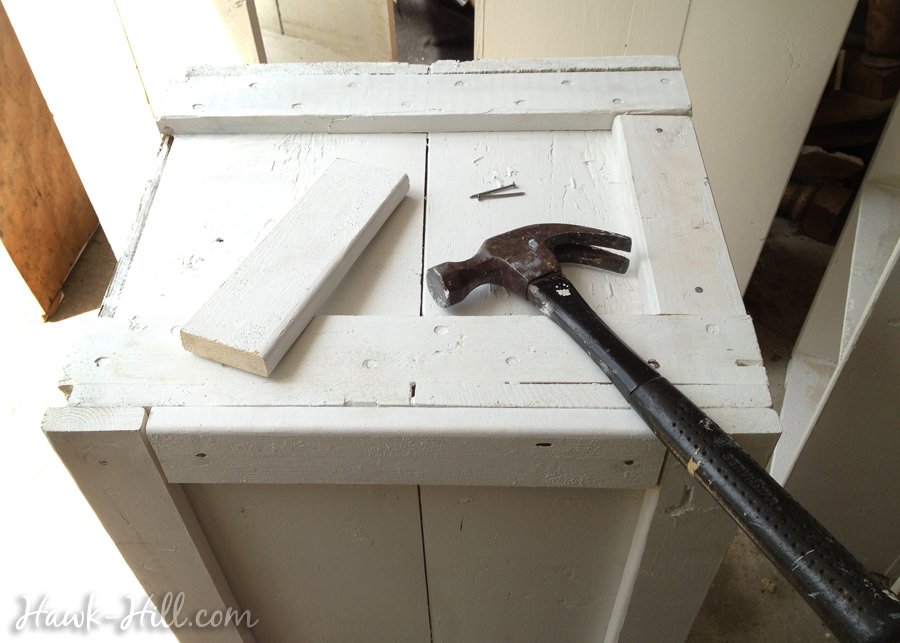
I knew I wanted each to have “framing”, or whatever one calls the faux trim on this style of planter boxes, so I took measurements of the existing pieces that could be made to look like trim, and purchased wood in similar dimensions.
The following section may contain affiliate links. As an Amazon Associate, we earn from qualifying purchases.
The next step was to prime everything with a high quality primer. I prefer Zinsser Bulls Eye, because sealing the wood is really important to making sure the wood planter boxes last longer than one or two seasons. I primed my boxes inside and out to help them last as long as possible. I also went ahead and primed and painted the trim before attaching to the boxes, so I wouldn’t have to worry later about painting lots of corners and grooves and instead could just do one quick top coat.
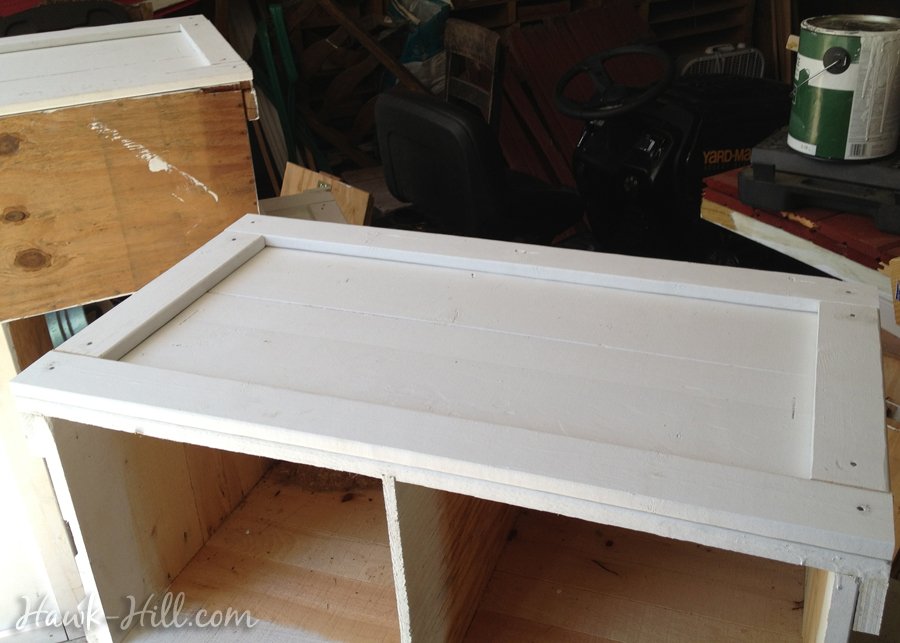
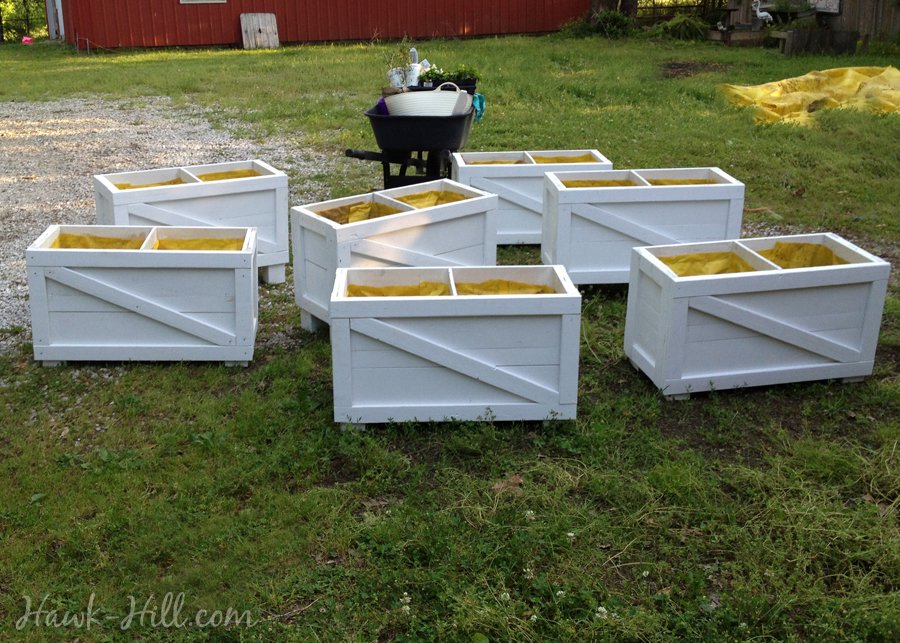
Adding the faux trim to the shipping crates went much faster than expected and really did the trick to take these boxes from “Oh, is that a painted shipping crate?” to “Wow, nice planters!”. I also realized at this point they’d look better raised, so I backed up a bit and cut, primed, and painted some 4×4 “feet” for my planters. I liked the look and realized it would improve drainage. Although, if I thought the boxes were heavy before, I was REALLY wrestling with them by this point.
The short ends already had a sort of trim left from construction:
so I added trim to fill in and make the ends look finished:
Before adding trim to the plain sides, I took a bit to think about what trim would look best on my boxes. Google SketchUp was a perfect way to visualize different designs, while also calculating for me the lengths and angles I’d need to cut my trim at. After using the 3-D modeling to try out different patterns, I picked the center design for my planter boxes.
Plain painted shipping crate:

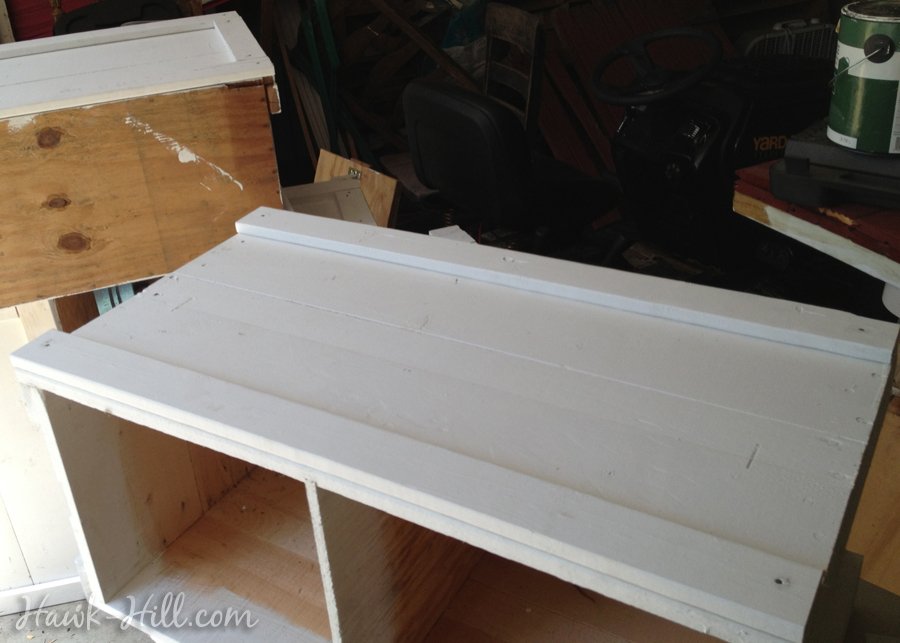
With top and bottom trim:
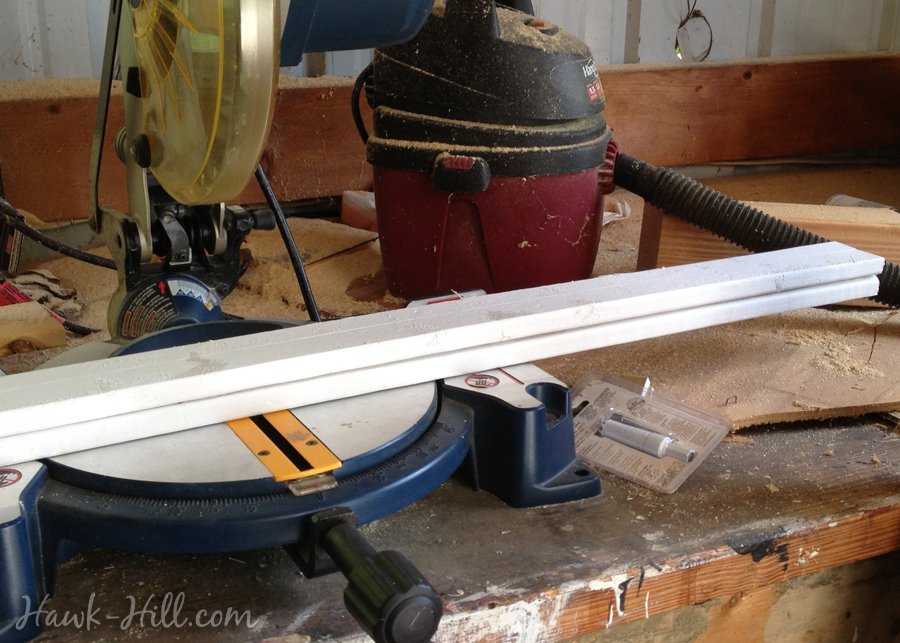
Cutting two or three pieces of trim at a time helped speed the process:
Looking great with a basic frame. I think at this point I got frustrated fitting angles and forgot to take a photo when I the last section of trim finally started looking right!
Preventing Rot & Decay in Wood Planters
I was very proud of my brand new, oversized, expensive-looking planters created from $2 boxes and I wasn’t about to let them rot prematurely! To keep them looking great for years, I took the following precautions:
- Paint boxes INSIDE and out with a high-quality UV resistant paint suitable for outdoor use – this keeps the wood protected from sun and rain.
- Drill multiple large holes in the bottom of the boxes – this allos water to drain away from the wood.
- Cut legs from pressure treated 4×4’s and attach to the bottom of planters using lag screws. – This keeps air moving under the planters and prevents rot by protecting the box from the ground.
- Staple a plastic liner (I cut my liners from a thick tarp- using a pond liner is even better) inside. Caulk a line around the rim of the liner, between the liner and box, for extra waterproofing. Cut drainage holes in the bottom of the liner- This adds an extra barrier between damp soil and wood.
- Caulk all exposed crevices between wood joints to prevent moisture from entering between gaps.

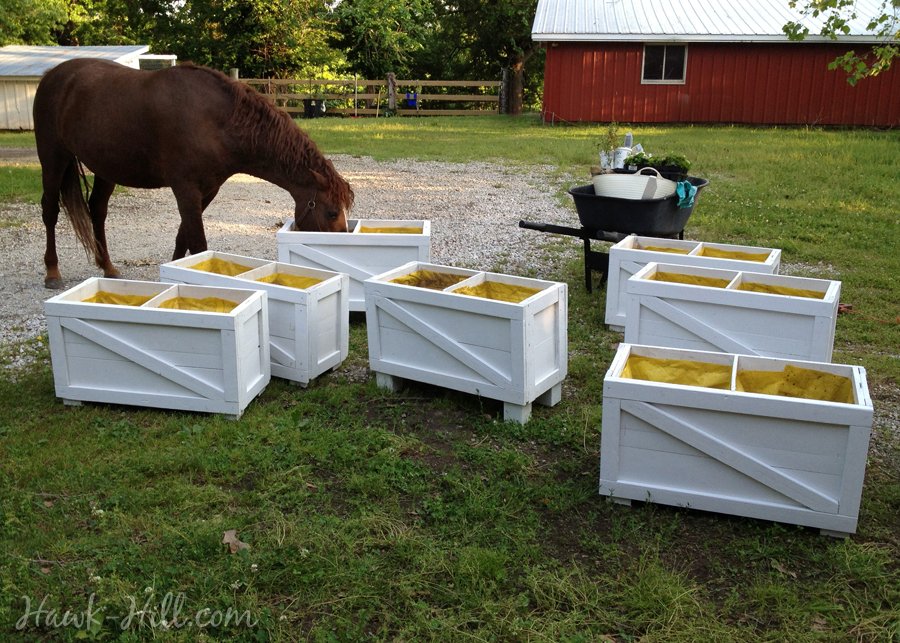
As I was finishing the caulking and lining, I shut the front gate and let my horse out to graze in the front yard. Apparently, however, she decided these qualified as buckets and came over and inspected each and every box before wandering off to graze.
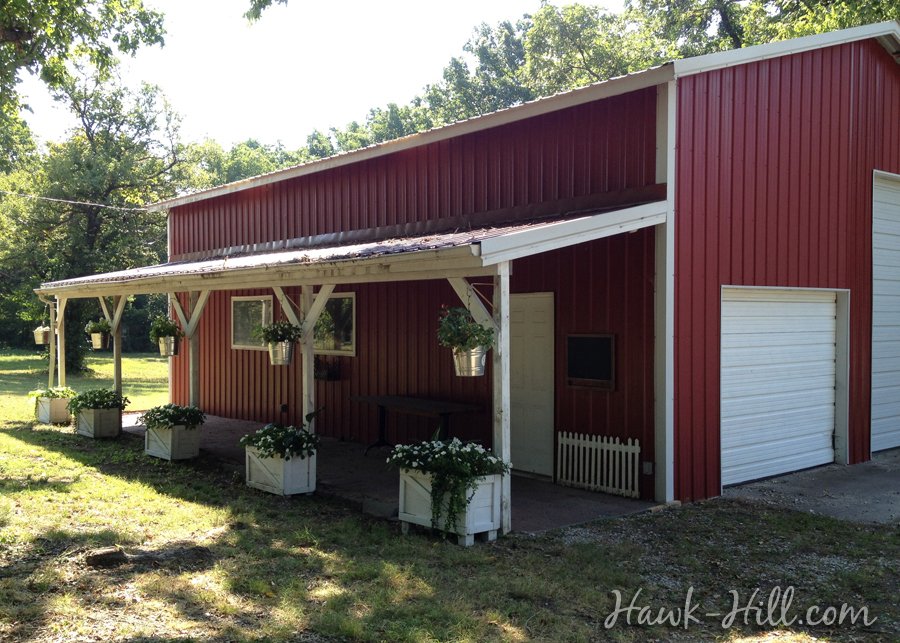
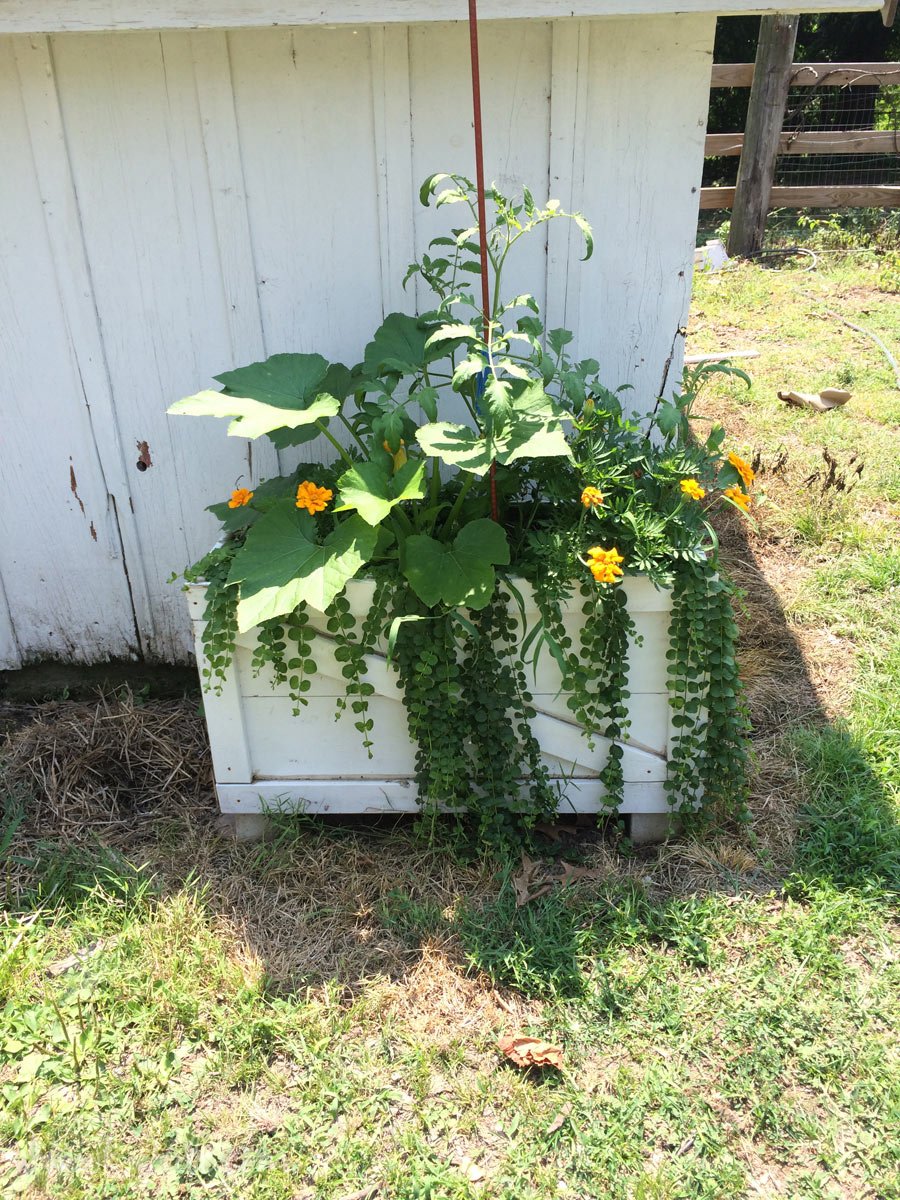
As much work as painting and prepping these boxes were- filling them with dirt might have been the toughest part! But the prep and the planting totally paid off when they spilled over with flowers all summer. Placed in the shady spot in front of my store, where water runoff makes it impossible to do in-ground landscaping, these planter boxes provide great visual interest for the long porch.
Using Planter Boxes for Christmas Decorations
I particularly like that these planter boxes with their traditional design look great on the farm through all four seasons. Though not camptured in the photo below, I have used these planter boxes as part of holiday decor- placing boughs of cut evergreens in the cool, damp soil (which keeps them fresh looking for weeks, depending on weather) and even temporarily buried small live christmas trees to decorate tastefully. Even without greenery, they look great boundarying this christmas-decorated chicken coop.
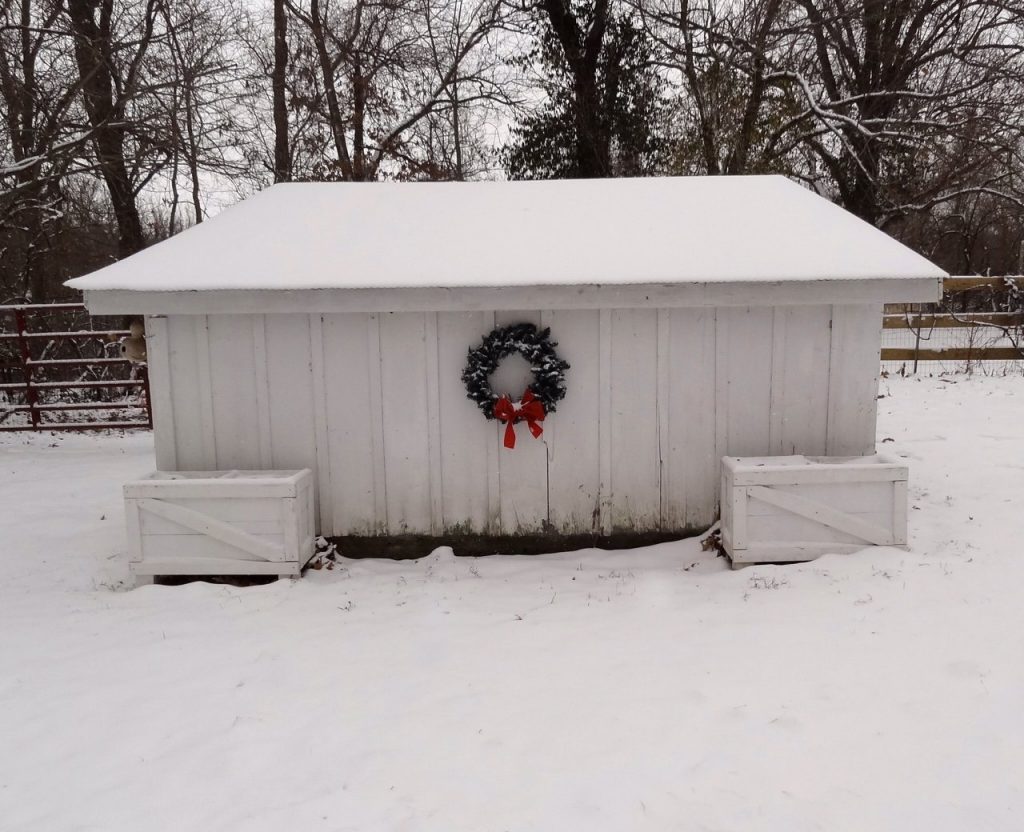
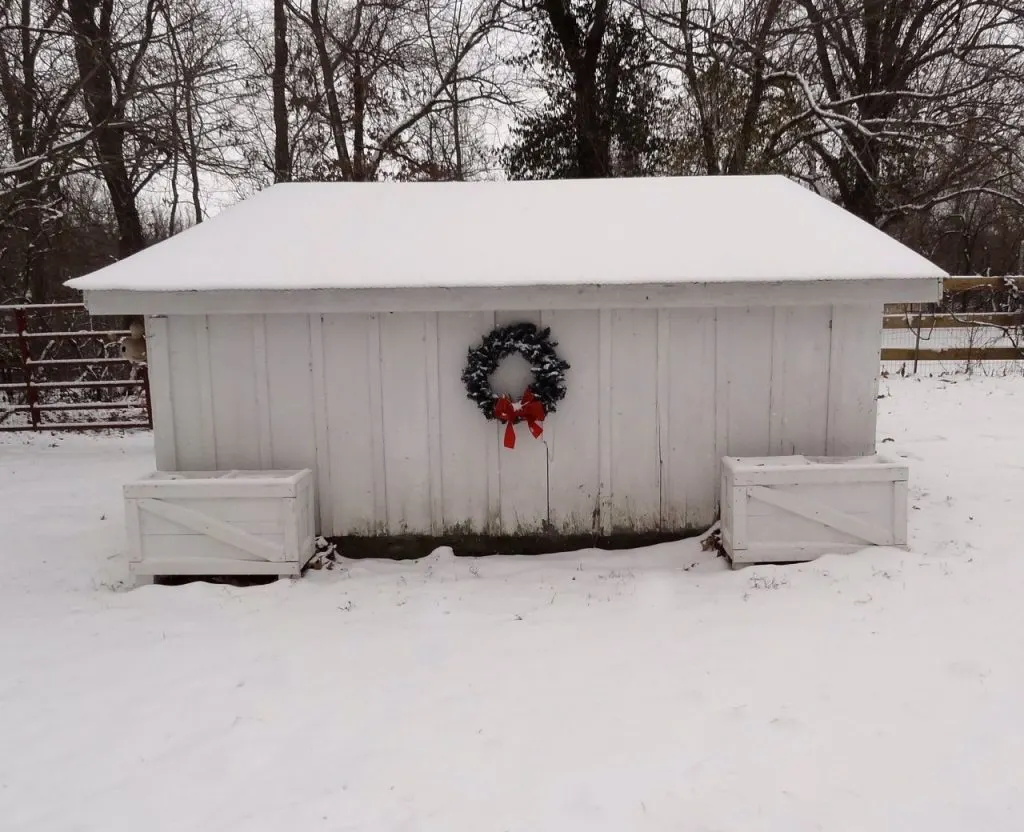
 This salvaged shipping crate turned raised bed planter to house mixed greenery & flowers.
UPDATE: August 2018
These planter boxes I made in spring 2013 are still hanging in there, though they needed a fresh coat of paint after about five years. They are are just starting to show the beginnings of rotting wood on the inside but should have a few more years of life. I had a garage sale recently and several people asked if they were for sale, so I take that as a good indication they are still doing their job with style!
Lucia Hernandez
Friday 12th of April 2019
I enjoyed your article on planting in wooden crates. I purchased 6 crates (4'x4'x2.5') for backyard with too much gravel in it. I plan on filling crates with half gravel and half soil to plant shrubs or ornamental grass for a wow factor. I want to get rid of much of gravel in backyard since it is large and hard to walk on. Does this sound reasonable ($50.00 ea.) versus building a raised planting area? Any tips for me, can I set boxes directly on gravel, do I only line the upper portion that will have the soil. Don't know about painting them yet. They are heavy and well made, will not use for veg. as were sprayed with termite chemical. Will have drip lines added to them and solar lighting for enhancement. Boxes will be against SW and West concrete block walls. Appreciate any tips, crates were used to ship heavy metals, very solid.
Lindsayanne
Tuesday 16th of April 2019
Sounds like you have a good plan to bring some WOW to your backyard! Since the crates have been treated- you might line them with a tarp like I did- even though you aren't growing vegetables, this might help prevent chemicals from getting into your soil that would harm shrubs and ornamentals.
If the gravel drains well you may not need to elevate the planters, but if it tends to be soggy or mucky, I'd lift the boxes (even just a half-inch will prolong their life significantly) An easy wait to add just a smidge of lift would be to use tiles from the clearance bin of a home improvement store.
Sandra M.
Monday 12th of February 2018
Just an idea you might use on your next planter boxes (for fun). If you line the bottom with a plastic pan, and possibly place a plastic barrier on top overlaid with a porous plant netting, to keep most of the soil out of the pan, then drill drain holes right above the pan. This would create a self watering planter and possibly help the bottoms last a little longer.
Feel free to email me if my instructions aren't clear and you are interested. Just note what the email is about so I don't delete it as spam!
Thank you for all your fun ideas!!