
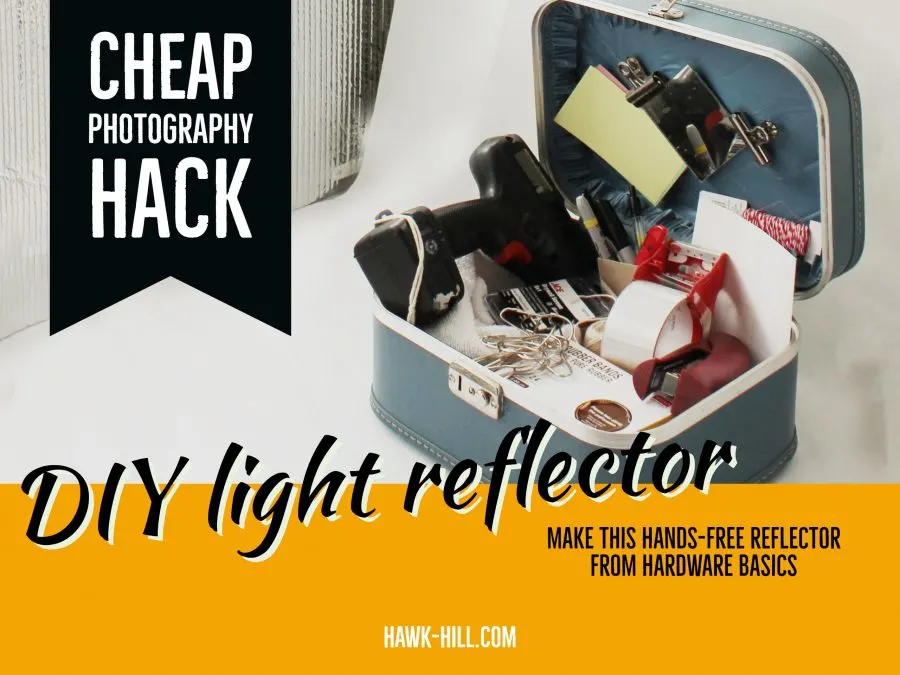
In Seattle, homes are not designed to be air-conditioner friendly. It was during one particularly hot streak last summer that I went to a big box home improvement store for some insulation to place around my apartment’s portable air conditioner vent and discovered along the way the best (and cheapest) photography light reflector I have purchased in years! Read on to learn how to source the material to make your own hands-free, free-standing light reflector for amateur studio photography.

What is a Light Reflector?
Photography light reflectors help direct or diffuse light, producing a more evenly lit photo when adjusted just right. Typically deflectors are umbrella shaped or are pop-up-style awkward frames with metallic fabric stretched across them. For me, neither style has worked well for use when shooting solo. Using these reflectors well usually means having to have an assistant on hand to hold and tilt the reflector just right.
I never guessed that the roll of metallic insulation I found for my air conditioner unit would become my most reliable and essential piece of photography equipment in my product photography and Instagram flat lay photography side business!
The following section may contain affiliate links. As an Amazon Associate, we earn from qualifying purchases.
Material for DIY Light Reflector
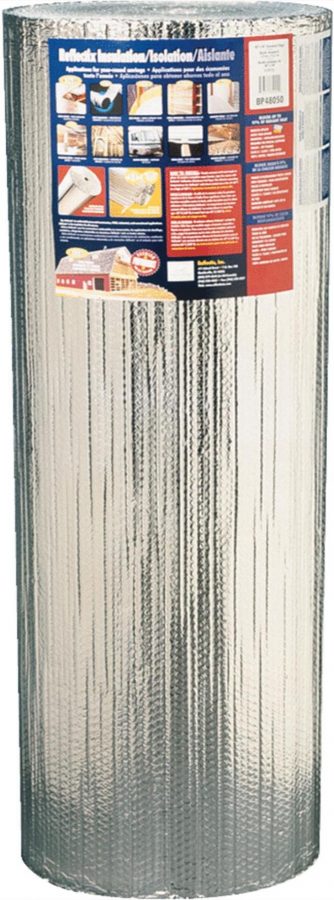
My photo reflector is made from double layer bubble insulation. It’s literally just two layers of bubble wrap fused together – in theory, to create better insulation – but the dual layers actually work great to give the material structure and the ability to stand on its own and curve slightly. The bubbles are lined on both sides with a bright metallic surface that was designed to reflect light. The product designers intended to reflect the heat-energy produced by direct light, but inadvertently created a really good diffused reflector for studio photography.

A Cheap DIY Alternative for a Photo Reflector
I did the math, and it turns out the photography reflector I most recently purchased, through a discount seller on eBay, still rang up at a cost of 1.38 per square foot of reflective material. In contrast, the insulation reflector (which doesn’t need an assistant or a stand to hold in place) rings up at only 69¢ per square foot of reflective material.
| PRODUCT | PRICE | SQ FT | $ PER SQ FT |
| Reflective Insulation | 27.53 | 40 | 0.69 |
| Ebay’s Bestselling Light Reflector | 16.85 | 12.25 | 1.38 |
When to use
I’ve only used my reflector for indoor studio photography, as a way to even out and diffuse natural sunlight in my bathroom-turned-photo-studio that gets great light from its Puget Sound view. I haven’t tested it, but I think that it would work well for outdoor photography as well, and since it can be rolled and bundled without being damaged, would be a great choice for travel photographers or for opportunistic photographers who like to keep equipment stowed in their vehicle.
Using this DIY reflector indoors and outdoors
In Seattle, I did nearly all of my blog-related photography indoors, but as I relocated to the cottage in St. Louis, I began doing more photo shoots in my garden. Thankfully, these homemade photography insulators had also made excellent makeshift moving blankets, so all of my reflectors made it with me to St. Louis. Although using these reflectors on a too sunny day can result in an over-concentration of light, they’re perfect for using on overcast or cloudy days to even up how light bounces off of an object.
Making your own tinted reflectors using this method
While I haven’t tried making a gold reflector, it may be possible to use a surface treatment to add a yellow gold the tiny to the silver color of this insulation turned photography reflector. Any translucent yellow or gold paint could be worth experimenting with.
My “Studio”
Here’s a photograph of my little makeshift studio in my apartment. I kept it uncropped so you can see it’s literally just set up next to the towel rack in my bathroom. I keep a sheer curtain on the window to diffuse incoming light and place my DIY photo reflector in a curve on the opposing side of the window. This helps bounce back the light and even up my shadows.
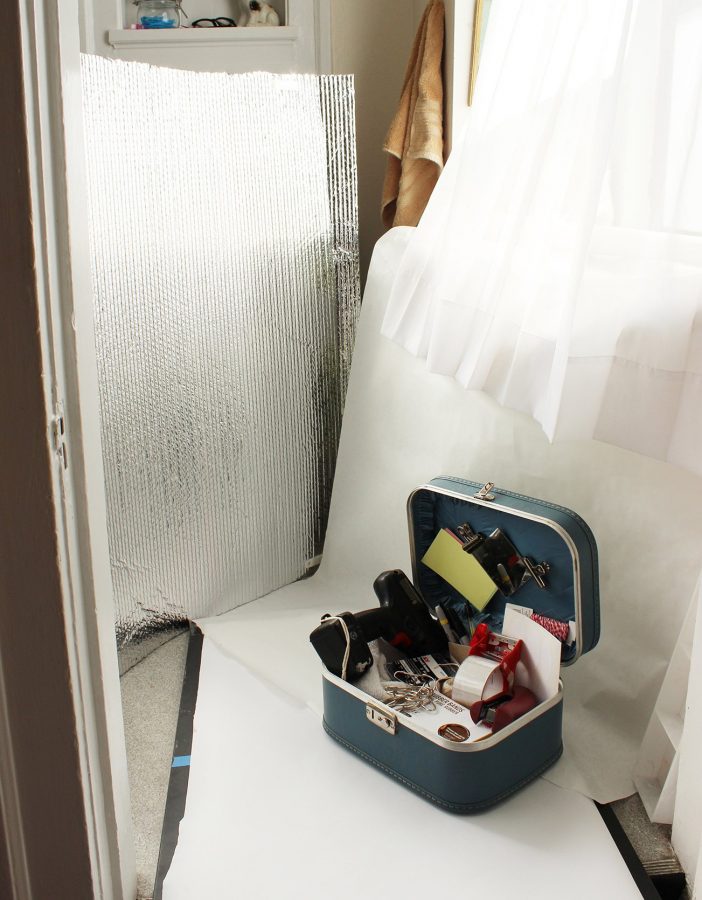
In this photo, I’m simply using a thin role of basic white paper as a backdrop – making it easy to edit out the background later.
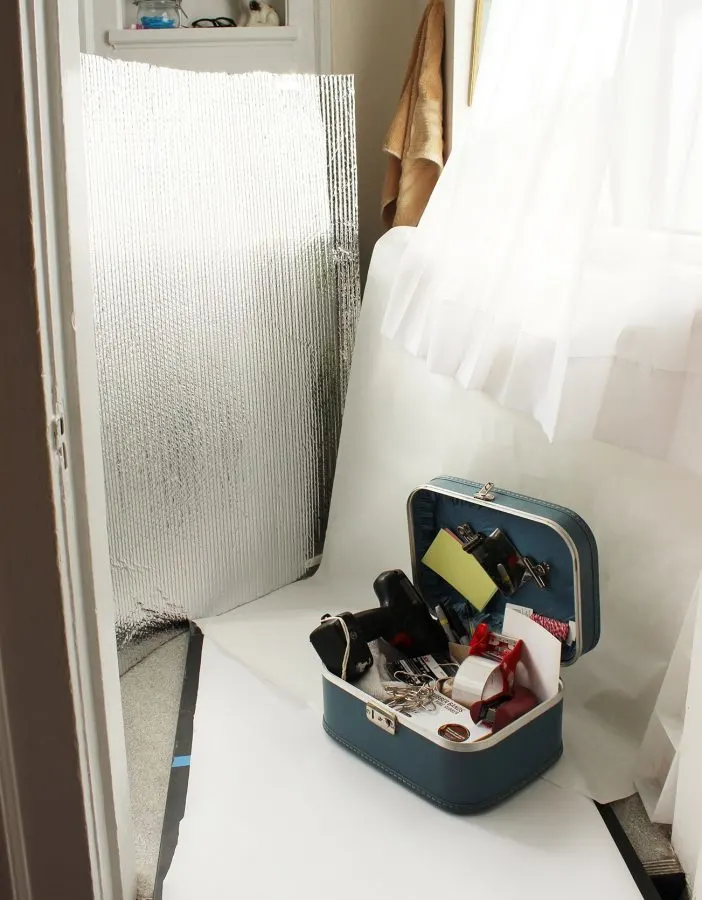
It’s easy to get this homemade photography reflector to stand up on its own, thanks to the rigidity added by the rows of bubbles. By taking advantage of this stiffness, combined with standing it on end in a curved shape, I can usually get this photo reflector to stay exactly where I need it without requiring a stand or holder. On occasion, it does need to be propped up against something or occasionally taped and place, but the lightweight plastic and bubblewrap construction mean not the lightest bit of scotch or washi tape from my note taking supplies holds it perfectly in place through my photoshoots.
After a bit of editing, here’s an example of a photograph I took using this photography hack. With only one window of natural light and a 4′ x 4′ sheet of insulation used as a photo reflector I was able to create these professional shots without extensive equipment or photo editing.


Kimberly
Tuesday 9th of November 2021
WOW! AH-MAZING HACK! I have been scouring the internet for WEEKS looking for a homemade version light reflector to no avail, then found your blog. LOVE the fact this doesn't need a stand ... love everything about it! Was going to buy something off Amazon/eBay but this makes a lot more sense, just BRILLIANT! Going to check out the rest of your blog when I get a chance, just wanted to to a minute to say So glad the world has creative people like you to share awesome ideas with the rest of us. Thank you!