
Because I have horses in a suburban area, my horses wear leather halters 24/7. With this kind of with constant use, I end up with broken halter crowns regularly.
I’ve learned to repair many issues with leather halters, including problems that most people think would send the halter straight to the trash! (By the way, never trash a leather halter when there are so many cool ways to repurpose halters).
I once watched a terrifying struggle of a highway patrol officer trying to catch and secure an unhaltered horse loose on a highway. That experience convinced me that having a fast, secure way to catch my horses is safer for them.
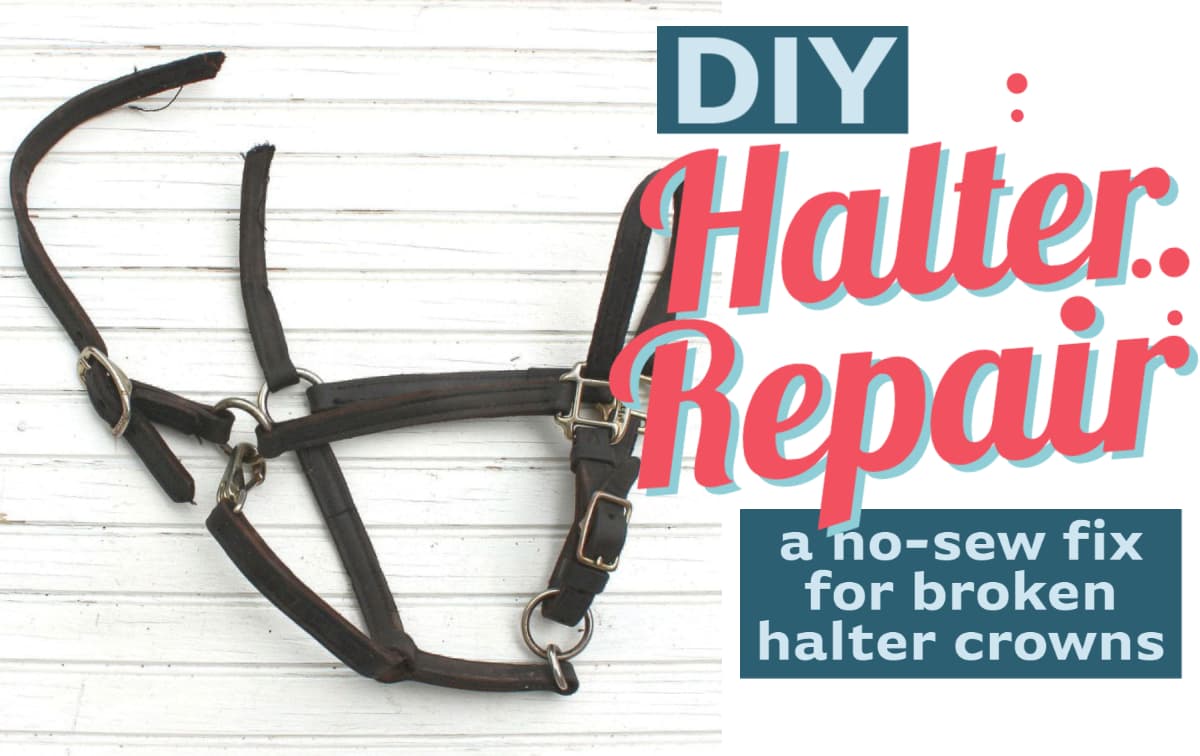

Today I’m demonstrating how to repair a single-buckle halter with a broken crown.
Which reminds me, I should probably define terms:
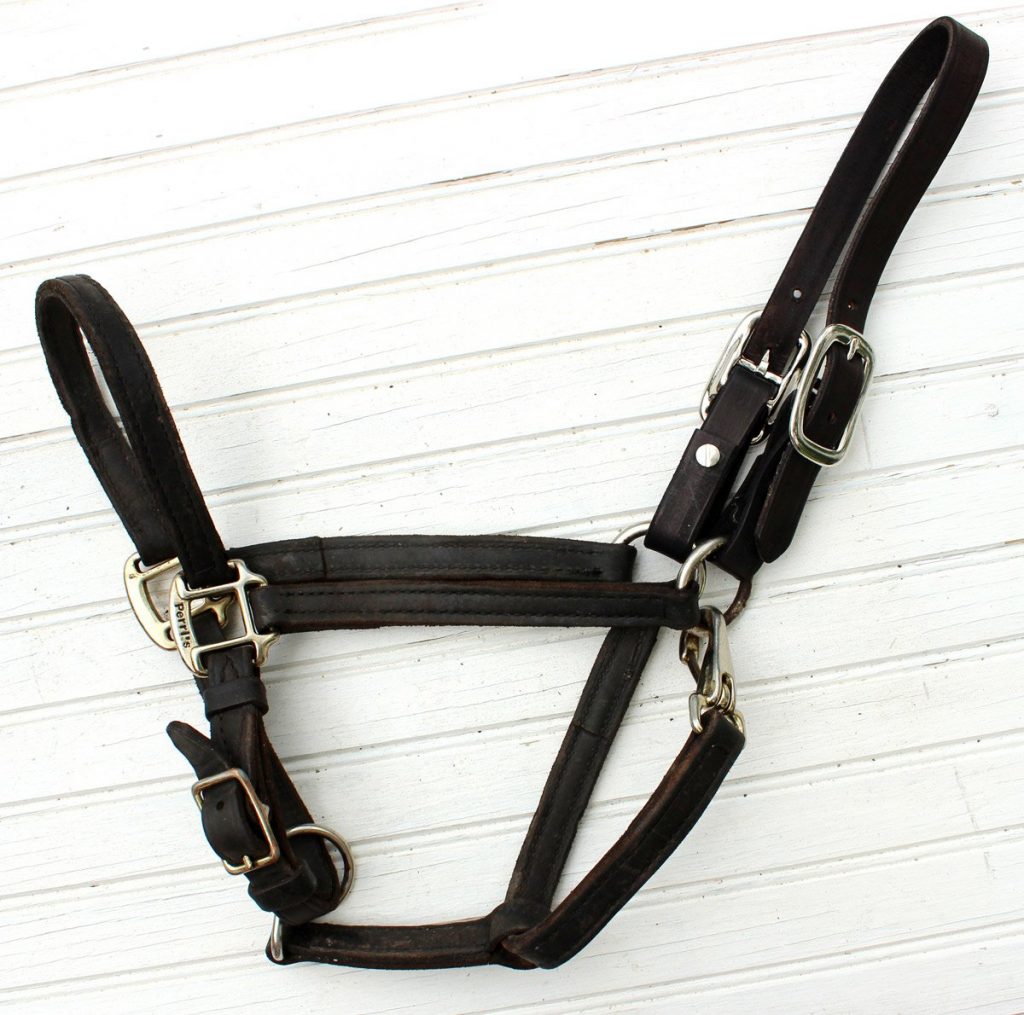
Single Buckle Halter/Crown: Includes just one buckle on the crown, located on the “near” side (i.e. mounting side). Buckle hardware is one of the most expensive parts of the halter, so economical halters usually just have one buckle.
Double Buckle Halter/Crown: Higher end halter or halters sold as “breakaway” often include two buckles- one on each side of the crown. Double buckle halters make a broken crown a super easy fix, since the broken piece can be removed by unbuckling both buckles, and replaced easily.
When the crown on a single buckle halter breaks, most folks assume they’ll need professional repair, but today I’ll show you a cheap and easy way to convert a single buckle halter crown to a double buckle crown, resulting in a no-sew fix!
This method also repairs double buckle halters if the broken section of the halter is one of the buckles on the crown, the crown, or the tabs that connect the crown buckles to the rest of the halter.
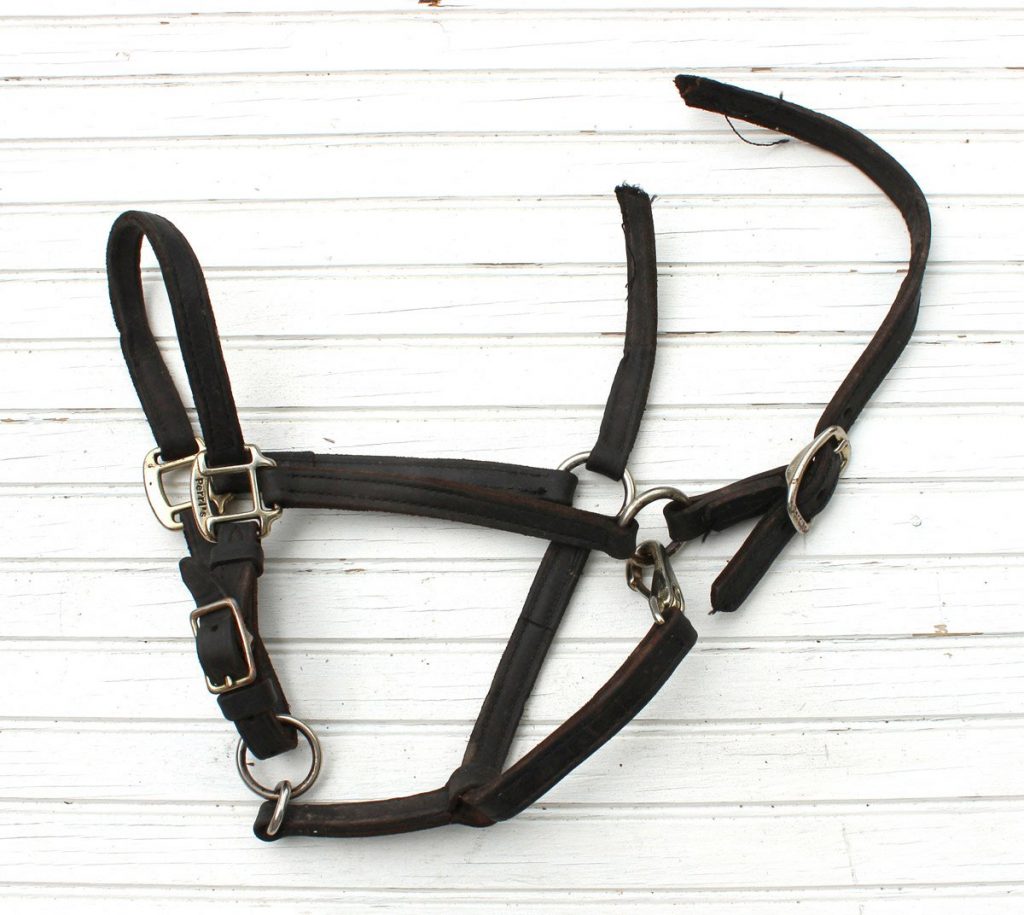
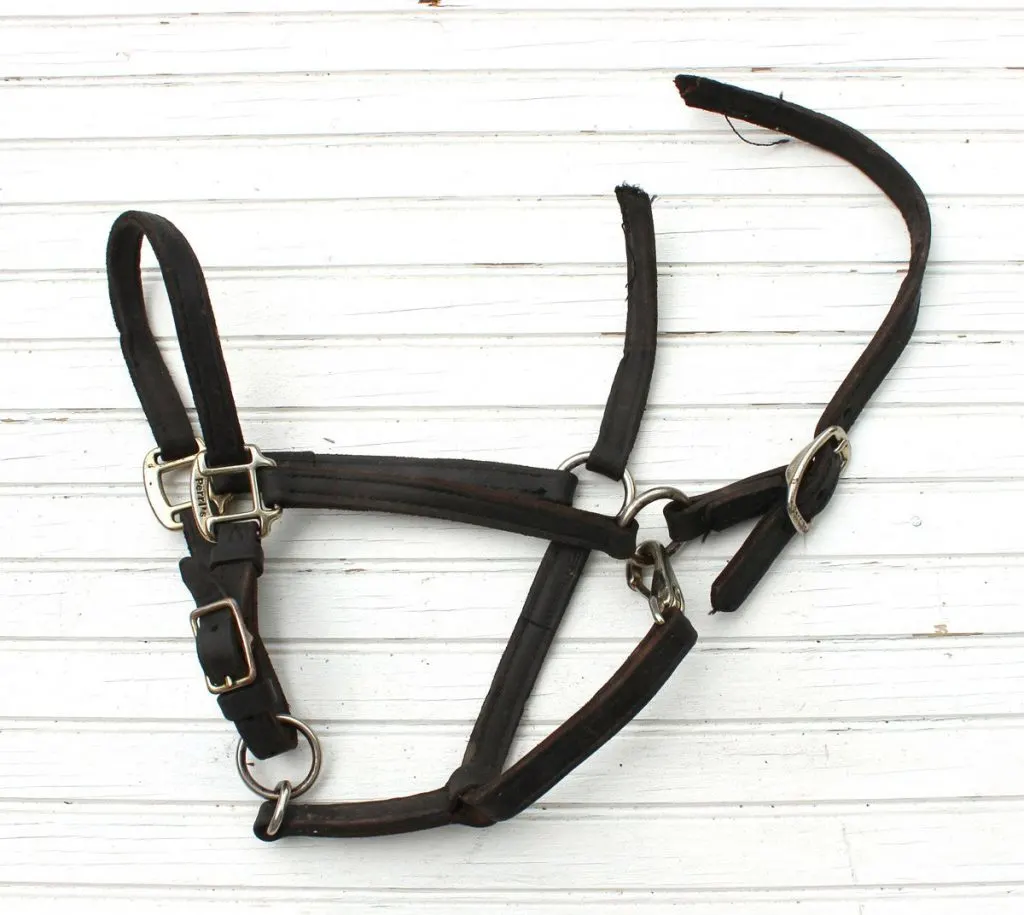
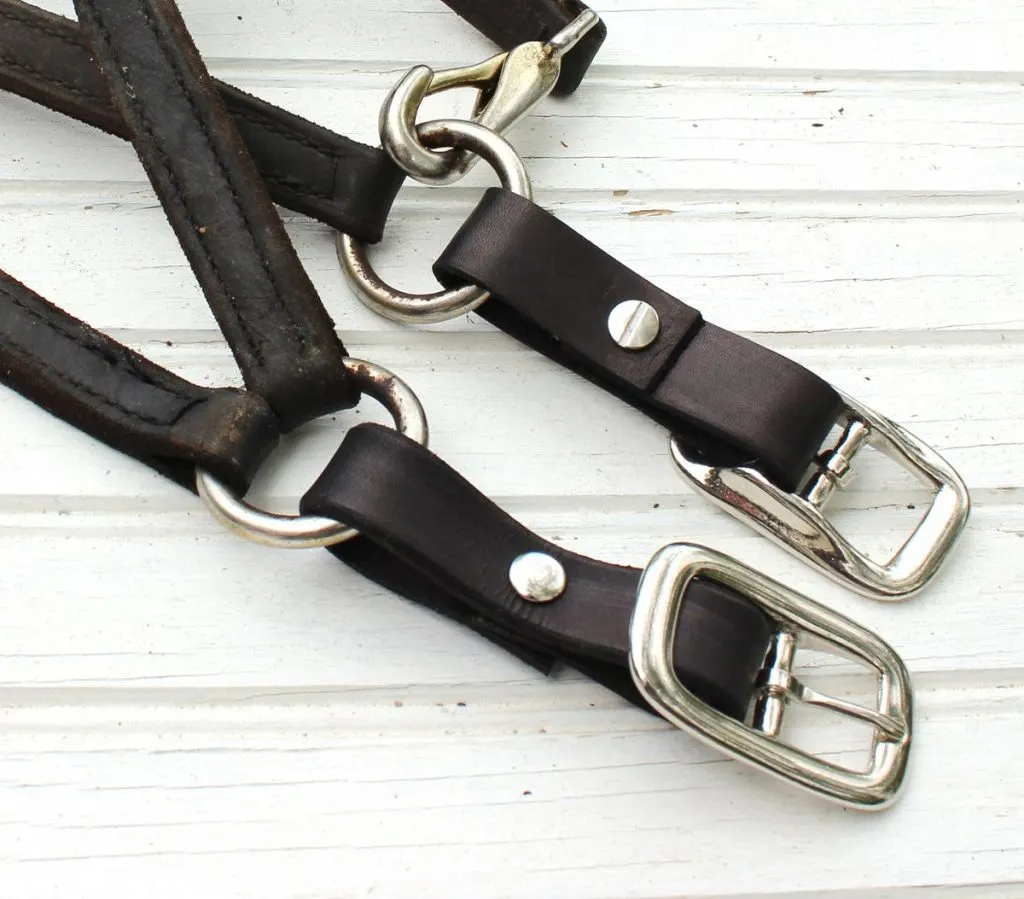
An example of the kind of damage this repair fixes:

A black 3/4″ wide horse halter with a crown broken near the O ring on the off side.

Supplies Needed for halter repair
Your local tack store probably won’t have all these items, but if you can’t salvage them from old halters you can pick them up at luckypony.com for a fraction of the price of a new halter.
1. Qty 1 – Breakaway Crown (either a single thickness replacement or a higher end stitched/padded style)
2. Qty 2 – Breakaway Links (or, two strips of leather about 8-9″ long with 3 holes punched)
3. Qty 1 – Extra buckle (you can buy these at the link above, but in the future you can save money by cutting hardware off of halters you throw out, to use for repair projects)
4. Qty 2 – Chicago Screws
5. (optional, as needed) leather dye to dye pieces to match halter color.
6. (optional) superglue to prevent Chicago Screws from loosening over time.
TOOLS REQUIRED:
1. Sharp scissors

2. Flathead Screwdriver
First, a simplified Video Overview of this horse halter repair:
Step by Step Instructions to Repair a Horse Halter Crown:

Instructions to Repair a Horse Halter Crown
Locate damaged leather
Cut crown entirely away from halter for repair
Cut away broken leather piece

Remove the crown strap where it connects to both Cheek O Rings.
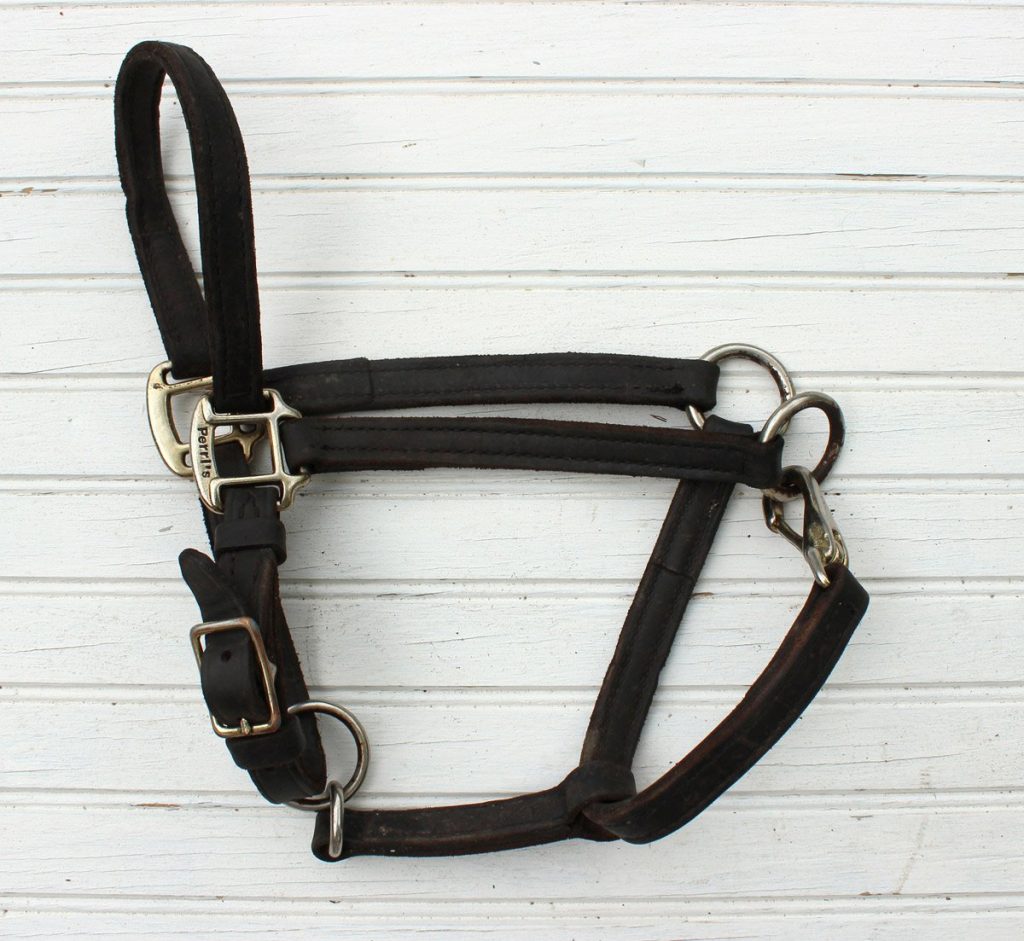
When your halter is completely free of the crown, as shown here, you’re ready for step 2- adding a double buckle crown:
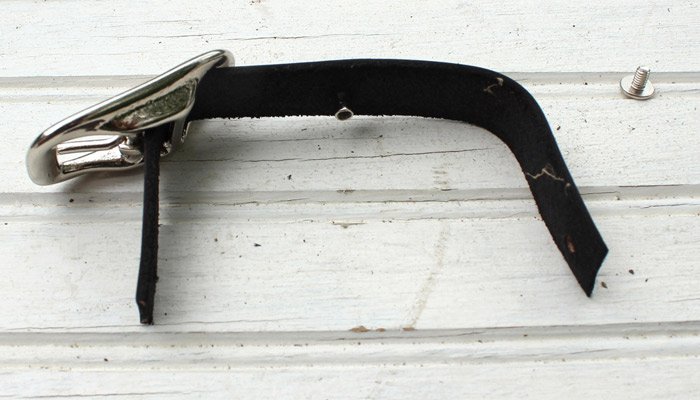
Prep your buckles and new breakaway straps
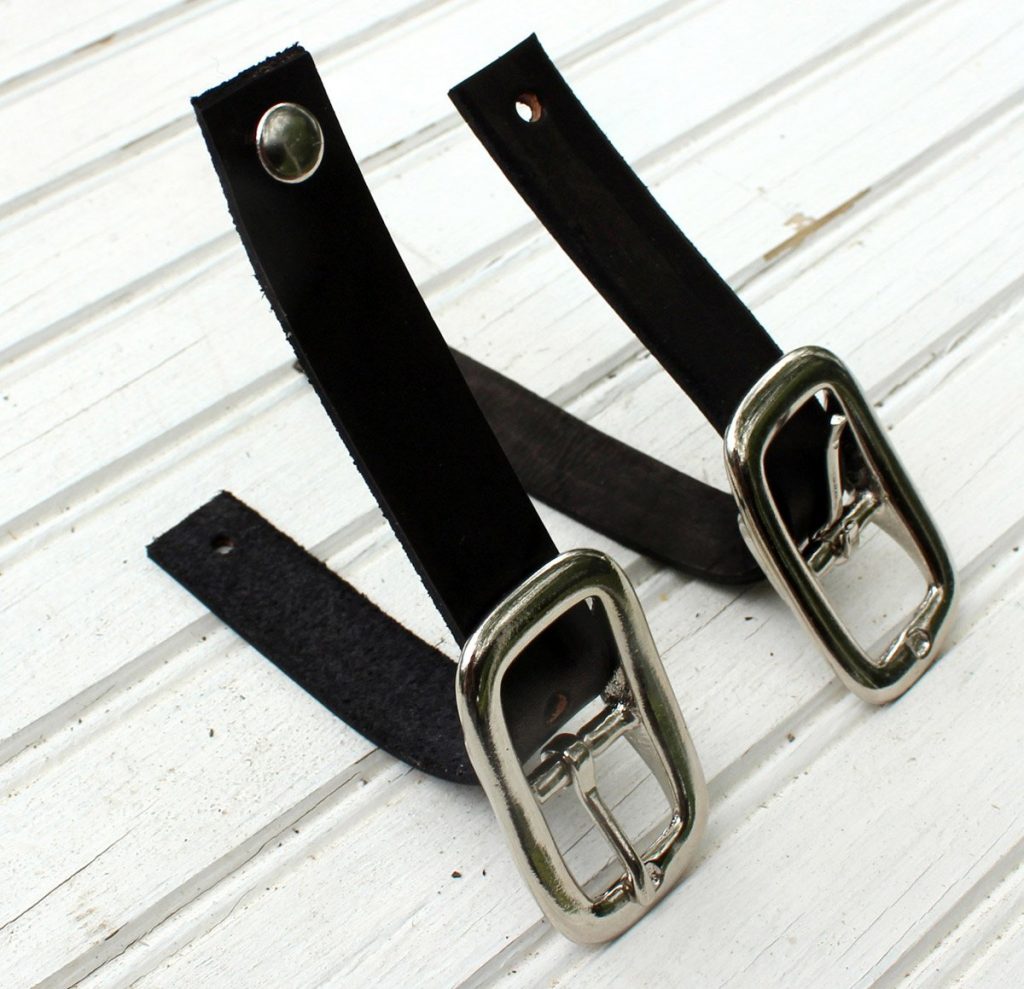

For halter repair, prep your buckles and breakaway straps. Slide your strap up and over the straight bar on the buckle, making sure the finished side of the leather is facing when you look down at the buckle from on top.
Fold the breakaway strap
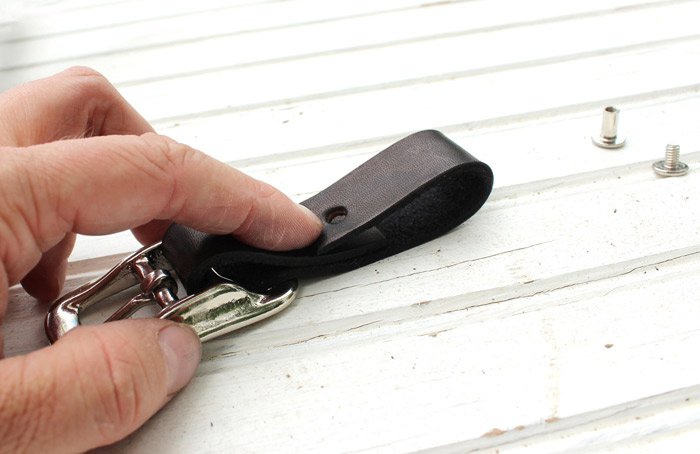

Following the sequence in these images, fold the breakaway straps and insert the post (the piece that’s a threaded tube) through the center hole and the hole in the end of the strap. This will secure the buckle:
Insert Screw Post
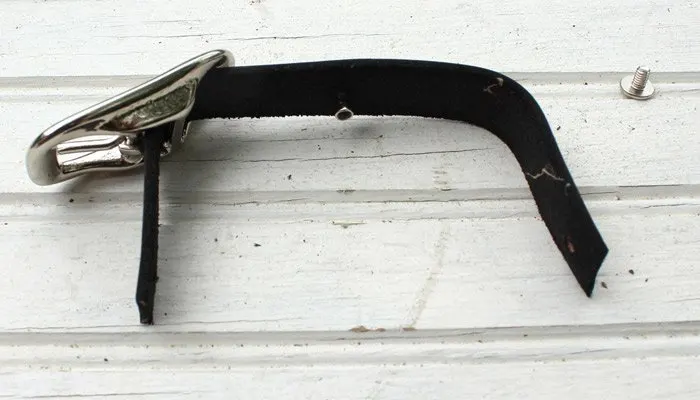
Insert the hollow post of the chicago screw through the opening in the middle of the strap
Loop strap over O ring
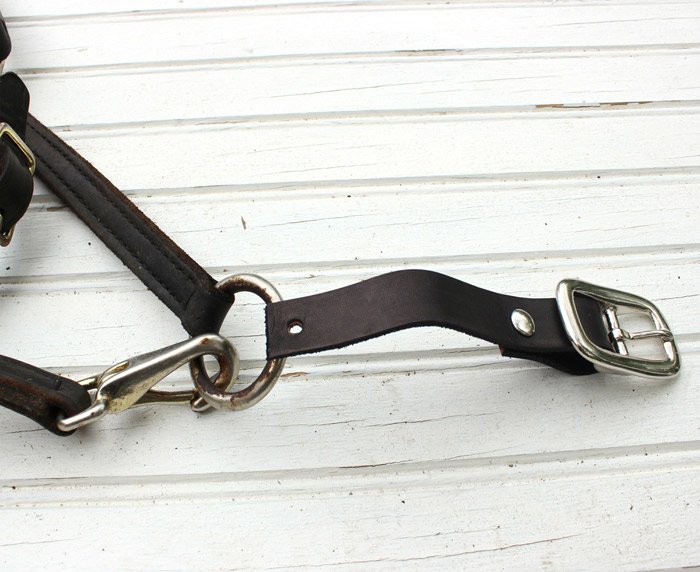
Now, making sure the finished side of the leather is oriented to the outside of the halter, place the loose end of the breakaway strap around one of the O rings as shown:
Fold over breakaway link
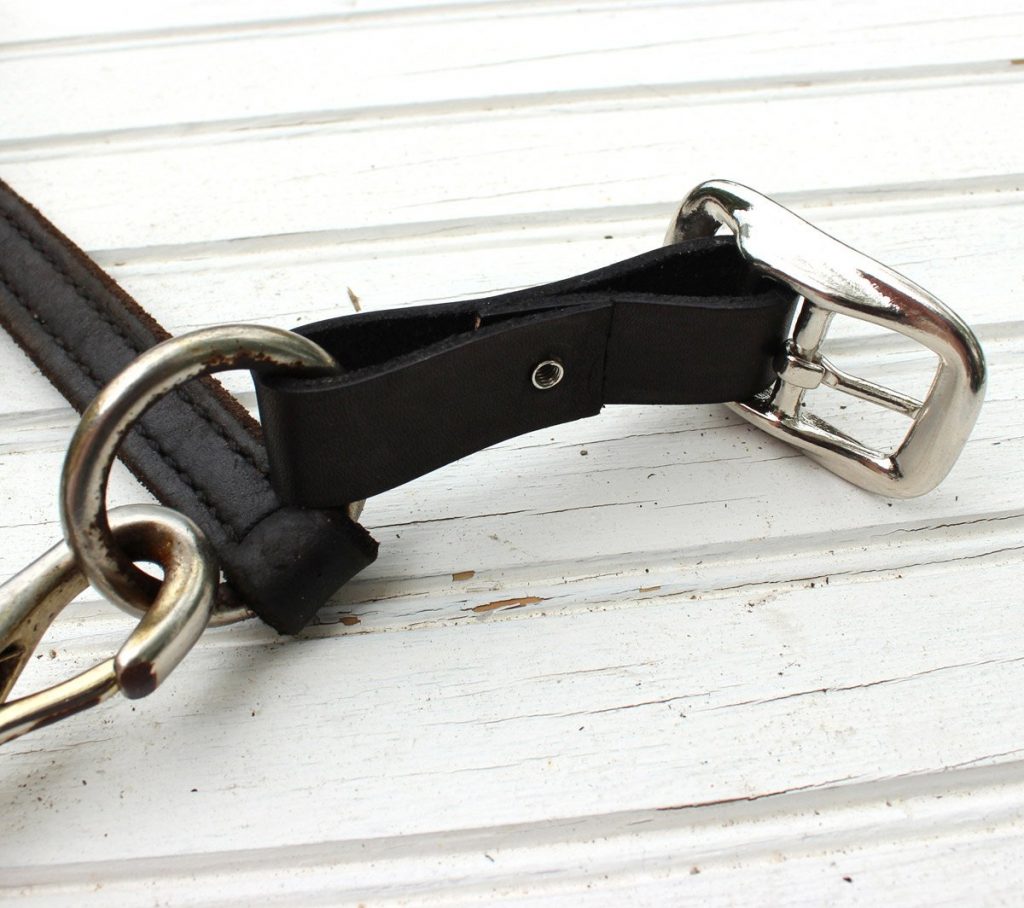
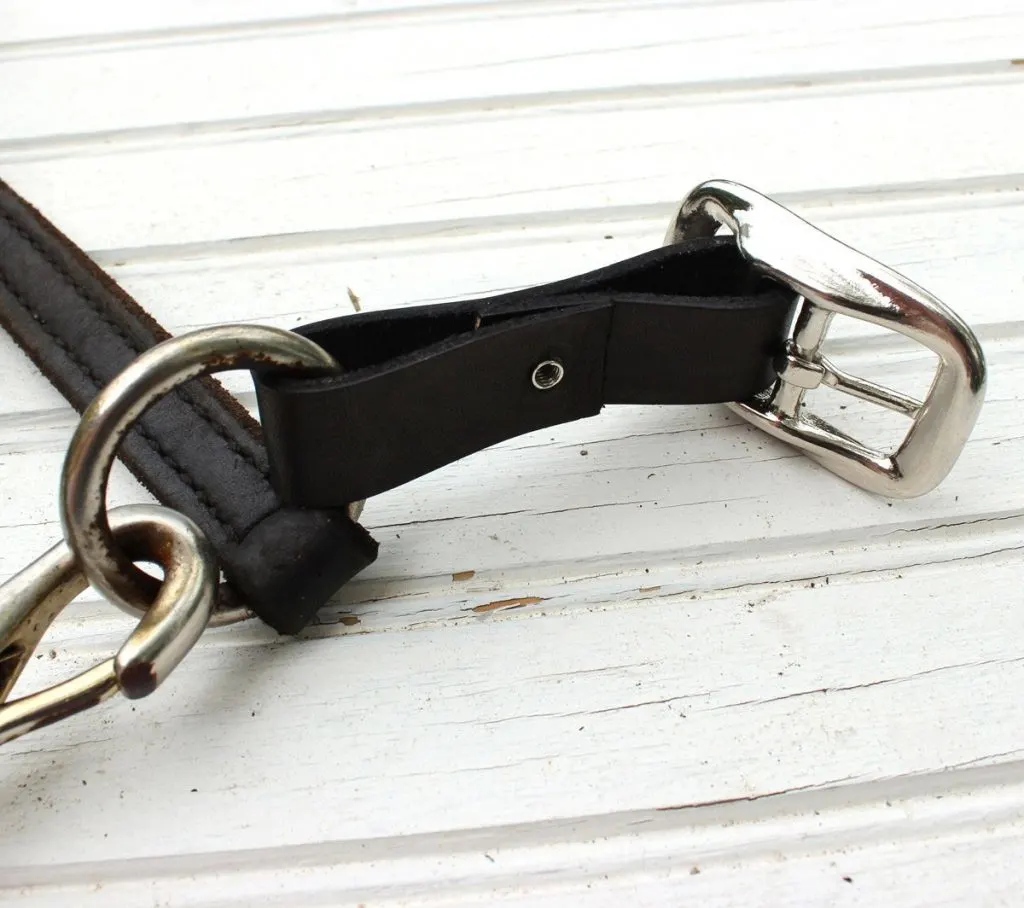
Fit the last punched leather hole over the metal post:
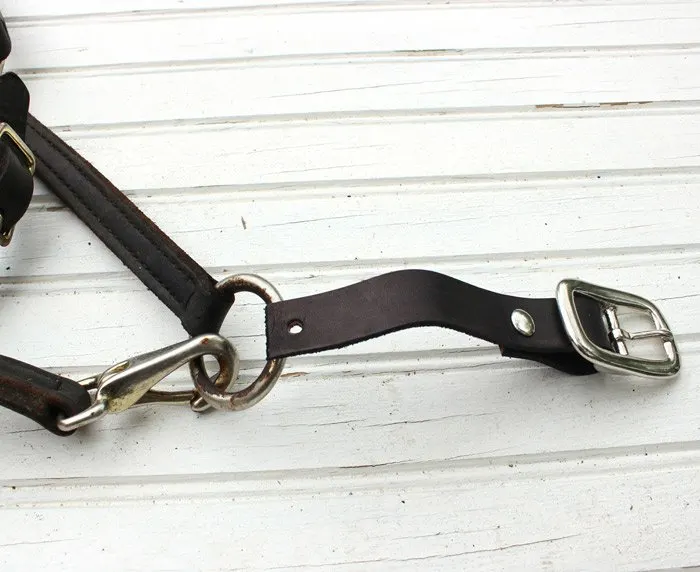
Tighten Screw
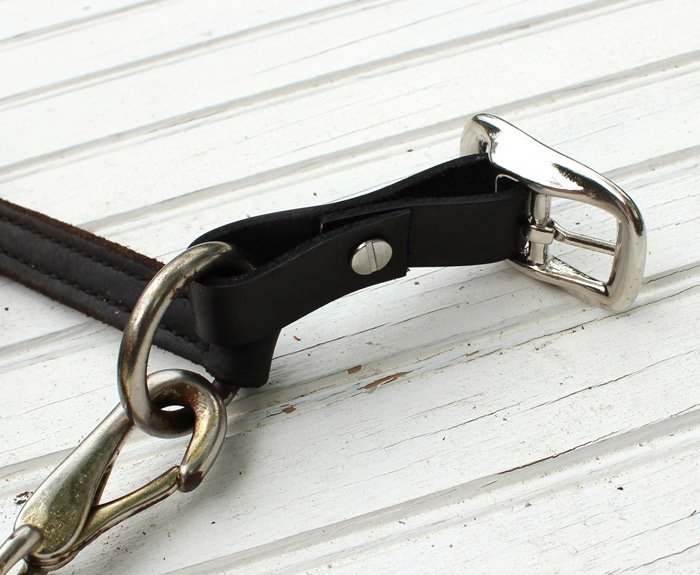
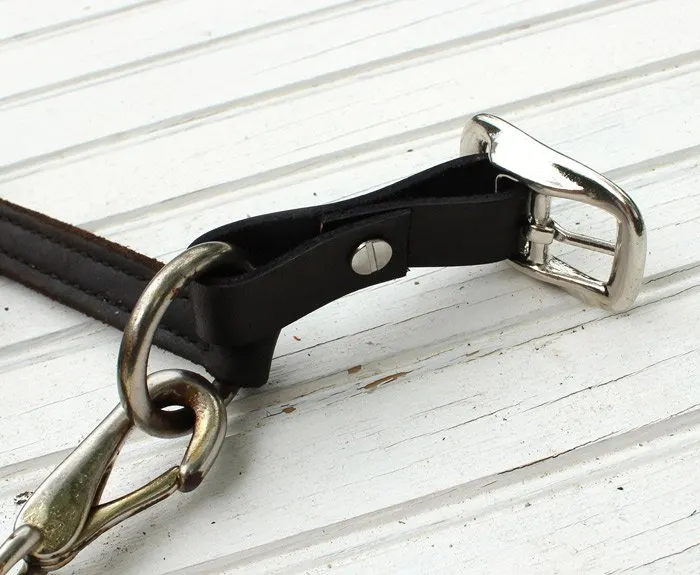
And secure by inserting the screw portion of the chicago screw into the post, and tightening with the flathead screwdriver. If you hate checking for loose chicago screws, just add a drop of superglue to the threads during this step.
Repeat on opposite side of the halter

Repeat step 2 a second time, for the other side, to attach buckles to both O rings:
Add new halter crown
Buckle on the crown to your newly attached buckles and you’re done! A fatally wounded halter returned to fully functional condition!
Did you find this tutorial on halter basic repair helpful? I love developing content around sustainable horsekeeping. I’d love to hear from you about what worked and what didn’t! What small leather halter repairs are you currently searching for a solution to?