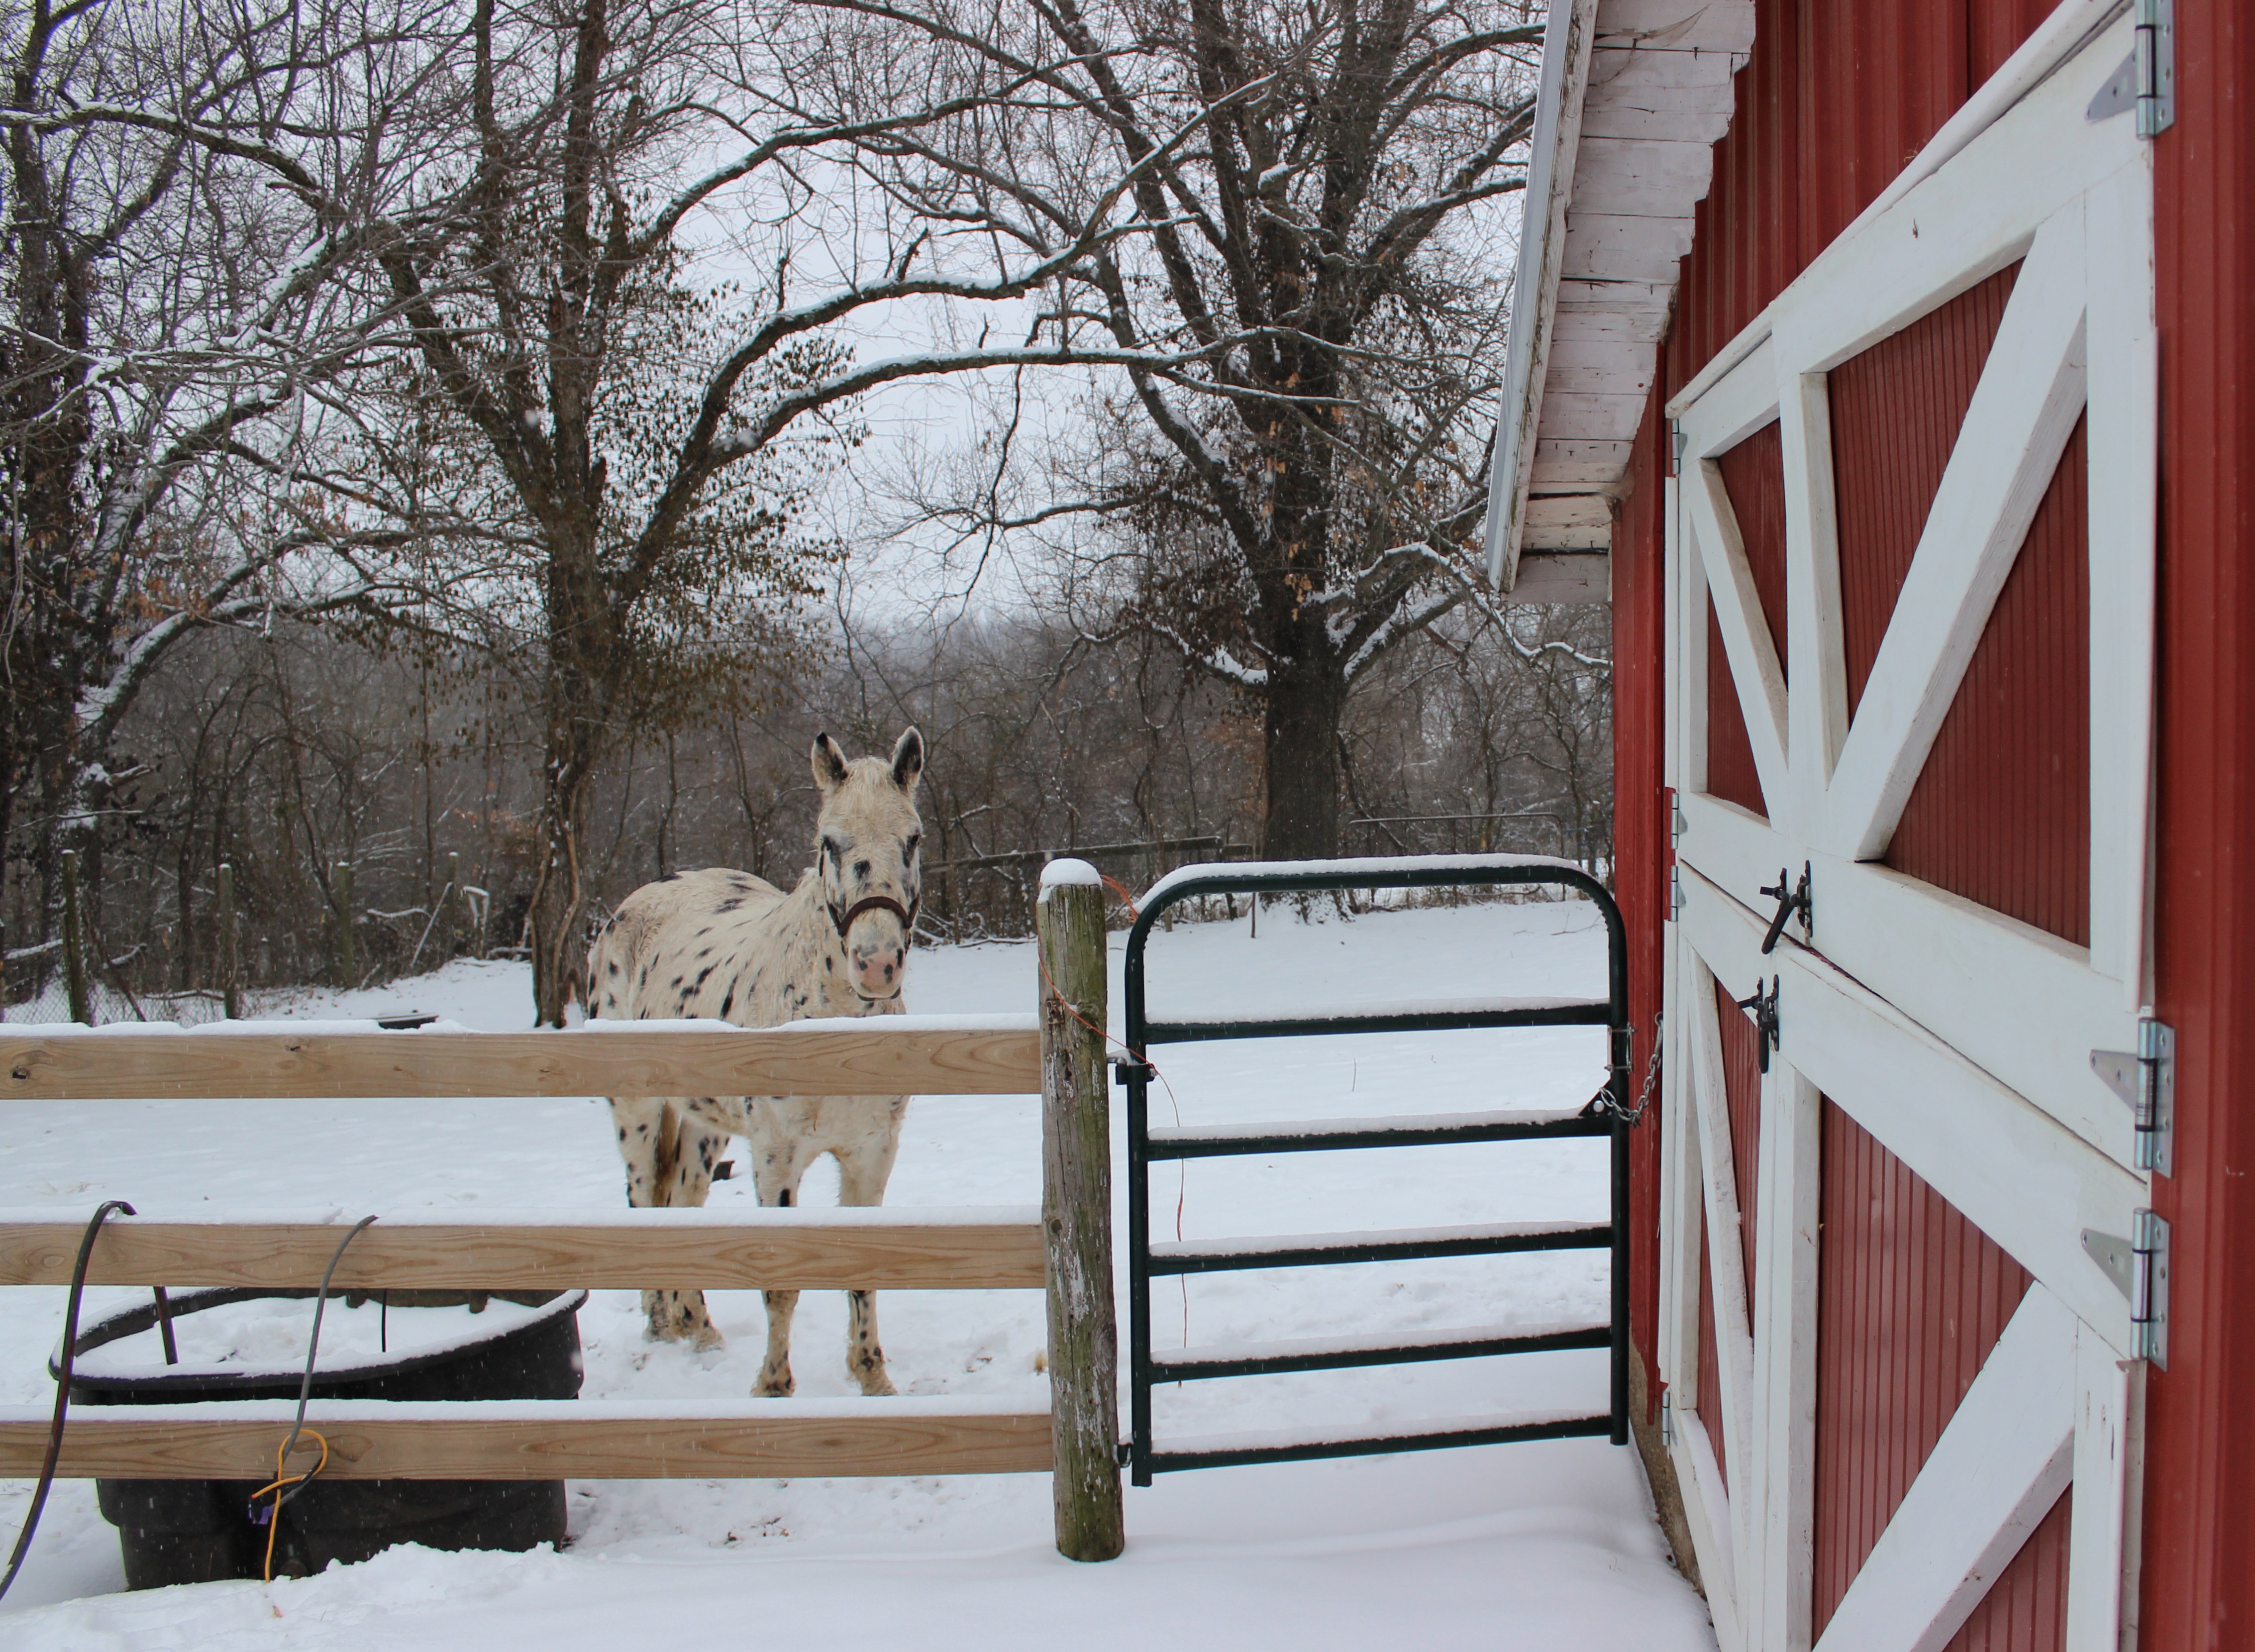
Did you know that you can make your own DIY water bucket heater using natural materials you already have on your farm? In this article, I’ll show you how I keep buckets and water troughs thawed when winter storms cut power to our rural horse farm.
Developing this Low-Tech Bucket Heater Method:
A few years ago, a winter storm downed trees, toppled power lines, and cut electricity for a week in the dead of a particularly blustery midwestern winter. All of our winter-horse-keeping skills were put to the test: without electric bucket heaters, stock tank deicers, and without even that old reliable option of hauling a frozen hose into a warm indoor laundry room to thaw out before the next watering, we got resourceful and experimented making DIY bucket heaters.
In this post, I want to share about the electricity-free bucket heater options we used to keep buckets and troughs thawed through the worst winter storm in memory. This is a continuation of my article on how to keep a water trough from freezing, in this case, expanded and developed to include better solutions for keeping smaller water vessels- like water buckets- thawed during a particularly cold snap.
How to Keep Hoses Thawed in Freezing Weather:
Keeping water thawed for livestock to drink is only half the battle. If you can’t keep hoses thawed to fill troughs and buckets in freezing temperatures, you may be forced to carry water bucket-by-bucket through freezing winter weather. Yikes!
Luckily, there are several easy ways to keep hoses from freezing in cold weather:
Prevent Freezing Hoses by Draining After Every Use
Making sure the hose is clear after use is the most reliable to keep a hose from freezing solid in the winter. Methods for clearing a hose range from simply laying it out on an inclined surface like a driveway to clear naturally (be sure air can enter from both ends, by unscrewing it from the bib, for best results) to hooking up the hose to an air compressor or even a Shop Vac blower to expel water from the tube.
Coil Hoses and Store them in a Heated Location
One of the easiest ways to keep a hose thawed while minimizing your own time spent doing chores in freezing weather is by storing your hose someplace where the ambient temperature stays above freezing. By storing a hose in a mudroom, garage, or heated tack room, you’ll not only avoid a frozen hose but also avoid the hassle and chill of handling a cold, stiff hose that was left out in the elements. Warm hoses are more flexible and make it easier and faster to get winter chores done.
TIP: This is also the easiest and fastest way to thaw a frozen hose. Rather than potentially damaging your hose by trying to force water through while frozen, unscrew a frozen hose and place it in a warm, waterproof room like a heated porch, garage, or mudroom. In an hour or two, you’ll have a thawed and ready-to-use hose.
Thaw Hoses by Storing them Underwater
If you aren’t able to drain your hose or store it indoors to prevent freezing, you can store hoses under the surface of (thawed) water. Even if there’s a layer of ice on top, as long as the water temperature below the surface remains above freezing, water hoses stay flexible, clear, and usable.
Submerging a hose to keep it from freezing works, but I always seem to end up wet, so it’s not my favorite method!
Using Compost to Keep Water Buckets from Freezing
Compost. This might sound a little crazy, but compost is a surprisingly effective way to insulate buckets. Everyone knows compost heats up, and this method puts that heat to use keeping buckets of water from freezing. Heat is part of the decomposition process and the reason that compost piles and manure heaps tend to remain snow-free even when the garden or barnyard is covered with snow.
Whether prepared in advance of winter weather or thrown together at the last minute, this method has been surprisingly effective through several winter emergencies on our farm.
How to Build a Compost Heated Bucket or Trough
When an ice storm cut power to our farm for a week, we improvised this method to provide drinkable water to our herd of 3 horses while temperatures hovered below freezing.
Manure can be used to keep water thawed, but naturally raises questions about how to keep the drinking water clean. Read on and these instructions will show you how.
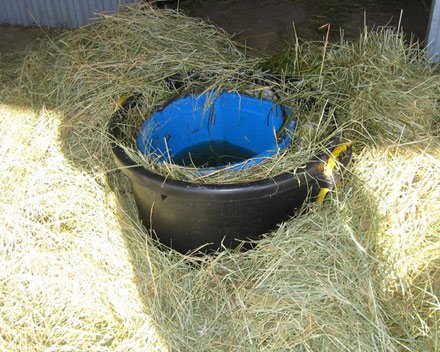
1. Find nesting containers
To make a DIY bucket heater, start by finding two water containers that fit within one another, with lots of space to spare between the two. Two matching 5-gallon buckets technically fit inside one another, but leave no gaps between- we need containers that leave plenty of space- such as a 10-gallon bucket inside of a muck bucket, or a 100-gallon tank inside a 150-gallon tank. Rusty or leaky old metal stock tanks (cheap buys at summer farm auctions) work great for the larger vessel.

2. Fill with Manure or Compost
Fill the bottom and sides of the larger bucket with a 50/50 mix of very fresh manure and fine plant matter. Hay or straw work- and this is actually a great way to use up any hay or straw bales showing signs of mold.
If you are in a winter emergency and need this DIY bucket heater to keep your water thawed without electricity without waiting for the matter to decompose, use still-warm manure and don’t break up the natural clumps of manure. If you have a compost heap or manure pile already heated up, dig to the center of the heap and use the existing compost mixed with fresh components to speel natural heat production.
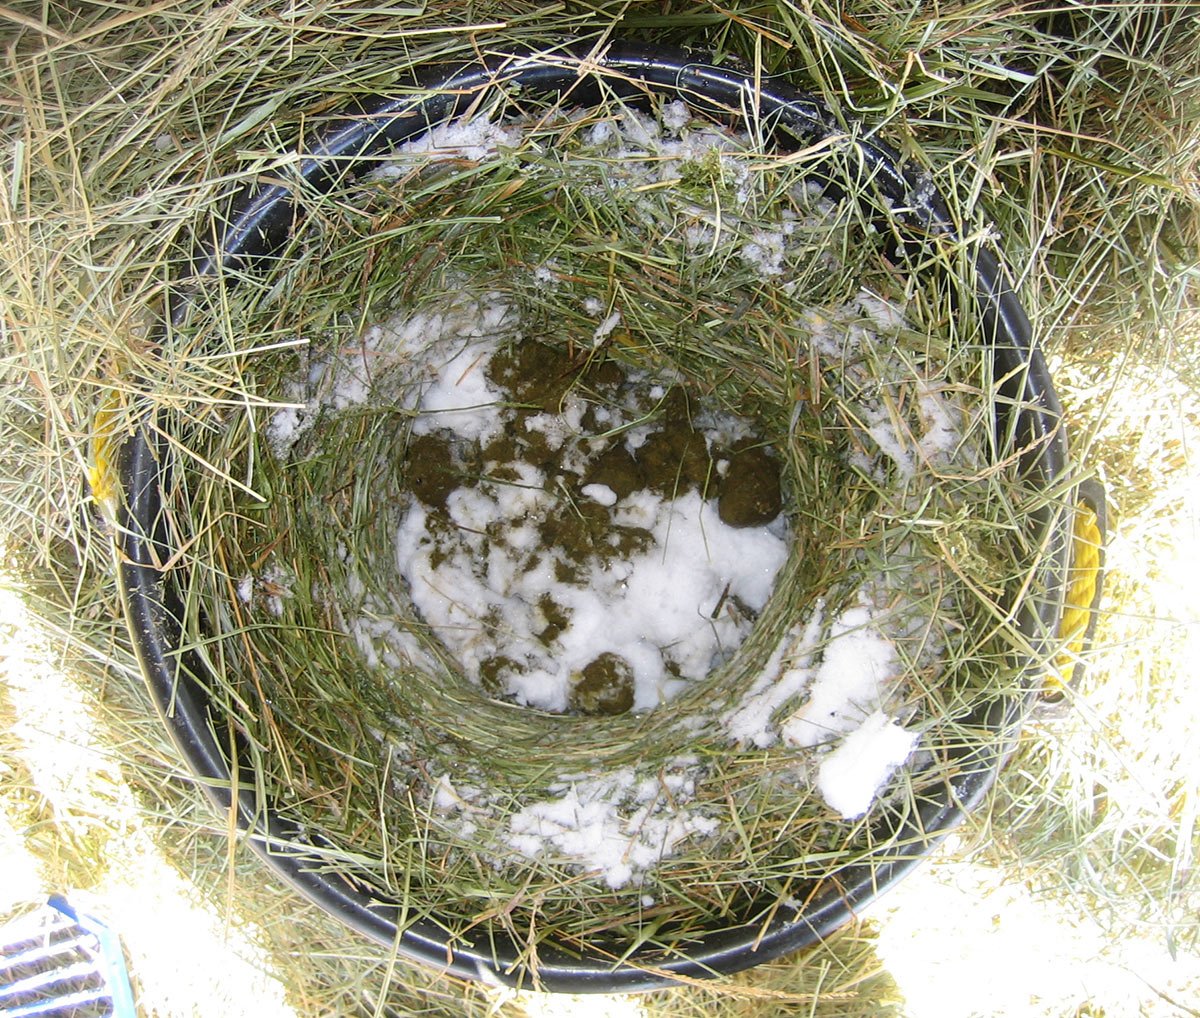
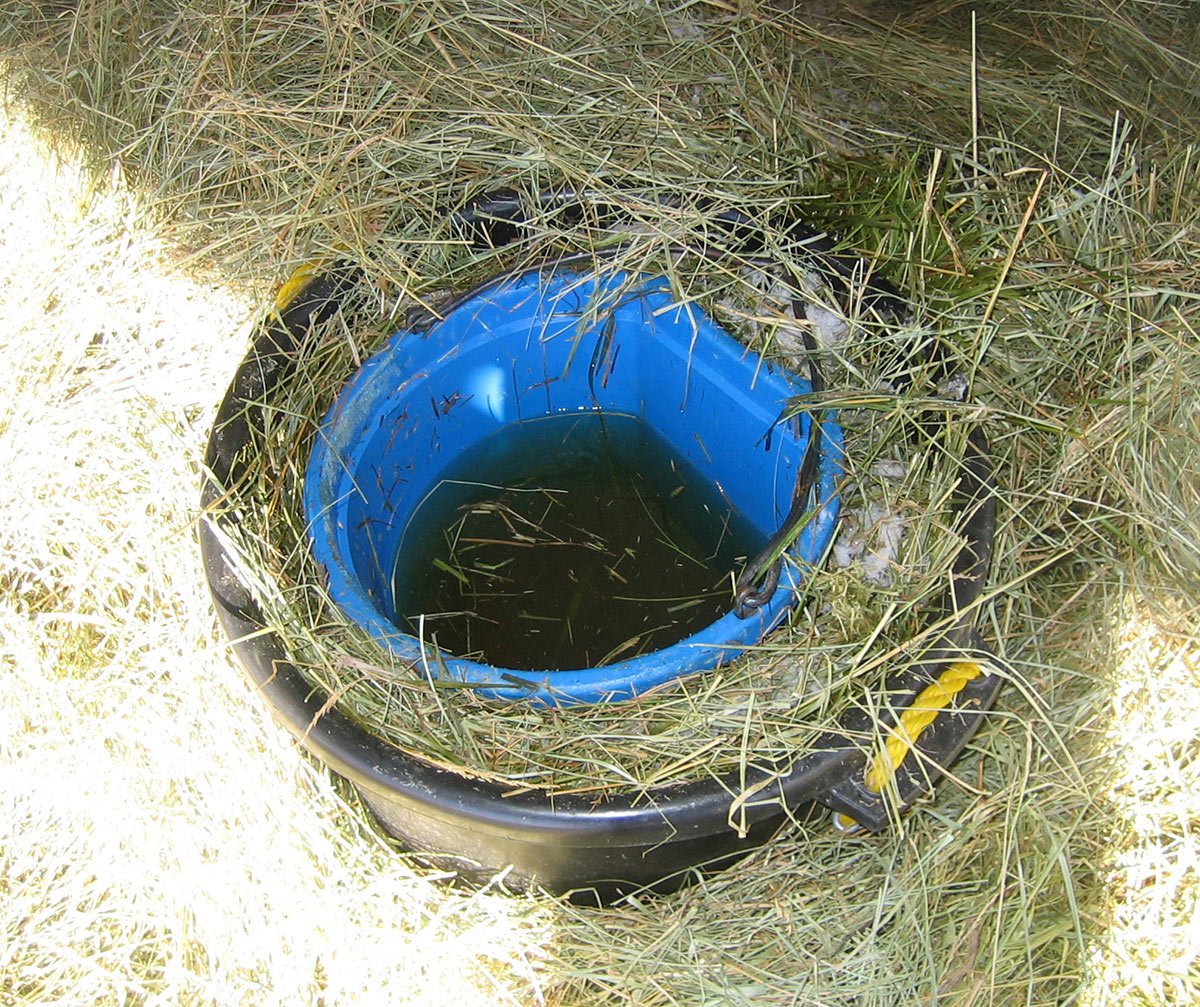
3. Insert Smaller Bucket
Place the smaller bucket or tank directly on top of the fresh manure/compost mix and press down to seat the bucket in the compost.
4. Fill Gap between Trough Walls
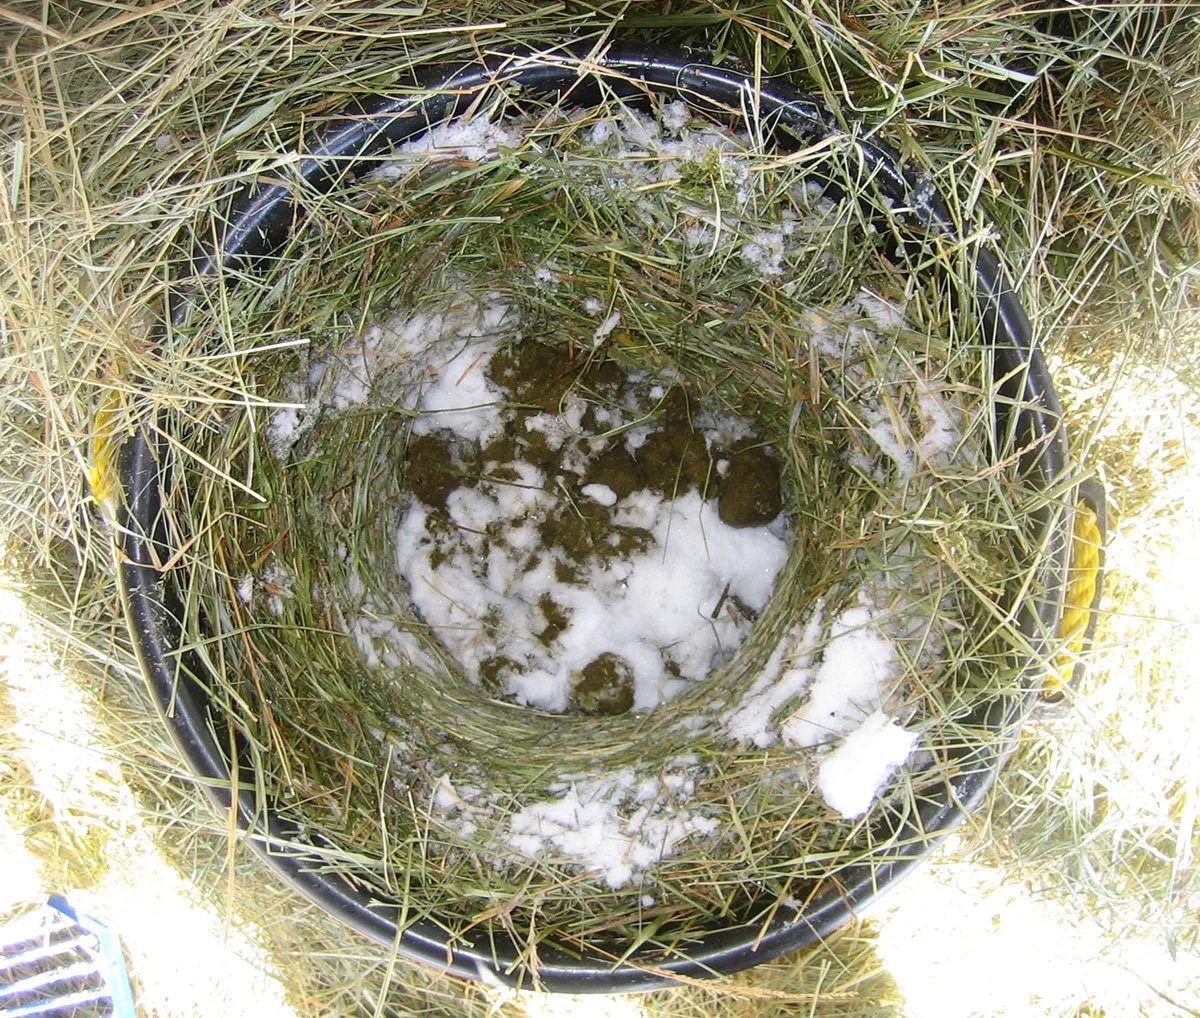
To make your DIY bucket heater, fill the sides, between the two water containers, about half-way up the sides with more of the manure/compost mixture. Pack densely, but not overpacking (oxygen is a part of the natural composting process)
After the halfway point, fill the remaining gap between containers with clean straw (or woodchips, if no straw is available). This step is very important in order to prevent contamination of the clean water with manure or debris in this DIY bucket heater.

This bucket warming process works in two ways:
Immediately, warmth from the fresh manure is insulated and held in. Clean water placed in the bucket, along with the layers of buckets and straw, hold in that heat, helping to keep buckets from freezing.
If Left Undisturbed: Through this process, you’ve just built a tiny, self-contained compost pile. If left to sit, natural heat from bacterial growth and decomposition will build quickly- peaking in heat production at about 3-4 weeks.
If you are in a winter emergency, depending on temperatures you may need to repeat the process of insulating a bucket with fresh manure daily. The combination of still-warm manure insulated by straw and double buckets can, in our experience, prevent buckets from freezing overnight even in temperatures in the low teens.

Keep Water Thawed by Partially Burying your Bucket
Using the heat of the earth is another way to naturally raise the temperature of a horse water bucket, reducing or eliminating dependence on electric bucket heaters. Water buckets buried or partially buried in the ground freeze more slowly, making it easier to keep the water thawed and/or the ice layer thin enough that your horses are able to break the ice to drink when needed.
You can partially bury your water bucket during the months when the ground nearby is thawed, or you can mound dirt up around the edges to create less effective, but still helpful, insulation. If you bury your water bucket, remember to make sure a raised lip remains above ground, to prevent dirt from being kicked into the water, and make a plan for cleaning the trough out. (A buried water bucket may need to be pumped out and/or lifted for periodic cleaning)
In a winter emergency, you might even want to heap snow around the outside of your water bucket, packing it well into place, to help provide an extra layer of insulation.
Using Chicken Litter as a DIY Bucket Heater
One of the toughest parts of keeping chickens over the winter and a cold climate is ensuring that the chickens have access to fresh water even when temperatures are low freezing.
Because chicken litter is high nitrogen and, when piled, rapidly warms up as the composting process gets underway, chicken litter is a great renewable resource to use to create your DIY bucket heater – both in chicken coops and in other areas of your hobby farm. As long as the litter and water are separated, decomposing chicken litter can be a safe organic heater for helping keep water thawed in freezing temperatures.
For more tips on winter chicken keeping, including how to use deep litter bedding to boost the temperature – and egg-laying production – of a flock of hens, see our article on winter chicken keeping.