

Before downsizing, I purchased a light box for my art studio. It was handy and worked great for finessing my art, but it was also expensive, bulky and difficult to use due to the electrical cord.
I sold my light box in an estate sale when I moved to Seattle, but as I do more hand-lettering and bullet journal layout designing, I found myself needing a lightbox again. This time, a bulky professional model just wasn’t an option due to my space constraints in my tiny studio apartment- so I made my own!

I’d see some tutorials on Pinterest recommending Christmas lights and Rubbermaid totes- but these options seemed even bulkier than a regular lightbox, still required negotiating a cord, and made no promise of a stable work surface. (the bottom of a plastic tote is designed to interlock, not to function as a tabletop, making my attempts to use one as a light box a total bust) This wasn’t an option that could work for me.
A professor I’ve been impressed with, William Rynone Ph.D., had an interesting take on why tracing is actually a skill that can really help craft creativity, specifically he said about tracing and light box use “An advantage of tracing a photo is that it enables us to select objects to include and omit, a form of pictorial editing” Here is his full quote from the original article in case you’re interested further and his…more complicated approach to a light box.
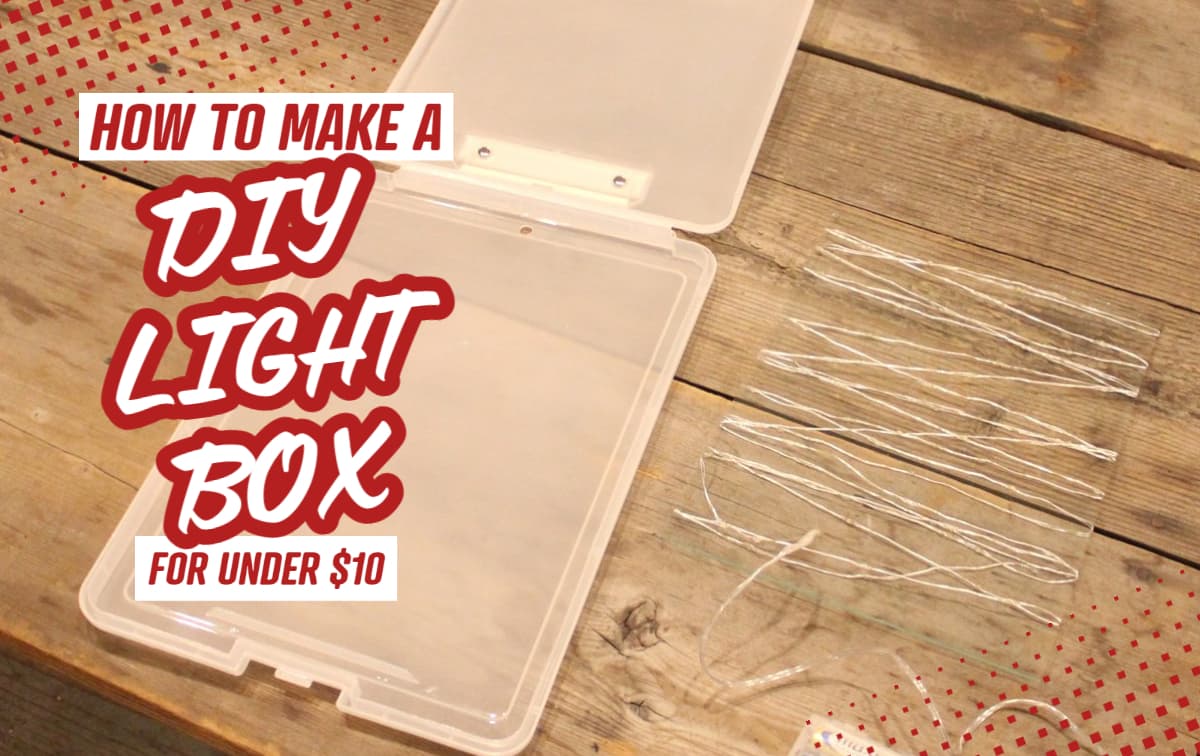
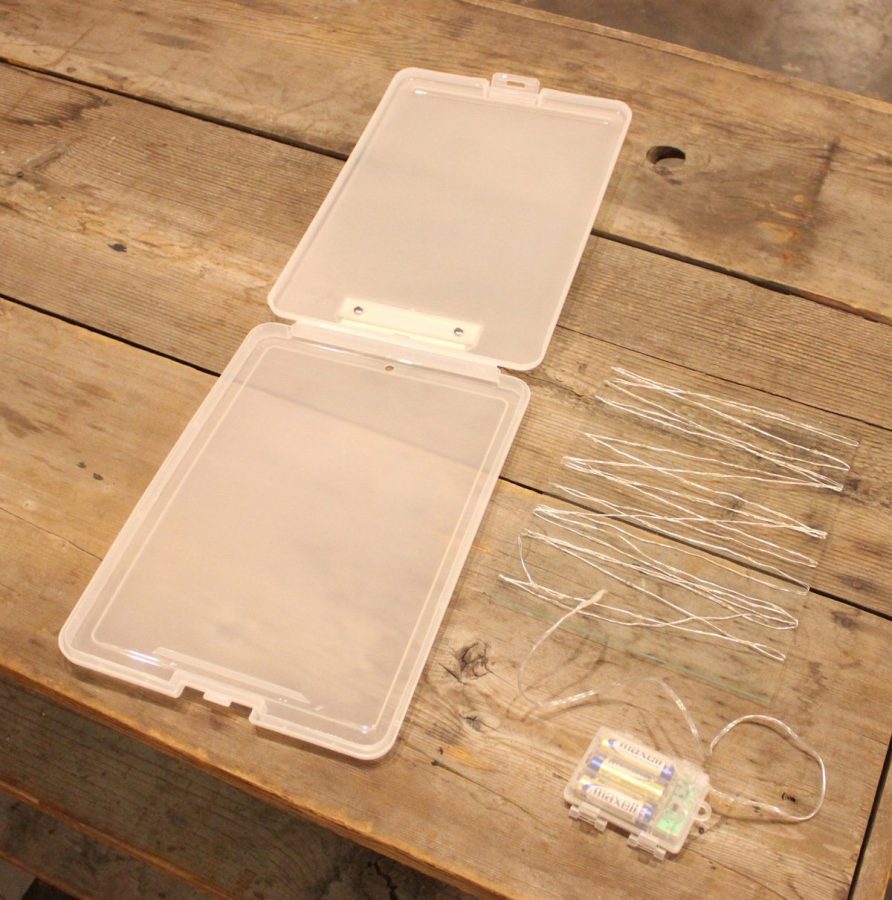
Time to get creative! After some brainstorming I came up with this method which combines a clear frosted plastic project box (like the type used by contractors to hold permits and specs) with cheap, battery-powered, and powerfully bright LED lights.
The following section may contain affiliate links. As an Amazon Associate, we earn from qualifying purchases.
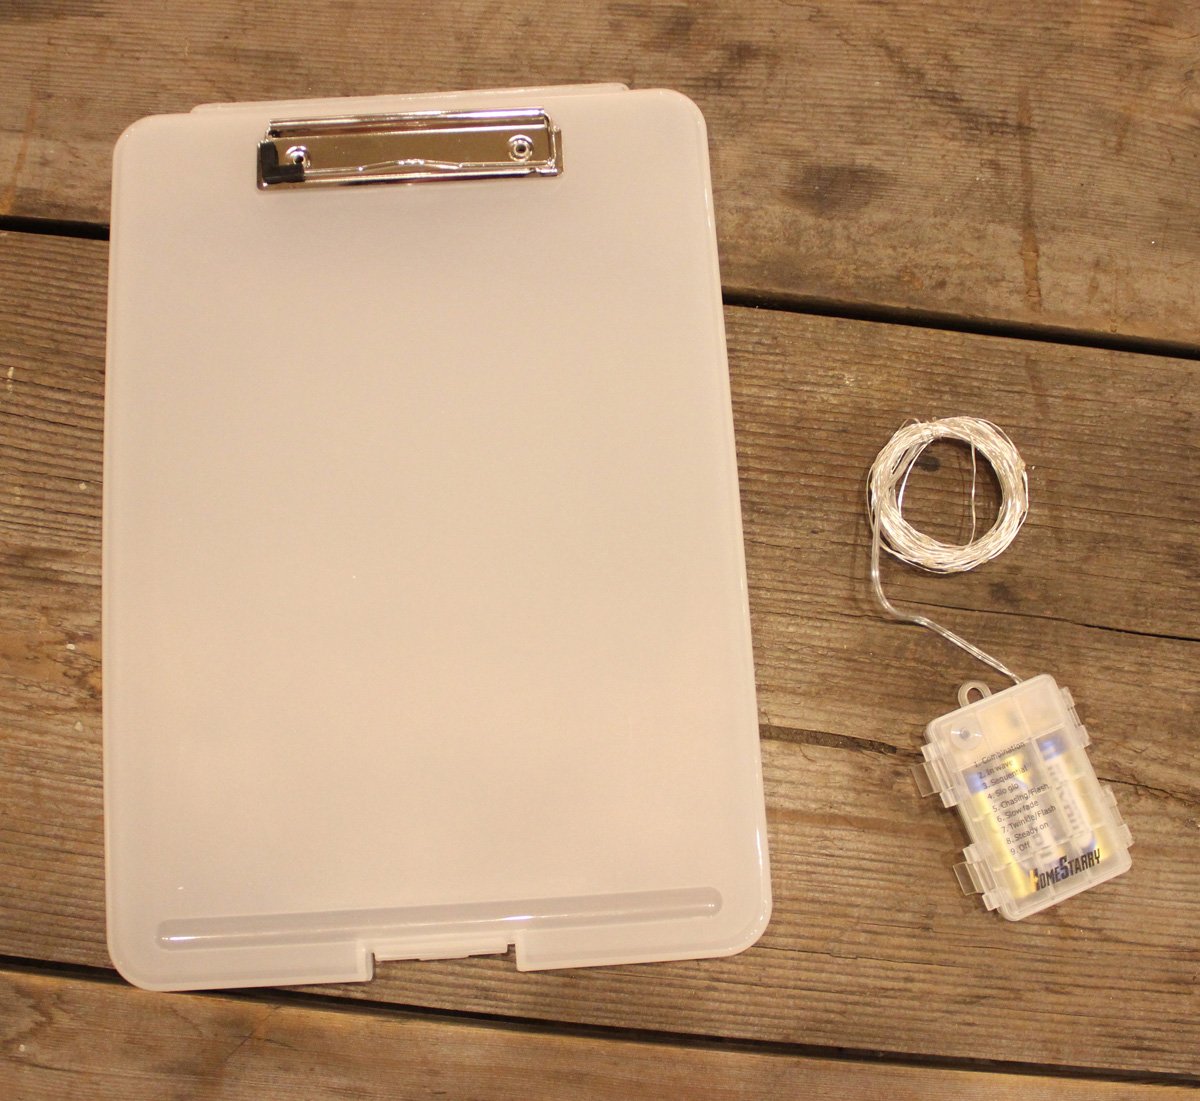
Items needed to Build your Portable Light Box for Tracing:
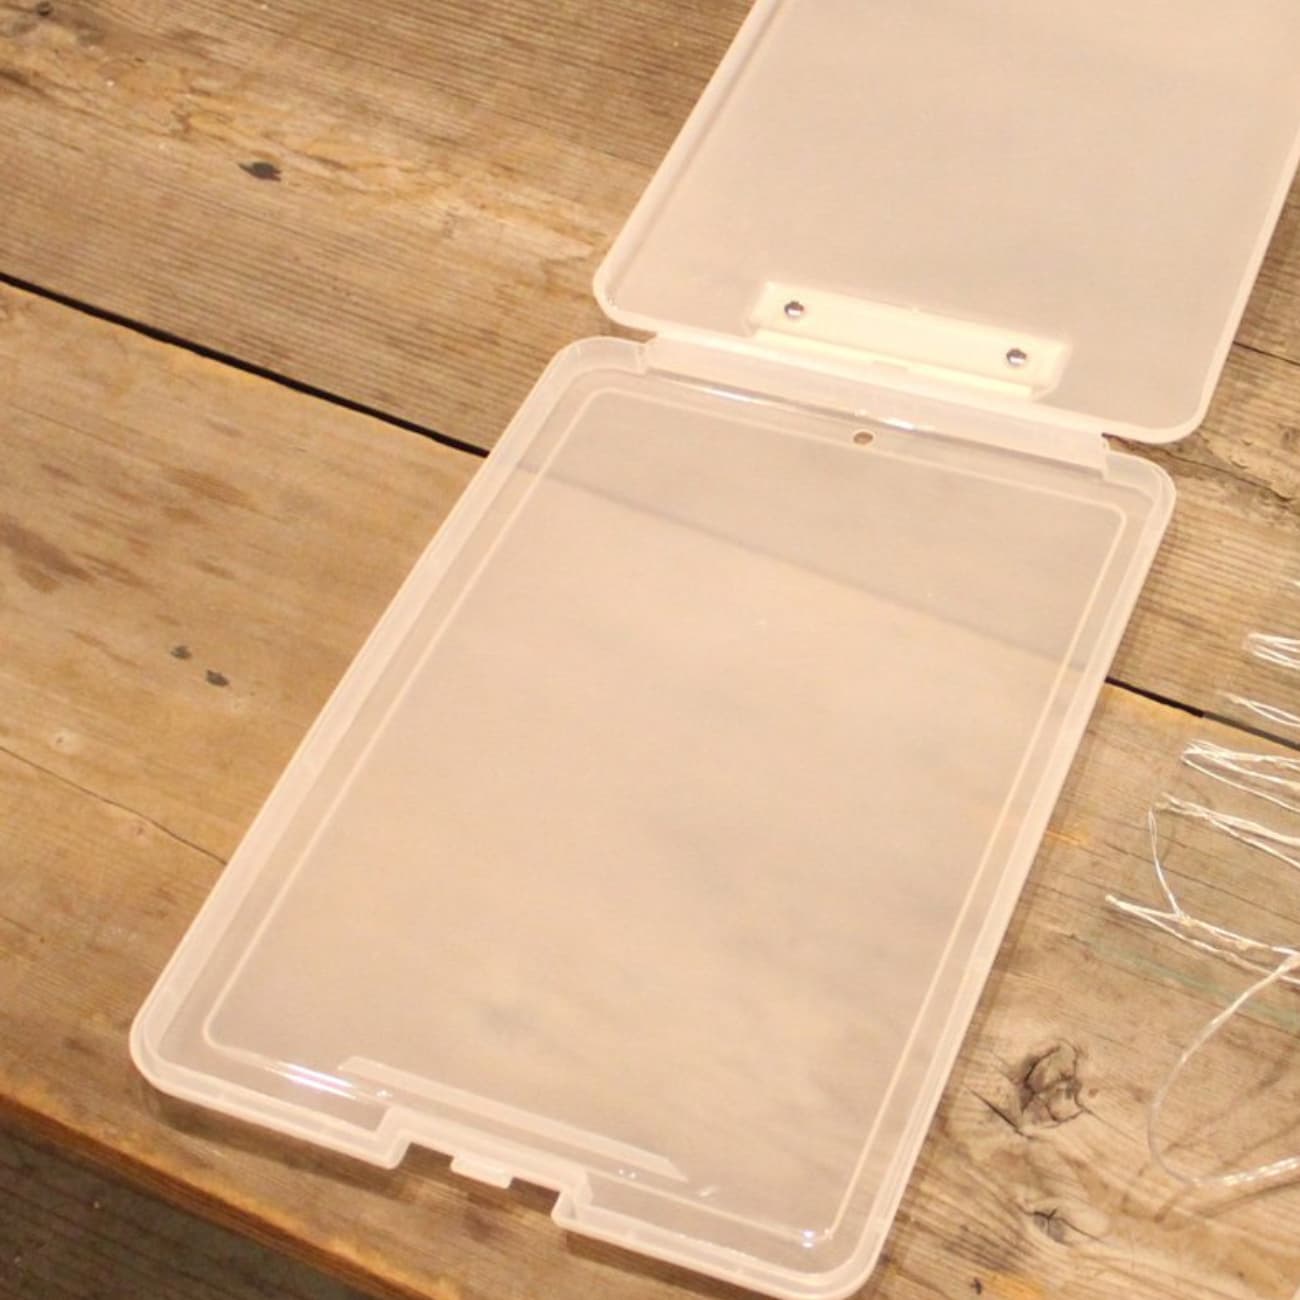
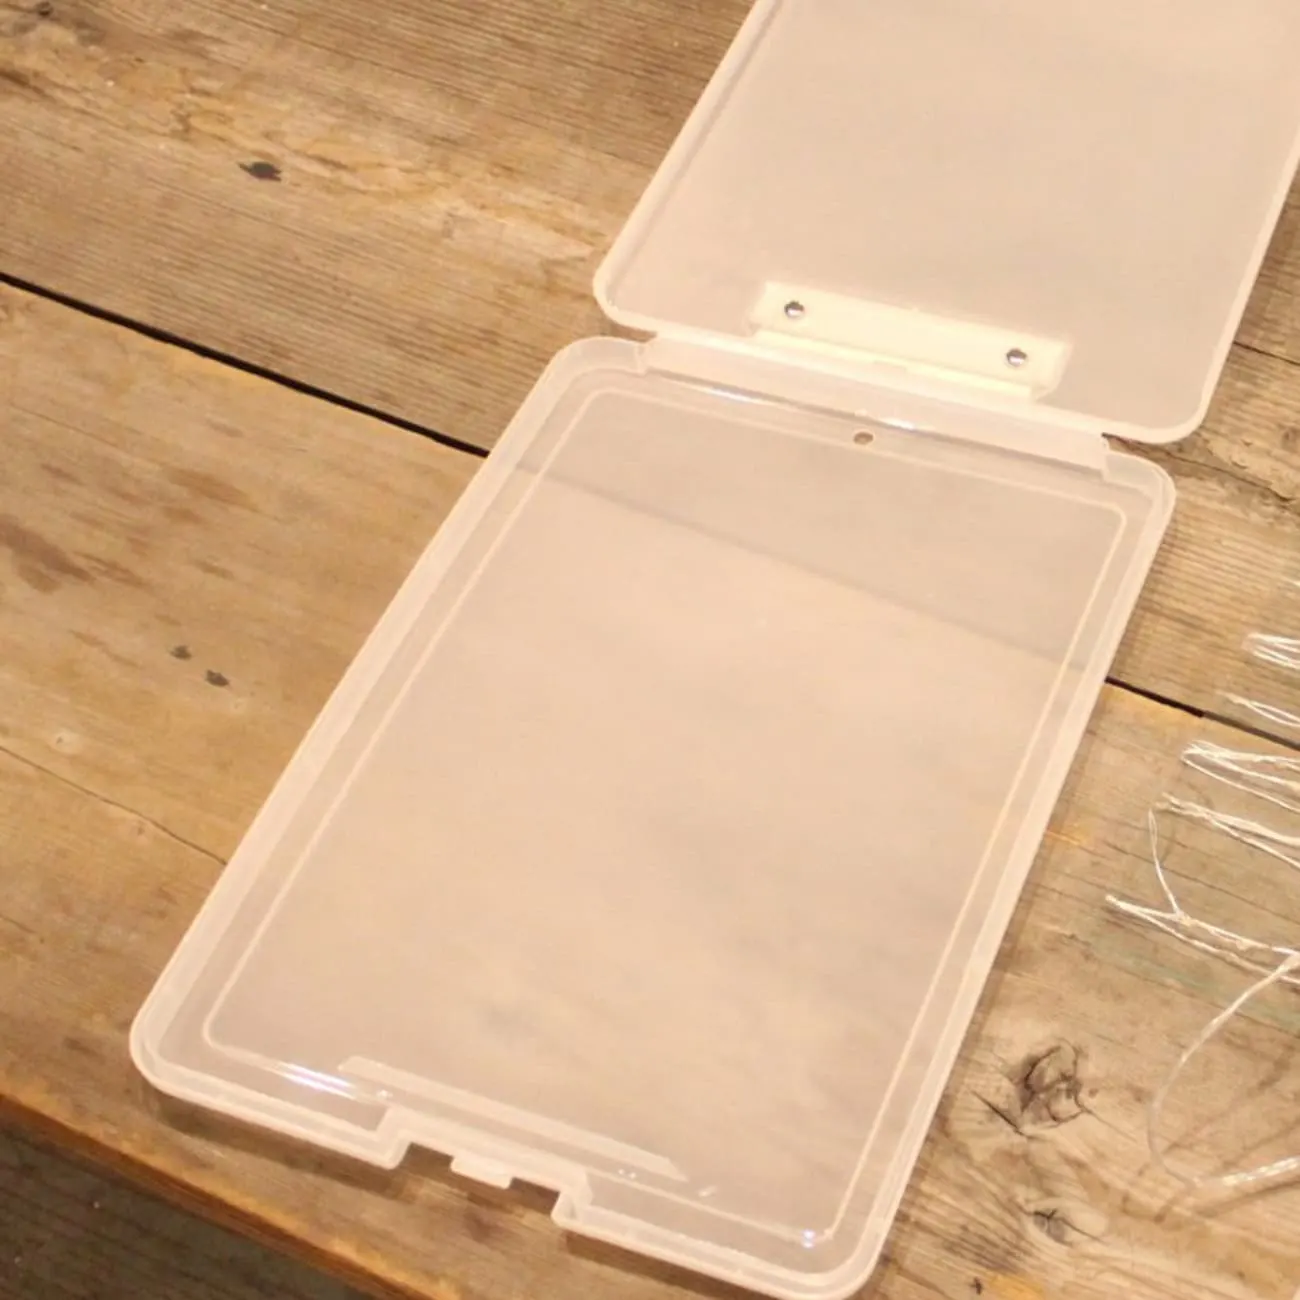
Clipboard Box (Clear-frosted finish required)
Battery Powered Lights
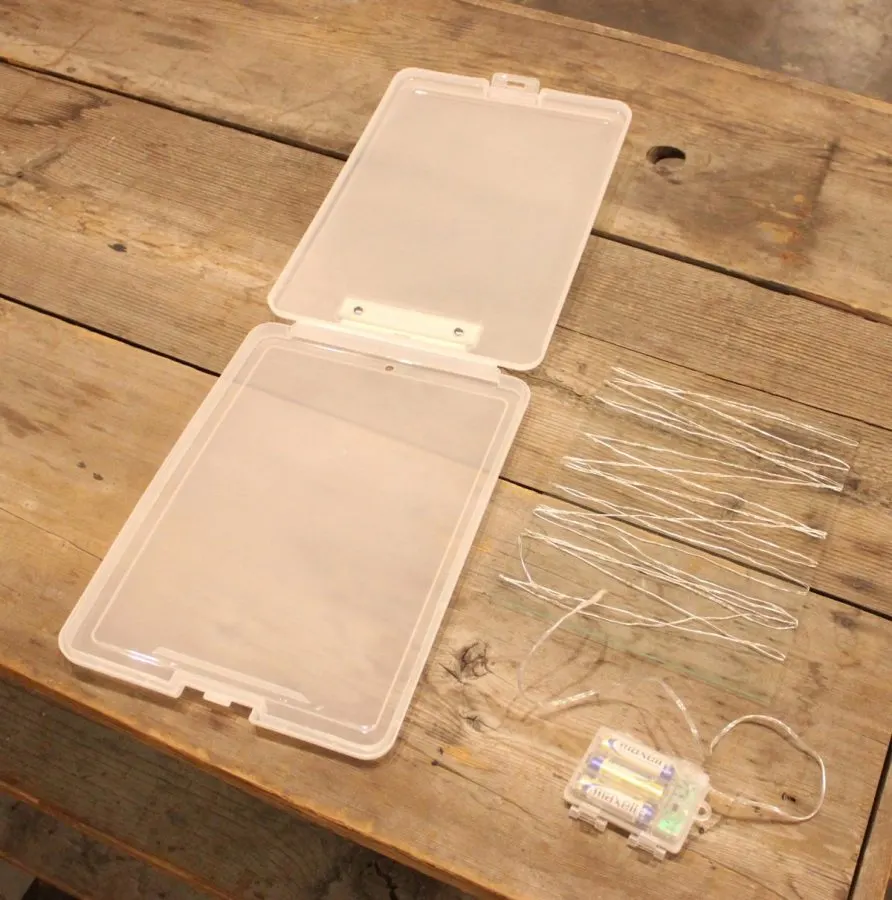
First I ordered a number of different clear project boxes from Amazon. (Free returns for the win, am I right?) I wasn’t exactly sure what I needed but after checking out the boxes I got, I settled on one by Janrax (linked above) without debate. It’s only 2.5cm deep, which keeps the lights from sliding around too much and makes it perfect for storing in small spaces and carrying between home, office, and class.
The clear frosted finish is perfect for diffusing light, the shallow depth makes it easier to write on the edges, and the clipboard clip seals the deal, helping hold multiple layers in place while you trace letters or images.

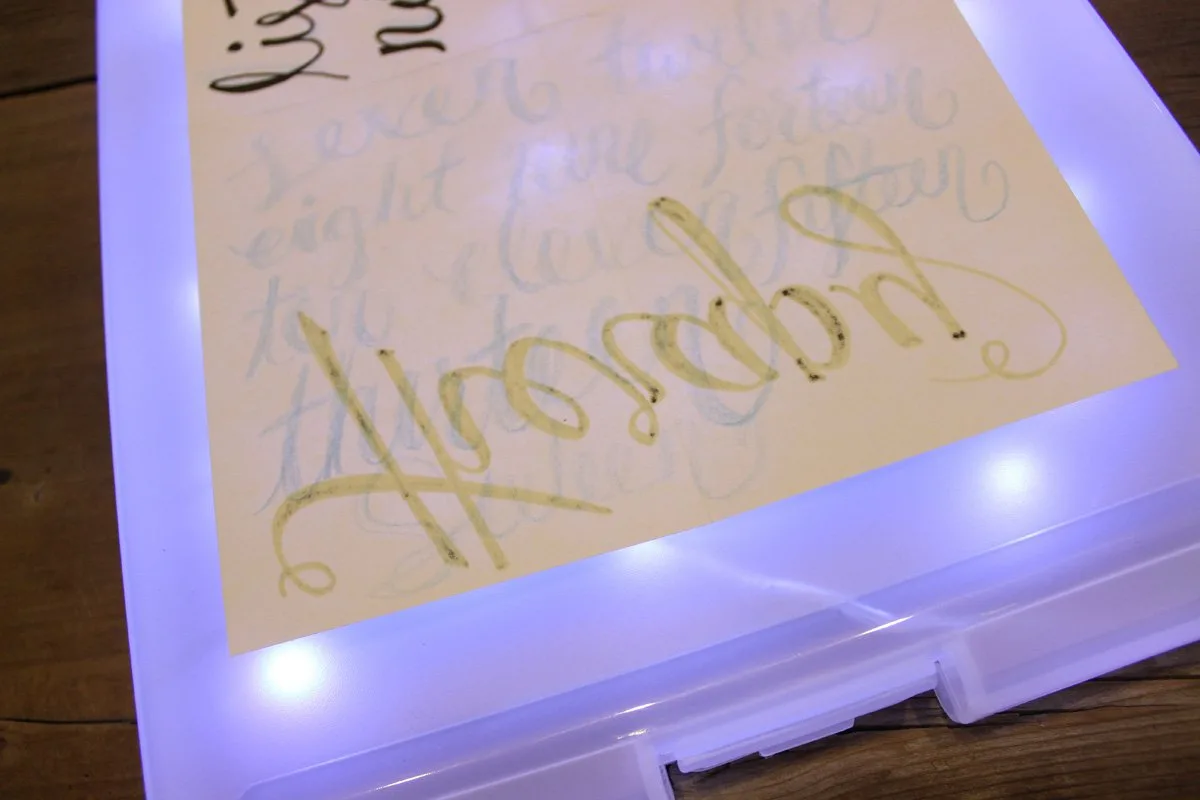
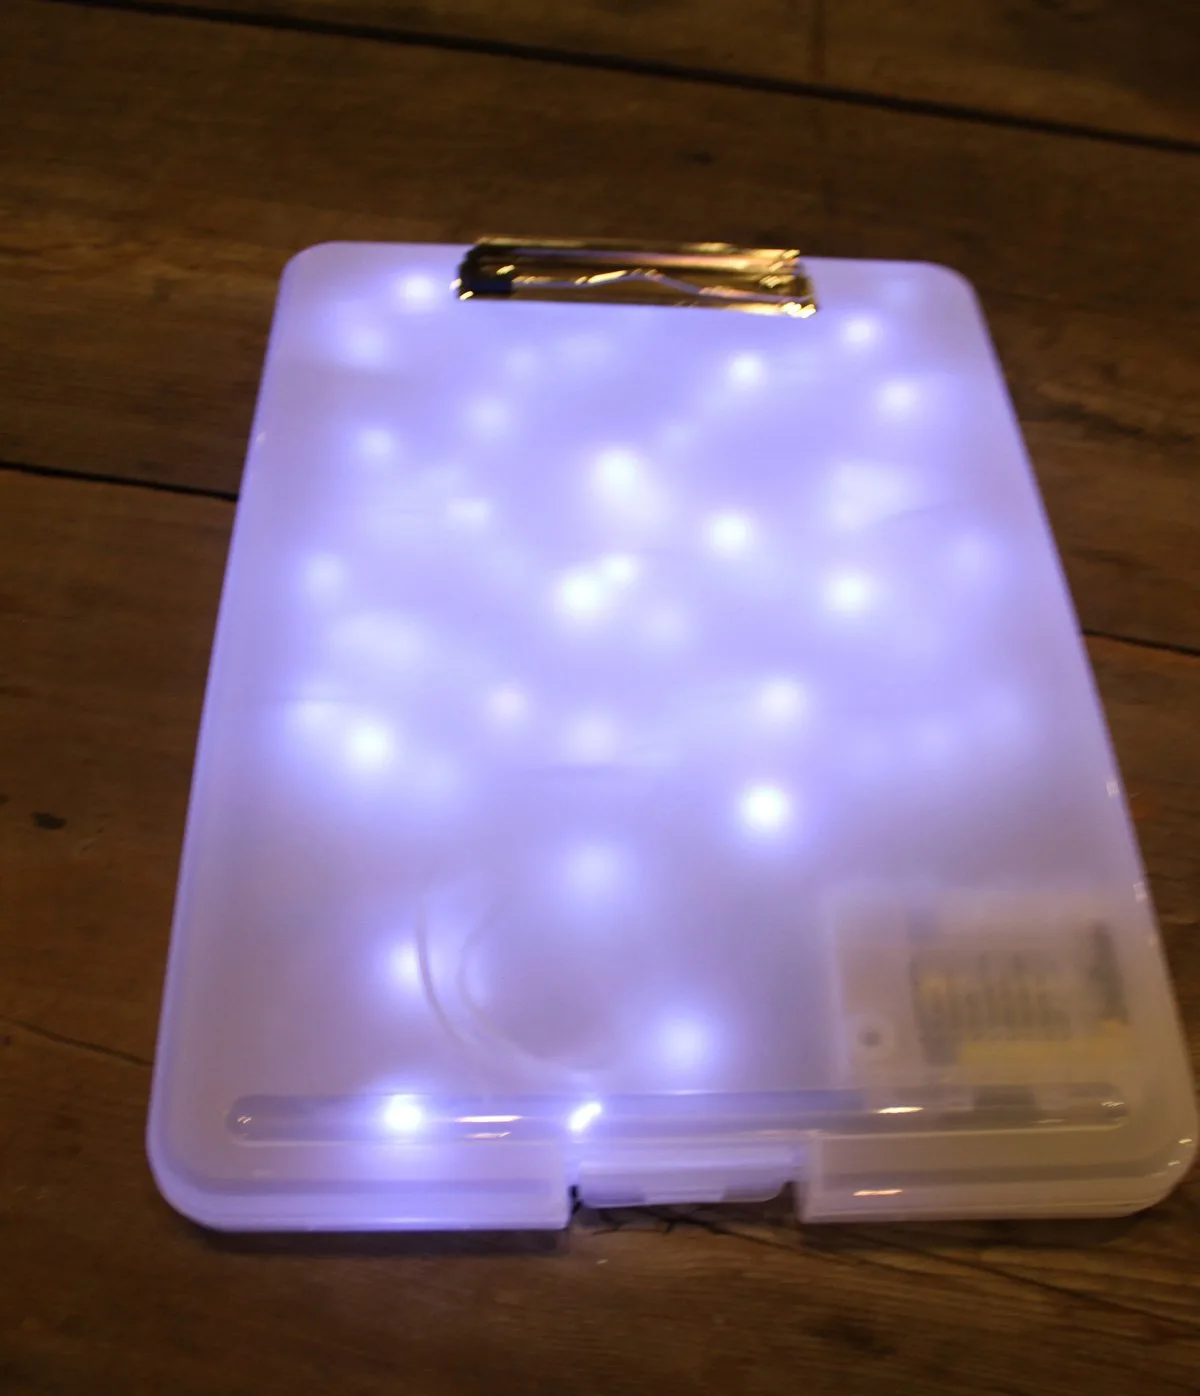
This tutorial is pretty self-explanatory. You can simply stuff the battery-powered lights into the interior of the case, or you can produce more even lighting by using either a clear plastic sheet, a piece of glass, or a metal grid (i.e. hardware cloth) to create a more even distribution of lighting.

I wrapped my lights around a piece of glass from a $1 frame purchased at a thrift store. If you go this route, be very careful handling the sharp glass and wear cut proof gloves until the glass is sealed into the plastic case.
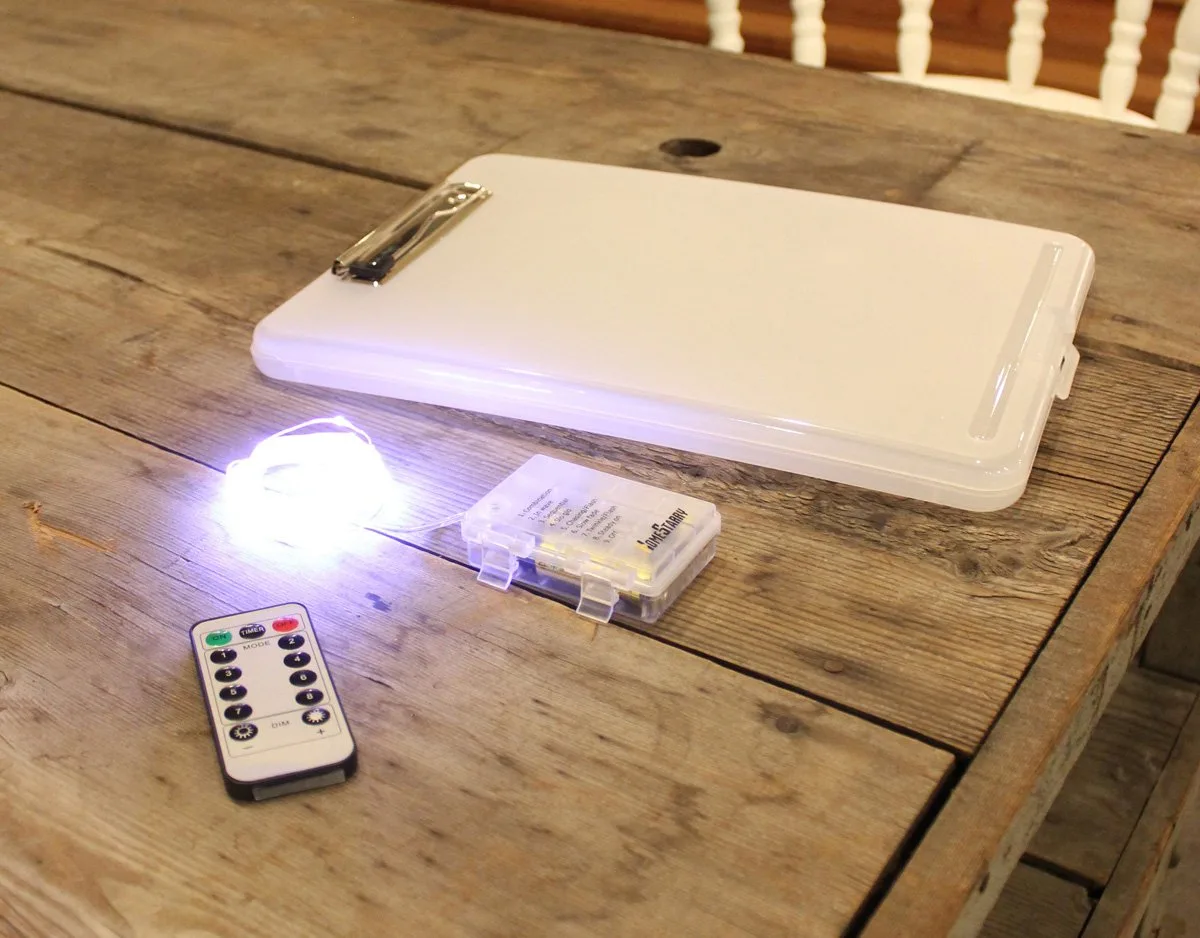
The final effect is a light-emanating box that stores on a bookshelf and costs a fraction of the price of a light box.


BONUS TIP: Dual Use for Photography Light Box
Open this clipboard and lay on its side for an easy light-diffuser. It softens the light it filters so items photographed on the other side have softer lighting with less dramatic highlights and shadows:

Drawing on a Light Box
While light boxes are popular for tracing and re-copying existing designs, some amateur and professional artists like working on a lightbox as they create original artwork. For artists using semi-translucent media types, such as graphite or charcoal, working on top of a backlit lightbox allows the artist to clearly see all shadows and highlights in their art even if they are working in a dimly lit room.
Light Boxes for Art Display
Because the appearance of paper and art media change when it is placed on a light box, some artists create art that is meant to be viewed with the backlight of a light box. While this tutorial’s DIY lightbox isn’t intended for display purposes, the ease of maneuverability of the clipboard box makes it a candidate for display.
How Do Art Lightboxes Work?
Light boxes work by taking advantage of the fact that most paper is not entirely opaque. Standard printer paper, for example, is slightly translucent when exposed to bright light. When a blank page of paper is placed in front of another piece of paper, and both sheets of paper are placed in front of a light source, the design on the second piece of paper (in the back) is visible from the front of the first piece of paper. When the light source is flat and horizontal – such as this homemade lightbox or various professional options, this can be a tool for professional and amateur artists to copy or trace designs.
How to Use an Art Light Box:
Tape Design onto Light Box Surface
Start by placing the design you’d like to copy directly onto the lightbox. If the dimensions are right, you can use the built-in clamp on this lightbox clipboard to hold your design in place. If the art is smaller – such as a magazine cut out or hand lettering alphabet– tape it to the lightbox using a repositionable tape such as washi tape. Securing the design to the lightbox means that your pattern will not shift underneath your tracing and your final drawing will turn out with clearer lines.
Place Blank Sheet of Paper over the Design
Place a blank piece of paper over the top of the design. For creating dynamic lettering art or adapting designs, you may want to have your blank piece of paper loose, so you can turn or change the angle of the page. If you are doing a simple tracing of the design from the underlayer, you’ll want to clamp or tape the blank sheet of paper in place so it does not shift during the process of line copy.
Turn on the Light Box
Turn on the light source in the light box, so light illuminates through both layers of paper, showing the design of the underlying paper clearly on the blank sheet of paper.
Create Art on the Blank Sheet
Draw, trace, create art, or practice handlettering on the blank sheet of paper, using the illuminated design as a guide.
Supply:
- paper
- drawing tools
- washi tape
Tools:
- light box
Thanks for Reading!!!
I hope you can tell that I love DIY, researching the best affordable solutions for every-day problems opportunities and documenting / sharing solutions!🙌 Hawk-Hill.com is reader-supported.
☕ Hawk-Hill.com is reader-supported. If this article saved you time or money, please consider donating $1 to help me cover the cost of hosting this website OR If you appreciate this information and want to throw a “Thanks!” my way by buying me a coffee – I would Of Course appreciate it! :]
Reader Questions and Recommendations
Readers, do you have any favorite topics / posts? What would you like to read more about in the future? As I hope you can tell from this and other articles on my site, I really enjoy DIY / a good challenge, and I’m not afraid to roll up my sleeves to figure out a great, and hopefully simple 😁 solution. So please feel free to let me know in the comments below (or reach out via social media)!
Ok Really – I’ll try to wrap this up now😂
Finally, if you’d like to continue to learn about interesting DIY options as well as how YOU can tackle creative new projects consider checking out the latest and most popular articles listed on the Hawk-Hill Home Page. I’m always trying to enjoy and write about the creative side of life so please don’t be a stranger – check back often!😍
If you enjoyed this post you may also enjoy reading / perusing / devouring😊 one or all of these articles as well!