
Today, I want to show you how to line a drawer with felt. This project can seem intimidating but it’s actually so easy to create a luxuriously lined drawer to upgrade your closet or furniture project!
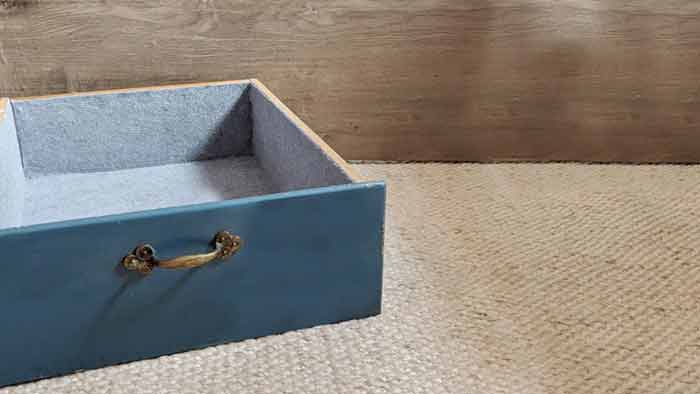
I’ll be demonstrating this method with a medium-sized drawer that I picked up second-hand just for this project.
Before attempting to line this drawer, I tried researching for other tutorials online and the closest I came was a furniture-maker on Reddit who swore lining drawers with felt was a tedious, frustrating project that was nearly impossible to finish well! I’m not sure what methods he used, but I gave it a try and- from my first attempt- it was EASY! I suspect the “trick” to lining a box with felt hinges on two hacks, described below:
The following section may contain affiliate links. As an Amazon Associate, we earn from qualifying purchases.

2 Things you (really) Need to Line a Drawer with Felt:
- GOOD FELT: Cheap felt is harder to work with. It’s more porous (which lets glue seep through) and- because the fibers aren’t tightly felted- it stretches. This stretching creates puckers, creases, and bubbles which can make this project so frustrating. Get yourself some decent felt- at least 25% wool- and this project will go much better. I did this (and all my felt projects!) with National Nonwovens wool blend felts.
- GENTLE GLUE: Don’t get carried away and use a super-strong adhesive thinking you’ll get a better hold- that’s not the priority for this project. Below you’ll find my recipe for homemade cornstarch-based paste. It’s a gentle adhesive that can be repositioned over and over and over until it dries. Plus, if you get glue somewhere it shouldn’t go, it wipes away with a warm, damp cloth.
In the tutorial below, I show some tips and tricks to make it fast, easy, and professional-looking. Print instructions (including glue recipe and resource links) are below, but if you’d prefer the video tutorial you can check it out below (if you don’t see a video, turn off your ad blocker and refresh the page):
What You’ll Need to Line a Drawer with Felt:
- A generously sized chunk of good felt (use a generouly oversized piece to avoid having to pre-measure and cut)
- Glue paste – buy or make your own with my paste recipe and these common pantry items:
- cornstarch
- vinegar
- water
- Sharp Knife (exacto, extendable box cutter, etc)
- Medium sized paint brush (for paste)
- (optional) credit card or keycard for smoothing.
Start: Get Felt and Make Paste
**Don’t use cheap felt for this project! Good, wool-blend felt is much thicker than craft store felt, and has longer, natural fibers in the felt. The thickness prevents glue from seeping through the felt and ruining the felt finish, and the longer fibers mean the felt can be smoothed, lifted, repositioned, and even stretched a little without losing integrity.
FELT: The product I’m using is a 36″x36″ sheet of 30% wool felt in the color “Cloudy Day,”
Homemade Cornstarch Paste Recipe:
Mix in a saucepan:
- 3/4 cup cool water
- 1/4 cup cornstarch
- 1 tsp white vinegar
Whisk until smooth, then turn on the burner to medium and stir constantly with a whisk until the mixture becomes translucent, thick, and glue like.
The paste should have the consistency of whipped peanut butter, if it’s too thick, add water by the tablespoon, and stir in.
Allow the glue to cool until safe to touch, and proceed with the next step.
You can add a few drops of an essential oil or even a tiny bit of perfume to this glue if you’d like to fragrance your drawer.
Homemade paste works great for this project because it’s CHEAP and the perfect consistency for gluing felt. The paste is preferable to glue because it doesn’t soak through the fabric in the way that a liquid or watered-down glue might.
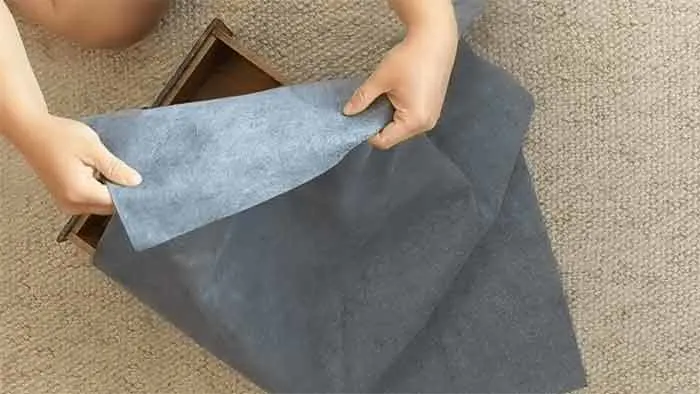
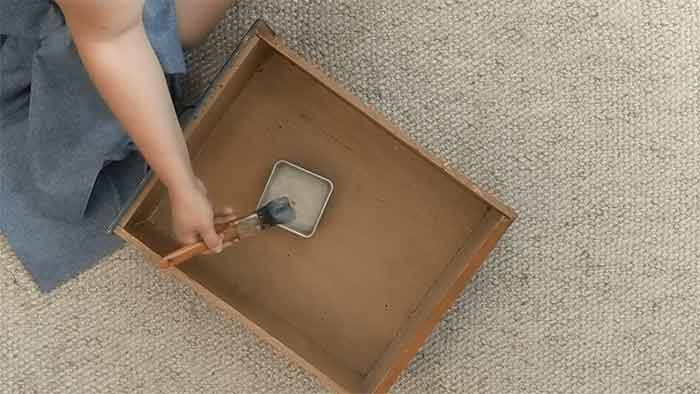
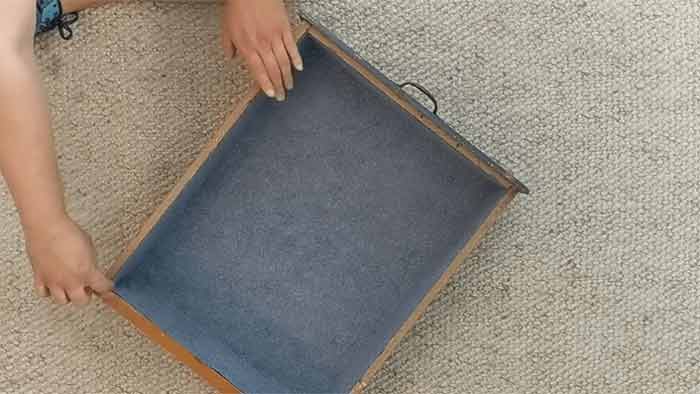
Next, Place Felt in Drawer and Glue the Bottom
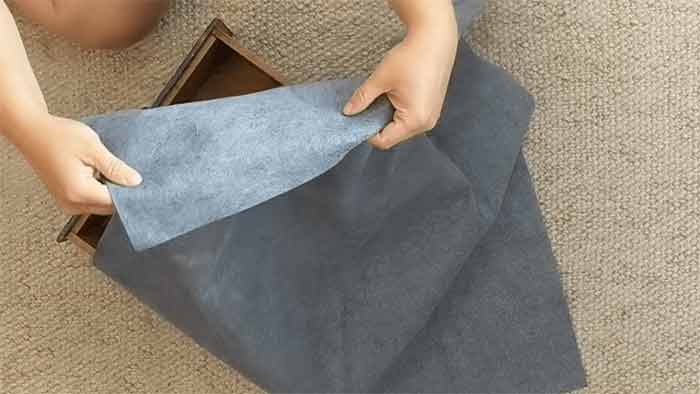
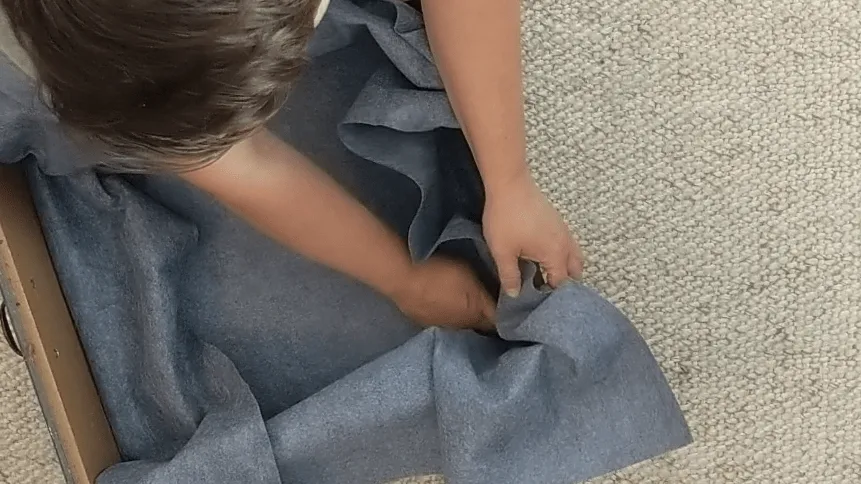
First, you can see, I paint a thin layer of glue on the bottom of the drawer and then I smooth the felt into place.

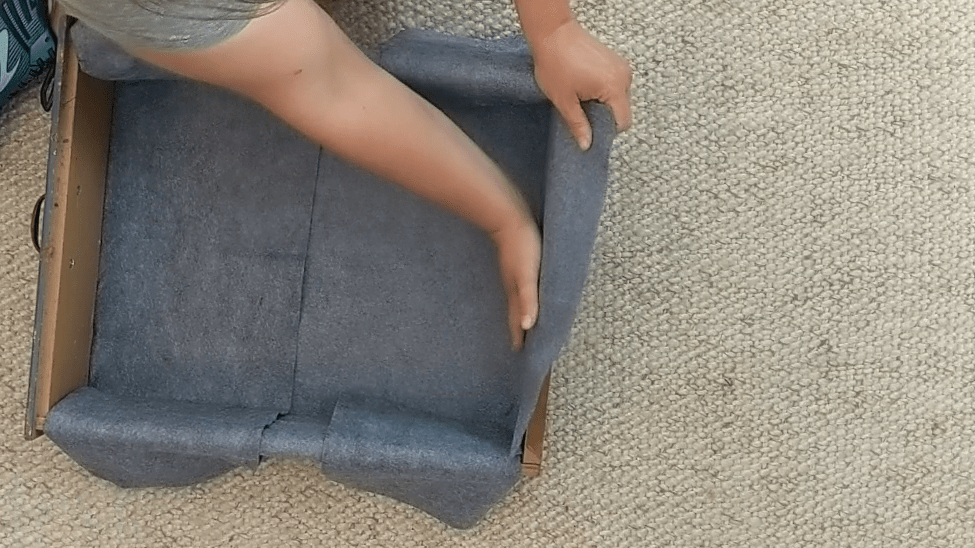
You do NOT have to measure anything if you are using a sufficiently large piece of felt and trust me, it’s worth it to get a big piece of felt and skip that tedious task. You can measure your heart out and cut before you start but I think this method works great: just fit it in the drawer like it’s a piecrust that you’re placing into a pie plate.

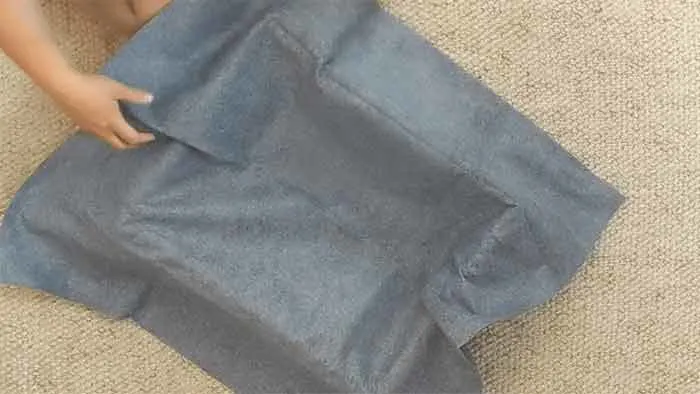
Next, I smooth down the bottom and then fold the two ends inward to make sure that I get a square on the bottom. The corners and the sides need to be even with the actual corners. You can use the plastic card here to push the felt up into the corners but I’m just using my hand and it works fine. Use a fingernail to get a sharp crease into the edges
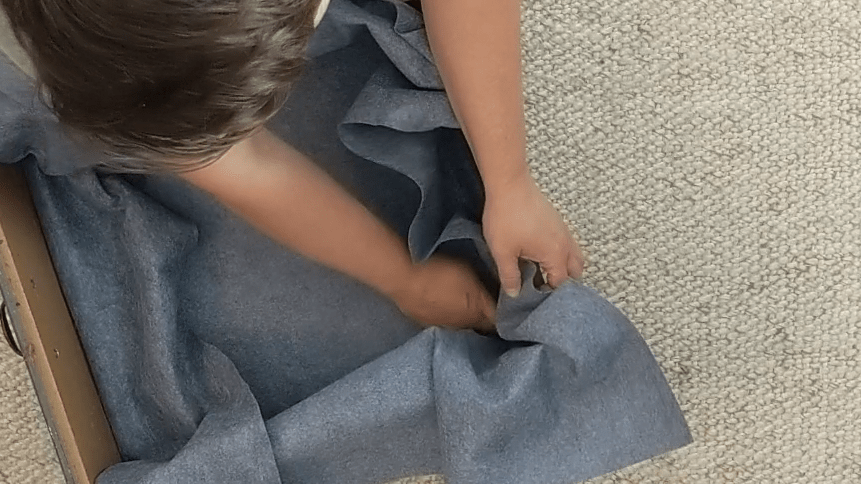
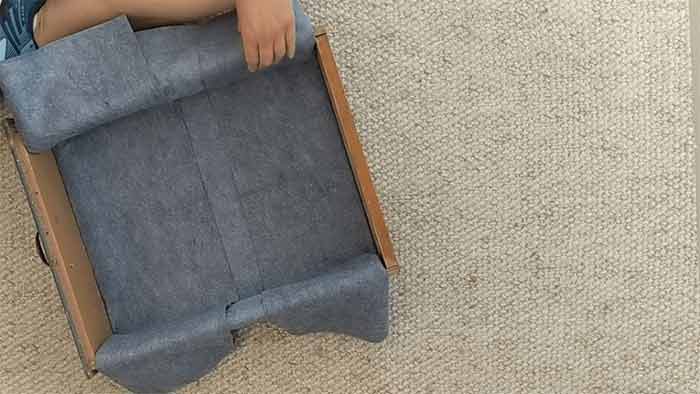

Removing all wrinkles is really important, so the cuts in the next step are placed correctly.
Lining the Sides of the Drawer with Felt
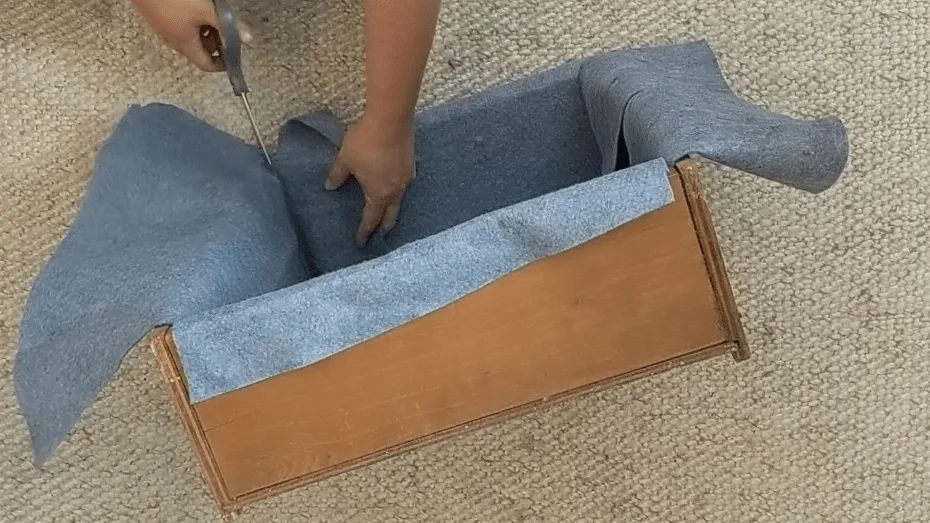
Now use scissors and follow that hard crease that you might’ve made with your credit card and just cut up the edge. Be a bit generous and give yourself maybe just like a millimeter or two extra.
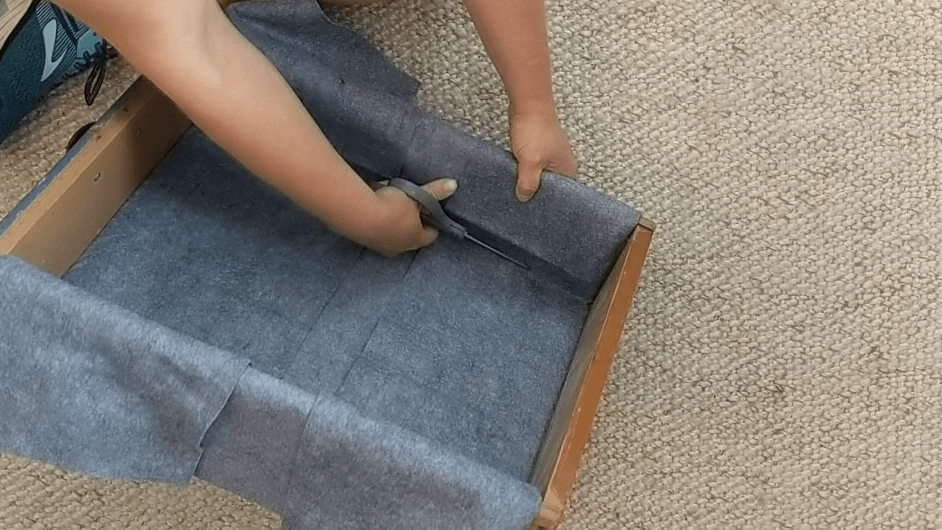

Excess fabric is always easier to deal with than not enough and we don’t want the edge to be ragged. The nice thing about this particular felt it’s made with wool felt and rayon fibers that stretch a bit without weakening or becoming misshapen. So you can pull it into place a little bit.
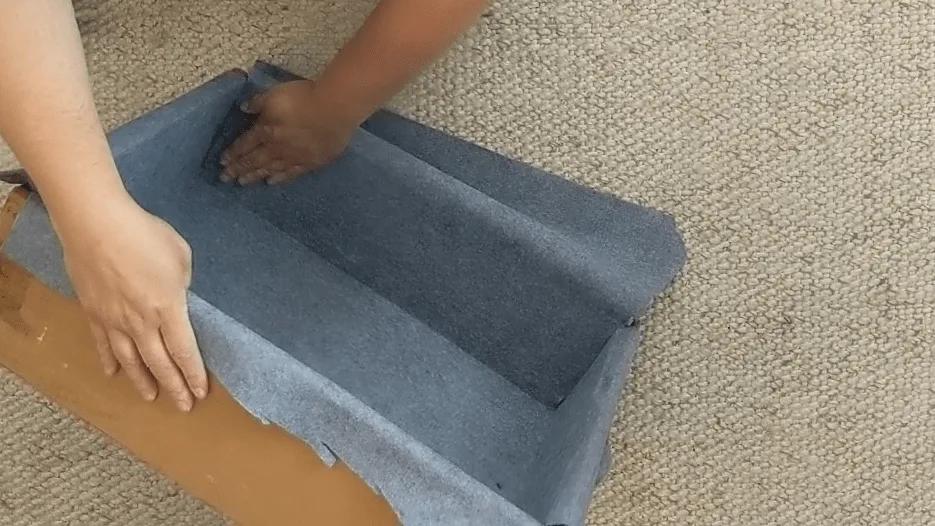
Next, I’m putting my paste on the sidewall of the drawer. Don’t apply the glue thickly, but enough that the surface is wet. The thick wool and the viscous paste should keep the glue on the back side of the fabric.
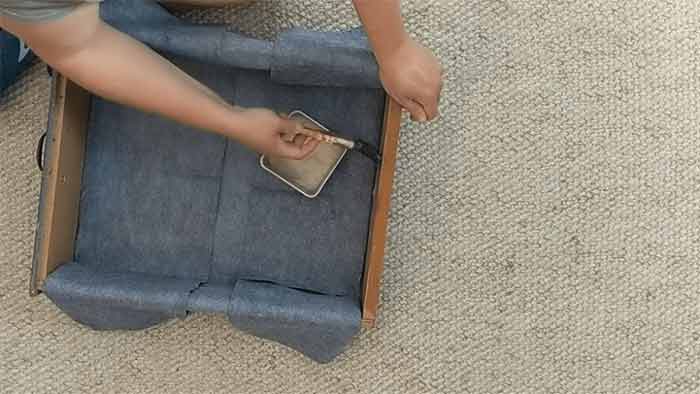


This paste is PERFECT because unlike spray adhesive, hot glue, or even many types of fabric glue, you can slide, lift, or replace the felt as many times as you need without issue. This glue is technically not the most durable, but for holding felt in a drawer it is more than strong enough once dry- the way the paste seeps into the wood and into the felt makes the adhesive remarkable strong once dry.
Work your way around the sides, smoothing the felt, cutting off excess fabric (so the corner is easier to see), and carefully cutting the corners as shown.


Trimming the Edges of the Felt Lined Drawer
Now that I’ve done all four sides and all four corners and I’m ready to move on to the next step: cleaning up the excess felt and trimming clan edges.
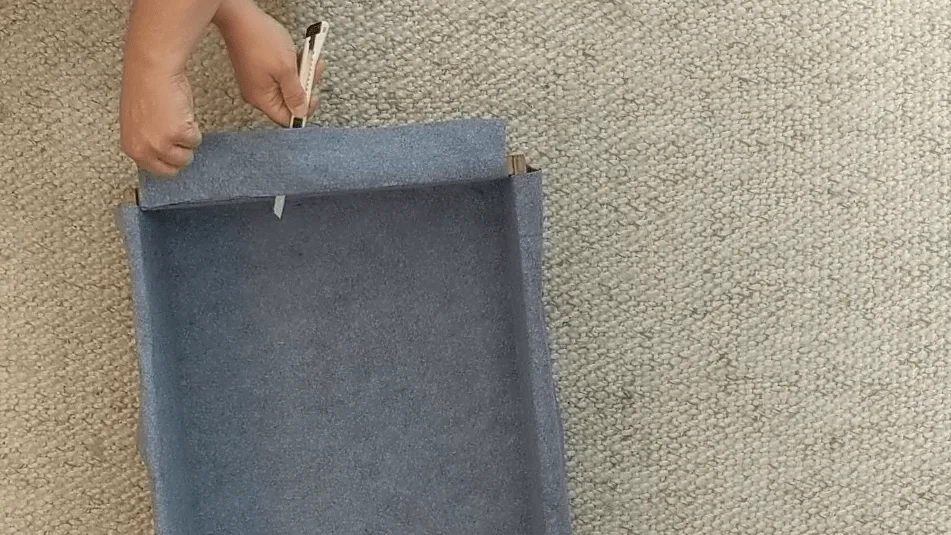
Felt is the perfect liner because the raw edge will not fray. So just grab a sharp knife and carefully hold tension in the fabric and use the edge of the drawer to guide your knife through the felt cutting off the excess. It’s a quick finish and leaves a nice edge. If holding tension in the fabric lifted the felt away from the side of the drawer, just smooth it back down and let the paste hold it in place.

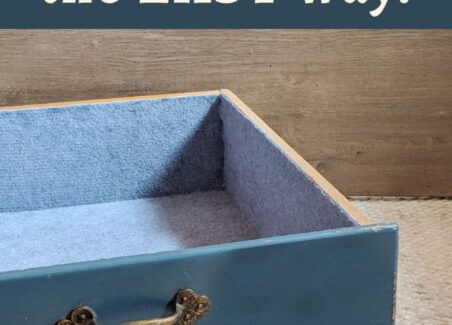
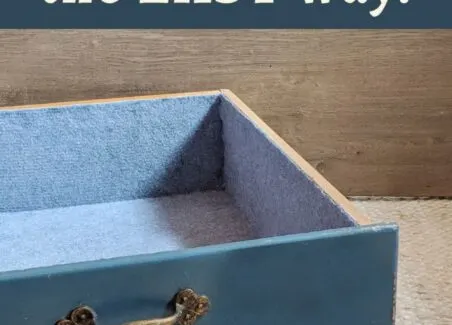
Finished Felt Lined Drawer
The final result is a satisfying, perfectly soft liner for my drawer. Including camera work, my first drawer took a little less than 15 minutes, so you should be able to do a standard drawer chest in under an hour.
Why line drawers? Felt lined drawers are a great way to add value to furniture upcycles/refinishing or homemade furniture. The felt protects the contents of the drawer from snags or splinters, and the soft surface keeps contents from shifting as drawers are opened and closed. For hobby furniture makers and repairers, felt lining is also a great way to cover blemishes or compensate for a damaged bottom or sides. Felt lining, traditionally green, has been added to high-end furniture for centuries and has a luxurious and old-fashioned appeal. Using modern colors is a great way to modernize the look while maintaining the luxury feel.

Thanks for Reading!!!
I hope you can tell that I love DIY, researching the best affordable solutions for every-day problems opportunities and documenting / sharing solutions!🙌 Hawk-Hill.com is reader-supported.
☕ Hawk-Hill.com is reader-supported. If this article saved you time or money, please consider donating $1 to help me cover the cost of hosting this website OR If you appreciate this information and want to throw a “Thanks!” my way by buying me a coffee – I would Of Course appreciate it! :]
Reader Questions and Recommendations
Readers, do you have any favorite topics / posts? What would you like to read more about in the future? As I hope you can tell from this and other articles on my site, I really enjoy DIY / a good challenge, and I’m not afraid to roll up my sleeves to figure out a great, and hopefully simple 😁 solution. So please feel free to let me know in the comments below (or reach out via social media)!
Ok Really – I’ll try to wrap this up now😂
Finally, if you’d like to continue to learn about interesting DIY options as well as how YOU can tackle creative new projects consider checking out the latest and most popular articles listed on the Hawk-Hill Home Page. I’m always trying to enjoy and write about the creative side of life so please don’t be a stranger – check back often!😍
If you enjoyed this post you may also enjoy reading / perusing / devouring😊 one or all of these articles as well!
Bryon Satterfield
Thursday 24th of March 2022
The tips and technique in your article are excellent! Also your glue recipe. Thank you!
Maggie Yamamoto
Tuesday 15th of January 2019
Hi, I finally found the paste recipe that was on YouTube but, alas, this one too is lacking in technical clarity. Whaddya you do with the flour? It's an ingredient but not in life in the instructions. Come on, now, please. Where do I use the flour?
Lindsayanne
Tuesday 15th of January 2019
Thanks for your question! So I think the flour listed as an ingredient was a hold-over from a first draft of this post when I tried a different paste recipe. The paste works fine without flour- although my guess is that adding a few tablespoons when you add the cornstarch to water might stabilize the glue a bit due to the gluten in the flour.