
Patching chipped enamel on a cast iron sink or bathtub is an easy DIY that anyone can do! When I was faced with a badly rusted cast iron sink in my grad-school-budget apartment in Seattle, I decided to experiment with a theory that metal filler and epoxy-based enamel paint would work as a DIY fix. Turns out, I was right!
In this article, you’ll find my simple guide to how to fix a chipped, rusted, or scratched enamel cast iron sink or tub- all for less than $25 in materials!
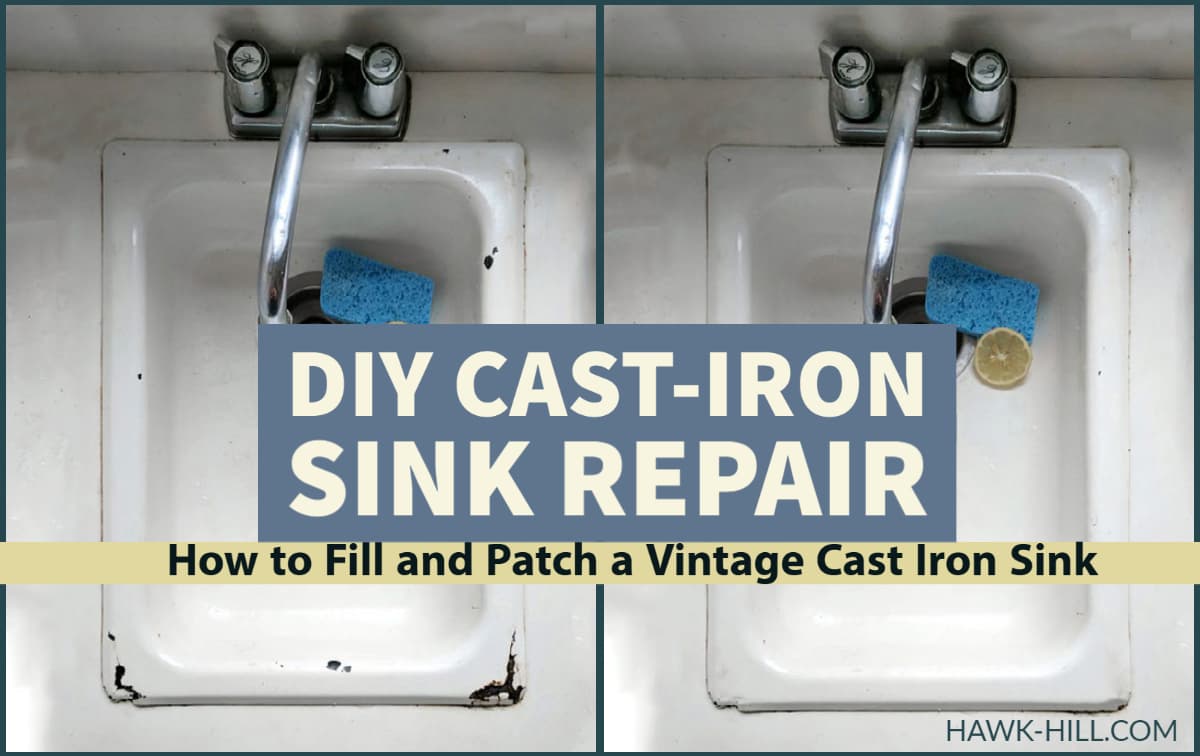
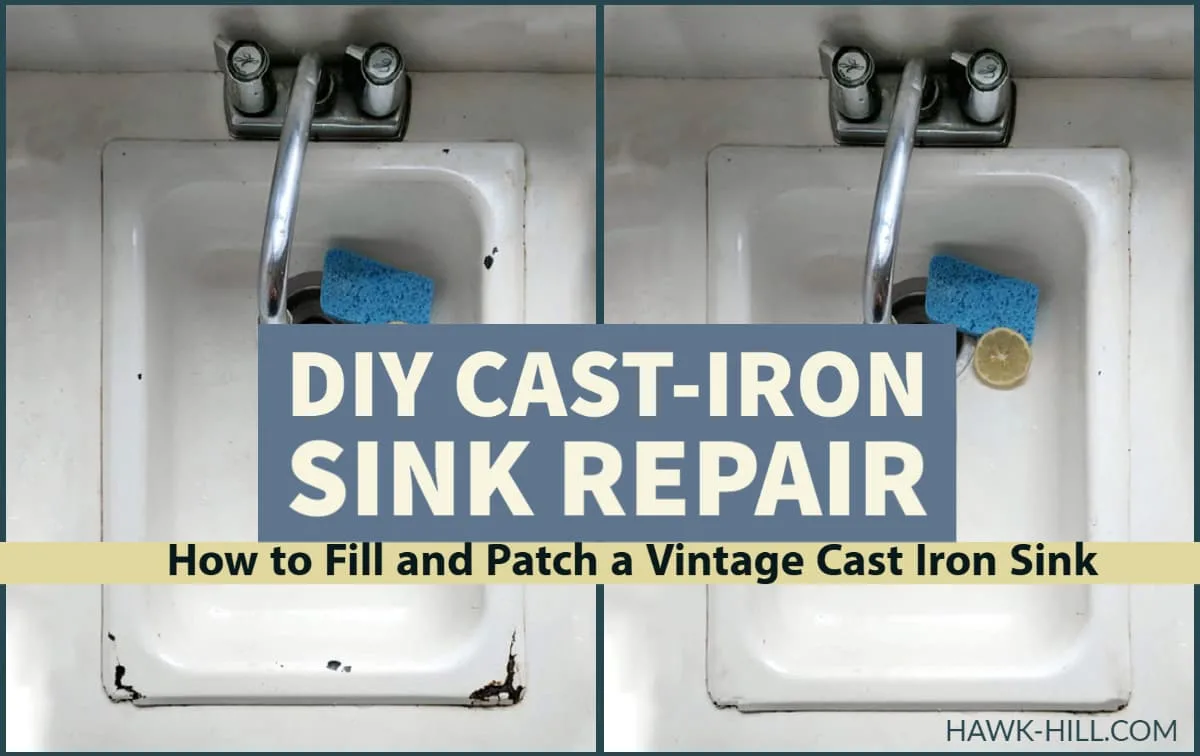
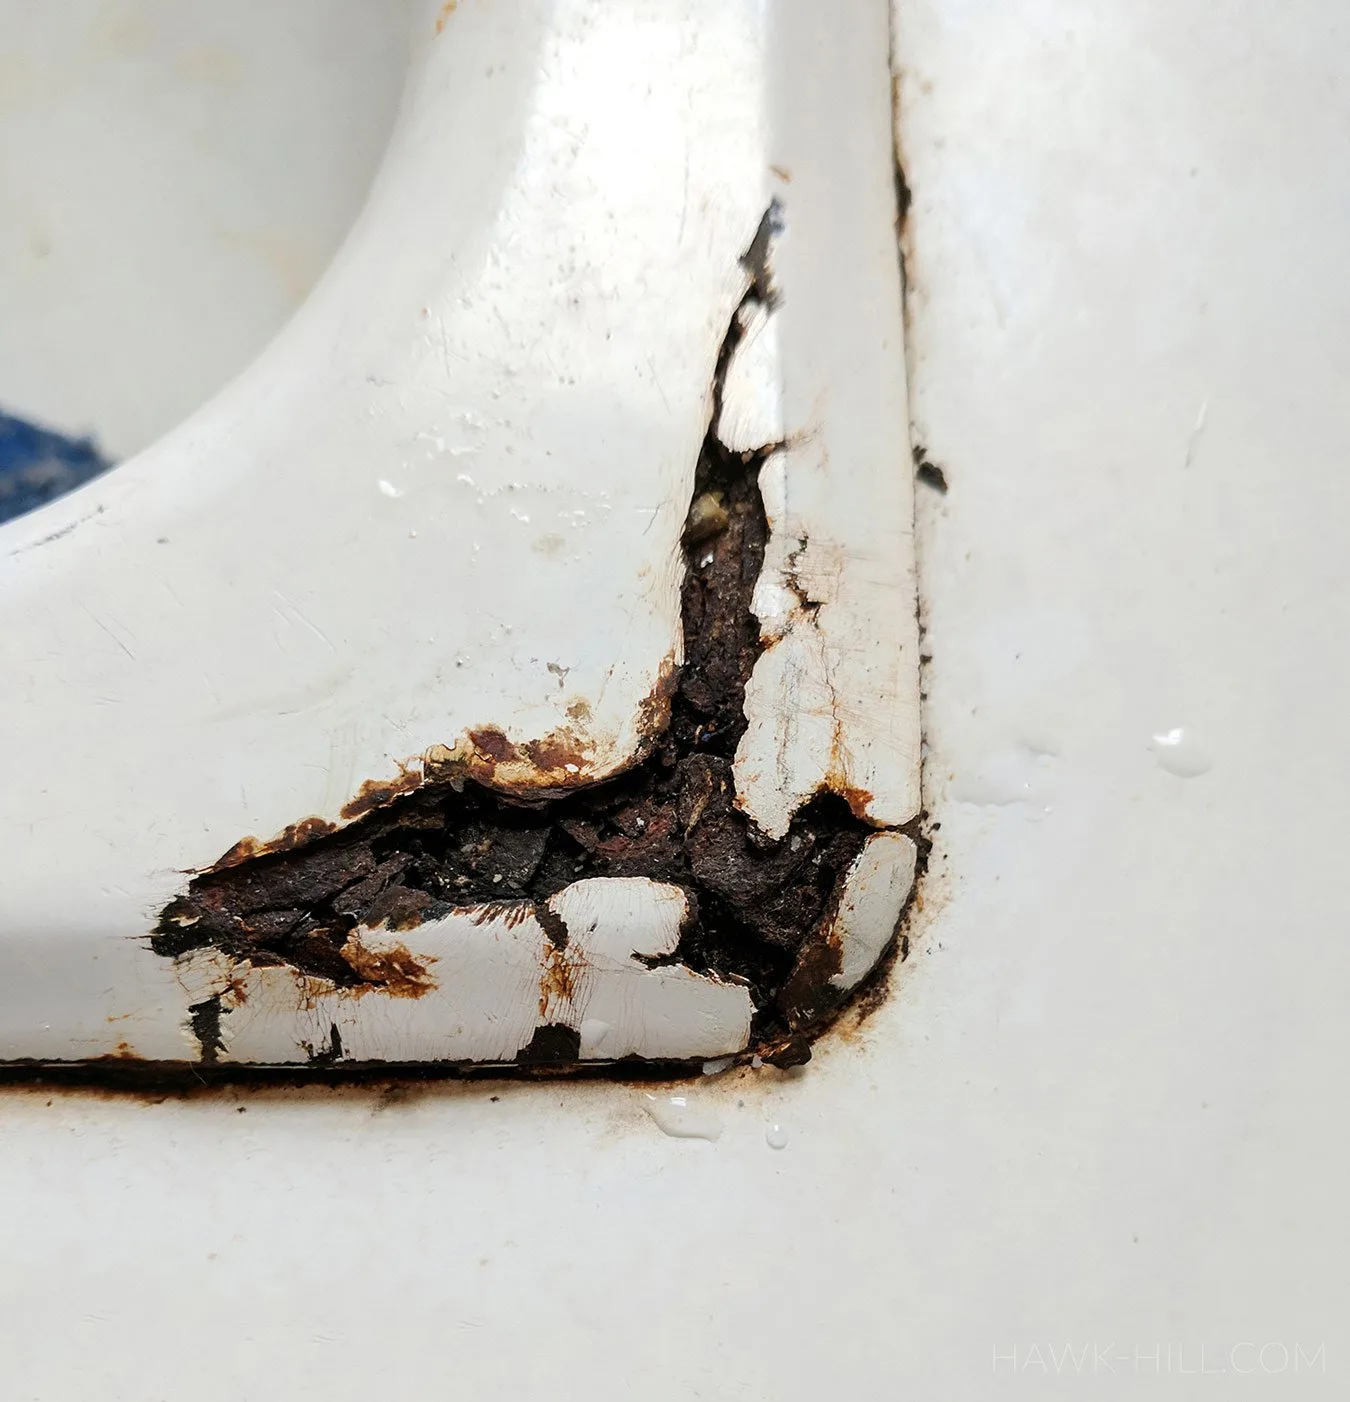
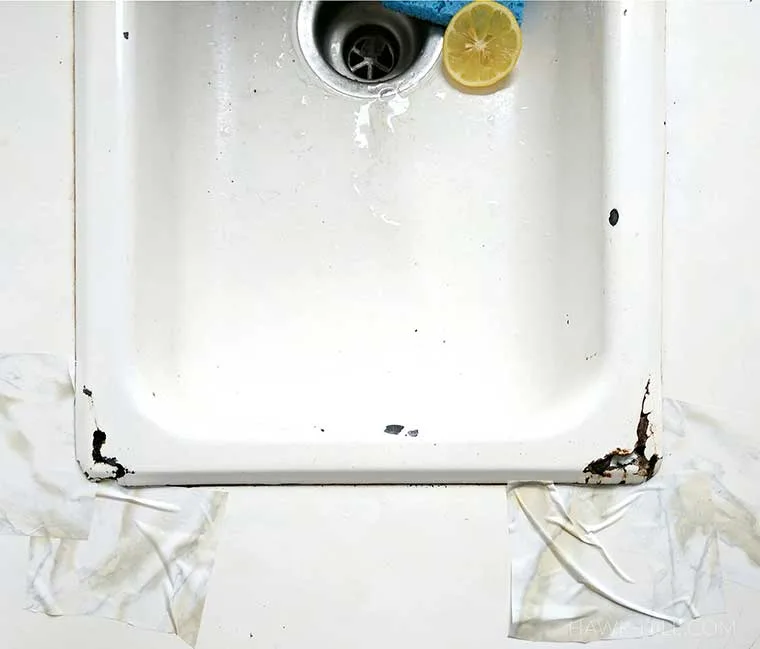
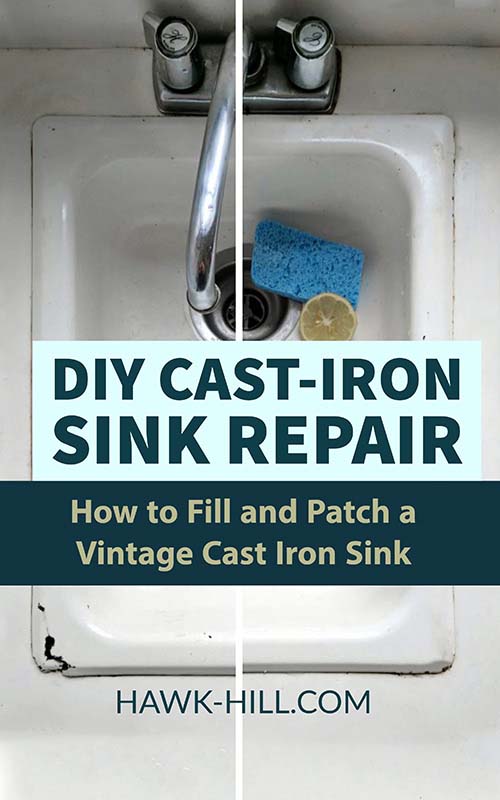
My Chipped Sink
When I moved into my 280 square foot apartment in downtown Seattle, my sink had a few rusty spots. Unfortunately, the tiny kitchen was so small that it required boat-galley-kitchen equipment, and the company that produced the sinks for my building had long since gone out of business: so no replacement. Most of the kitchens in my building had been “upgraded” to miniature versions of industrial kitchen equipment. They had stand-alone stainless steel sinks and the typical cheap-apartment fixtures. While my apartment manager was willing to do the same “ugrade” (ugly + upgrade) on my apartment, I was afraid I’d lose the lovely vintage feel in my unit that made my space feel so much like home.
The following section may contain affiliate links. As an Amazon Associate, we earn from qualifying purchases.

I decided to try taking a stab at repairing the old cast-iron sink in my apartment kitchen. The farmhouse at Hawk Hill House had a vintage sink in the basement that had been badly damaged. I always wanted to repair it and bring it up to install in the mudroom but I never took on the project – always scared I’d make the damaged sink look worse than it did already. Commercial estimates to repair the damage to that farmhouse sink ranged upwards of $400, so that lovely old sink remained in the basement until I sold the property in 2016.
This time, as my sink began to degrade further, I decided it was now or never. I could either try repairing the rusty spot on my cast iron sink, or I could give up and let the apartment management drop an ugly modern sink into my vintage apartment.
To repair my sink I just needed a few items
- metal filler
- epoxy sink paint
- citric acid
- fine-grain sandpaper
- and an easy-to-remove-tape to keep the epoxy paint off the counter (I actually used contact paper to protect my counter)
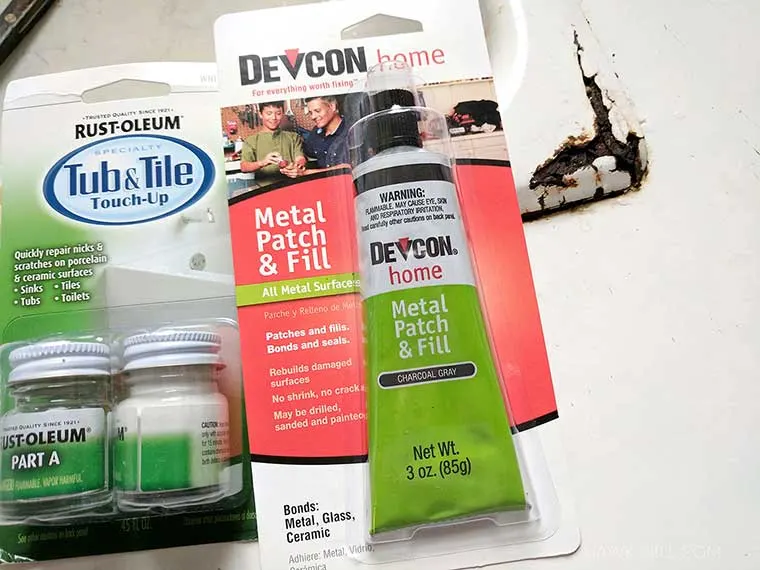
Two essential supplies that made this a quick DIY:

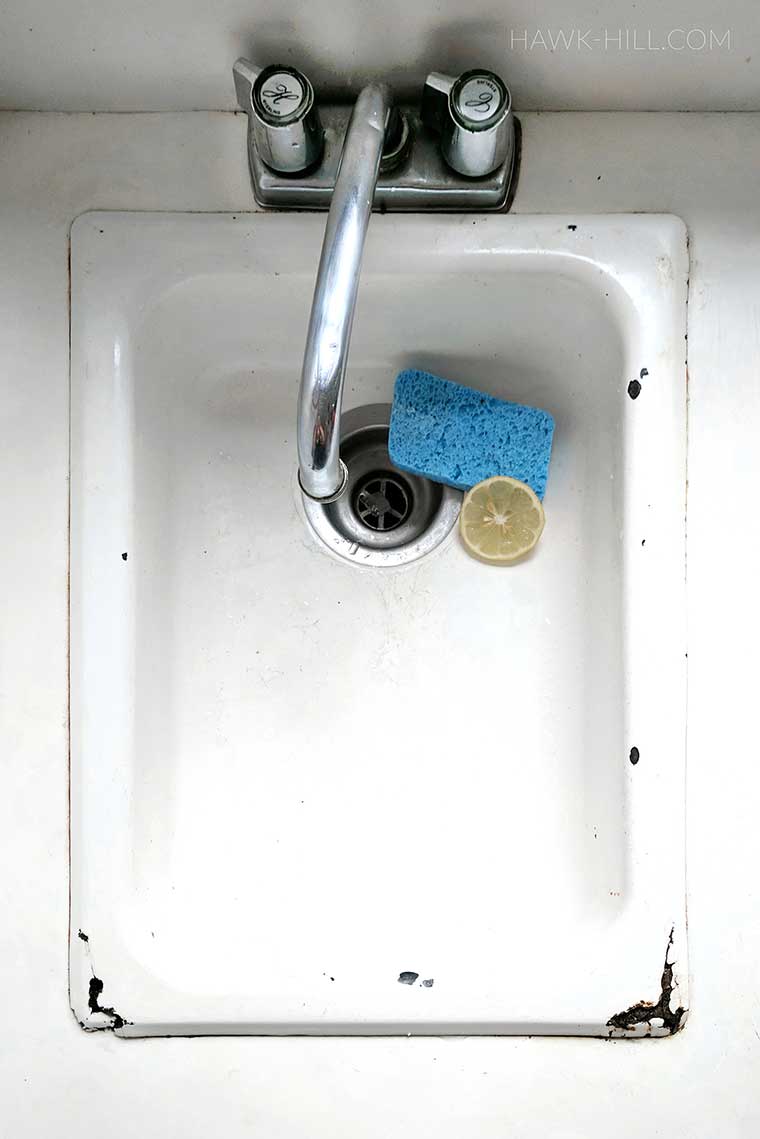
Step 1: Remove Rust from Sink:
The first step was to clean the sink and scrub the rusty parts. I used a toothbrush to clean around and in the rusty portions, removing any and all loose debris.
Food grade citric acid can be helpful to eat away rusted portions without scrubbing, just mix powdered citric acid with a bit of hot water, dissolve, and saturate the rusty area. Ideally, you can remove all rust for the “perfect fix,” but if you are just looking to get a few more years out of a cast iron sink with a death wish, you can do your best, leave some rust, and expect to need to repeat this process or replace eventually.
Step 2: Allow to Dry and Protect Surrounding Surfaces
Once your rusty spot has been de-rusted as much as possible, allow the area to dry thoroughly from any water used during cleaning and lay down a layer to protect your countertop.
In these photos, you can see that I use some scraps of marble finish contact paper as an easy way to protect large surfaces from any stray epoxy or paint. Similar to taping the trim in a room before painting, protecting the surrounding surfaces both made the job easier and guaranteed a better-looking finish.

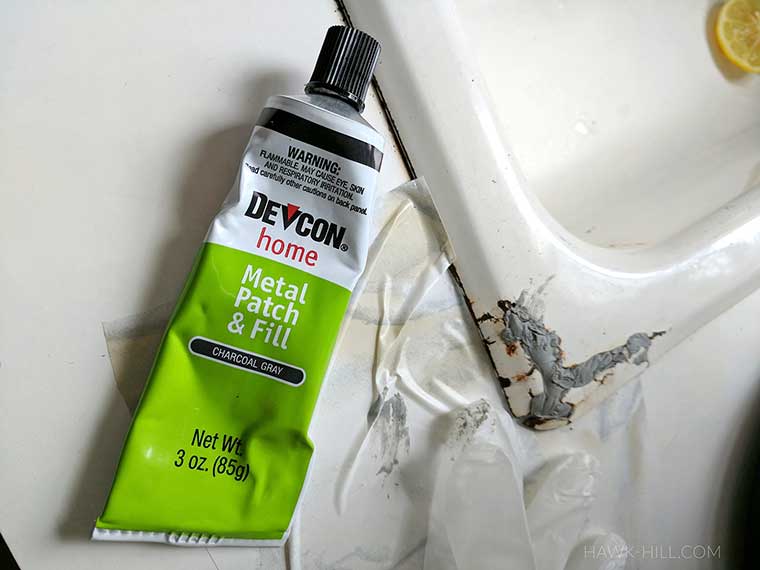
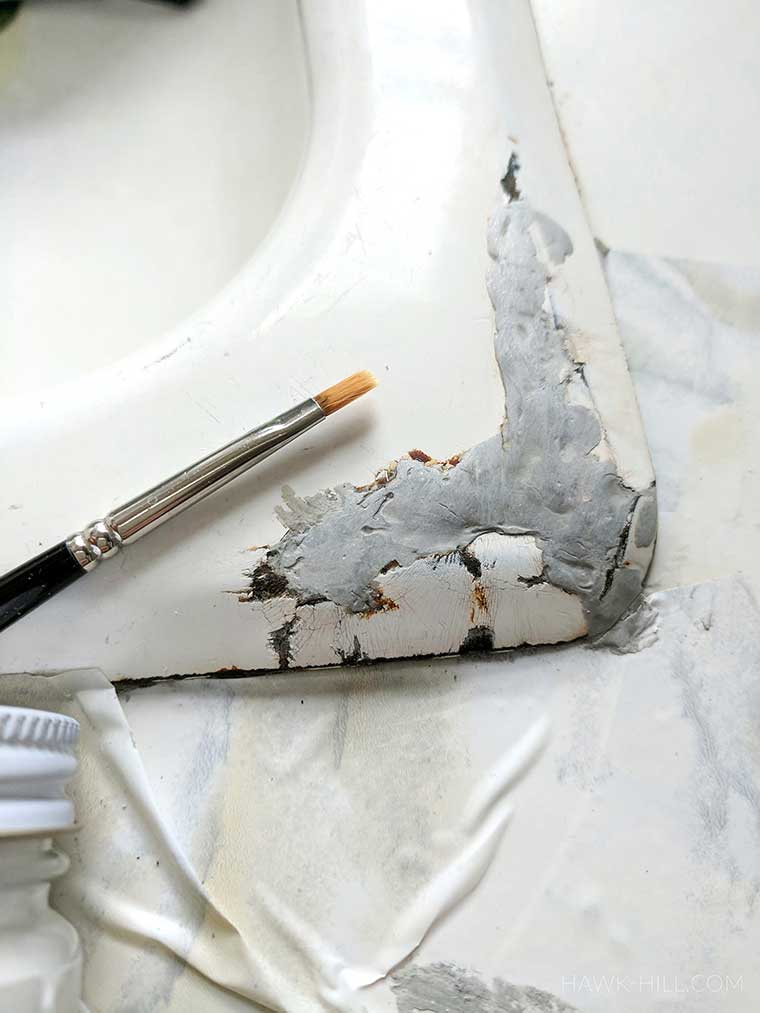
Step 3: Insert Metal Filler
Before the outside could be refinished, I needed to fill the gaps in spaces where rust had eaten through the porcelain and cast iron. Thankfully, I wasn’t the first person to need to patch and fill corroded metal – and this Devcon epoxy metal filler made the process easy. Working in about three stages (I had to allow each layer to dry before I added another in order to fill this very deep gap) I was able to completely fill the gaping hole in this rusted cast iron sink.
Once dry, this metal patch is as hard as metal, and once the epoxy appliance paint is added it will be equally as waterproof. It’s a great choice for a DIY vintage cast-iron sink repair.

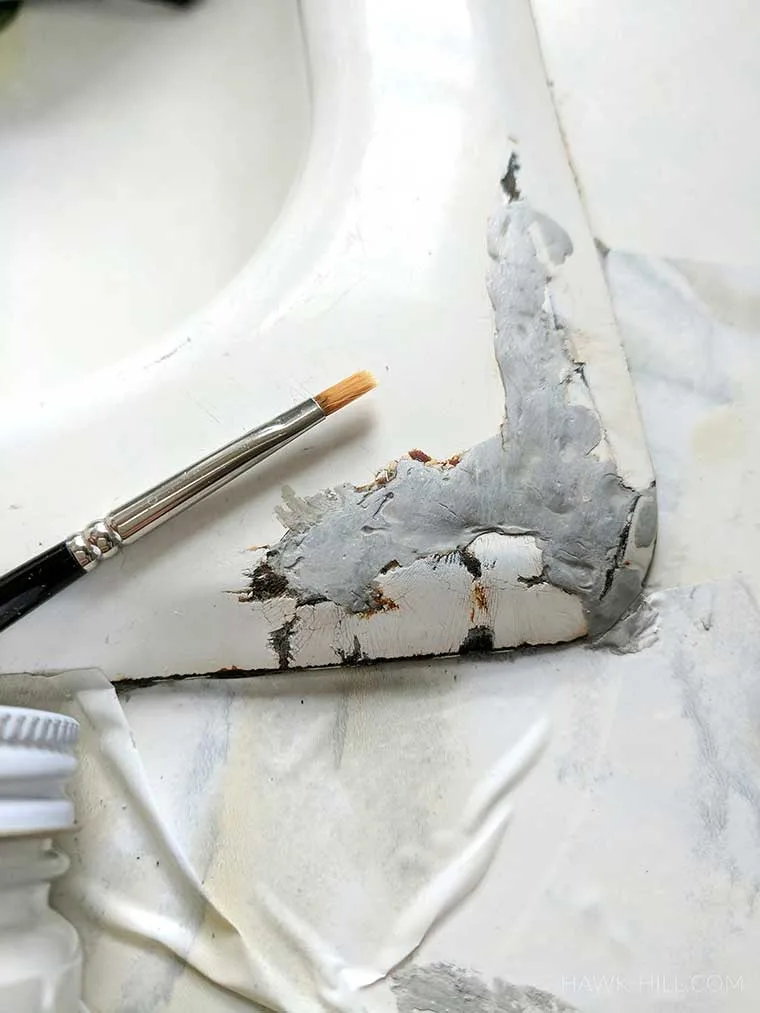
Step 4: Sand and Finish Hardened Cast Iron Filler
Once the metal filler is completely dry (cured?) It’s time to file it down to a smooth finish. Once dry, it’ll lighten in color and look a little something like this:
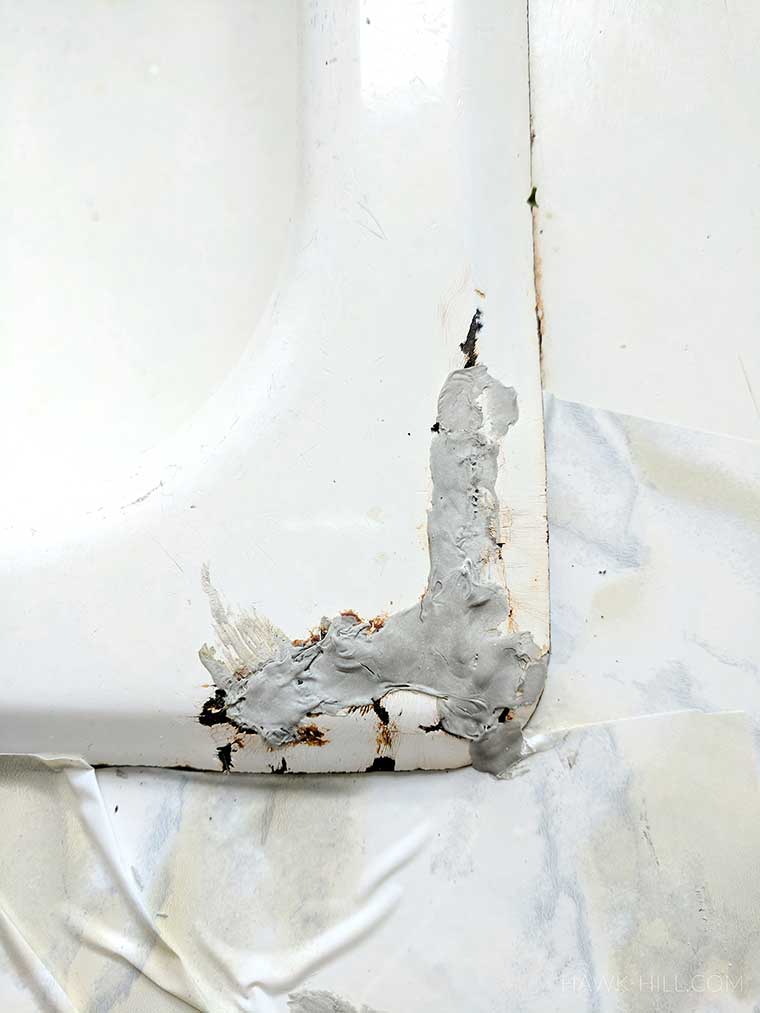
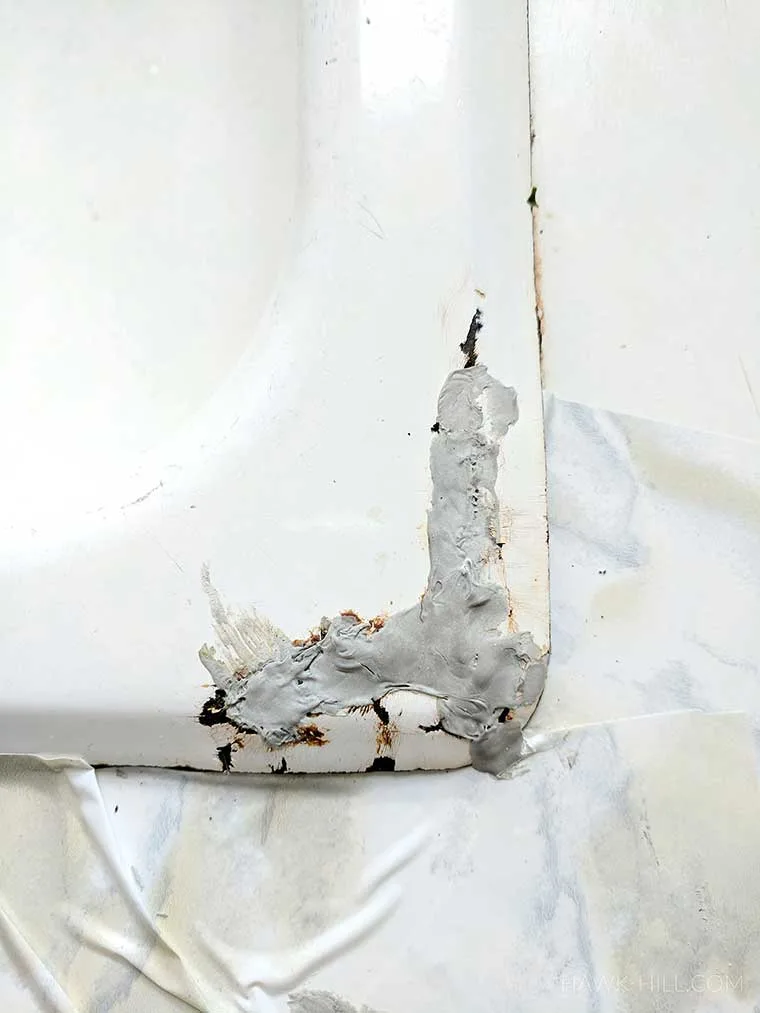
Begins sanding the metal filler down to a smooth finish using progressively finer sandpaper. I’m gonna make a DIY confession here: I rushed this portion of the job and I regret it. I didn’t have the range of sandpaper needed to sand down the bumps and add an ultra-smooth finish. But I was impatient, so I continued to the next step.
Step 5: Clean Sanded Filler
It’s very important to remove all of the fine particles created in the sanding process. You can wash the area and allowed to dry – or clean with a cloth soaked in rubbing alcohol. The alcohol evaporates quickly, allowing you to continue on to the next step within a few minutes.
Step 6: Paint with Appliance Epoxy
Appliance epoxy is not regular paint – it’s super heavy duty paint with an ultra hard finish that can stand up to just about anything except ultra high heat (special appliance paint is sold for repairing enamel chips on stoves). It’s a perfect choice for minor repairs on vintage cast-iron or porcelain bathtubs and sinks. In this case, it’s a cover-up that will improve the look and add a few more years of usability to my doomed sink.
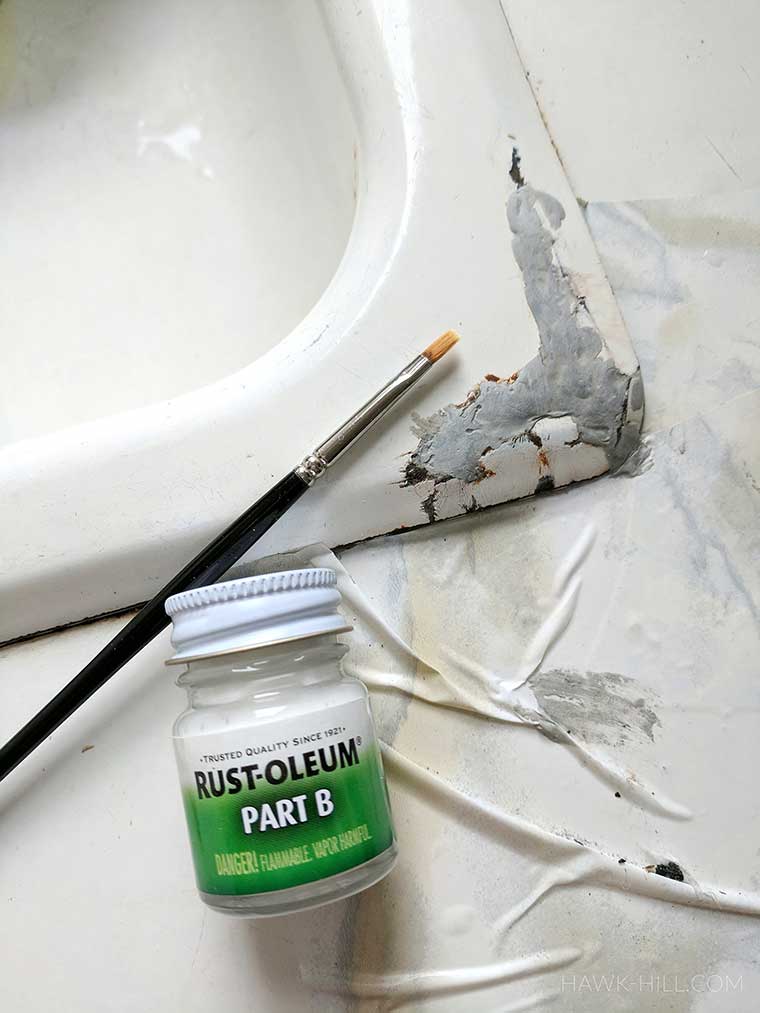
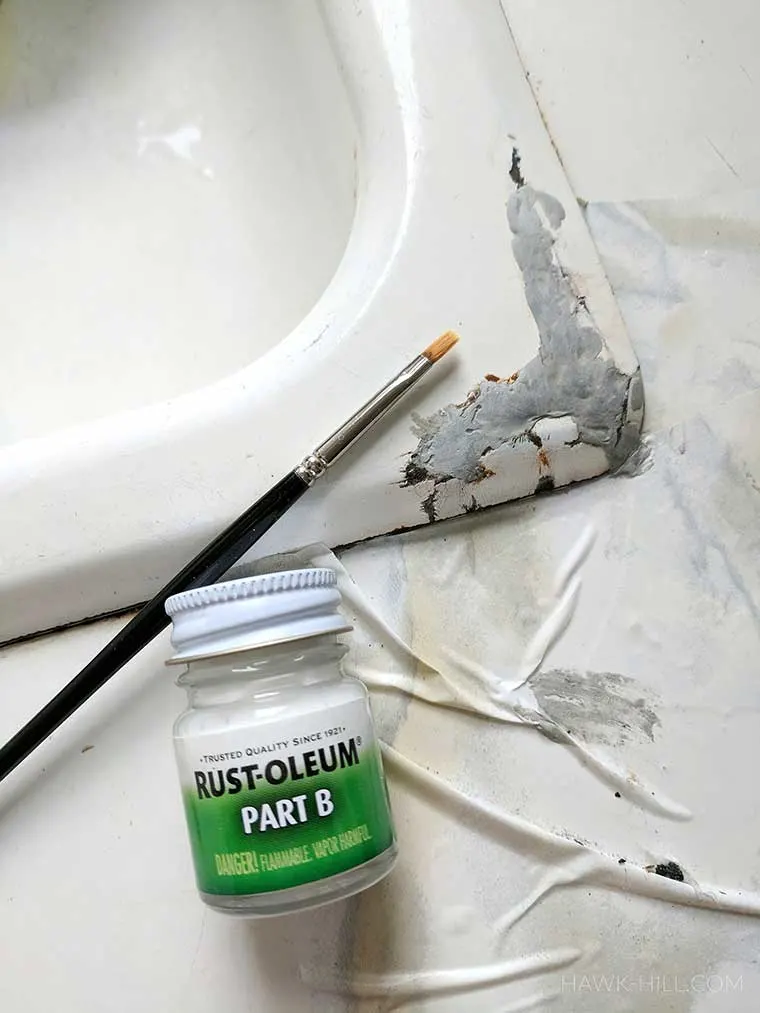
Using a small paintbrush, I mixed the paint together and added a waterproof white coating over this gray metal filler.
After the paint dried, I was able to peel away the contact paper revealing and unscathed countertop.
Project Complete
While not exactly a rags-to-riches story, this functional DIY did add a few more years of life to my adorably unique vintage kitchen and its irreplaceable custom sink.


How I learned to patch cast iron sinks
Living in Seattle on a grad school budget meant having to sometimes settle for a lifestyle very different from the one I lived in Missouri only a few years ago.

With Seattle’s booming tech industry, there’s a housing shortage. This housing shortage disproportionately affects students– as I was at the time. While housing on a grad school budget usually implies lots of roommates or ultra-tiny studios (some students I knew even lived in apartment buildings where kitchens and bathrooms were shared by a whole floor!) I was very lucky to find an old apartment building in the old downtown neighborhood of Seattle, just two blocks from Pike Place Market, where I was able to rent a small- but not “micro” – studio apartment in my price range. Though it had lots of drawbacks, the high ceilings and Puget Sound views, along with a lot of vintage charm, made it a great find.
Repairing enamel that has chipped on a cast iron sink or bathtub is a simple do-it-yourself project that anyone can complete.
You now know my easy-to-follow guide for the process of repairing a chipped, rusted, or scratched enamel cast iron sink or tub for less than $25 in materials. Ready to give it a go? Drop me a line below to let me know how it went!
Thanks for Reading!!!
I hope you can tell that I love DIY, researching the best affordable solutions for every-day problems opportunities and documenting / sharing solutions!🙌 Hawk-Hill.com is reader-supported.
☕ Hawk-Hill.com is reader-supported. If this article saved you time or money, please consider donating $1 to help me cover the cost of hosting this website OR If you appreciate this information and want to throw a “Thanks!” my way by buying me a coffee – I would Of Course appreciate it! :]
Reader Questions and Recommendations
Readers, do you have any favorite topics / posts? What would you like to read more about in the future? As I hope you can tell from this and other articles on my site, I really enjoy DIY / a good challenge, and I’m not afraid to roll up my sleeves to figure out a great, and hopefully simple 😁 solution. So please feel free to let me know in the comments below (or reach out via social media)!
Ok Really – I’ll try to wrap this up now😂
Finally, if you’d like to continue to learn about interesting DIY options as well as how YOU can tackle creative new projects consider checking out the latest and most popular articles listed on the Hawk-Hill Home Page. I’m always trying to enjoy and write about the creative side of life so please don’t be a stranger – check back often!😍
If you enjoyed this post you may also enjoy reading / perusing / devouring😊 one or all of these articles as well!
- 💡4 Easy Steps to Make Your Own Sea Glass 🌊
- ❤️Bedroom Decorating Ideas for Single Women’s Master Bedrooms 🛏️
- 🏡Ikea Kitchen Cost: What I Spent for a 9×12 Kitchen Remodel 💵
Kristin S
Thursday 29th of June 2023
Thank you so much for making this post! I have been having such a difficult time with trying to figure out a more budget friendly solution for my bathtub that is doing this!
Lindsayanne Brenner
Wednesday 26th of July 2023
Great! I'm so glad this article helped you :]
Debbie
Saturday 15th of October 2022
I’m about to try your method after getting a quote that I think is too high! Hopefully you are still happy with the results.
K.H.
Friday 7th of May 2021
Thank you so much!