
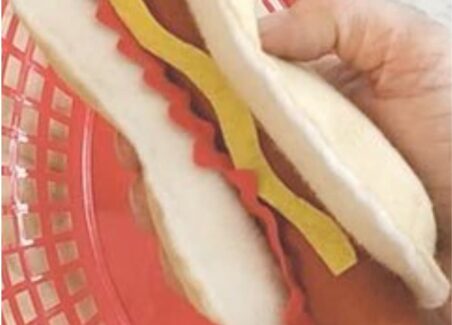

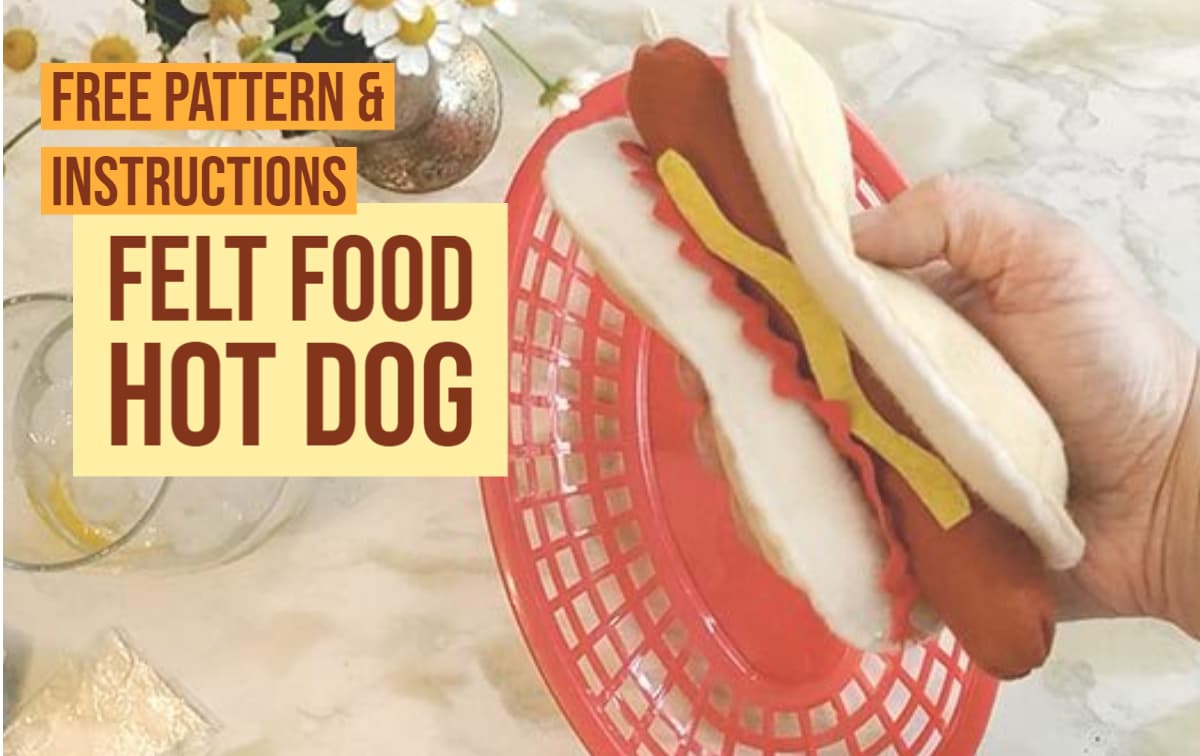
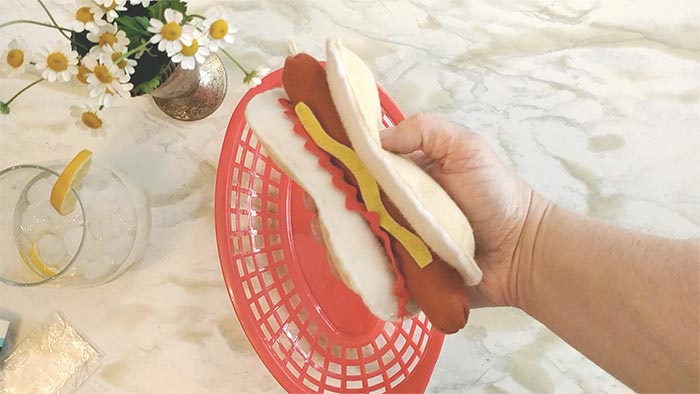
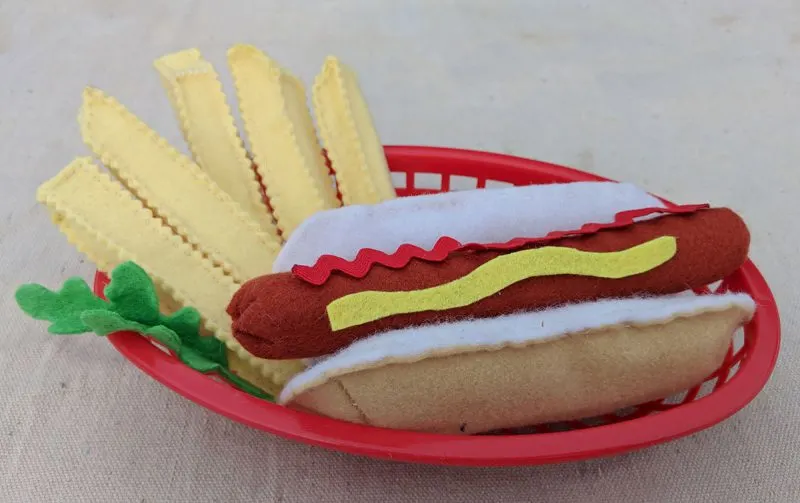
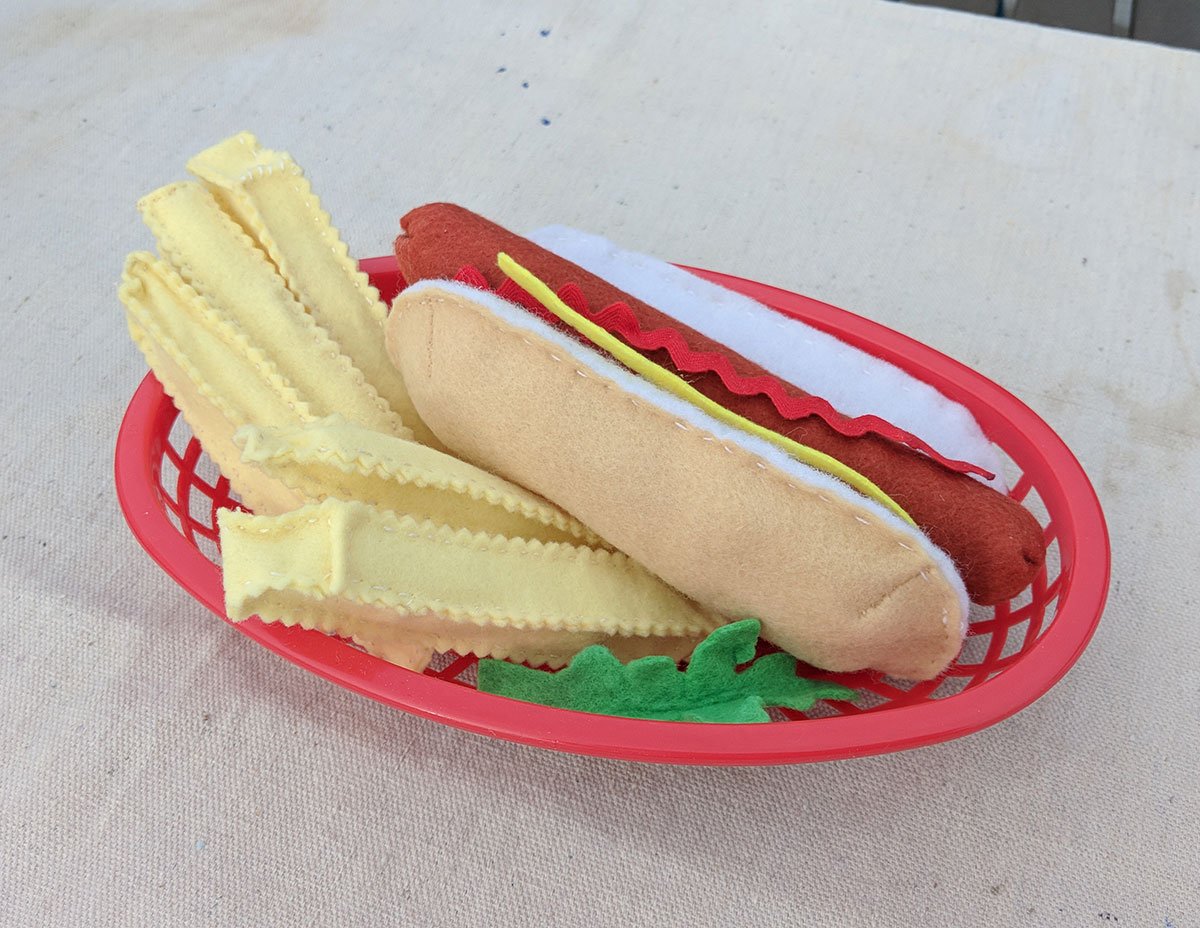
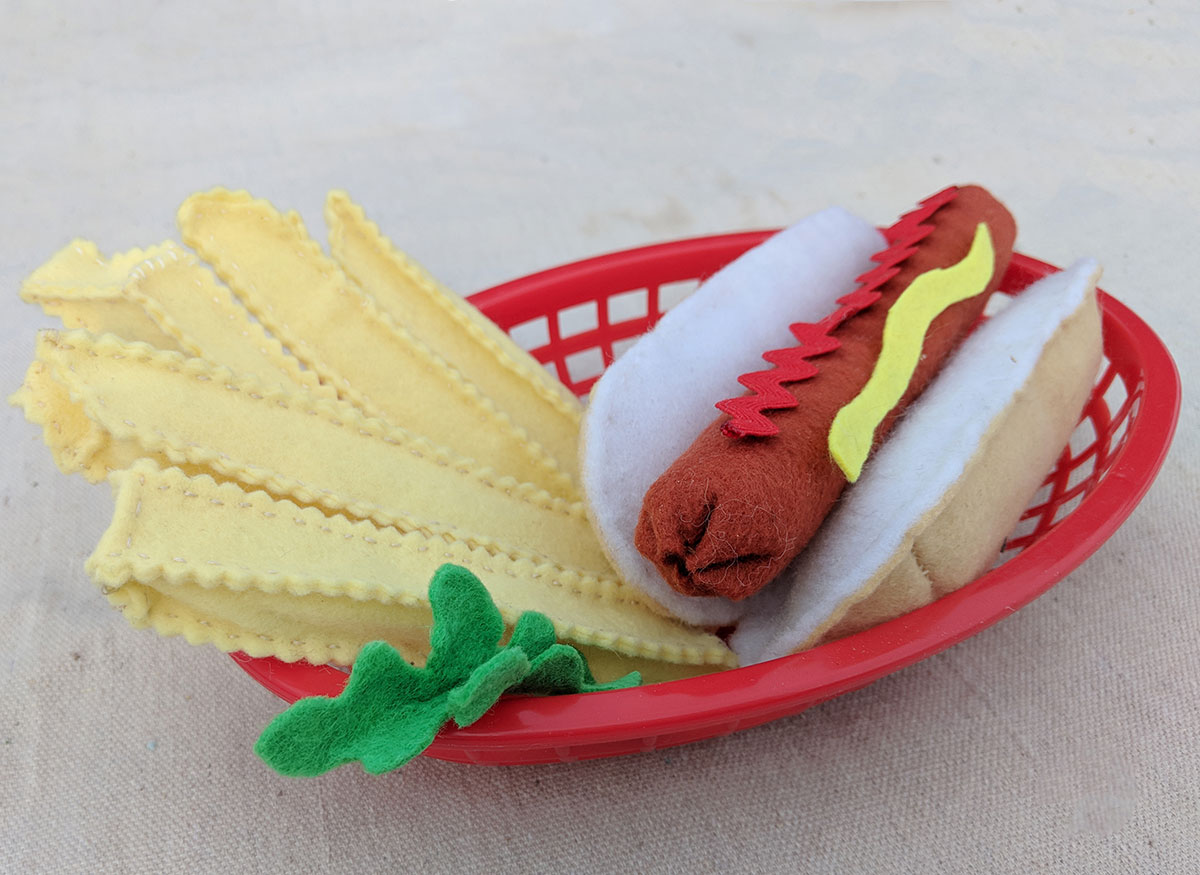
In this tutorial, we’ll be making a soft plush hotdog bun for a little felt hot dog, plus a side of toasty felt french fries. Felt food is fun and great with kids / grandkids / etc. lol 😁
Hotdogs and buns are so easy to sew and stuff! Paired with felt chips or felt french fries (get the free pattern below) they make a cute Summer BBQ play food set.

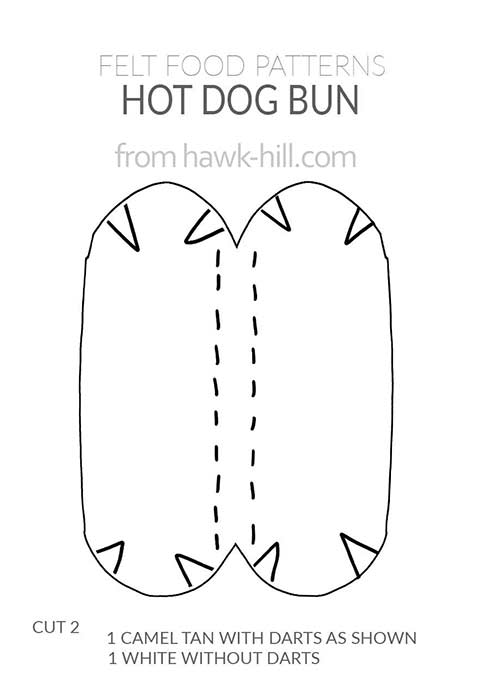
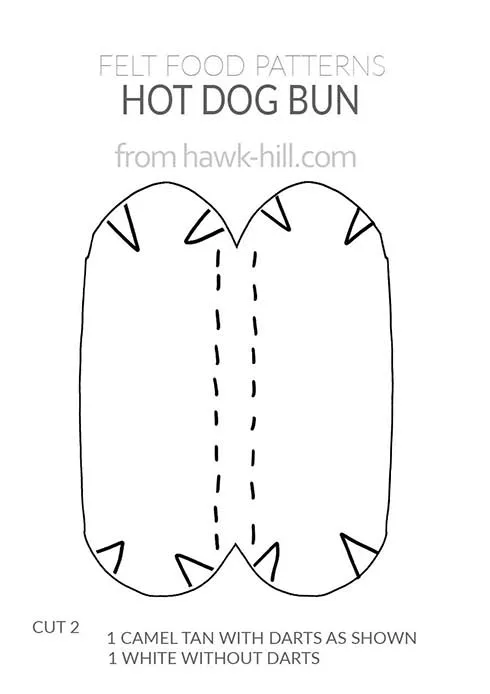
Printable Hot Dog Bun Pattern:
Recommended Felt colors:
For classic toasted hot dog buns, chose a soft tan felt like “Champagne” or “Beach Sand” Bread colored Felt.
For the inside of the bread, classic “white” felt is perfect.
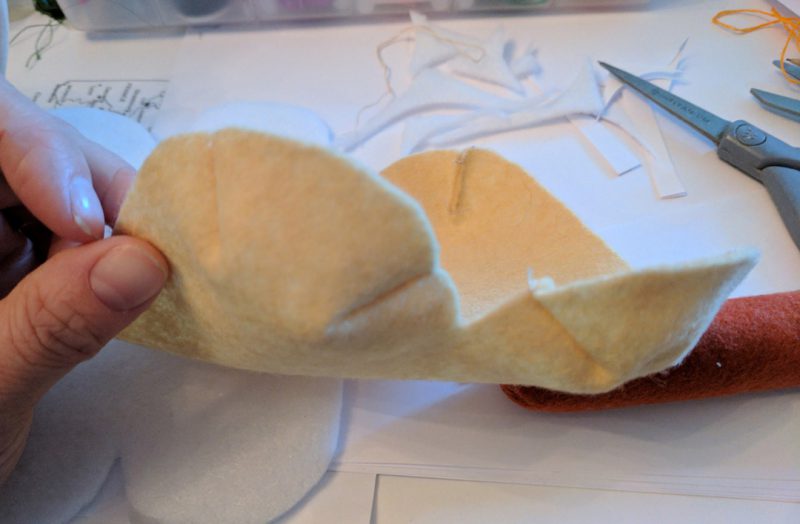
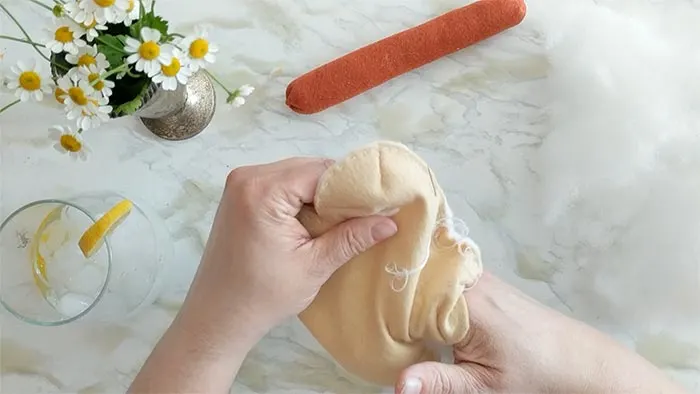
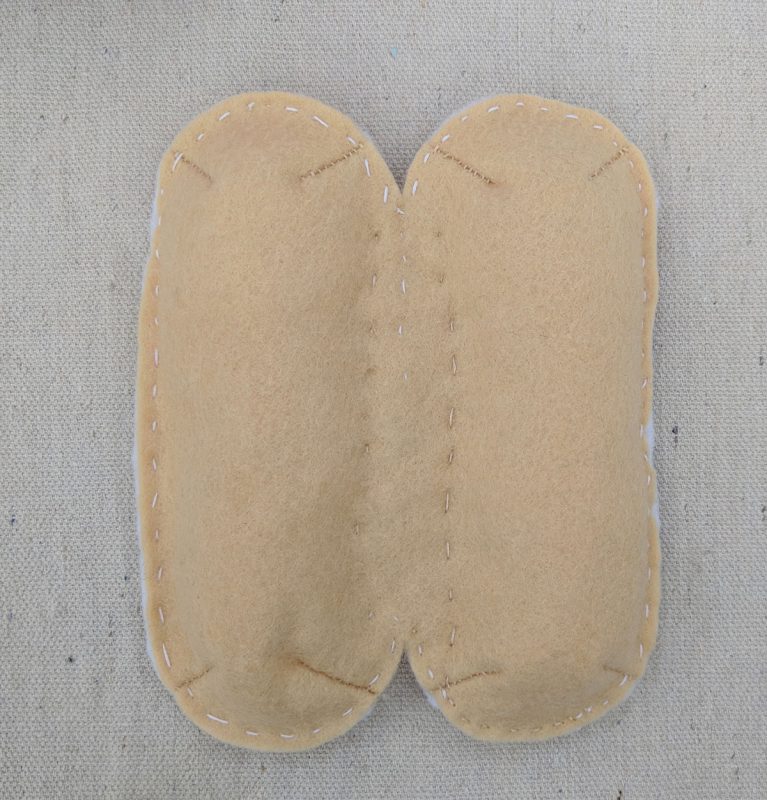
I start by cutting out my pattern, including the darts in the hotdog bun and the stitching together the darts. These darts creates the natural curve of a risen and baked hot dog bun.

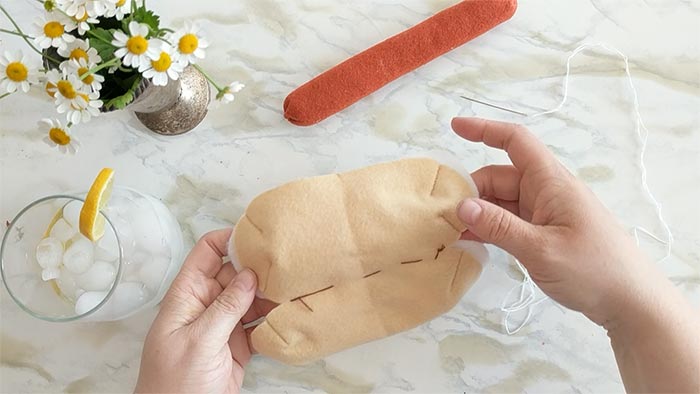

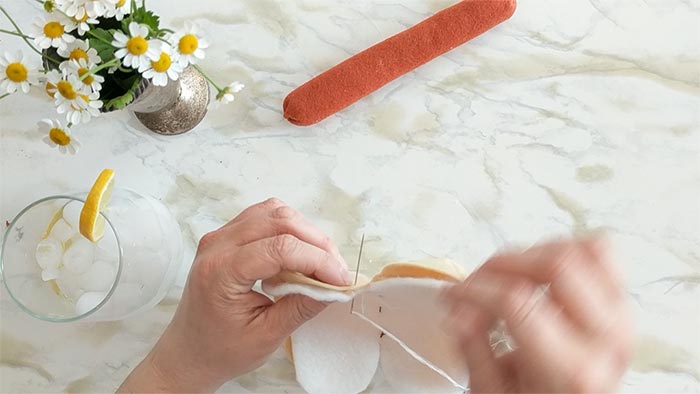
Once the brown part of the bun is contoured, stack the white inner layer on top. I find it helpful, before proceeding, to run a few basting stitches up the center to keep the felt layers aligned through the process.
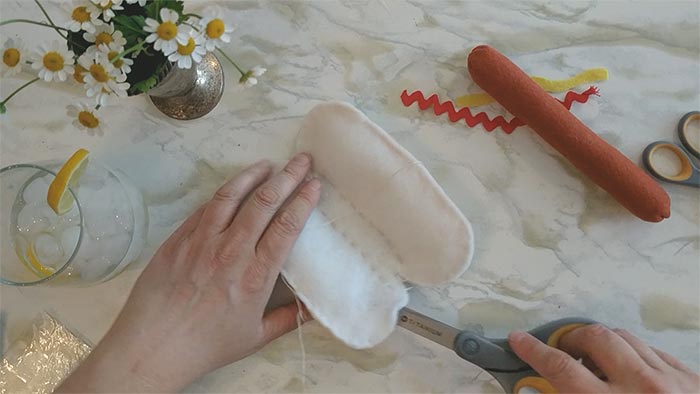
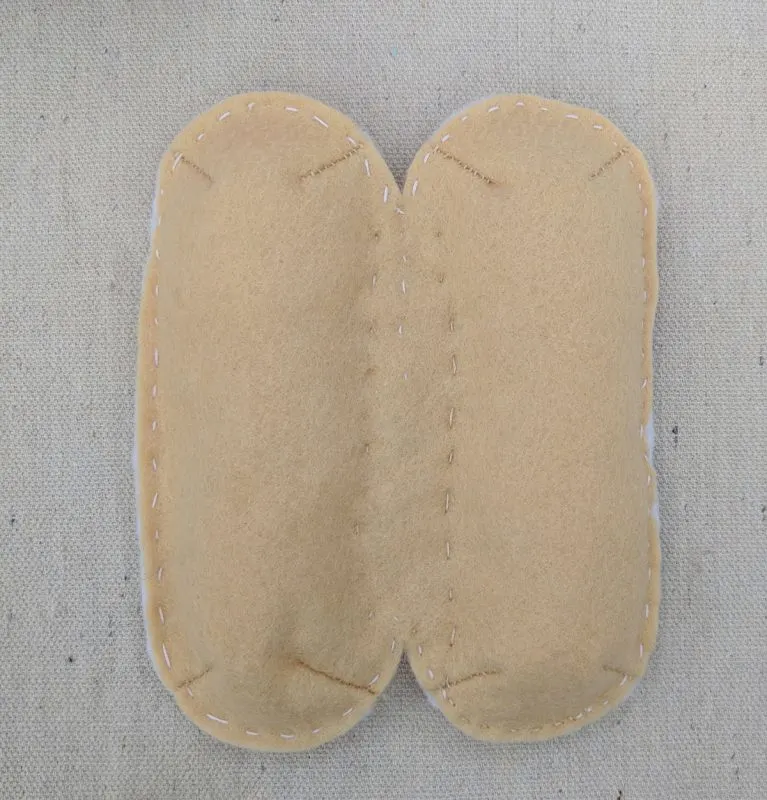
Now I’m stitching the back and front together. I’m using extra thick wool felt for the white part so it’s a little more sturdy and keeps its frame when the tan part is filled with plush polyfill.

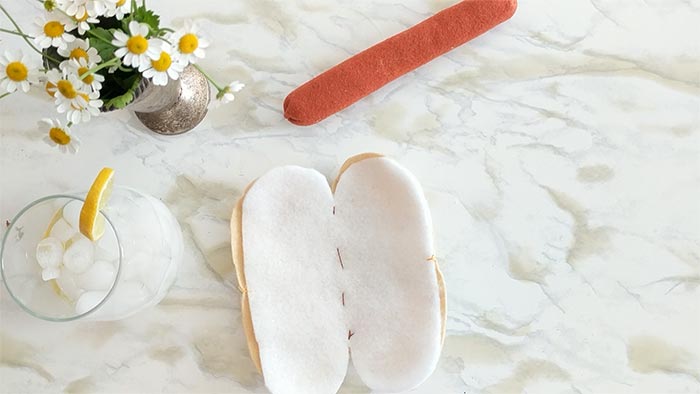
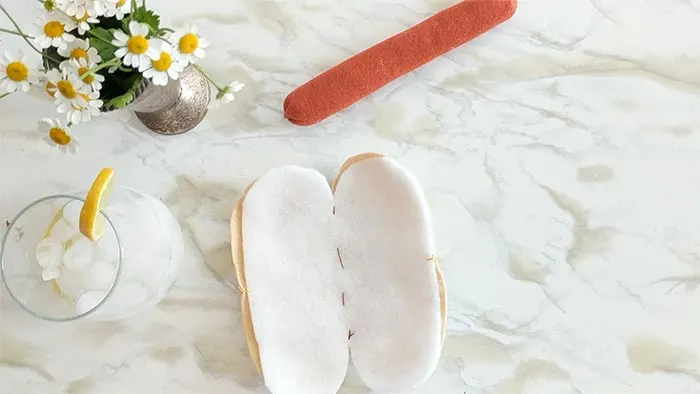
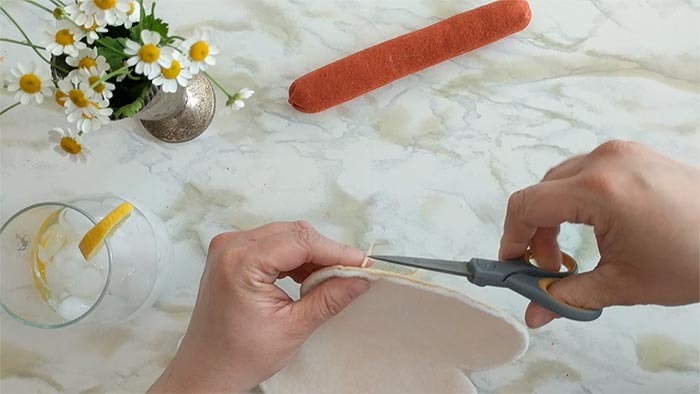
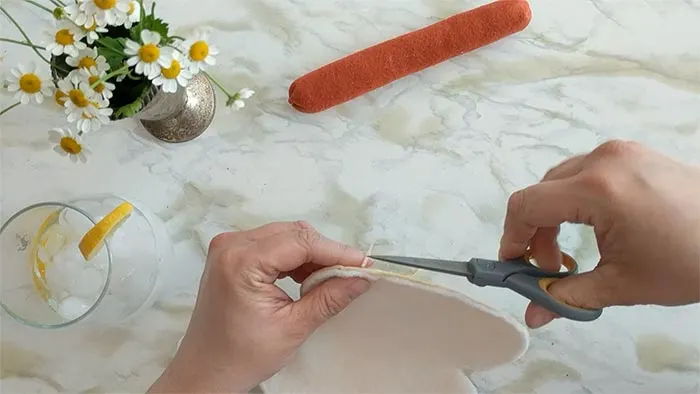
I’ve stitched along the sides, leaving a small gap for stuffing, and now I’m just trimming up the edges so it’s even. The darts can make getting perfect evenness tricky so I just clean it up after stitching as needed. I’d originally planned to turn this hot dog bun inside out but I like the way the stitches look showing on the outside.
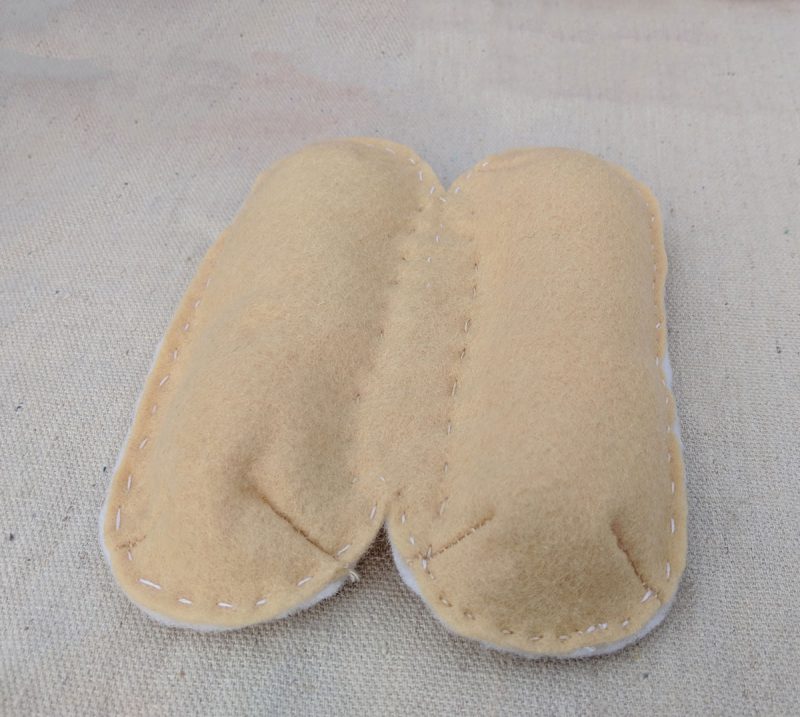
Now I’m coming in, pre-stuffing just a bit, and then I’m adding just two little lines of stitches to hold the plush where I want it it’s important to make a little sort of place for the hot dog to sit. Otherwise, we’re just making a pillow to sit the hot dog on top of!

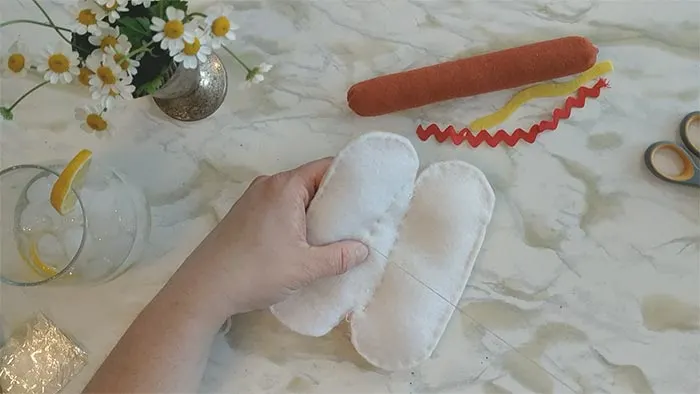
Prestuff some fill into the bun the farthest from your stitching gap, before adding the center channel.

I’m coming in with the second line of stitches and you can see I’ve made a hot dog size channel right there. I don’t have that on the pattern because you can eyeball that pretty easy.


I’m now stuffing the second half. Scissors or chopsticks can be helpful to evenly distribute the stuffing lightly through the length of the hot dog bun toy.
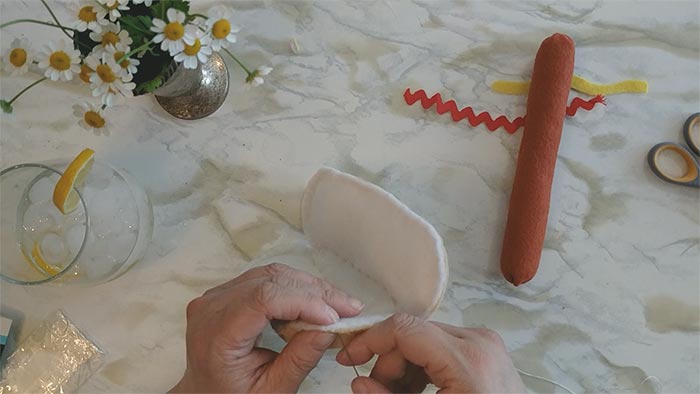

Once I close up my stitch I’m done- that’s really all there is to making a hotdog bun for felt kitchen play.

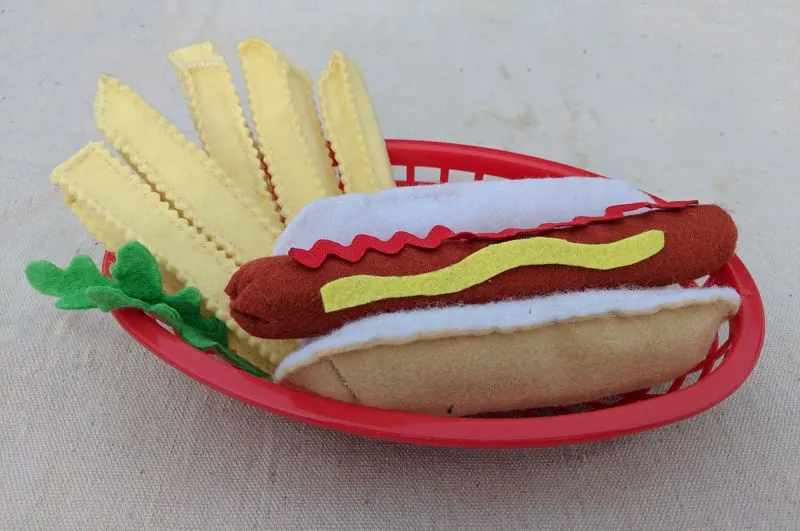
Adding Crinkle Cut Felt French Fries for a Full Meal
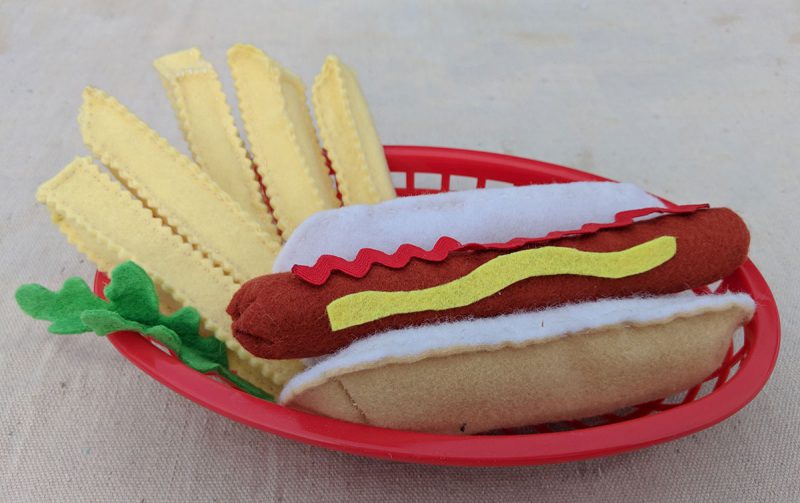
My felt french fries seem to be one of the projects that produce the most “wow’s” and exclamations about detail and intricacy, but actually, these little crinkle-cut fries come together very quickly. A quick running stitch means each fry only takes a few minutes to complete- and seeing the stack of fries grow quickly is very satisfying.


Today, I’ll show you how I designed this pattern for felt food french fries, and you’ll be able to quickly create your own pattern in just a few minutes! (This one is just too simple for a printable pdf template!)
The following section may contain affiliate links. As an Amazon Associate, we earn from qualifying purchases.
All you need is:
1-2 sheets of 12×18 wool felt in Buttercup Yellow.
Pinking shears
ruler or straight edge
fabric marking pen
Instructions for making your own felt french fries
1. Start by using a ruler and fabric marking pen to draw straight, parallel lines on the felt. Place each line uniformly 3/4-1″ inch apart. (choose a width, then stick to it. 3/4″ will create a little more realistic fries, while 1″ will be a little easier to stitch)
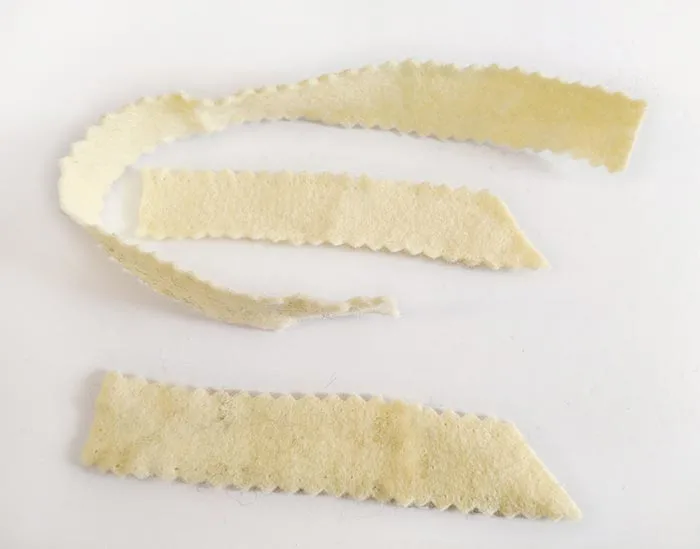
2. Cut the strips apart using pinking shears. Don’t worry about length yet- just make strips. This shortcut creates the “crinkle cut” effect without having to do extra work adding texture to the surface of the felt.
3. Take one strip, and choose a random length. Cut to desired fry length (cut on the diagonal, if desired, for a french fry effect).
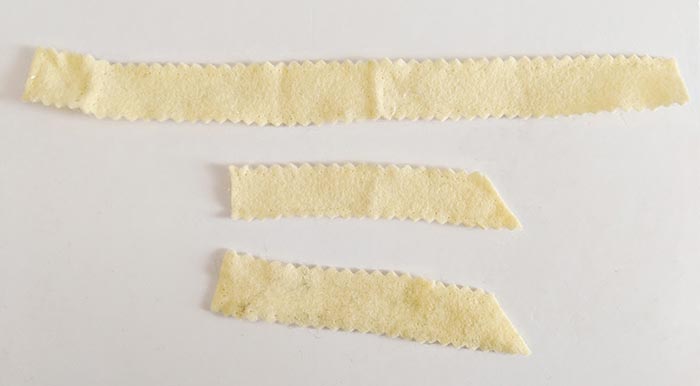
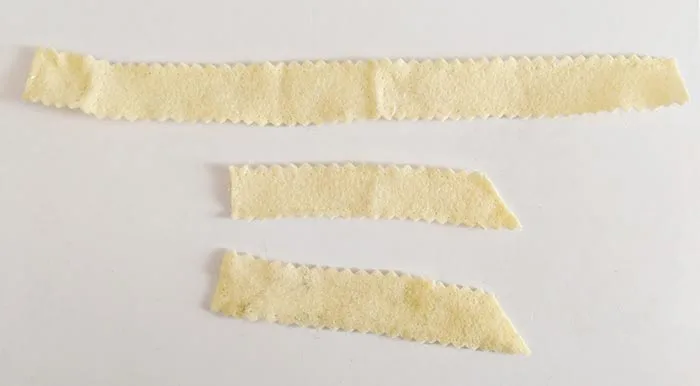
4. Cut a second strip to the same length as strip cut in step 3.
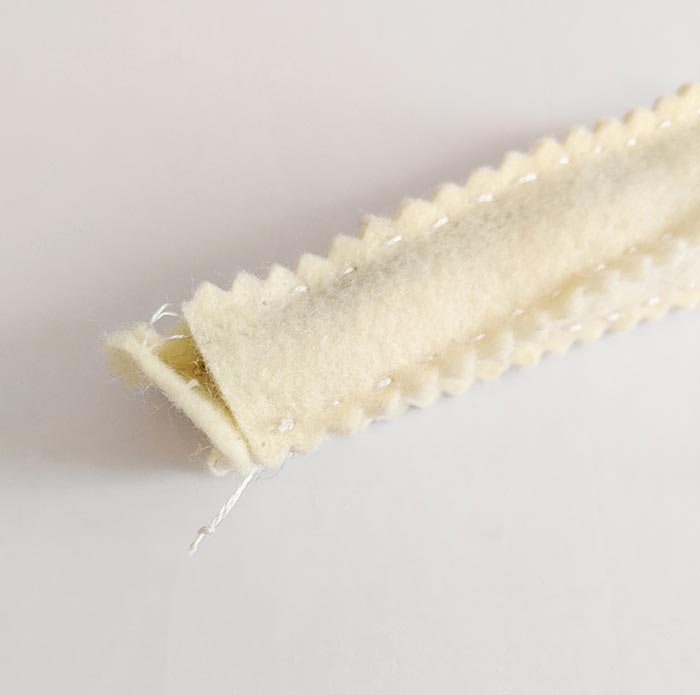
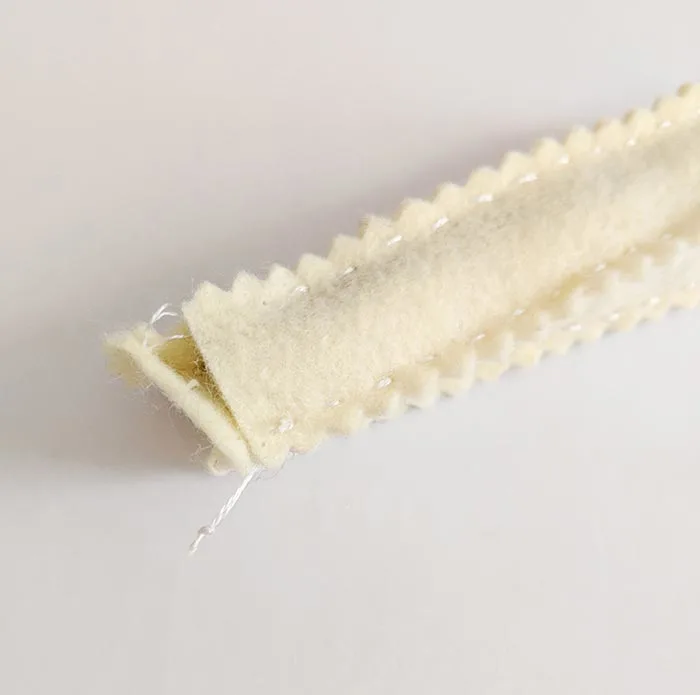
5. Take a long strip (any length, as long as it’s longer than 2xlength and 2x width of your two strips), line up edges so that the zig-zag edges match, and begin stitching down the length of the fry with a running stitch.
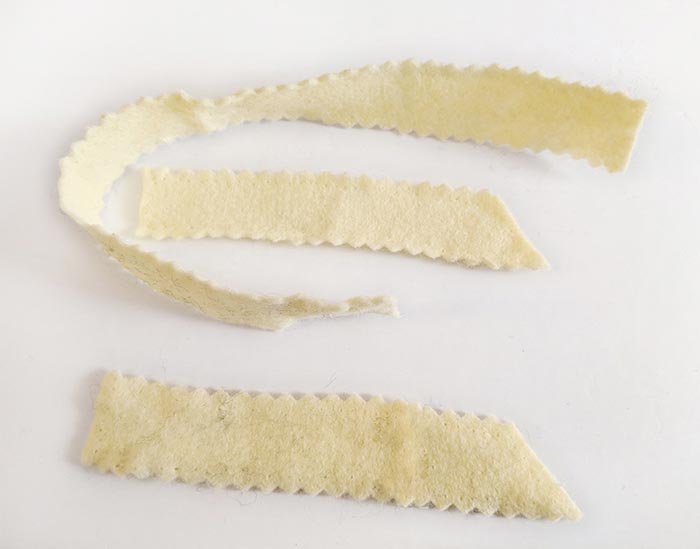
6. Continue stitching the long piece so it wraps around all four edges of the shorter piece, and join the long piece to its tail, trimming if needed to create a box.
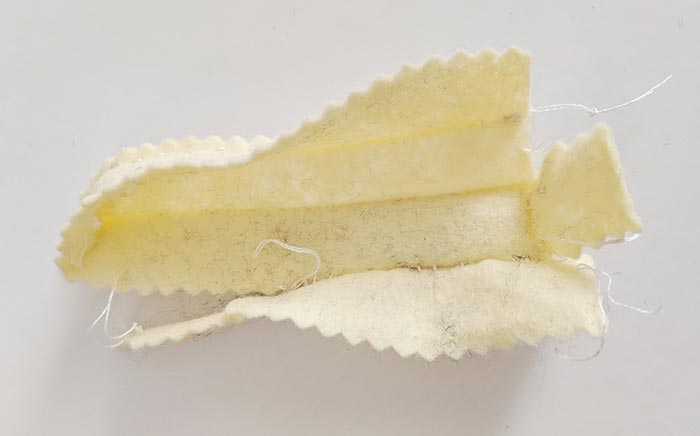
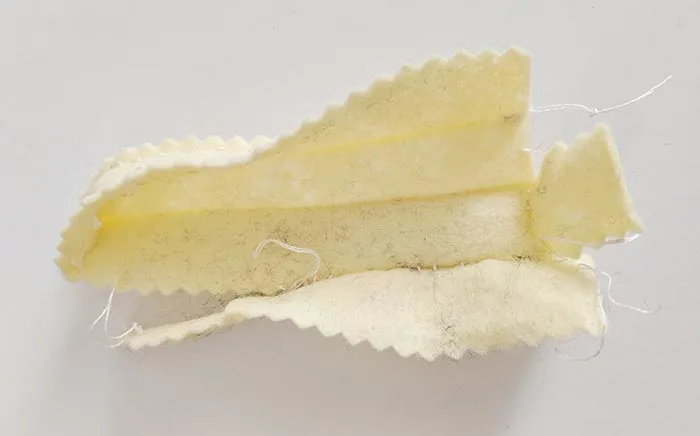
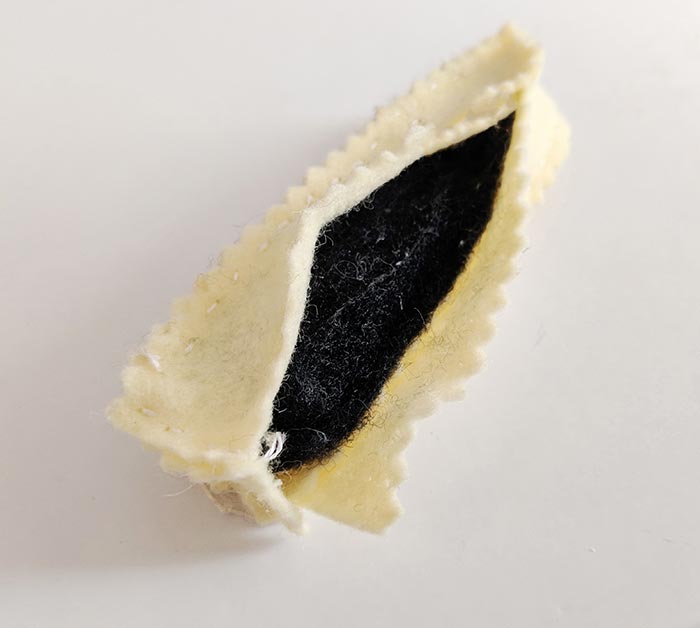
7. Before adding the 4th side to close the french fry “box,” stuff your fries. The type of stuffing you choose is the most important step in creating these fries. If you stuff with typical plush stuffing you’ll create bulging french-fry-sausages. To keep the toys square and tidy, stuff with a flat stuffing media- strips of scrap felt, quilt batting, or sheets of dacron poly-fill sheeting which are a little denser than batting and work great for stuffing these fries.

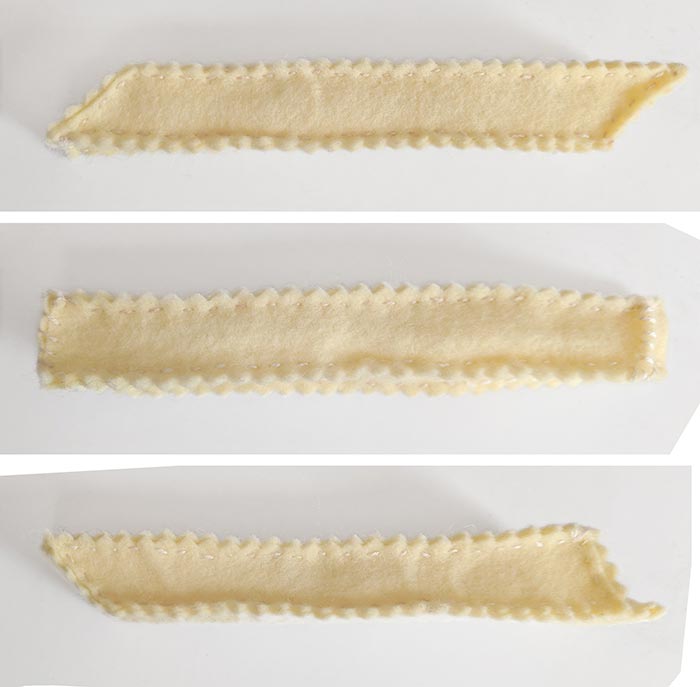
8. Once stuffed add the 4th side (the second short strip) and stitch the fry closed with a running stitch, taking care to match zigs-to-zigs and zags-to-zags when possible. (A bit of a tug here and there helps keep the zig-zags straight)


Thanks for Reading!!!
I hope you can tell that I love DIY, researching the best affordable solutions for every-day problems opportunities and documenting / sharing solutions!🙌 Hawk-Hill.com is reader-supported.
☕ Hawk-Hill.com is reader-supported. If this article saved you time or money, please consider donating $1 to help me cover the cost of hosting this website OR If you appreciate this information and want to throw a “Thanks!” my way by buying me a coffee – I would Of Course appreciate it! :]
Reader Questions and Recommendations
Readers, do you have any favorite topics / posts? What would you like to read more about in the future? As I hope you can tell from this and other articles on my site, I really enjoy DIY / a good challenge, and I’m not afraid to roll up my sleeves to figure out a great, and hopefully simple 😁 solution. So please feel free to let me know in the comments below (or reach out via social media)!
Ok Really – I’ll try to wrap this up now😂
Finally, if you’d like to continue to learn about interesting DIY options as well as how YOU can tackle creative new projects consider checking out the latest and most popular articles listed on the Hawk-Hill Home Page. I’m always trying to enjoy and write about the creative side of life so please don’t be a stranger – check back often!😍
If you enjoyed this post you may also enjoy reading / perusing / devouring😊 one or all of these articles as well!