

It’s easy to make your own custom patch or faux scouting badge with felt. There are two ways to make your own felt patch: a (more expensive) beginner level DIY, and a more technical version for crafters with at least a *bit* of experience with a needle and thread

In a Hurry?
CLICK HERE TO SKIP TO THE VIDEO TUTORIAL
- The type of DIY patch we’ll be outlining in-depth today is made by cutting pieces of felt, overlaying them, and either gluing them or loosely stitching them together.
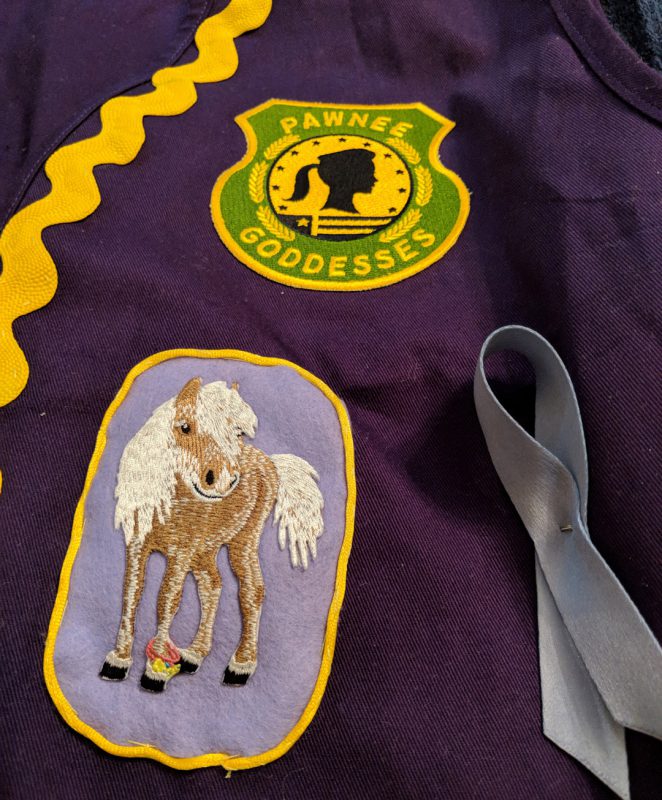
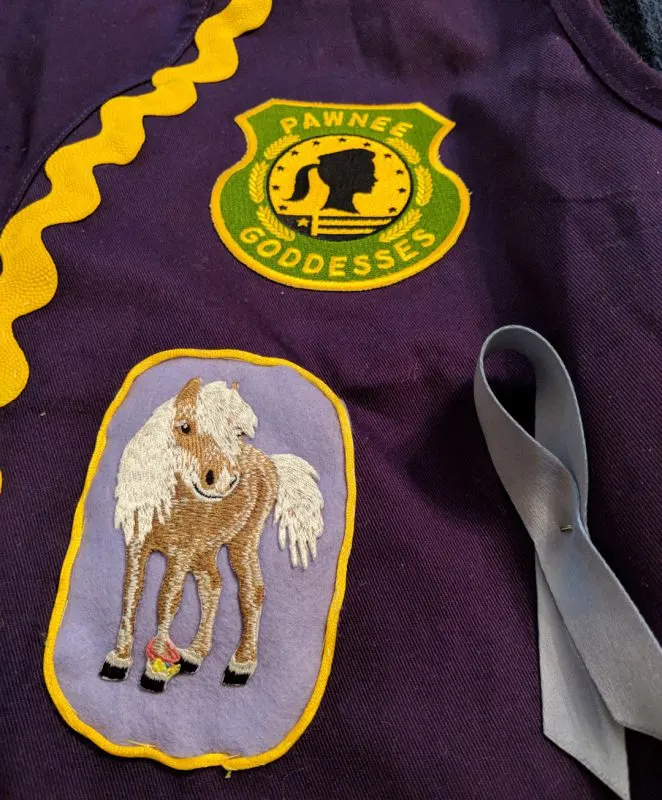
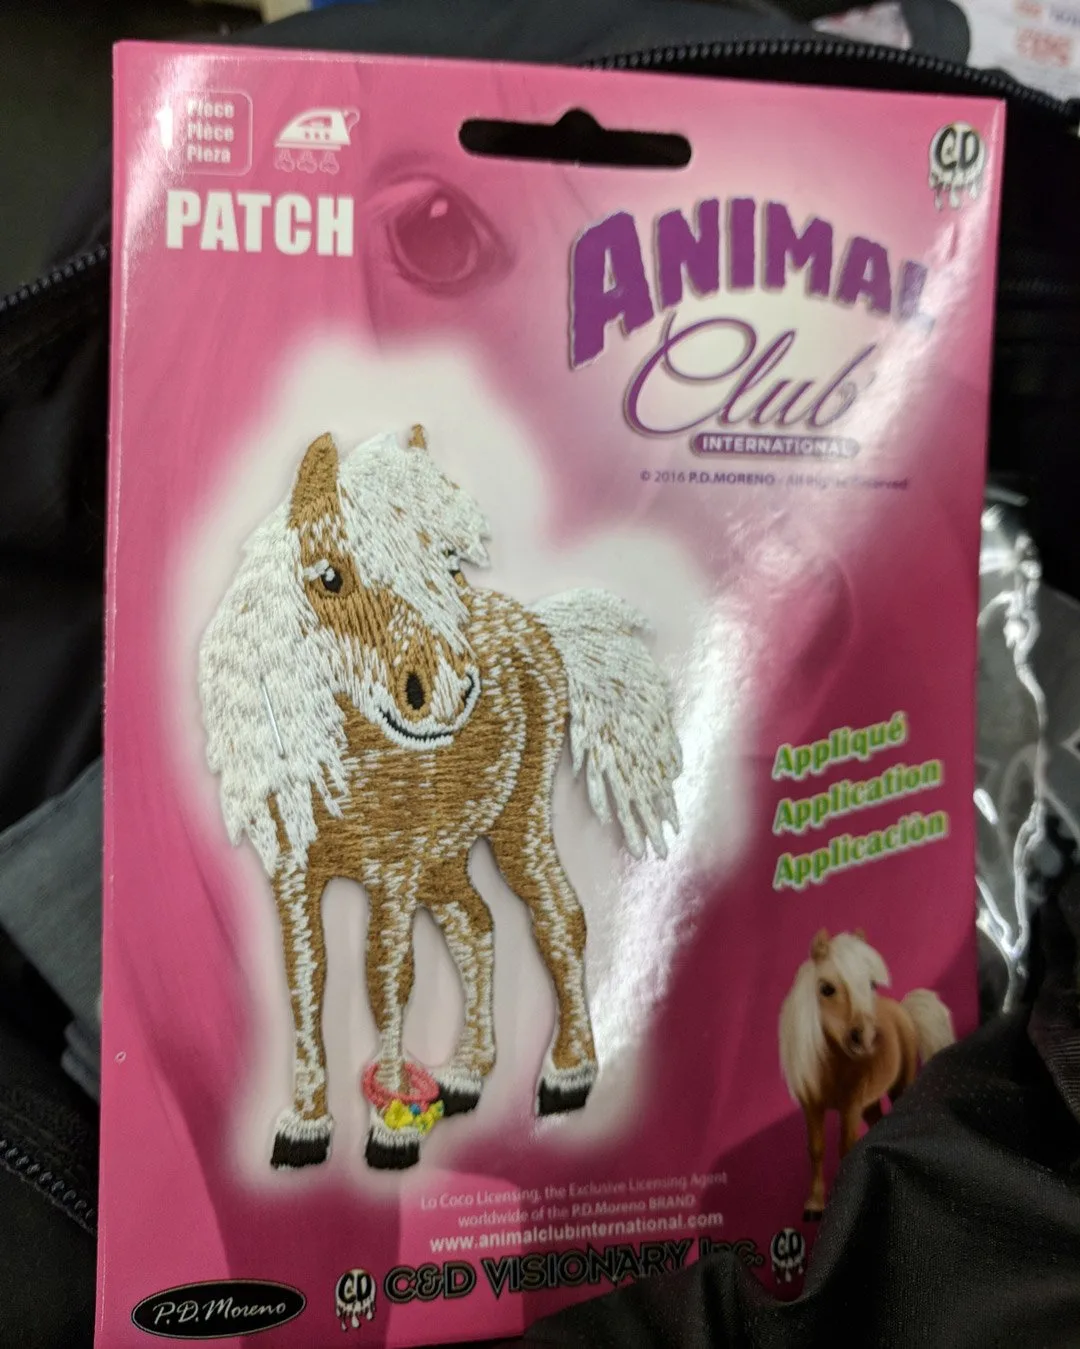
- However, one alternate way to make a scouting type patch is by embellishing premade patches with felt backing. In the images below, you can see how we adapted a basic jacket patch into a scouting-style badge with just a bit of felt and piping.

In this post, we’ll get into the nitty-gritty on how to use felt to make a DIY custom patch from scratch.
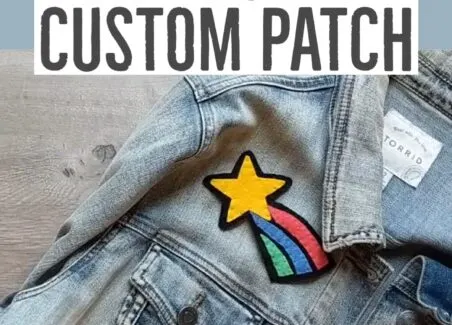
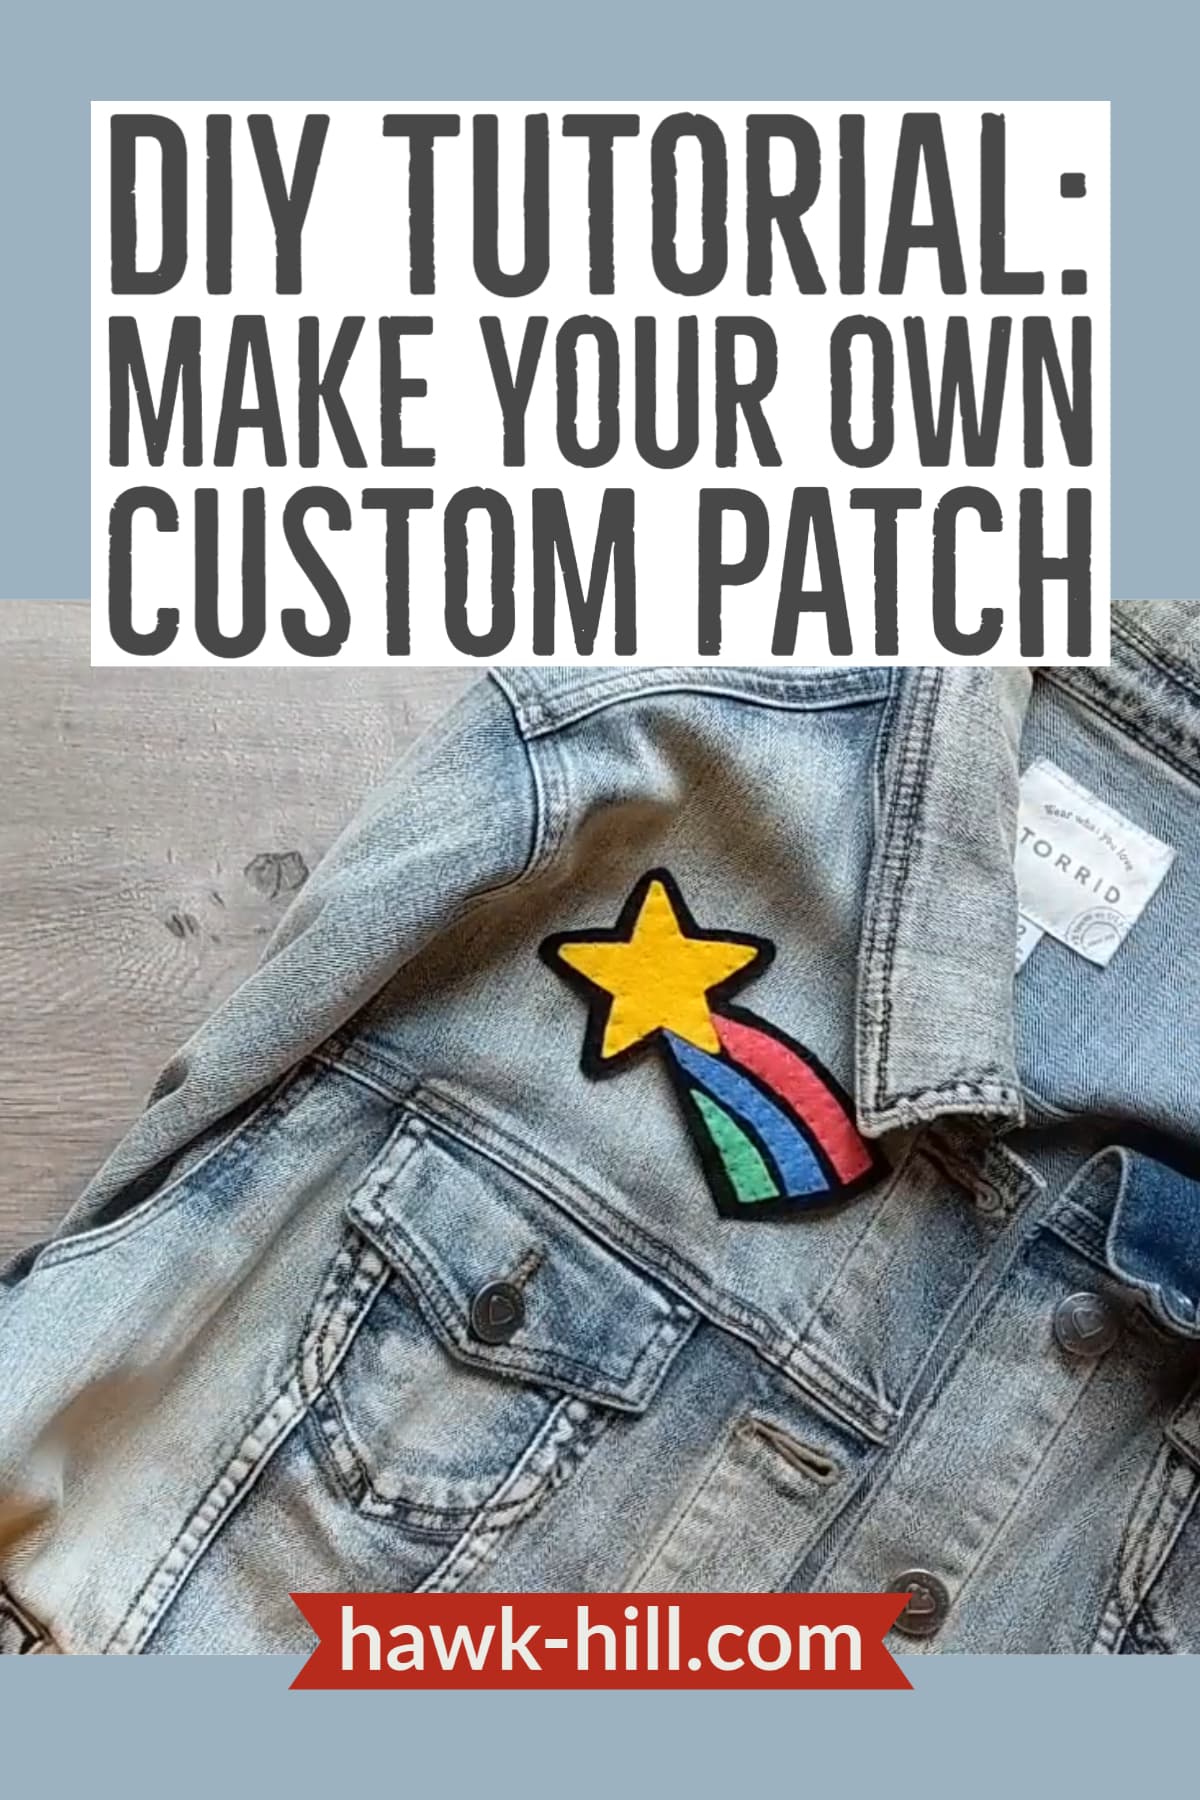
Custom patches are perfect for thoughtful gifts, decorations, and for Halloween costumes- but professionally made one-of-a-kind custom patches can cost over $50! You can create patches using the nearly-lost art of hand embroidery, but, while much cheaper, this method requires embroidery experience and several hours of time. Today we’ll be showing you how to make a custom patch that can be finished in under an hour – making it a great choice for finishing off the perfect costume or adding the perfect detail to your jacket or backpack.
It’s super easy to make your own patches with felt, by using the felt to fill in the blanks – instead of embroidered stitches – it makes this project fast and requires only the most basic sewing skills.
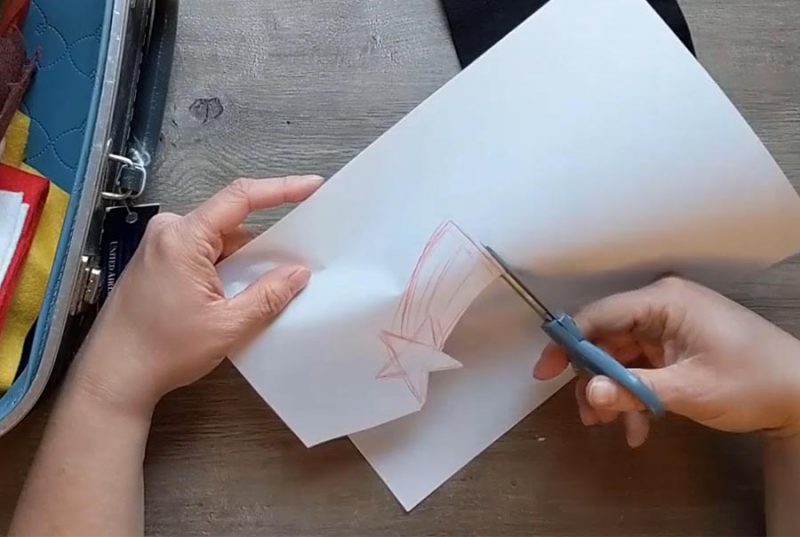
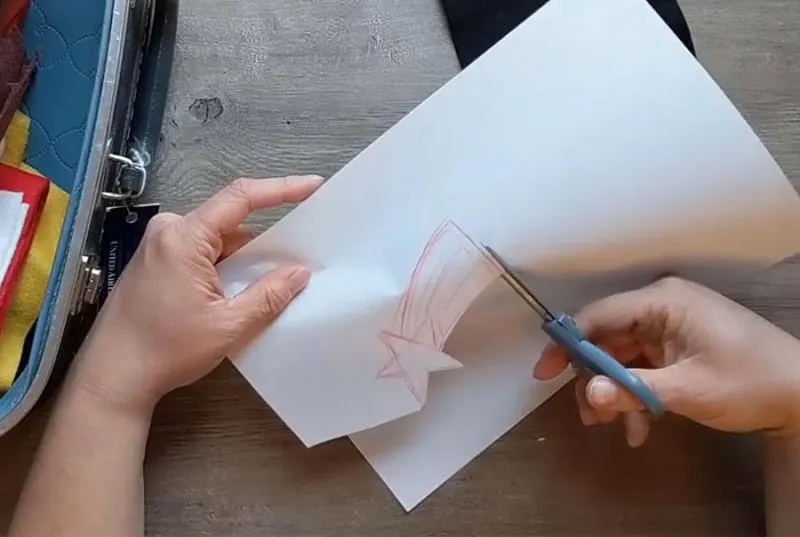
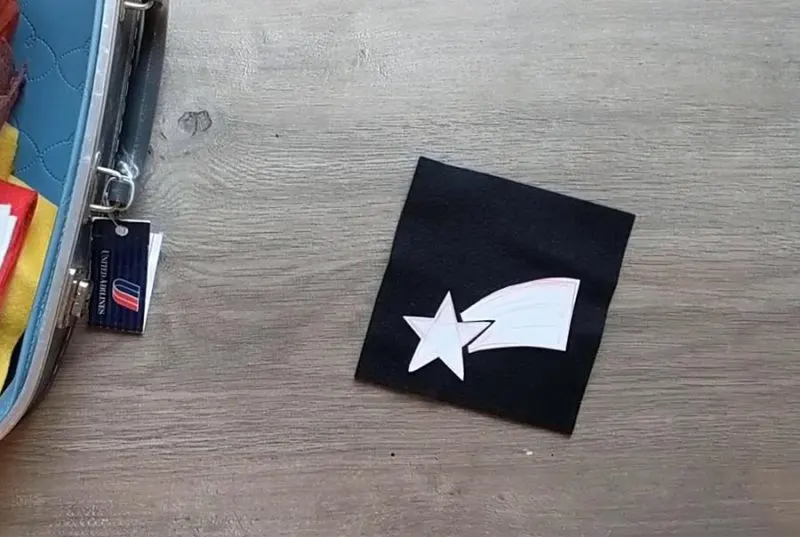
We’ll start by drawing a design on paper – in this case, I simply sketch out a shooting star.

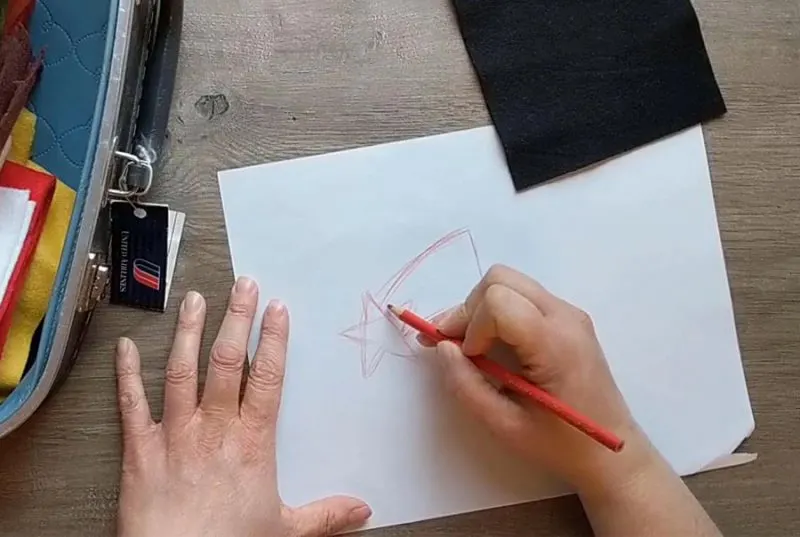
Once I have drawn my design, I cut it out of paper and choose the colors that I want to use in my patch design.
I choose black as my background color – it’s important to use a piece of sturdy fabric behind the design. In this case, I’m using a black 100% wool felt square because it is naturally thicker and stiffer. The stiffness makes it easy to stitch because my base layer has some rigidity and is not flopping over.
The following section may contain affiliate links. As an Amazon Associate, we earn from qualifying purchases.

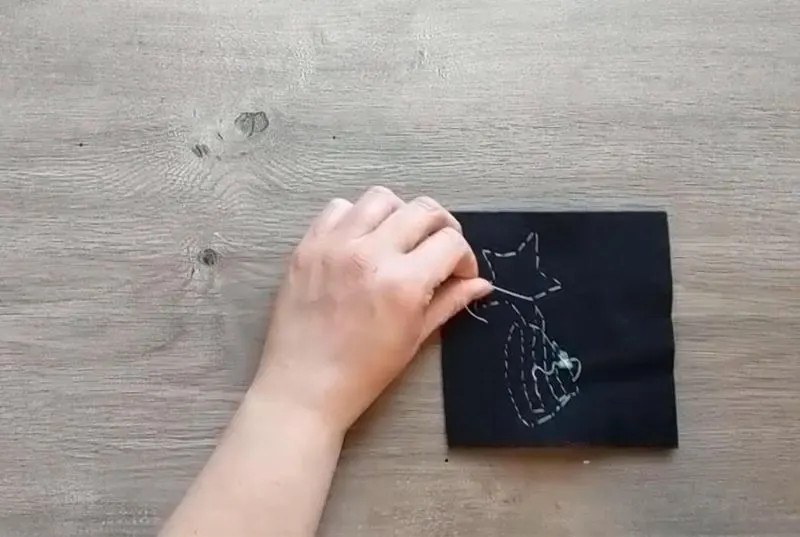
Marking out my design onto the colors I’ve chosen. I’m using a charcoal based fabric marking pen to make it easy to transfer my design. The charcoal marking pen is a fantastic hack for any fabric crafting project- it makes a clearly visible line on most colors but can be removed completely by blotting with a slightly damp paper towel.

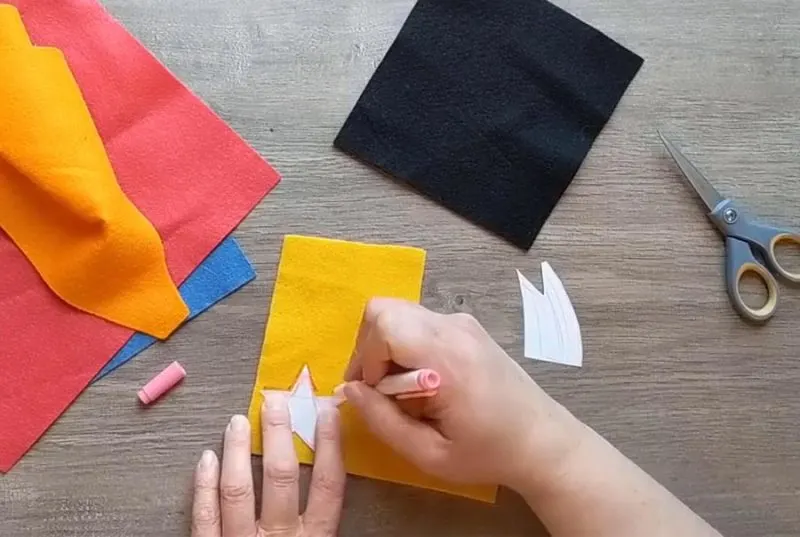
Once all my pieces are cut out, I simply used a thin strand of thread and small stitches to anchor my felt onto the backdrop. One nice thing about how porous felt is, is that you can often get away with using a contrasting color of thread- it just disappears into the fibers. This makes sewing the patch easier because you can sew the entire thing with white thread and never have to purchase additional thread or rethread your needle.

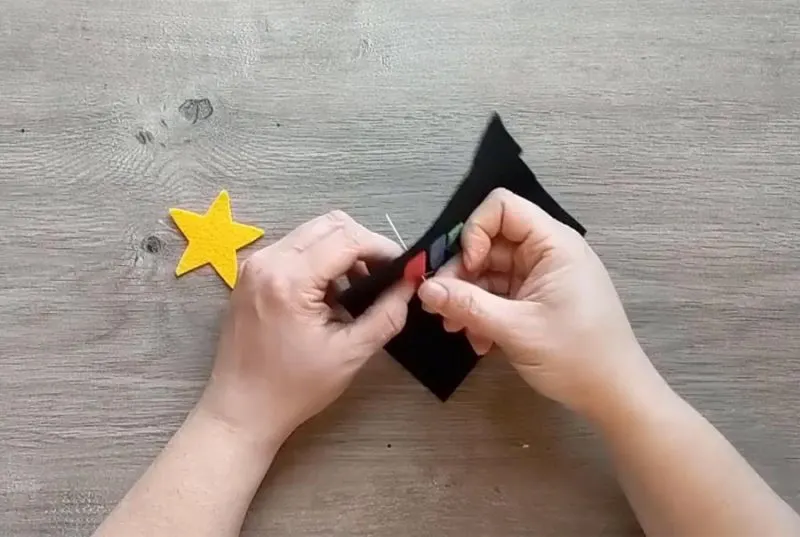
Depending on how durable you need your patch to be, you can make this process go very quickly using quick, widely spaced stitches – called basting – or create a more durable patch by using close stitching.
TIP: if you want to sew quickly with a contrasting color of thread, make your stitches small on the visible side of the patch, but long on the back side.

If you want to add words to your patch, it’s actually really easy to learn basic embroidery stitches. A good tip for adding lettering via embroidery to your patch is to use multiple strands – four or more – of embroidery thread on the letters. This makes it much faster to create visible, clear lettering stitches.

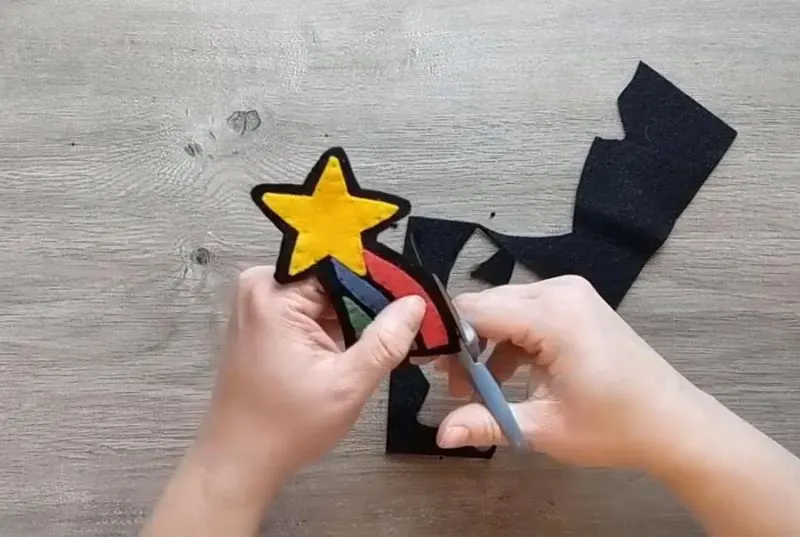
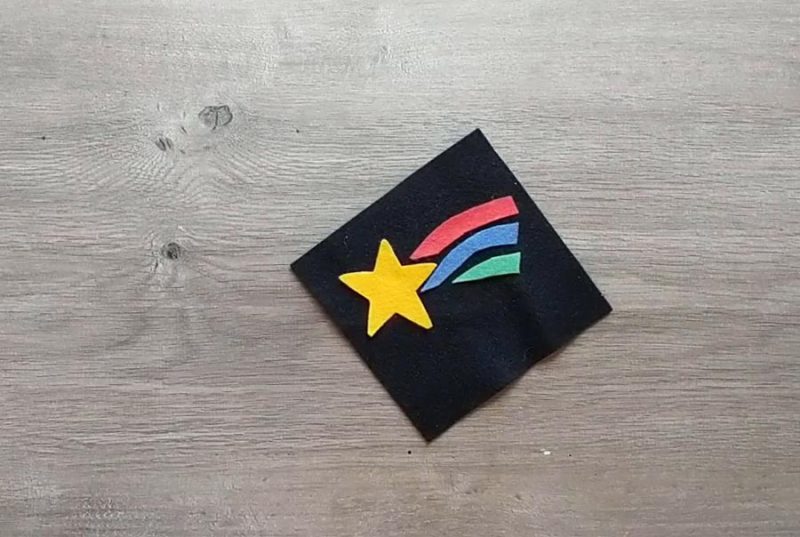
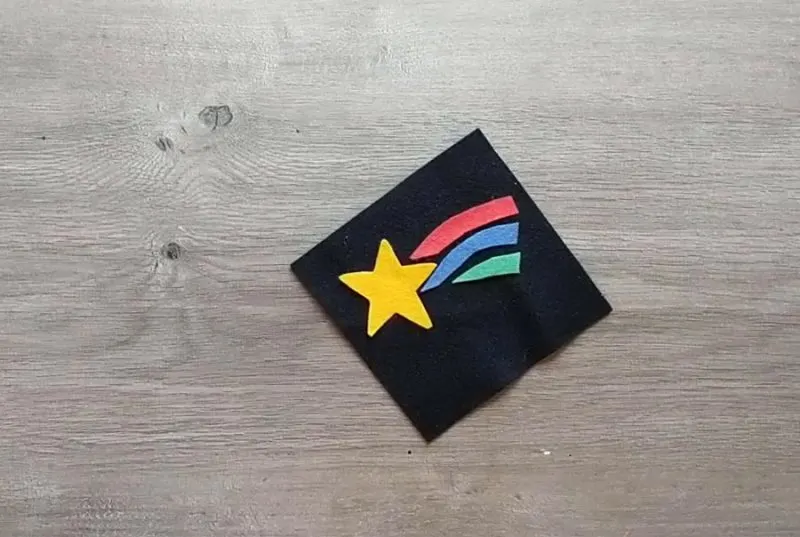
Creating a custom DIY patch out of felt is actually a pretty quick project. Once everything is stitched into place and you don’t have any felt edges flipping up, you can cut the entire patch free from your base layer. I recommend cutting it out once with a very large margin, and then coming back a second time to cut a closer, cleaner edge.
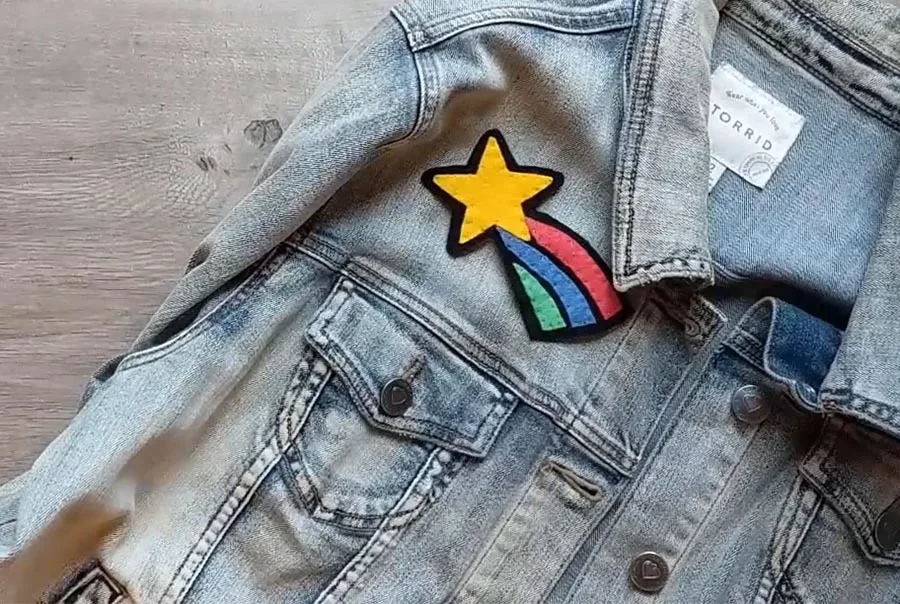
You can attach your finished project to a jacket or backpack using safety pins, fusible iron on backing, or by adding a few more simple stitches.

Loved it? Pin it!
Thanks for Reading!!!
I hope you can tell that I love DIY, researching the best affordable solutions for every-day problems opportunities and documenting / sharing solutions!🙌 Hawk-Hill.com is reader-supported.
☕ Hawk-Hill.com is reader-supported. If this article saved you time or money, please consider donating $1 to help me cover the cost of hosting this website OR If you appreciate this information and want to throw a “Thanks!” my way by buying me a coffee – I would Of Course appreciate it! :]
Reader Questions and Recommendations
Readers, do you have any favorite topics / posts? What would you like to read more about in the future? As I hope you can tell from this and other articles on my site, I really enjoy DIY / a good challenge, and I’m not afraid to roll up my sleeves to figure out a great, and hopefully simple 😁 solution. So please feel free to let me know in the comments below (or reach out via social media)!
Ok Really – I’ll try to wrap this up now😂
Finally, if you’d like to continue to learn about interesting DIY options as well as how YOU can tackle creative new projects consider checking out the latest and most popular articles listed on the Hawk-Hill Home Page. I’m always trying to enjoy and write about the creative side of life so please don’t be a stranger – check back often!😍
If you enjoyed this post you may also enjoy reading / perusing / devouring😊 one or all of these articles as well!