

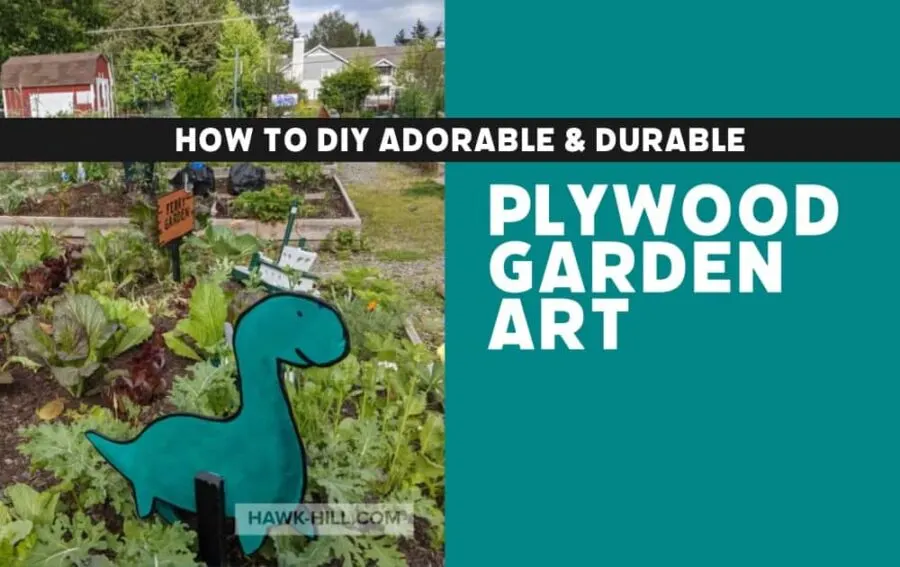
In today’s post, I’ll be showing you how I made a project that I recently completed for my community garden. Check out the video below for a preview, or keep scrolling for a depth tutorial and supply list.
One of the hardest parts about moving to urban Seattle was losing my farm lifestyle– including the big gardens that I always had in Missouri. For the entire four years that I lived in downtown Seattle’s Belltown district, I waited with longing on a waiting list for a community garden plot. Even after four years, I never managed to get a spot! So when I moved about 10 miles north of downtown, to a suburb just on the edge of the city, I was signed up for a community garden plot on that city’s Parks and Recreation website before I was even finished unpacking boxes!

To my delight, I got a plot the following spring year, and quickly began dreaming up how to let all my pent-up gardening energy run free. My seed packets were in the mail within weeks (and a good thing! Because in spring 2020 seed packets have been hard to come because of coronavirus). By February, I had seedlings growing in aluminum foil trays under bedside sconces, and by March I already had a few plants large enough to harvest greens!
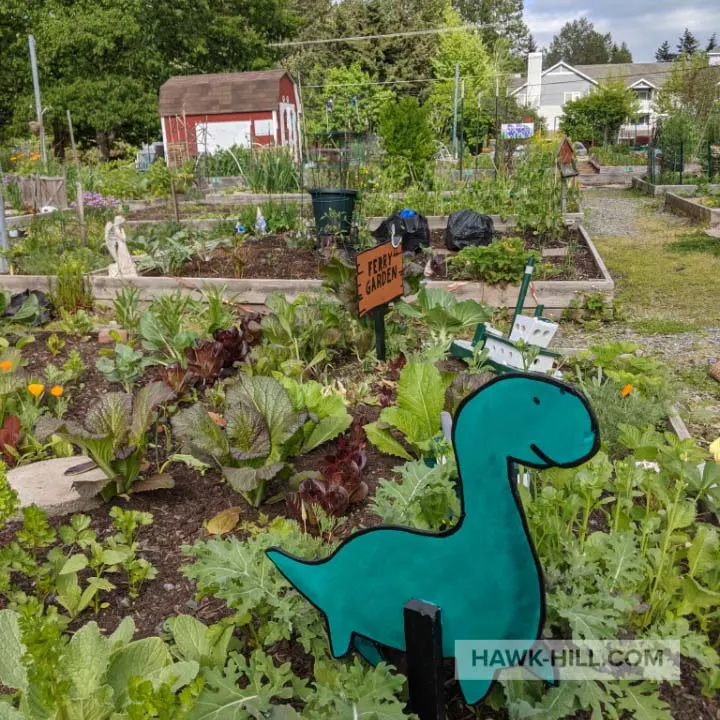
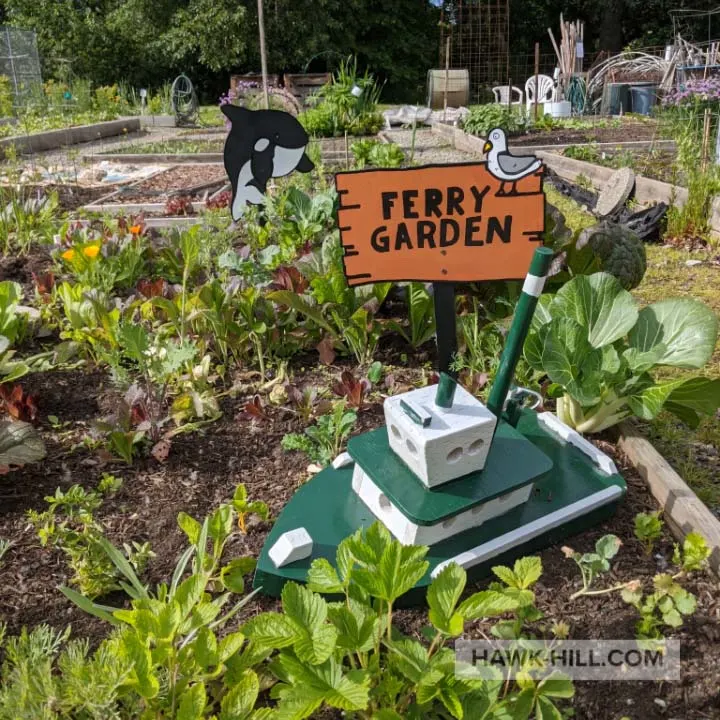
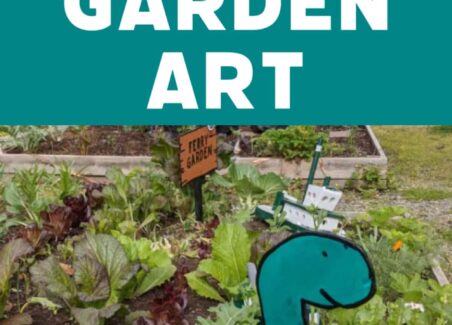
It was around that same time that I bought the first ornaments for my 10’x10′ community garden plot. Wandering through my favorite thrift store, I found a ferry-shaped lawn ornament that someone had made using basic lumber. Initially, I left its tugboat-shaped partner on the shelf, but when I returned the next week on my regular rounds and discover the tugboat still in place, I immediately purchased it. For only five dollars I got these adorable boats to decorate my garden – and the right to make ferry/fairy garden puns for at least a full season of gardening.
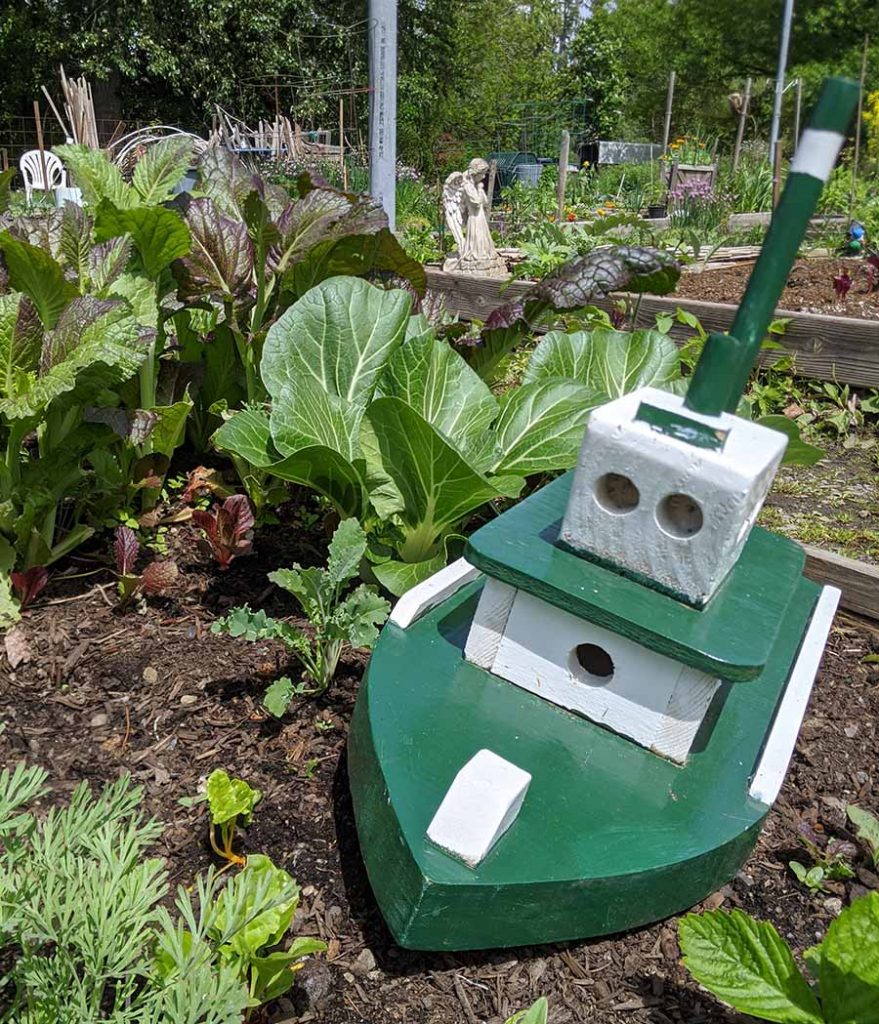
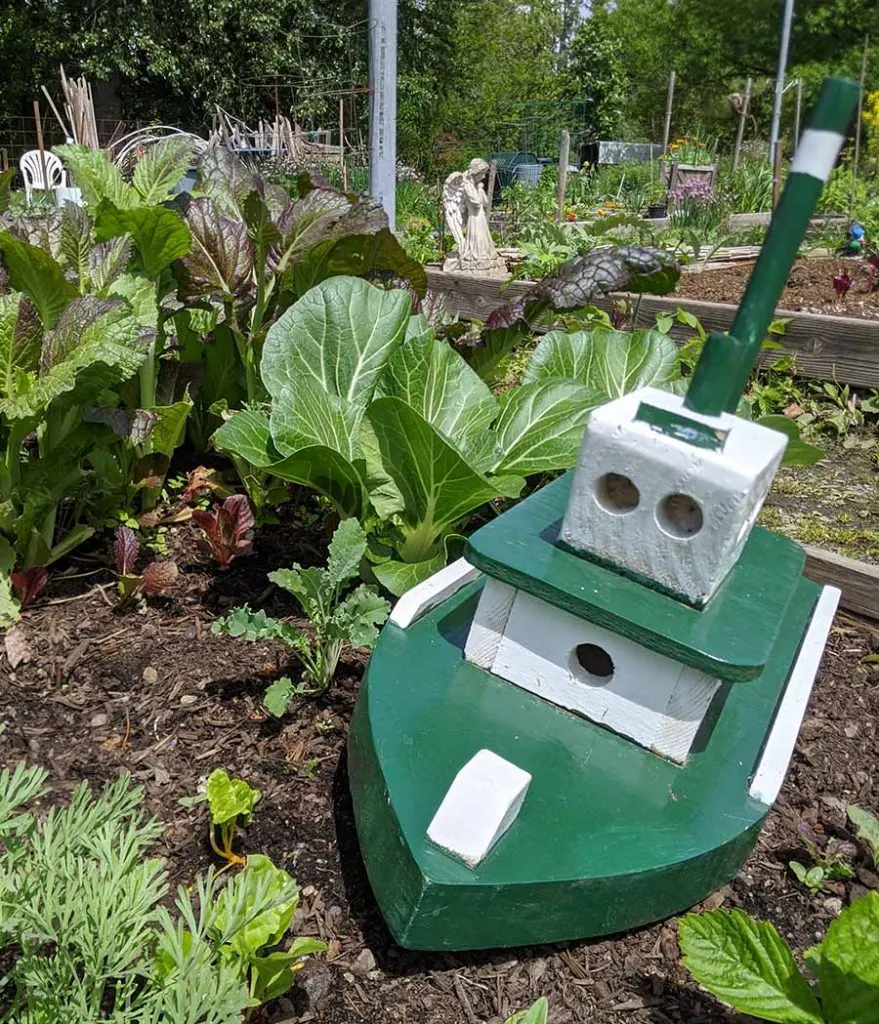
I plopped the ferry boats into my garden and continued gardening, explaining it was a “Ferry Garden” to passersby when they asked about my them. I got some polite laughter but it was fairly obvious that most people didn’t get the pun right away. The joke was usually lost without being able to see it in written form.
So when we found ourselves quarantined for months in Seattle, I decided to invest a bit of time in dedicating myself to the joke and making a sign that celebrated my Ferry Garden in written form. Although I highly doubt anyone else – even in the big wide world of the Internet – wants to make a “ferry garden” sign, I wanted to make a quick tutorial on how to make high-quality plywood garden signs that are vibrant, clear, and will last more than one season.
How did I learn? My parents use this method to make Christmas decorations back in the 1980s! Every year my father would drag a giant plywood snowman and Santa Claus from the attic of our garage and prop it up out in front lawn with a floodlight on it. With care, their cutouts lasted more than a decade – and even then they were in a condition to be sold to another family rather than discarded as rubbish!

How to make plywood outdoor decorations that last, Supply List:
The trick to making durable outdoor plywood lawn ornaments is to invest in both supplies and time to create a final product that is weatherproof and rot-resistant.
The following section may contain affiliate links. As an Amazon Associate, we earn from qualifying purchases.
Supplies Needed:
- Zinsser Bullseye 123 primer spray
- plywood (no thinner than 1/4″, 1/3-1/2 is ideal)
- jigsaw (this one runs around $25 an should get the job done)
- sandpaper or palm Sander
- carbon paper OR a projector OR a very soft chunky graphite pencil
- standard paint for color fill – spray paint works best and for evenness and durability, invest in either Liquitex professional spray acrylic or the Mural Pack from Montana art Supplies. The latter is made for outdoor artists, and the colors in the combo-pack guarantee complimenting colors.
- high flow liquid acrylic paint for outlines. (Thanks to super-strong pigments, this paint has the viscosity of water with the coverage- in one coat- of 2-3 coats of craft paint! Use it with the pen below or you’ll hate me for the mess it makes when applied with brushes!)
- Montana paint pen for adding clean outlines in liquid acrylic
- wood stakes (for securing art in place)
- silicone
- screws
- clear matte sealant spray
Step one: design or download your pattern
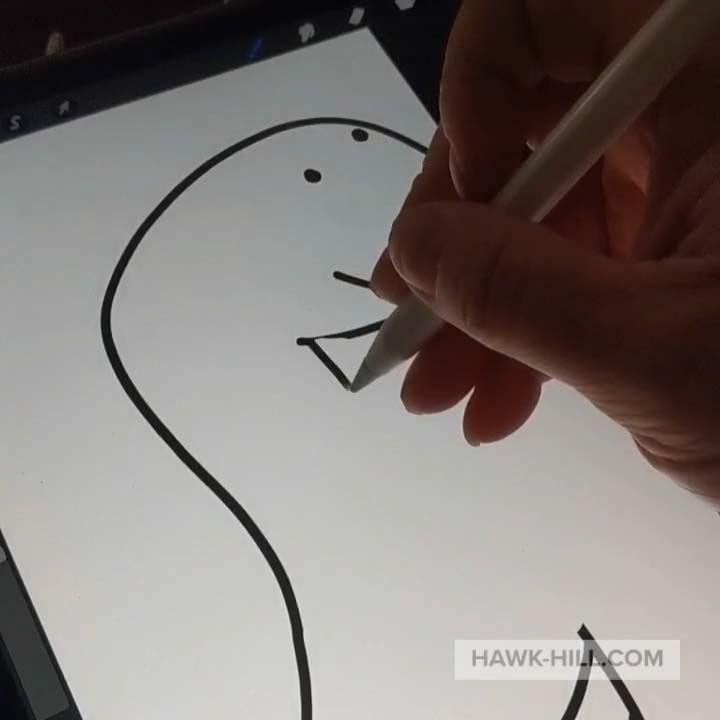
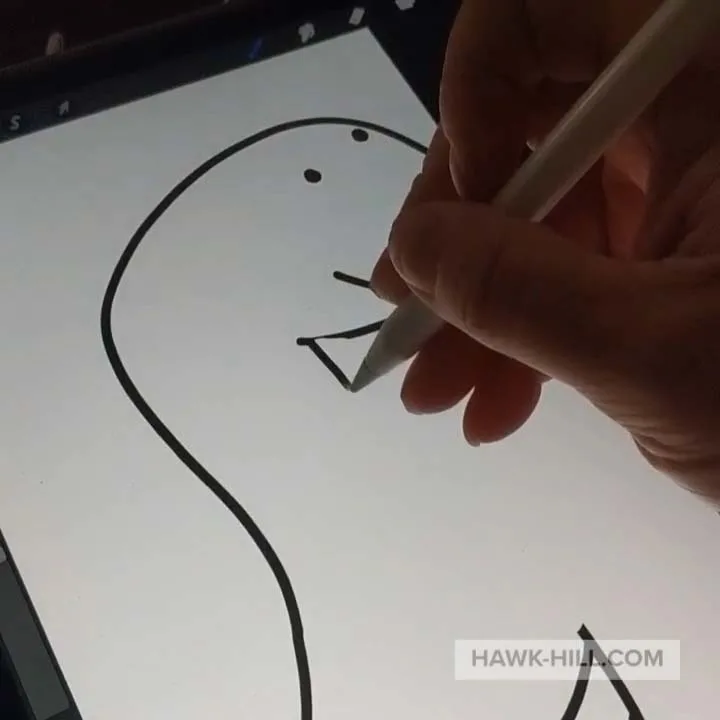
I designed my patterns on a drawing app on my iPad, inspired by similar images I found by searching Google images, but you can also buy patterns online (Etsy digital stamps are a great source). After you pick your pattern, follow these steps to enlarge, and transfer: in an
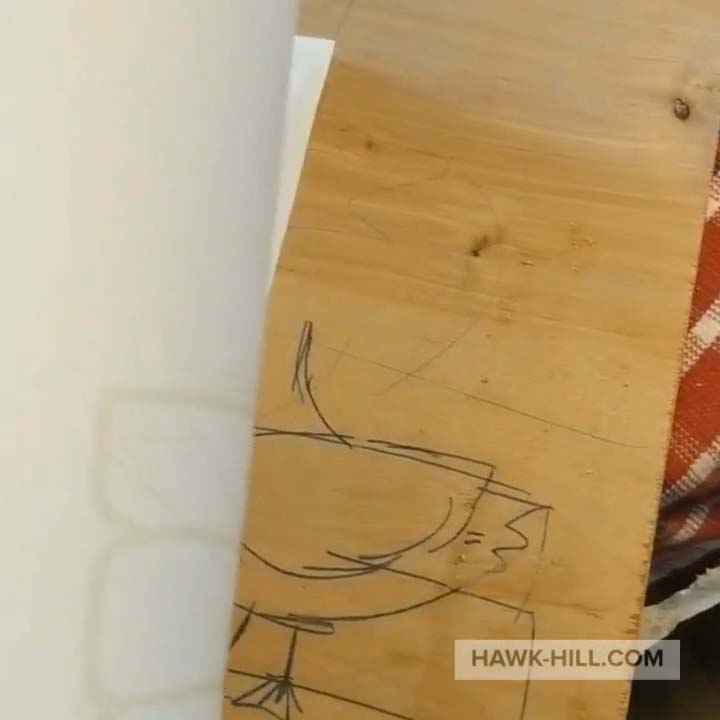
2. Acquire plywood and transfer the design
Here are three ways to transfer your design onto the plywood:
- use a projector. If you have an actual high-quality screen projector you can project the image from your computer screen onto the plywood
- use carbon paper. the option I chose: carbon paper. Once I had a line drawing, I transferred the image to my computer and printed it as a poster- spanning across multiple pages. I placed that poster onto my plywood with a sheet of carbon paper underneath and began to draw along each of the lines. This transferred my design cleanly onto the plywood.

3. Cut out your Design

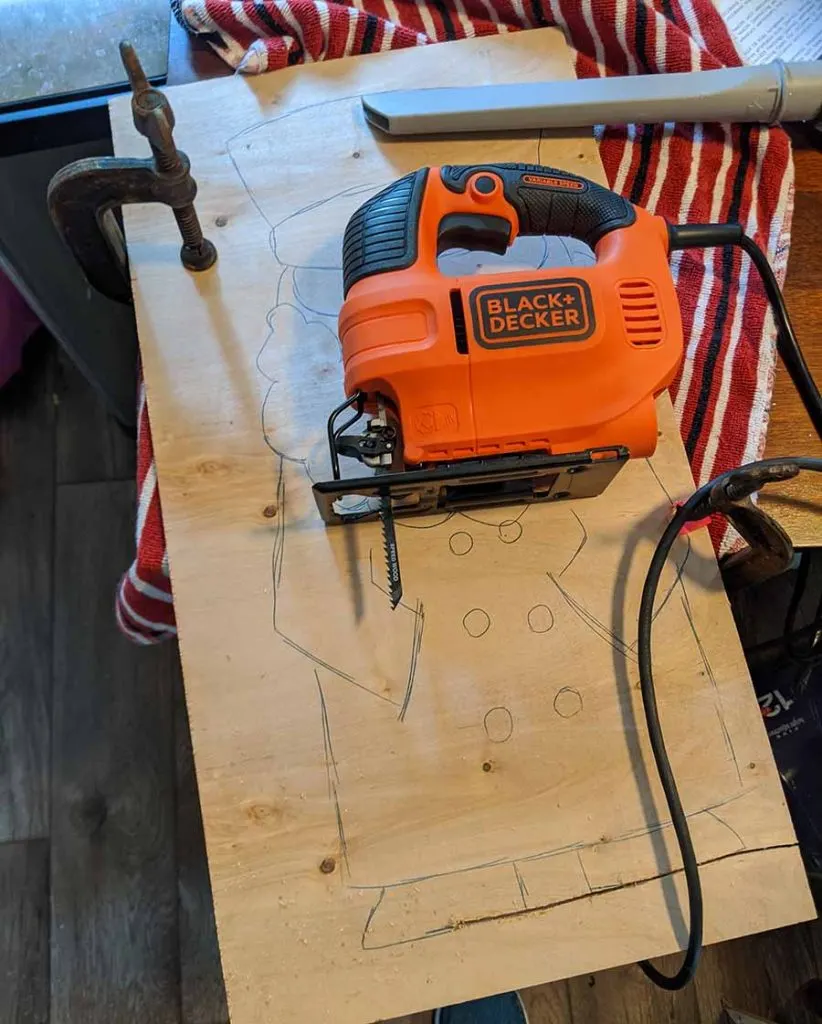
I used an entry-level handheld jigsaw to cut out my plywood designs. I used a 3/8 inch thick plywood because it was what I had on hand during quarantine, but if you’re doing this project at home I’d recommend a bit thicker plywood which will take a bit longer to saw.
The hardest part about using the jigsaw is securing the plywood to be cut. You’ll need to use some sort of clamps to hold your plywood stable. (Using just one clamp can create vibration that can snap the plywood so used two or more clamps if possible).
Depending on your design, your jigsaw may not be able to cut the fine details. Try to make your design simple to eliminate these or use the jigsaw to rough-cut and then use a hand-held hacksaw or scroll saw to finish those delicate cuts.
Sand your plywood figure

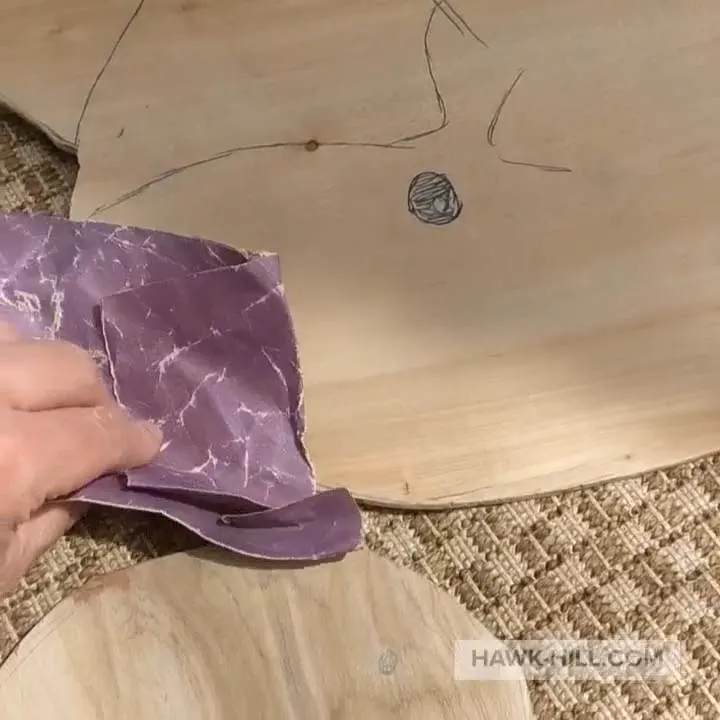
Now that you have your figures cut from plywood, it’s time to sand the edges. This makes each of the next steps easier and it also helps create the foundation for really good waterproofing on the final project (essential to delay rot).
Sand first with coarse sandpaper, then follow with a finer finishing sandpaper. Continue sending until the edges are smooth to the touch.
I sanded mine by hand. A palm sander should work, but if you start with too coarse of a pad or too much pressure you can damage your cutout in seconds- so be careful!
Apply quality primer
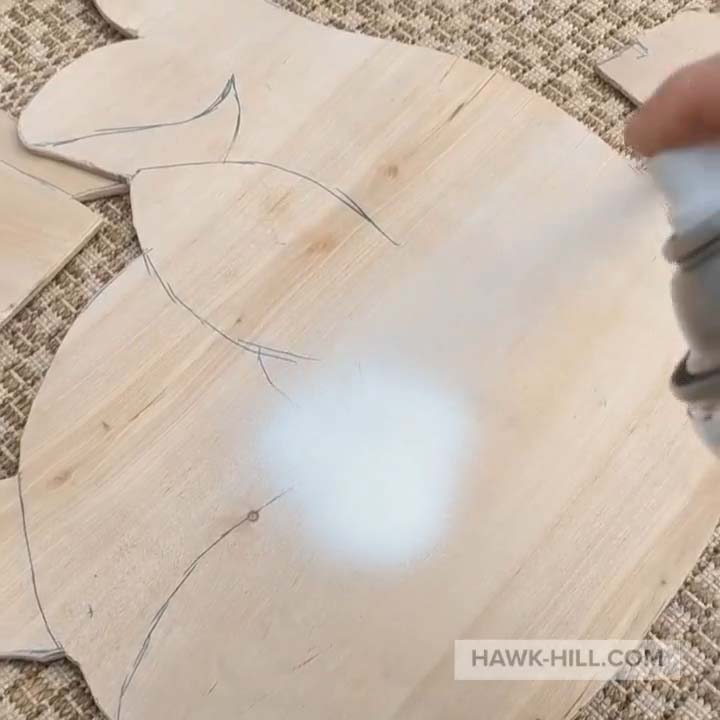
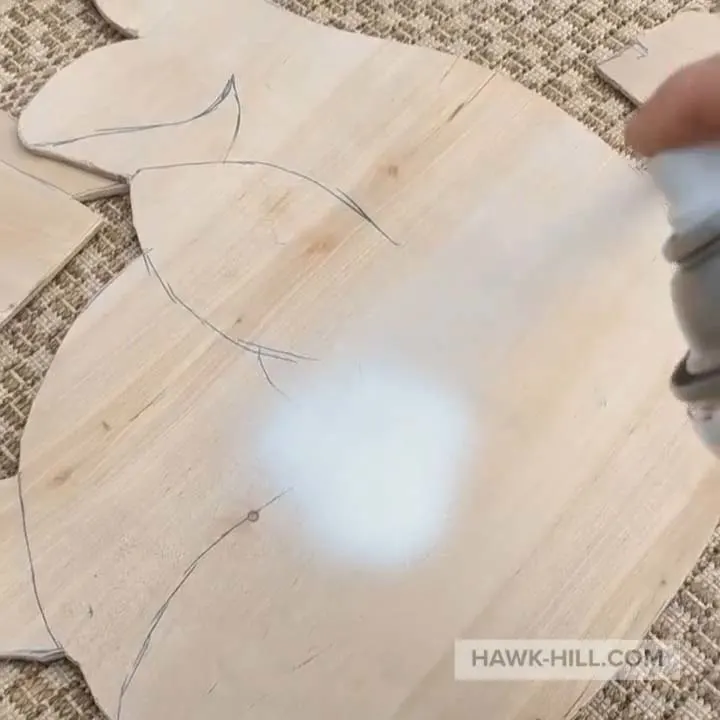
This is the MOST important step, and a point to really pay attention to the quality of the products you are using. A great primer locks out moisture and creates a base that your next layers of paint will stick to. The last thing you want is to invest hours in this project only to find the paint peeling off in the summer sun a few weeks later.
I love love love Zinzer primer and will preach that good news until the day I die or stop DIY-ing- whichever comes first. It’s the paint that keeps my Planter Boxes Made from Shipping Crates still looking great 8 years later! This primer is also great because it dries fast and you can begin a top coat of paint in less than 15 minutes after applying the primer.
Note: When you apply primer, pay special attention to the edges of the plywood, be sure and get a full contact application of primer on those exposed edges to prevent moisture from seeping into the layers of the plywood.
Begin painting the background or large single-color areas

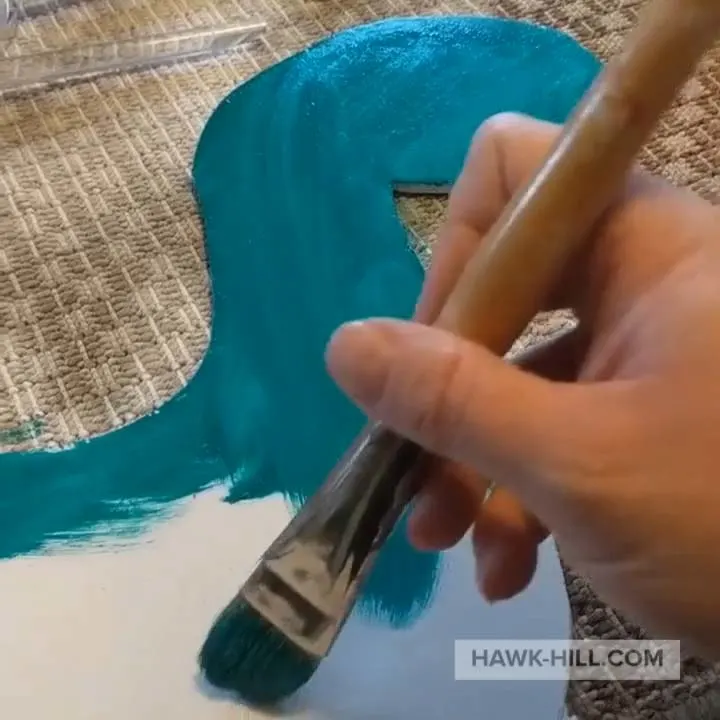
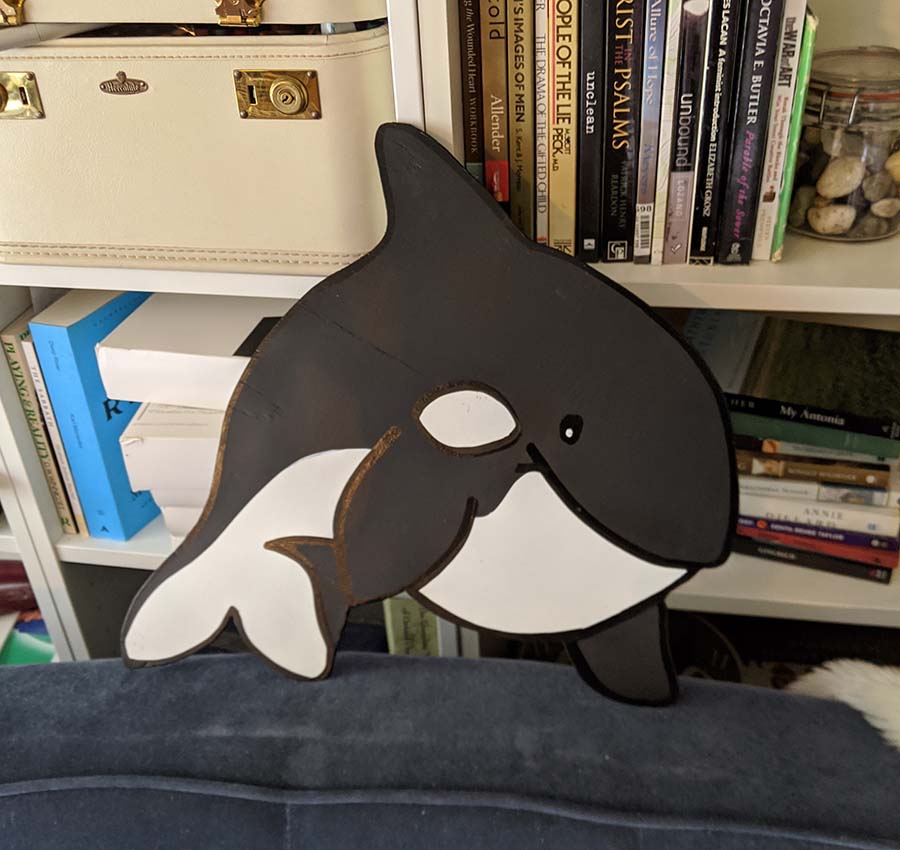
I got the best results by taping off areas and applying spray paint. Unfortunately, being mid-coronavirus quarantine, I only had black and white spray paint. Other colors were painted by hand using Liquitex acrylic paint I had on hand. With spray paint, one coat is sufficient, however, if painting with paintbrushes you may need to apply several coats, like I did.
Add outlines with a Montana paint marker
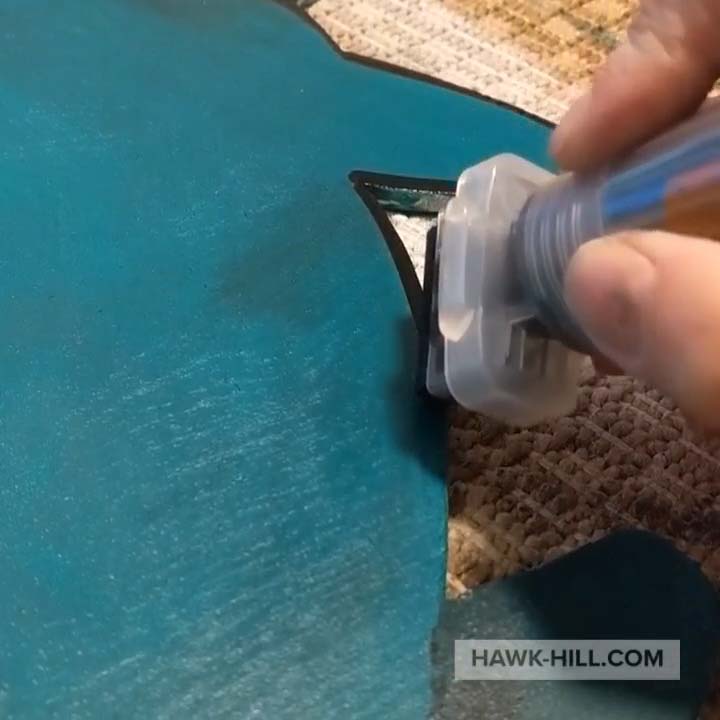

You’ll be tempted to skip this specialty paint pen – and if your design doesn’t depend on a clean outline, you probably can – but if your cut out needs outlined, save hours of tedious detail painting by grabbing some fluid acrylic paint and a Montana paint marker. Although this is a specialty art supply, they work SO WELL they are worth the investment even just for one project – and I’ve found myself returning to these supplies for several projects since.
A paint marker made for fluid acrylic allows you to draw perfect lines with even thickness in one coat – even over other dark colors. The paint flows evenly and is honestly my favorite part of this project because it’s so fun and satisfying!
Be sure that paint covers the edges of the plywood as you outline.
Add stakes (if needed)
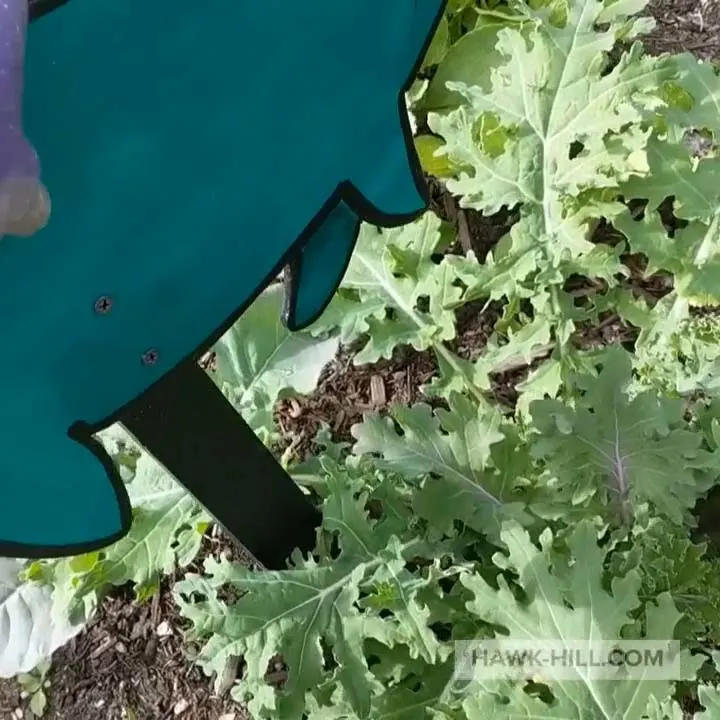
If your stakes aren’t pointed at the bottom to easily insert into the ground, use your jigsaw to cut them into a point. Prime your stakes and paint them to match. The paint will help form a protective barrier to slow the process of rotting.

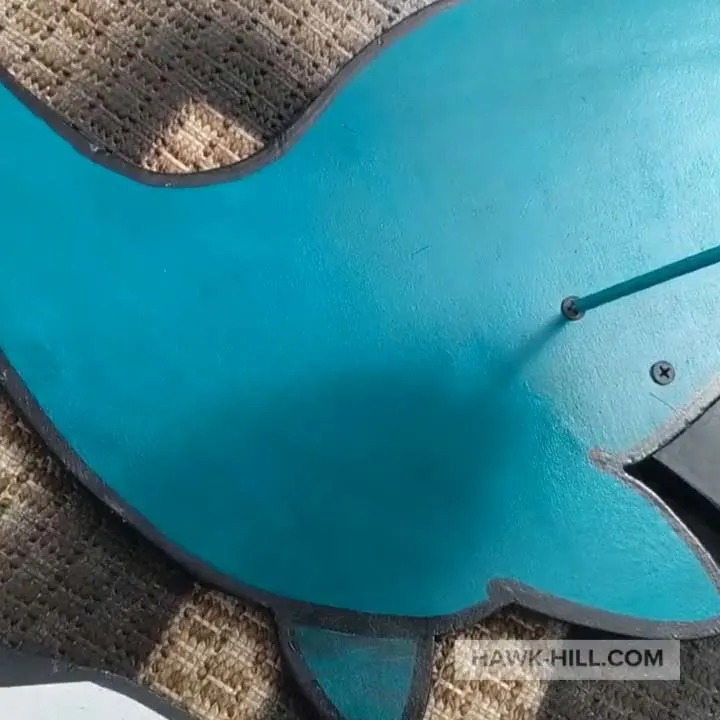
Carefully attach them using screws to your plywood figures.
Hint: Add a little bit of silicone in between the stake and the plywood figure before screwing them together. This keeps water from collecting in that gap between the two wood surfaces and helps prolong the life of the art.
Add a clear topcoat

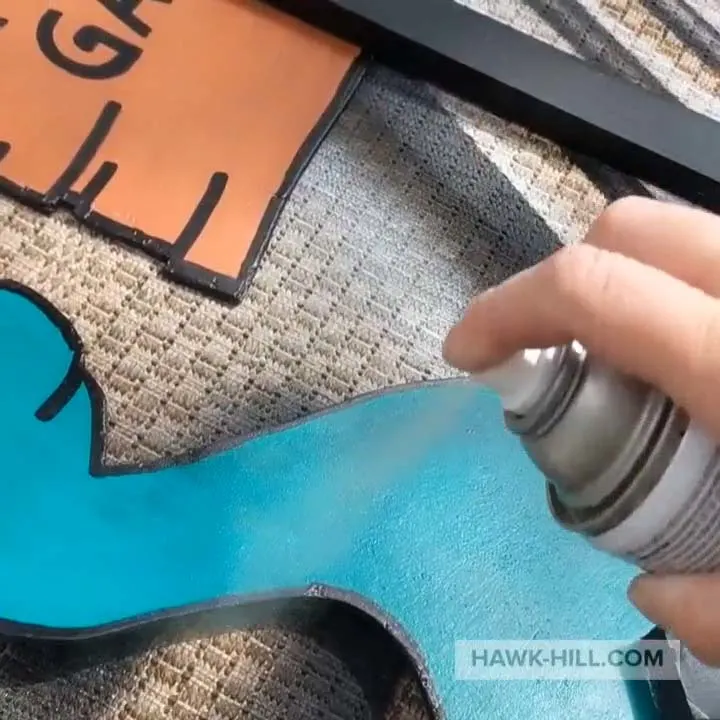
Finally, you’ll want to add a protective coat on top of your new plywood garden art – including the stakes. This helps protect the vibrancy of the color and add another layer of waterproofing for the vulnerable wood underneath.
Unveil your new garden art!
Once your plywood garden art is cut out, primed, painted, and sealed, it’s time to place it in the garden! If you have an extra steak I recommend hammering it into the ground first and then pulling it out, so you can easily place your more delicate art into the existing hole.

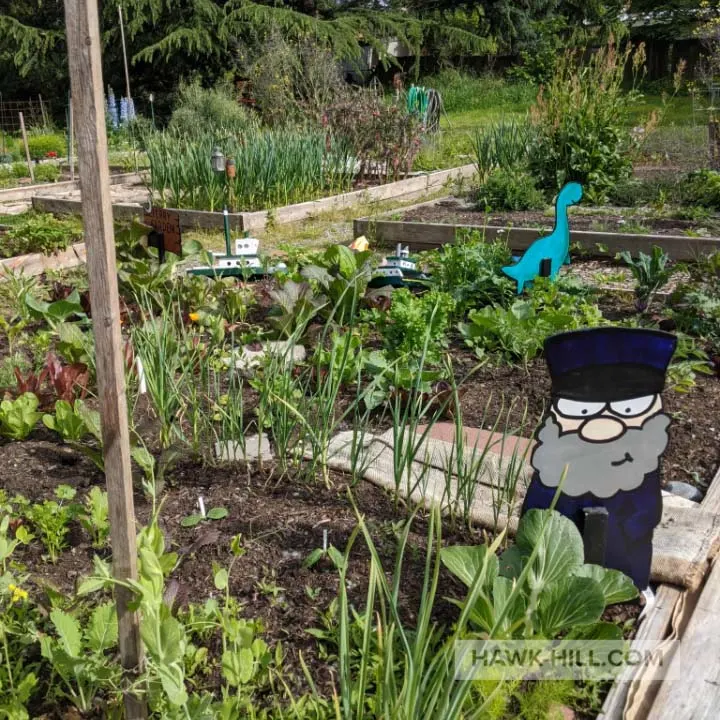
Using this method you can create an endless variety of garden art, yard art, Christmas or Halloween decorations, etc. I love that this method gives an outlet for creating public art without a huge investment. Did you try this tutorial and make your own plywood art structures? Comment and post a pic below