
My favorite time to beach comb is right after a big storm. After a storm, the shore is littered with new driftwood, beautifully sculpted by the natural power of the water. So many times I’ve encountered an amazing piece and thought “I need to bring this home!”
Over the years, I’ve discovered various ways to use and display my driftwood treasures. In this post, I’m sharing my tutorial for creating a beautiful, inexpensive driftwood shelf that is functional, space saving, and a great way to display these natural sculptures.
Hawk-Hill.com is a participant in the Amazon Services LLC Associates Program, an affiliate advertising program designed to provide a means for website owners to earn advertising fees by advertising and linking to Amazon.com and any other website that may be affiliated with Amazon Service LLC Associates Program
What You’ll Need to Create a Driftwood Shelf:
- Driftwood plank (approximately the shape of your desired shelf)
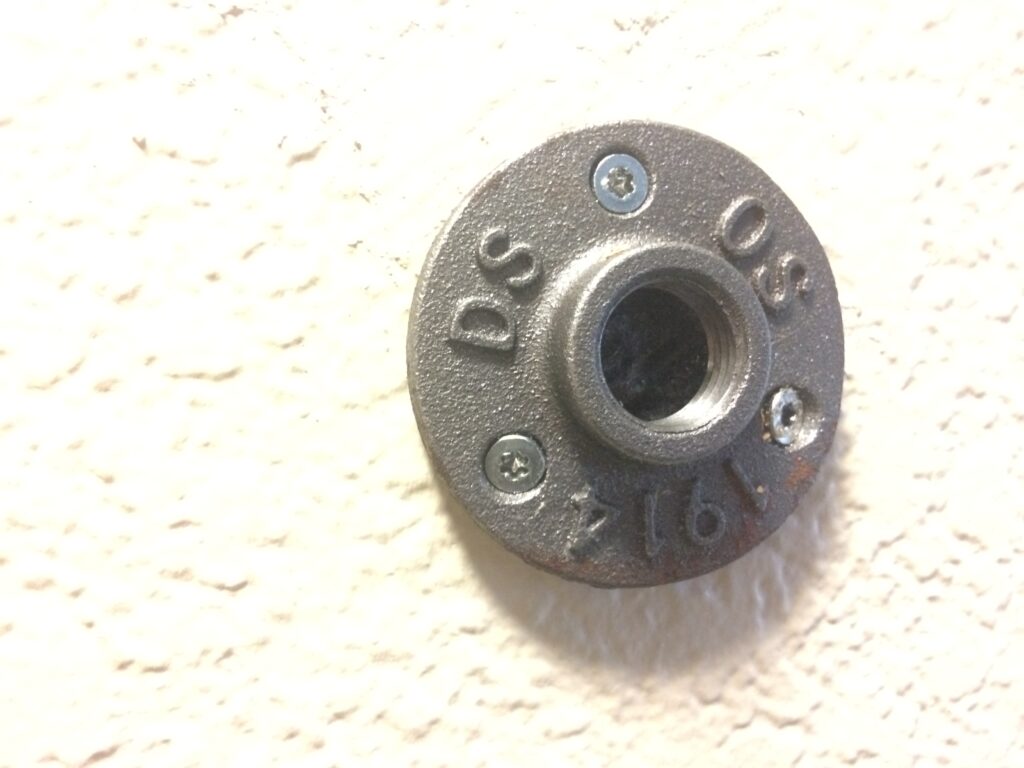
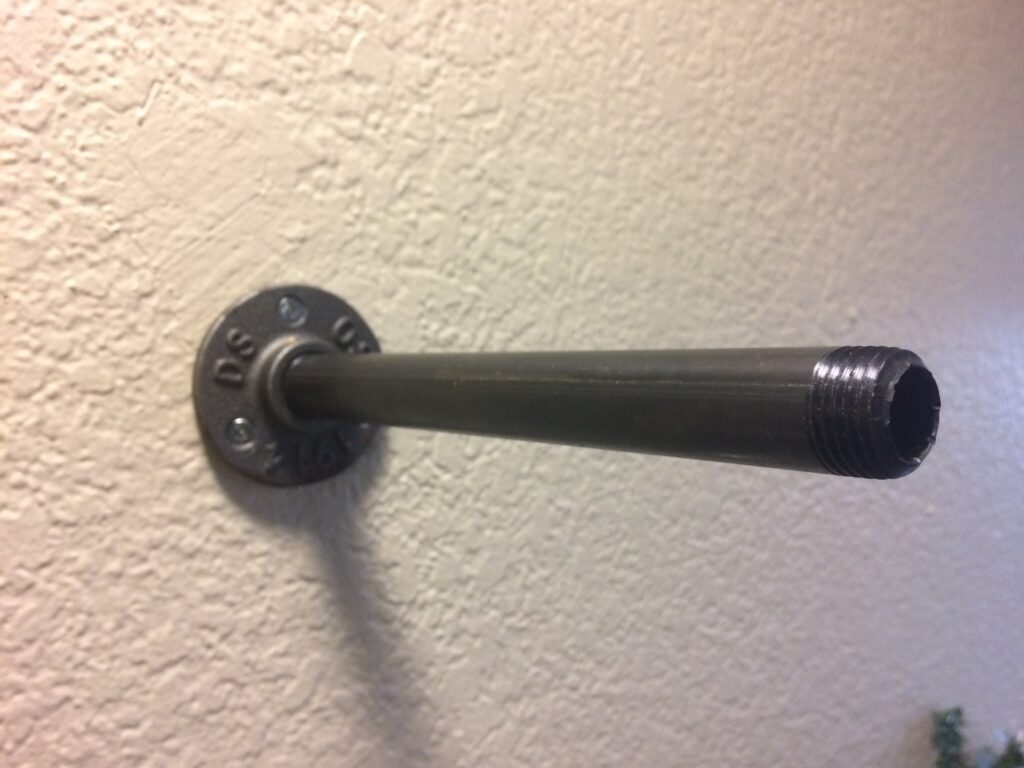
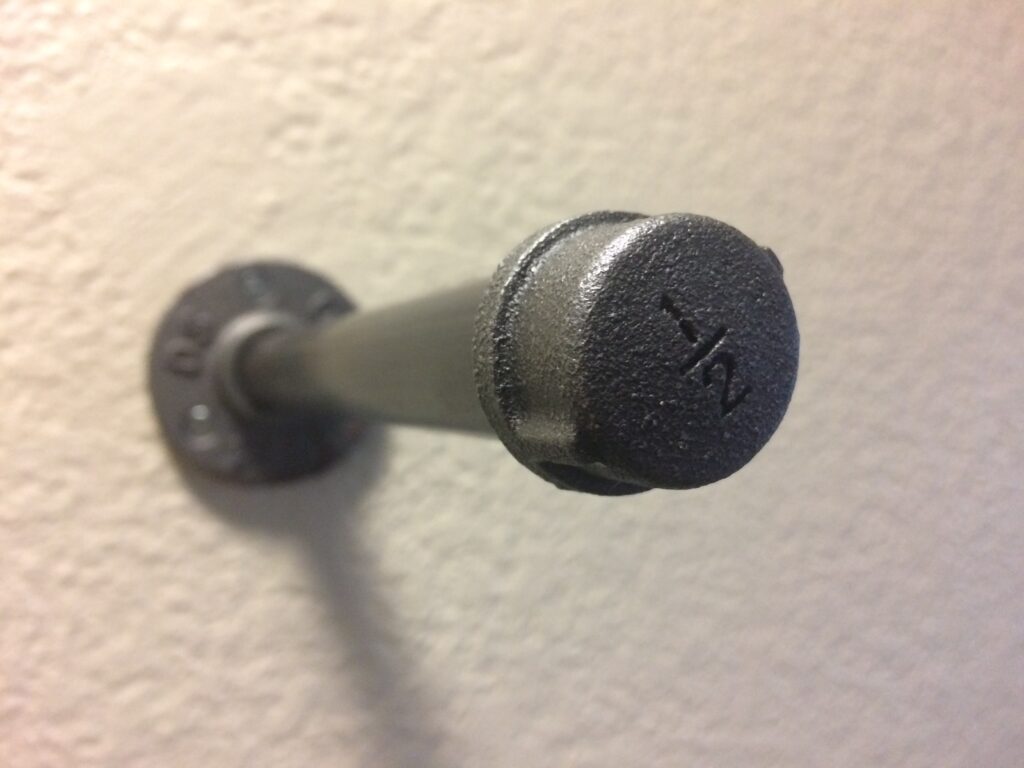
- 1/2″ Black pipe fittings (for this project I use 2 flanges, 2 eight-inch lengths of pipe, and 2 caps)
- 2-1/2″ or 3″ Screws
- Drill
- Saw (optional)
- Sandpaper (optional)
- Wood preservative (optional)
- Bleach (optional)
Steps to Build a Driftwood Shelf
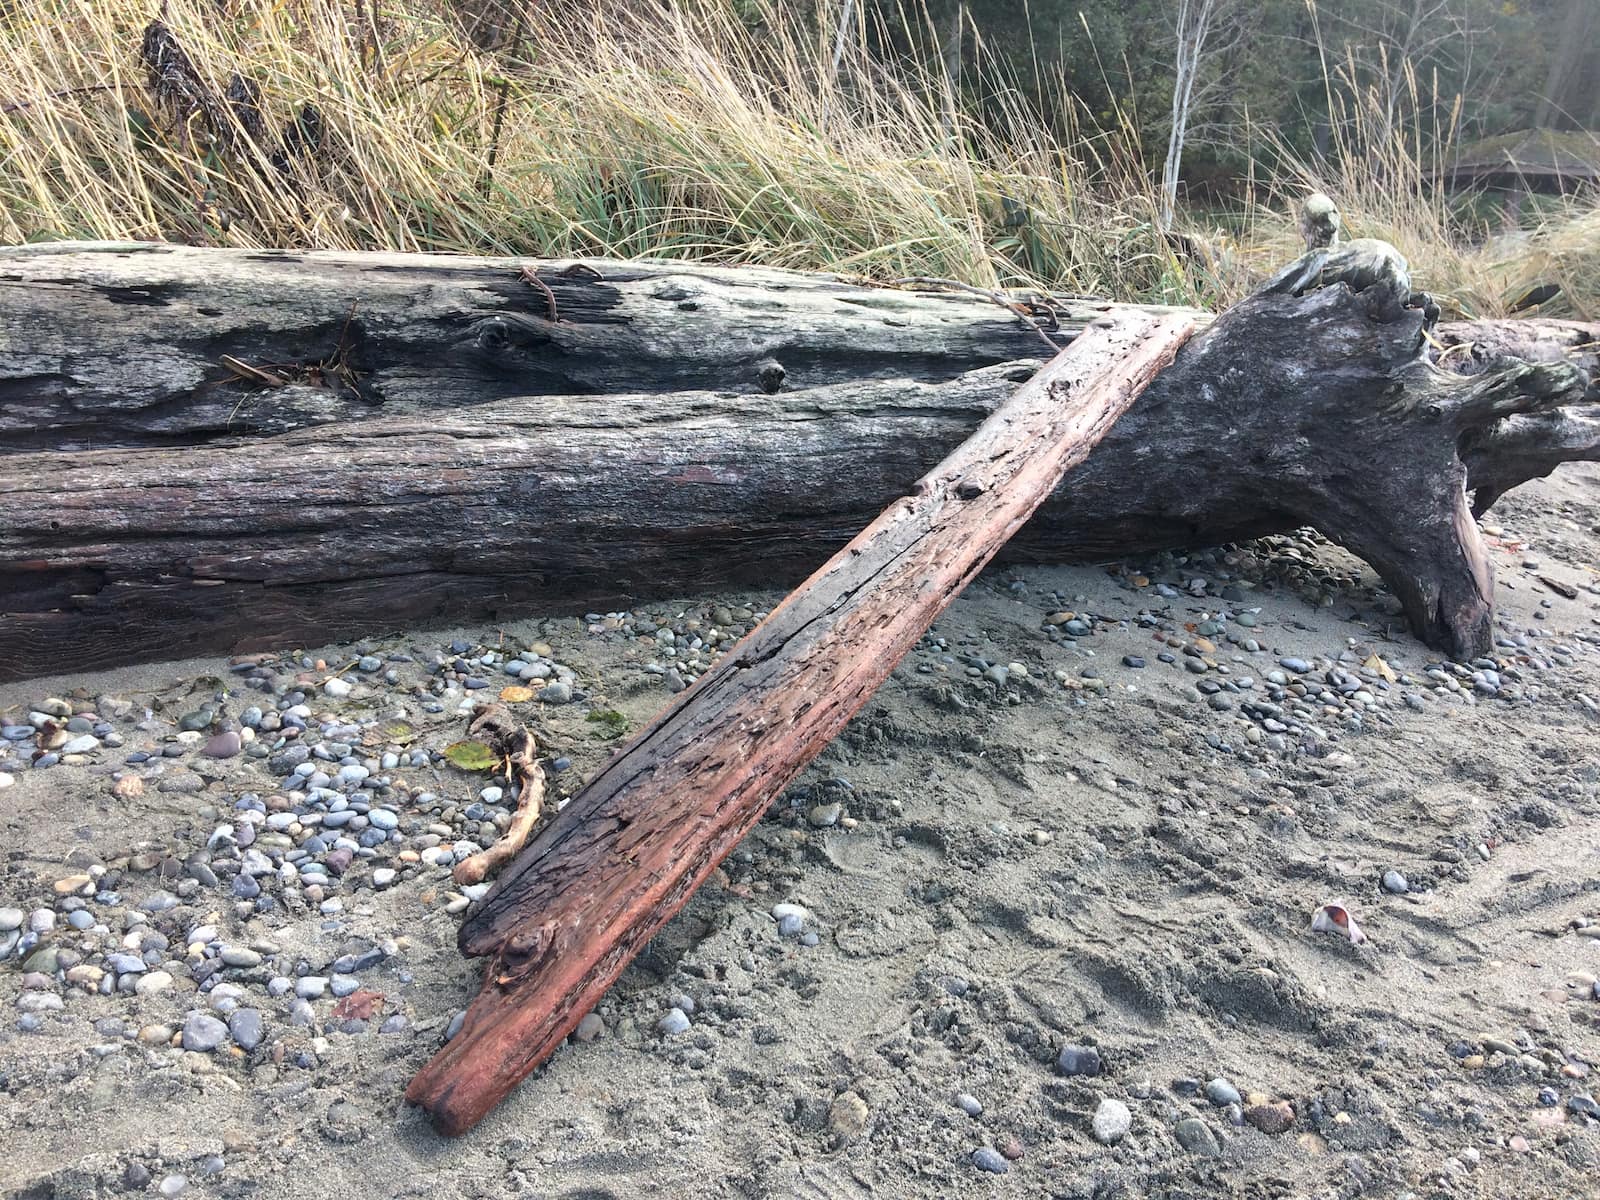
Step 1: Obtain a Piece of Driftwood
This step might take some time, depending on how often you have access to a good (and legal-to-collect on) driftwood beach. It might take one or a couple of trips to find just the right piece; however, with a little patience and attention to the beach environment around it, you’re likely to come across quite a few good candidates for your driftwood shelf.
Be sure to choose a piece that is manageable in size, and avoid wood that looks or smells oily, as this has likely been treated for industrial use with chemicals you don’t want to bring into your home.
Before bringing the wood into your home or car, inspect the wood for hitchhikers, such as barnacles, shellfish, sandfleas, and shipworms (I use trash bags to contain wood- and its flora- from transferring to my car’s interior).
Step 2: Prepare the Driftwood
How you prepare your found treasure really depends on what you want your driftwood shelf to look like, and how long you hope it might last.
The first option is to simply let your piece dry in a well-ventilated area for at least one week, leaving it in its natural state (Although you’ll still want to rinse and give your wood a light scrub with a plastic bristled brush).
Other options for preparing your piece include:
Soak the driftwood in diluted bleach as soon as you bring it home.
While a bleach solution will be sure to kill any microbes living on the surface and crevices of your driftwood, it will also change the color of your lumber. See below for a picture of how bleach can dramatically alter the color of driftwood.

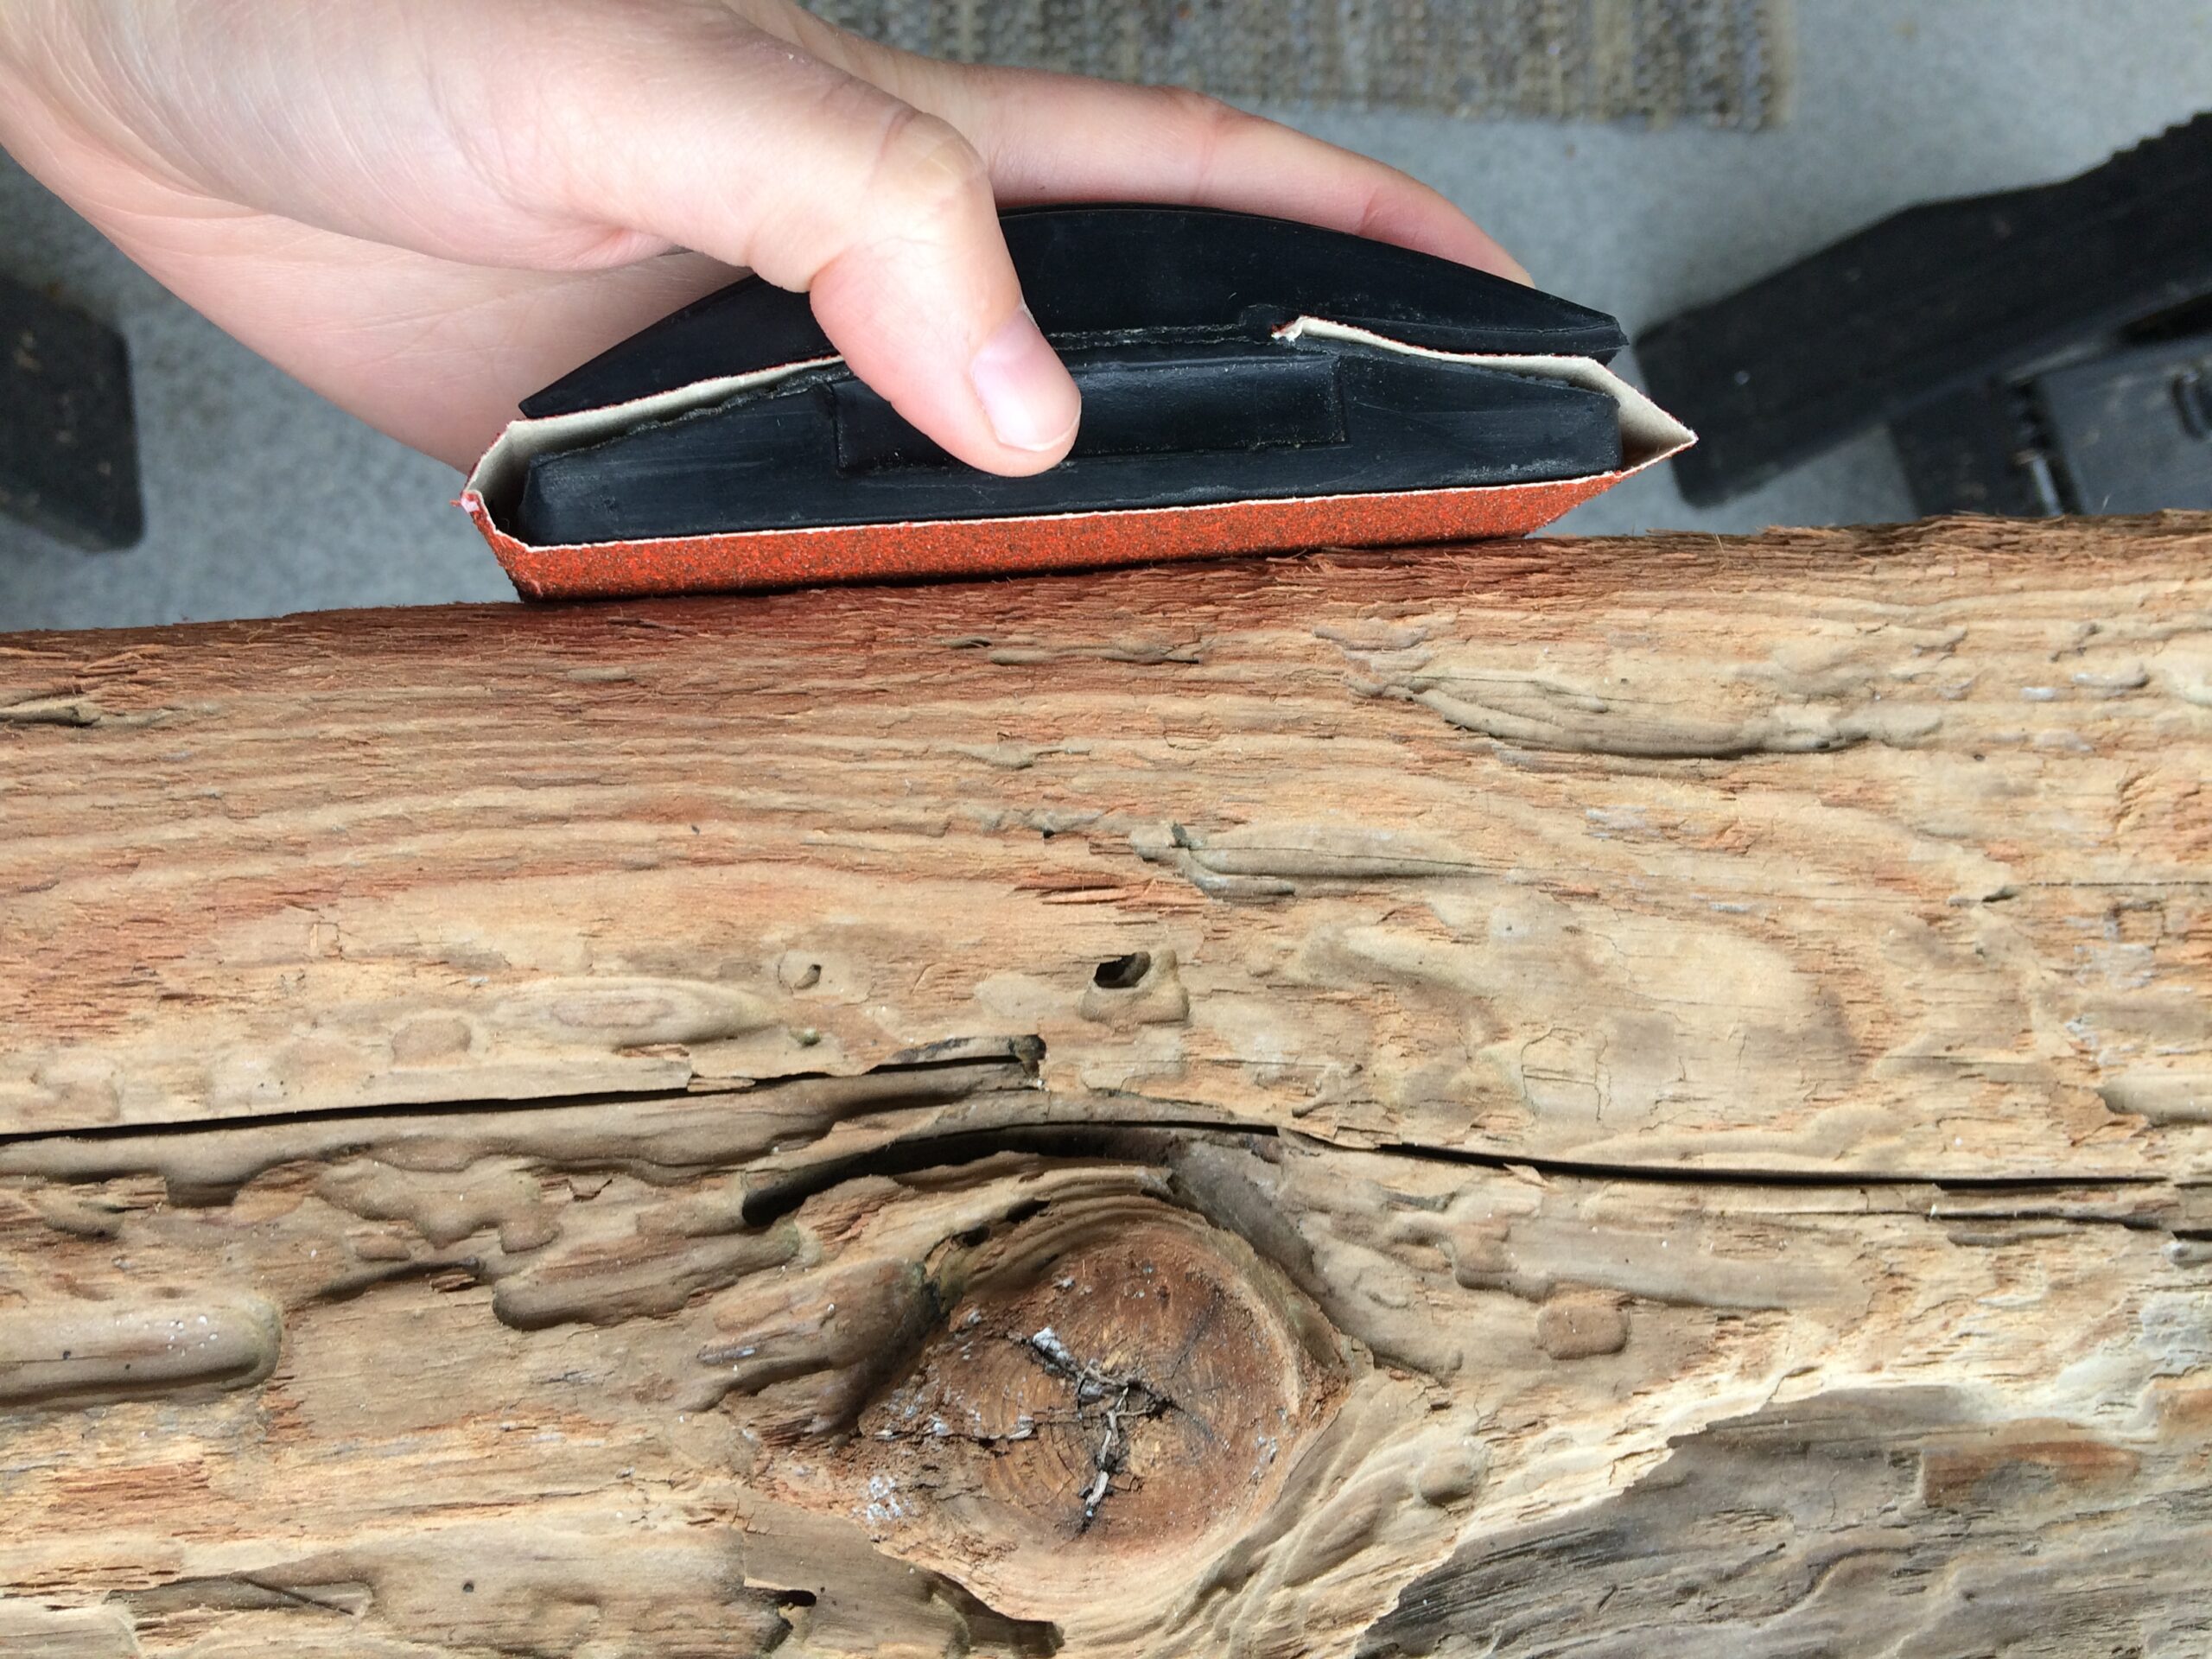
Let dry, then Sand the driftwood to remove dead wood and sharp edges
If recently washed up, you driftwood may be waterlogged and will need time to dry out. Drying your driftwood shelf might take days or weeks. Keep it in a dry area or spaced 2-3 feet from a heater vent for rapid drying.
Your driftwood might contain a lot of dead wood if it soaked in the water for a long time.
Evaluate by checking how “furry” the wood looks; splinters may come off in fine, thread-like fibers. There may be parts of the wood that are “squishy,” or crumble easily. This doesn’t necessarily mean that your driftwood is unusable, it just might require a little more care and attention, as these parts are more fragile and vulnerable to decay.
Cut the driftwood to remove rough parts and/or trim it to a desired size
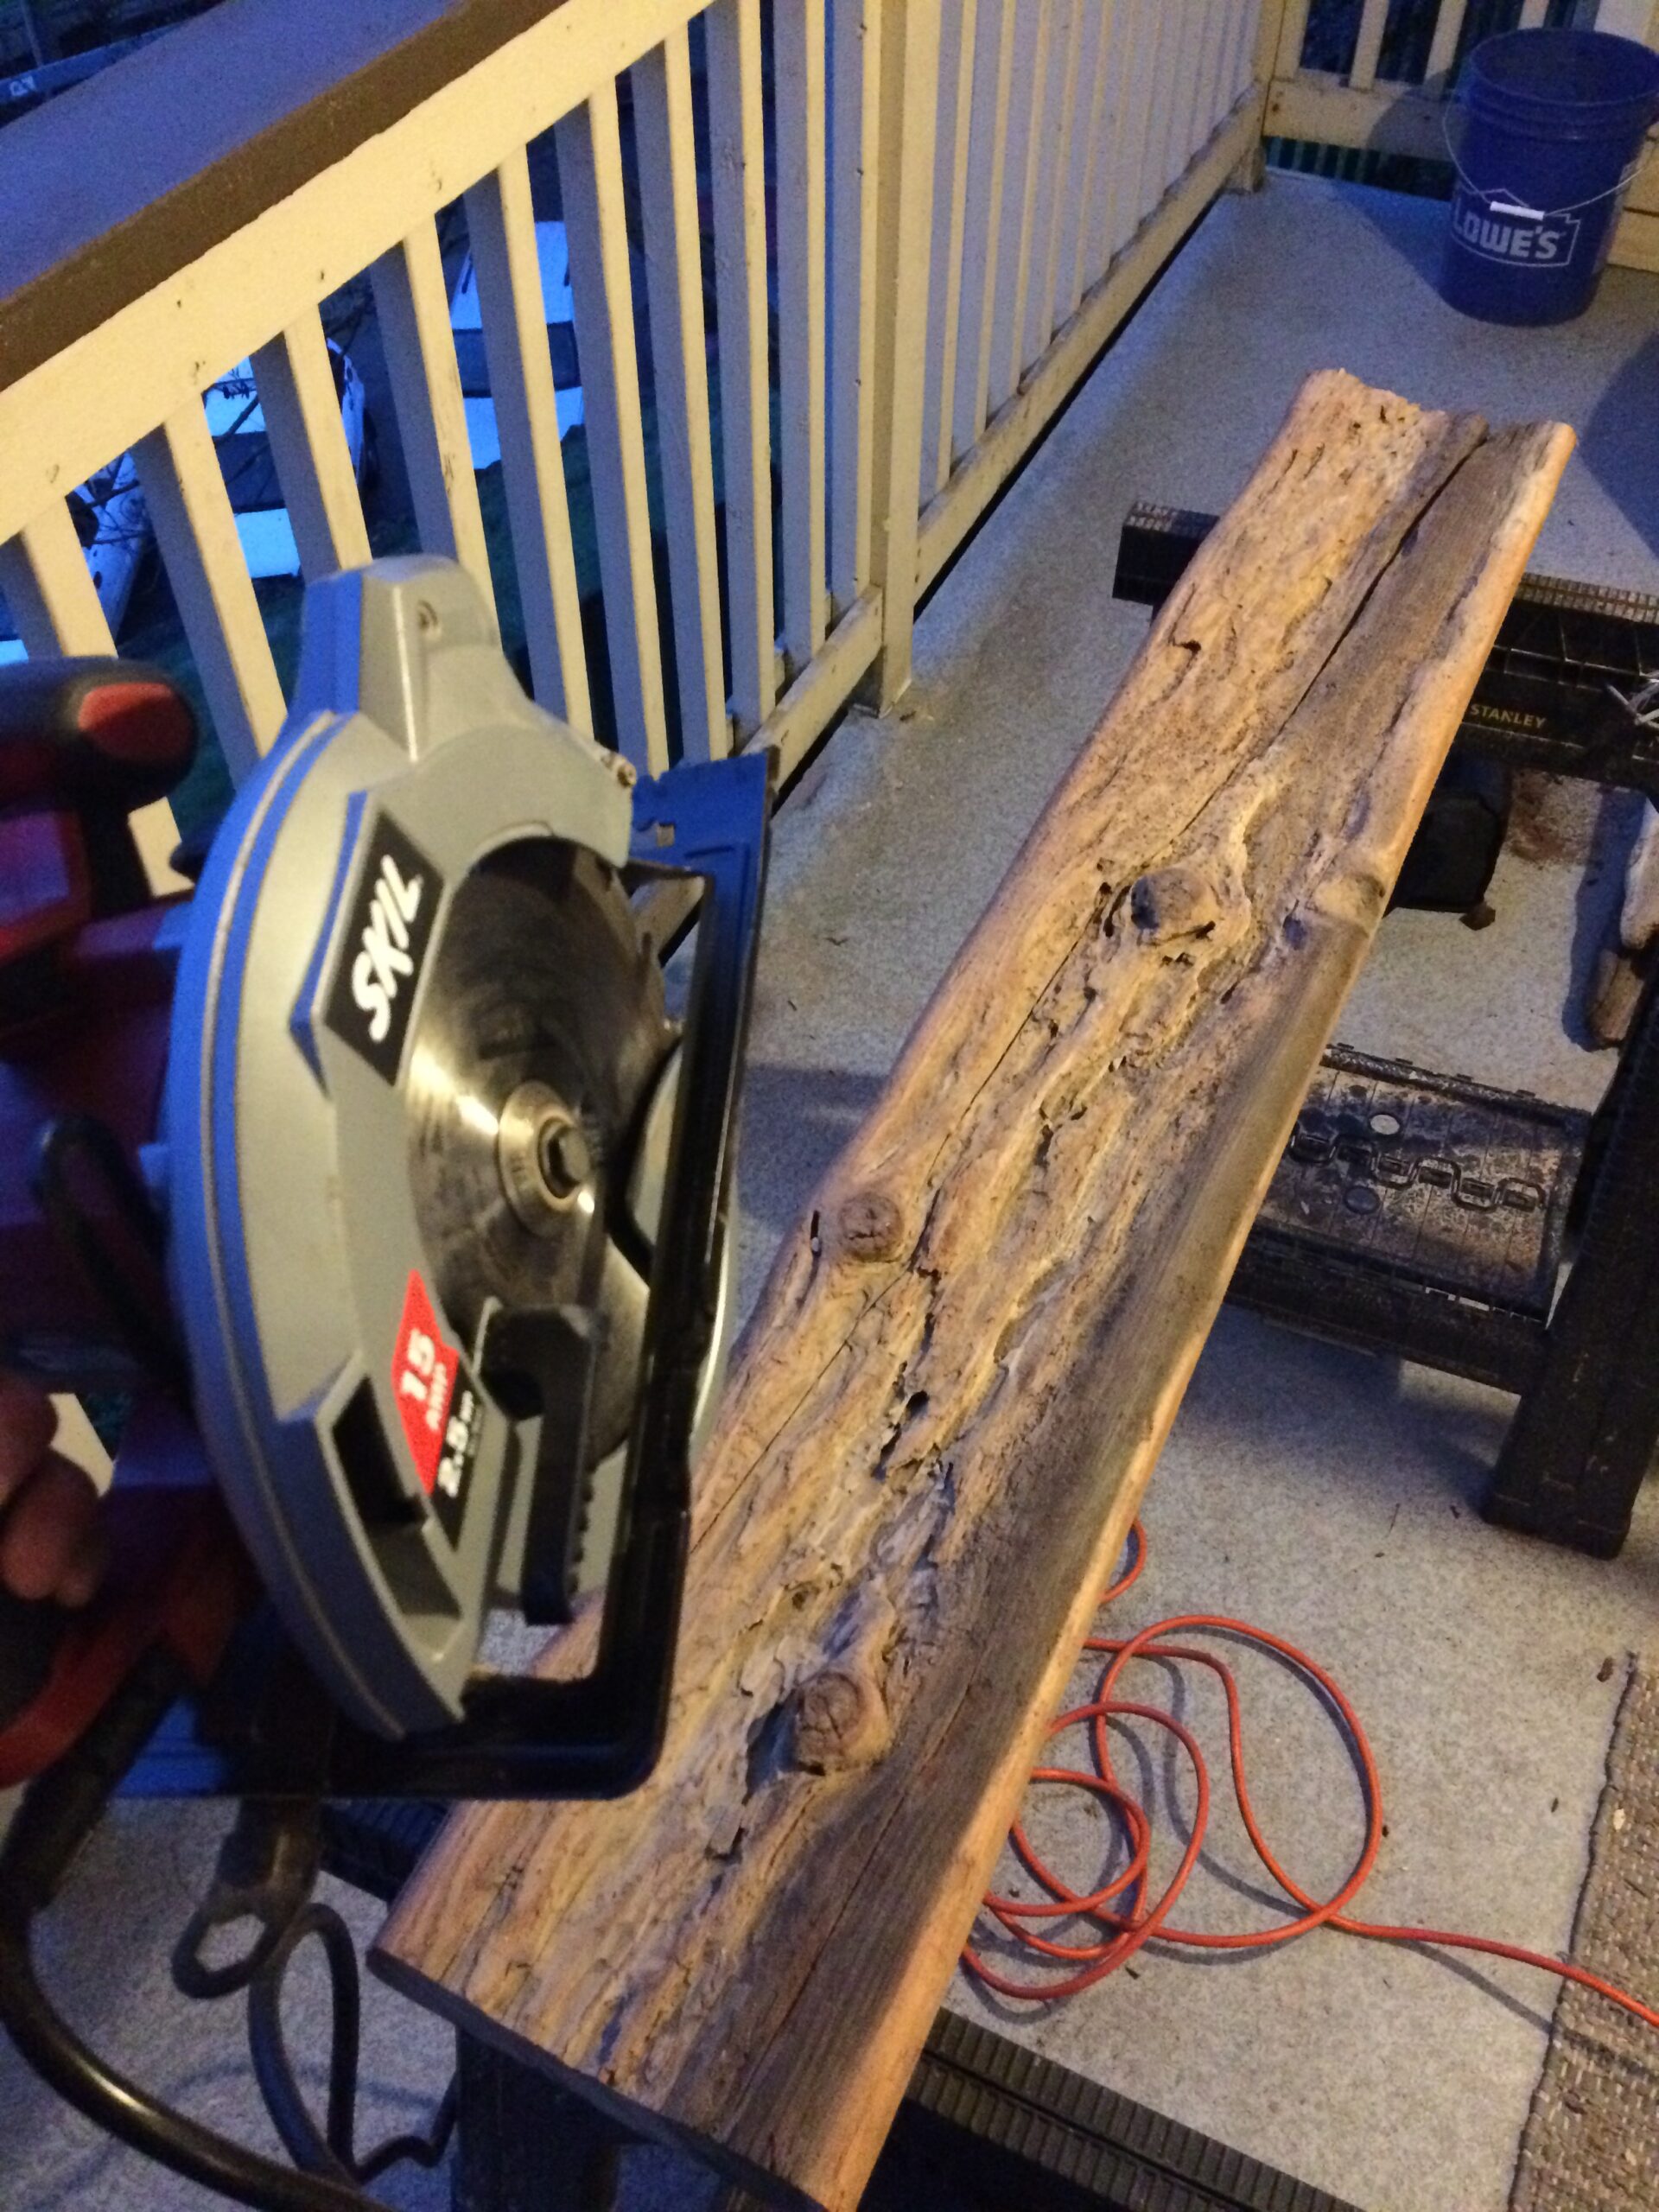
For this project, I cut the ends off of a fairly long piece using a SKIL saw (possibly one of the best, relatively inexpensive tool purchases I have ever made). I trimmed this board because this particular piece of driftwood was very long, and the ends were more decayed and cracked than the rest of the plank.
Use a wood preservative
Wood preservatives such as polyurethane can extend the life of your driftwood shelf. You can also use a more natural alternative, such as linseed oil. Take into consideration how wood preservatives might alter the color of your piece, as well as health and environmental considerations when choosing a preservative.
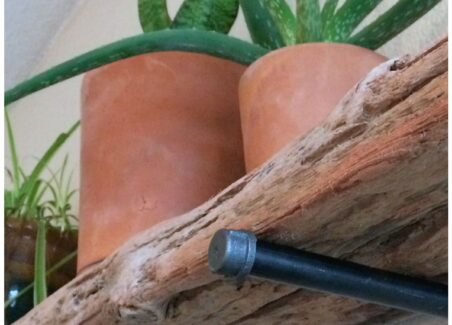
Step 3: Mount the Black Pipe Fittings (aka your new shelf brackets!)
The beauty of driftwood is in the ways it has been uniquely worn and shaped by water. This can also make it difficult to affix shelf brackets for mounting. To solve that problem, for this project I chose to create a floating shelf using black pipe supports for the driftwood plank.
First, clean and seal the pipe fittings (For a quick guide to cleaning and sealing black pipe fittings to use as decor, check out this video). Next find a stud on the wall where you plan to hang your shelf, then measure and affix the flanges to the wall, using screws that are long enough to anchor in the studs. Then screw in the pipe lengths and caps for a rustic, finished look.
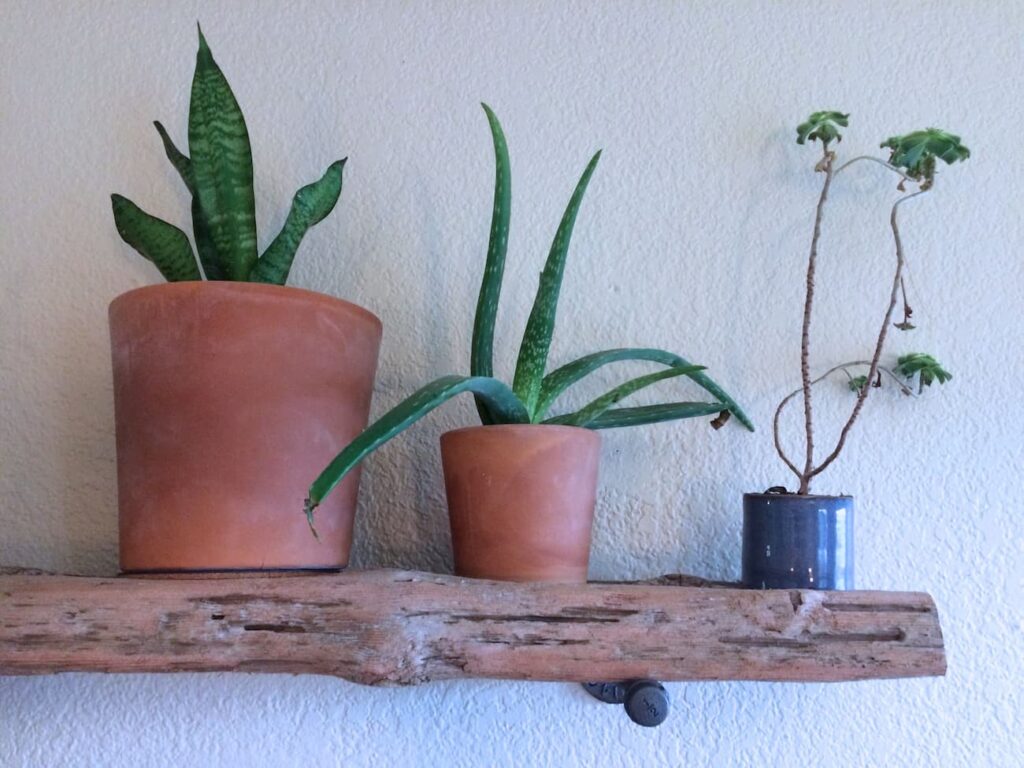
Step 4: Assemble and Display Your Driftwood Shelf
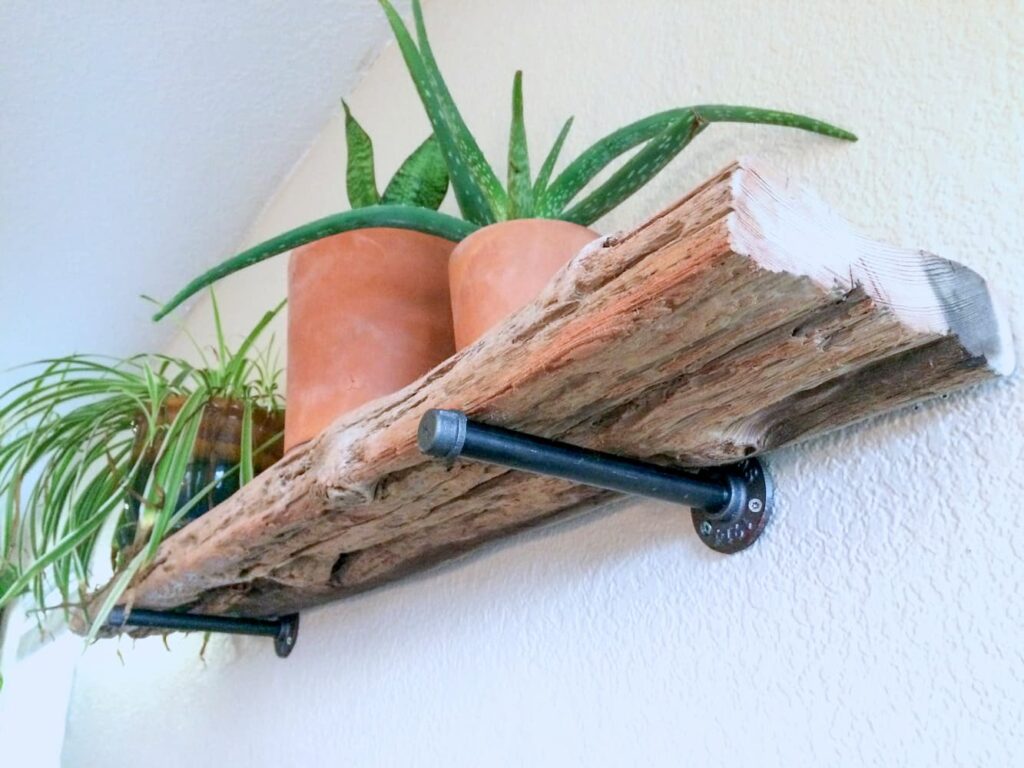
This is the last and easiest step. With the black pipe shelf brackets secure on the wall, place your prepared piece of driftwood onto the brackets. Be sure to balance the shelf as you place it, and observe to make sure the brackets are stable as they hold the weight of the driftwood.
IMPORTANT SAFETY NOTE:
It’s important to permanently affix the shelf to the bracket. Without a solid attachment, the board may come crashing down during cleaning or if a child reaches for something on a shelf! Simple pipe strap clamps can be discretely added to the constructed shelf to ensure the driftwood shelf stays in place.
Now you’re ready to display plants, artwork, or your favorite curios on a totally unique, sustainably sourced natural driftwood shelf.
When you add up the costs of materials for this project, the primary expense is black pipe fittings. Individual components will cost less than $20. The best part of using driftwood for decor is that it is completely free. For other decorating tips and budget-saving apartment hacks, check out more of our Style and Decor posts.
FAQ’s
How do you hang driftwood shelves?
What is the best wood to use for driftwood floating shelves?
How do you make live edge floating shelves?
Can you put up floating shelves without nails?
What can you do with driftwood?
How thick should Wood be for shelves?
How do you make a cheap floating shelf?
How do I stop my shelf from sagging?
Legal collection of driftwood
Before collecting driftwood on public beaches, consult your local statutes on the collection of driftwood on beaches. In many locations, like Seattle, it’s illegal to collect driftwood from public beaches but allowed on private beaches if you have permission from the property owner. To read more about legal driftwood collection, click here.