
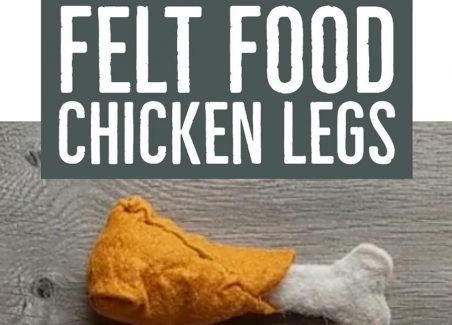
In this post, we’ll be demonstrating step by step how to make this adorable chicken drumstick out of felt. This chicken leg can be sized up or down to re-create a variety of felt food projects including little hot wings and gigantic turkey drumsticks. The pattern included below makes an average size chicken leg– to adjust the sizing, simply adjust the print size of the free pattern during printing.
In a Hurry?
CLICK HERE TO SKIP TO THE VIDEO TUTORIAL
Download the Free Felt Chicken Drumstick PDF Pattern

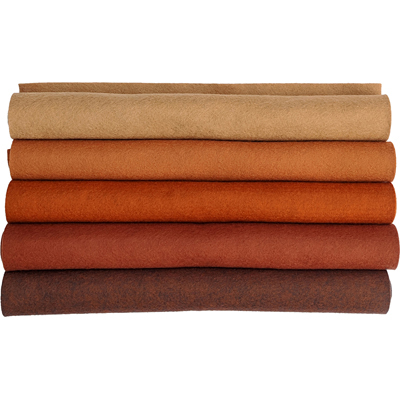
First, pick a color that will work for your chicken – with so many shades of brown felt available, you can choose from colors that emulate roasted, broiled, Cajun-seasoned, or fried chicken. In this tutorial, I am working with a golden-brown felt called Mustard Seed.
Hawk-Hill.com is a participant in the Amazon Services LLC Associates Program, an affiliate advertising program designed to provide a means for website owners to earn advertising fees by advertising and linking to Amazon.com and any other website that may be affiliated with Amazon Service LLC Associates Program
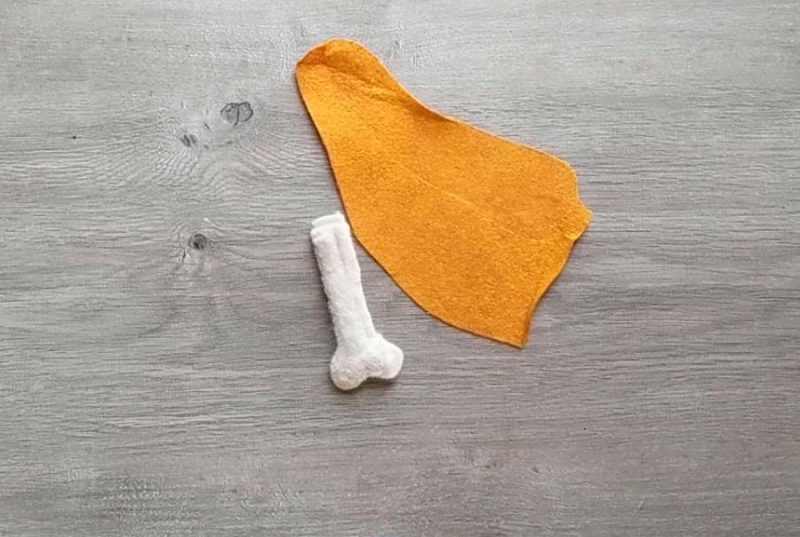
I began by tracing my pattern onto the felt with a charcoal fabric marking pen.

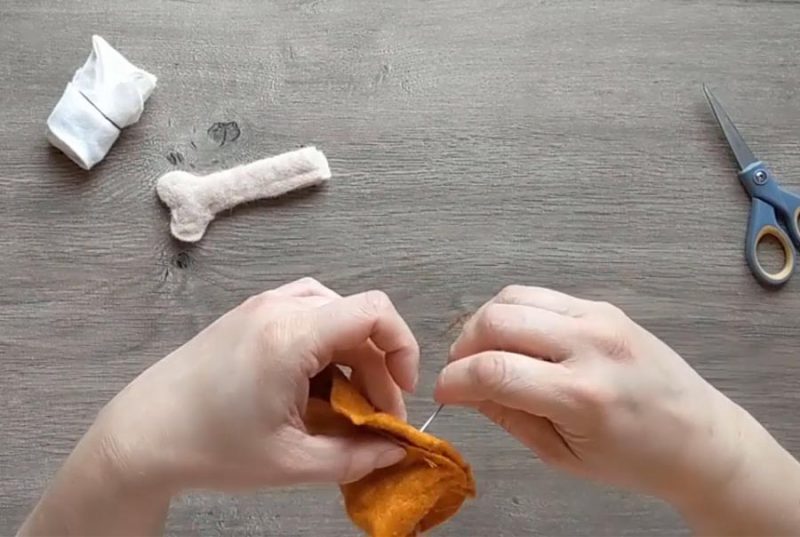
The bone I used for the chicken drumstick in this tutorial is actually a needle felted bone that I created by layering several layers of 100% wool felt and then using a needle felting tool to blend the fiber of those layers into one solid piece.
You can also stitch together your chicken bone- our free pattern includes a template for a stitched bone. To add rigidity to a stitched chicken bone, you can add one or more pipe cleaners down the length before enclosing it in felt.
Most patterns are sewn inside out and then turned, but I find this pattern is actually easier to start by sewing right-side-out. First, sew up the edge, creating a diagonal seam with a running stitch going up the length of the drumstick.
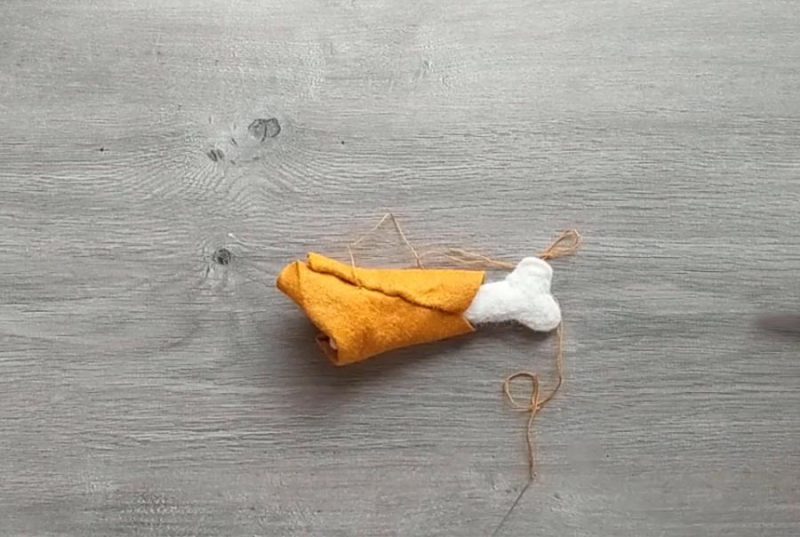
Next, I fold the top together by bending the flap down and stitching it to the rim of the top edge of the drumstick, folding in that rim as I go:
Once the form is loosely stitched into place, I tie off my stitch and turn the drumstick inside out.
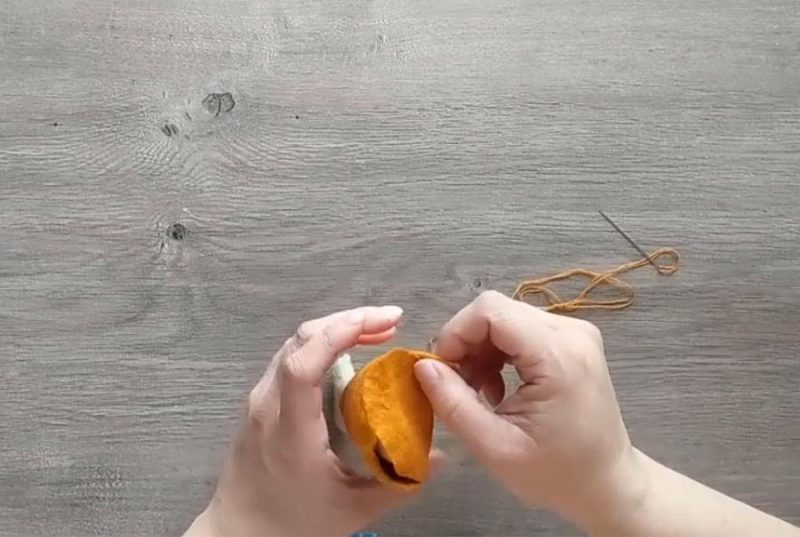
Once it’s turned inside out, I check my stitching- looking for bad stitches that might have been made as I was blind stitching, and generally checking to make sure my stitches are strong enough to hold up to being stuffed and played with.
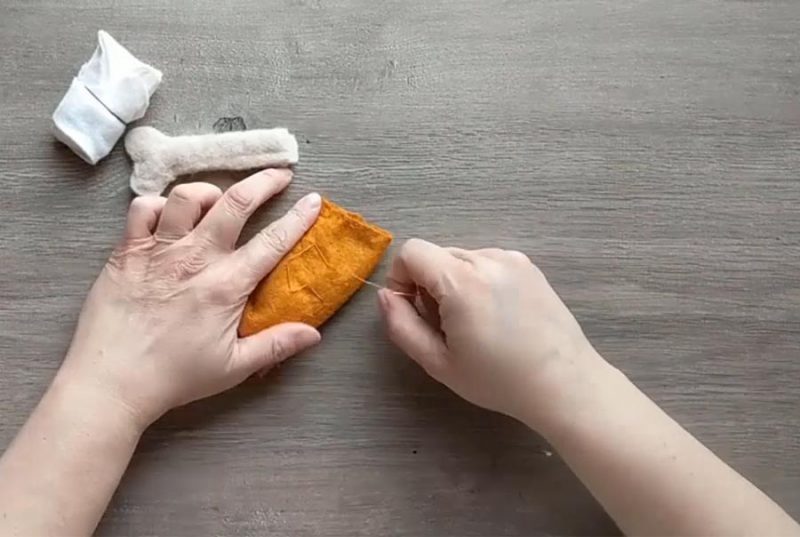
After I’ve checked my stitches, I tighten up the stitches where the chicken meets the drumstick, and then cut away any excess material.
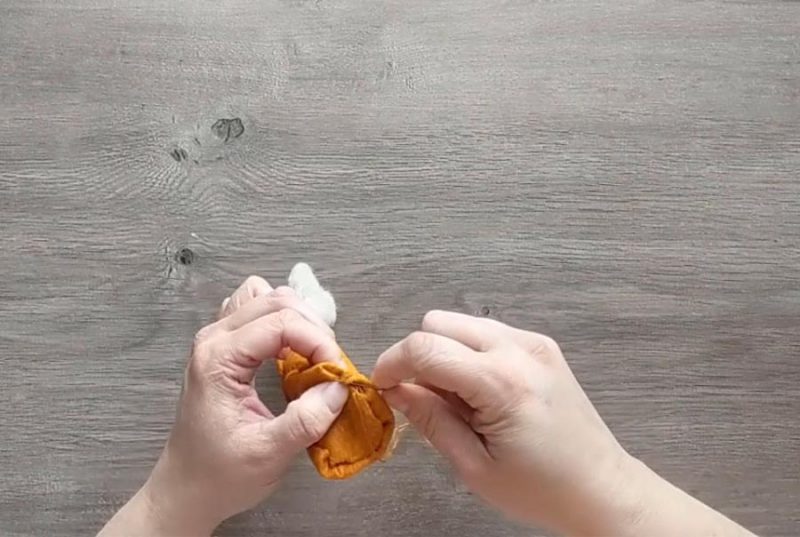
Before turning right side out again I take a few minutes to add some special stitches that help create texture and the felt when it’s turned right side out again. I start by sort of creating a big running stitch that zig-zags back and forth across the material– the catch is that I’m not sewing through the entire thickness of the felt.
Because I’m working with good wool felt, the felt will actually allow me to insert my needle through only halfway through the thickness and gather it up. The felt is sturdy enough that the stitches will not pull loose when gathered- but you do want to anchor your stitch, both the beginning and the end, on a seam where you can sew through the entire thickness of the felt. This creates texture but prevents the stitches from showing on the outside. I do this to create the look of real cooked chicken (and it works especially great for breading on “fried” chicken).
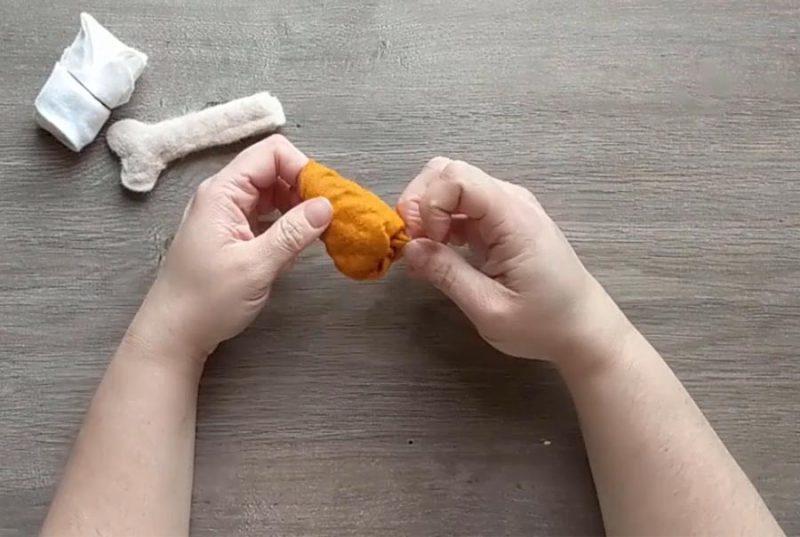
Once you’ve added some stitches to create texture. if desired, it’s time to turn the felt drumstick inside out again and finish the project. Once you turn you can see how adding the texture really makes a difference and starts to make it look like an actual chicken leg.
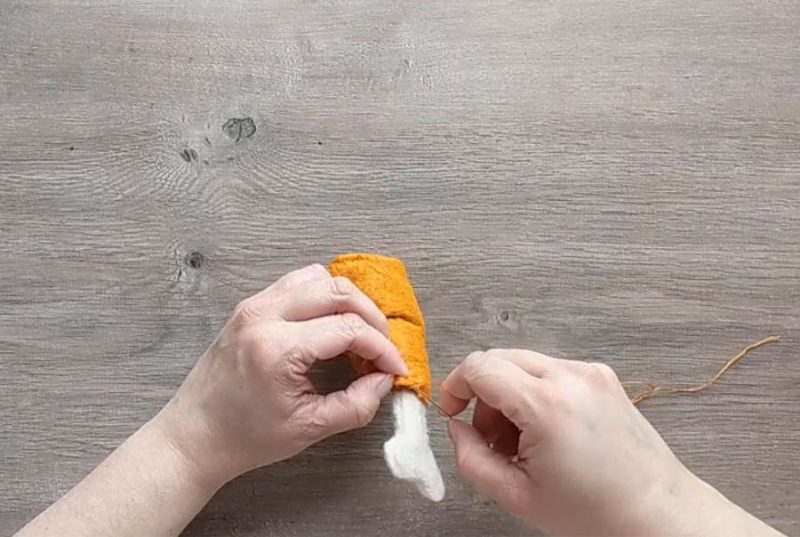
Finally, it’s time to stuff. I add polyfill a bit of time until the drumstick is full. Adding a bit at a time helps create a sturdier final stuffing. Sometimes I like to use my felt scraps for stuffing felt food projects. It’s a great way to reuse, rather than waste, this really nice fiber.

You’ll want to insert the chicken bone about halfway through stuffing, and then continue to stuff Poly-fill or felt scraps around the bone.
Once stuffed, the last step is adding a few stitches to make sure that the bone and the drumstick are permanently joined together. I like to use multiple threads of embroidery floss in this last step to add a few stitches around the edge of the drumstick, securing it to the bone.
Try to avoid just sewing through–and–back ono the bone – as this will make the creation you’ve worked hard to make in 3-D look more 2-D. Instead, stitch around the open edge of the drumstick, scooping up a bit of the felt-bone’s fiber with each stitch.
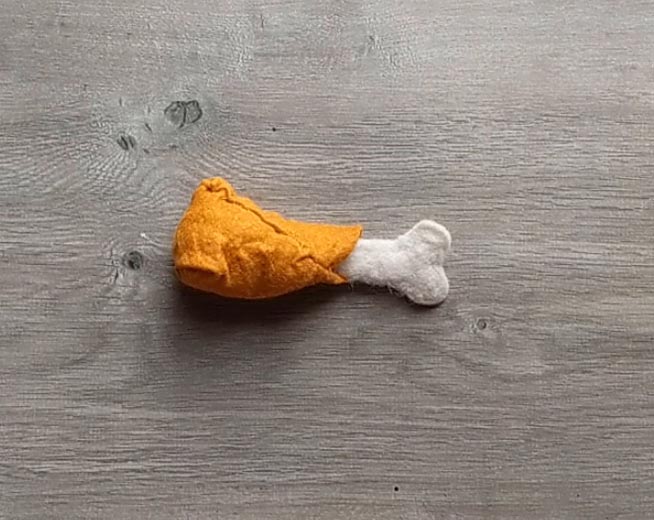
Once secured to the bone, your chicken leg is ready for play! Pair with a few other chicken legs and a side of broccoli or potatoes for a hearty felt-food meal.
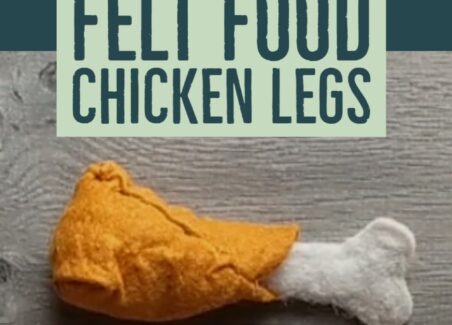
Loved it? Pin an image!
Want more free tutorials and felt food patterns? like, share, and buy a coffee to help us create more quality tutorials and free patterns.