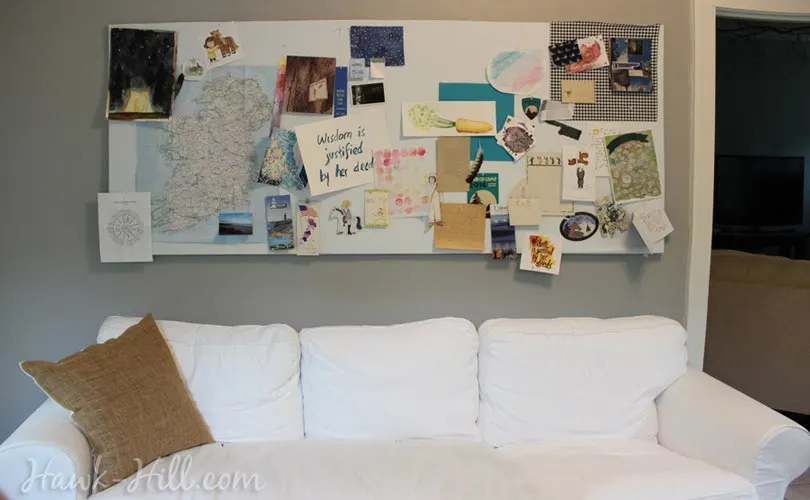
Last year I converted a long and narrow sunroom to a bright and sunny studio for art, journaling, reading, and other creative pursuits. I loved the new look, but found myself at a loss for how to use the long open wall space above the sofa.
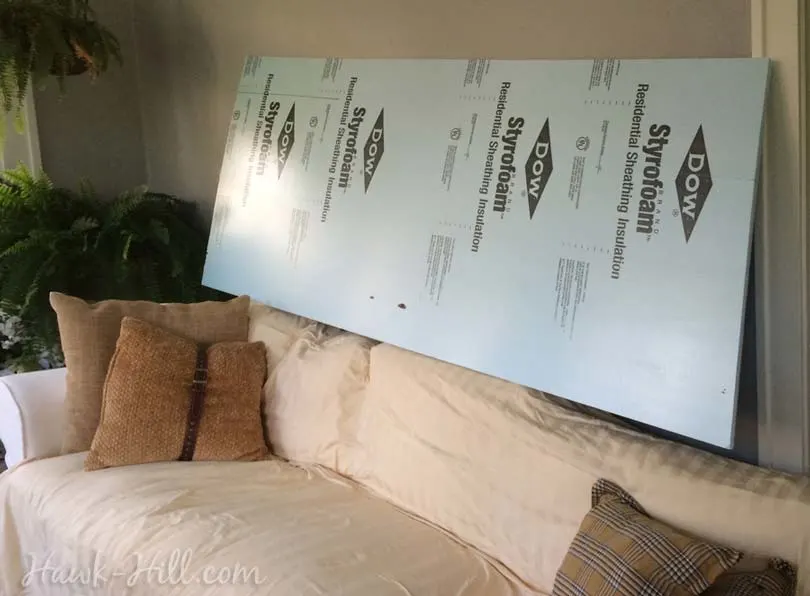
After completing a set of foam drawer dividers I found myself left with a giant piece of construction grade foam core board- perfectly sized for an art project above this sofa. I briefly considered using the foam as a canvas and painting it, but settled on creating my own real-life pin board, since the 5/8″ thickness was perfect for light use with pins and thumbtacks.

This technique works great for spaces of all sizes, and is ideal when you don’t expect to be pinning and repining things constantly (as you might in a work environment- where more traditional cork would hold up better). This foam-board constructed pinboard would work great in a teenage girl’s room- to dedicate large amounts of space to every-changing tastes and meaningful mementos- and was absolutely perfect in my art studio- where I generally wanted the pinboard as much for decor as for working with ideas.
THE PROCESS:
The following section may contain affiliate links. As an Amazon Associate, we earn from qualifying purchases.
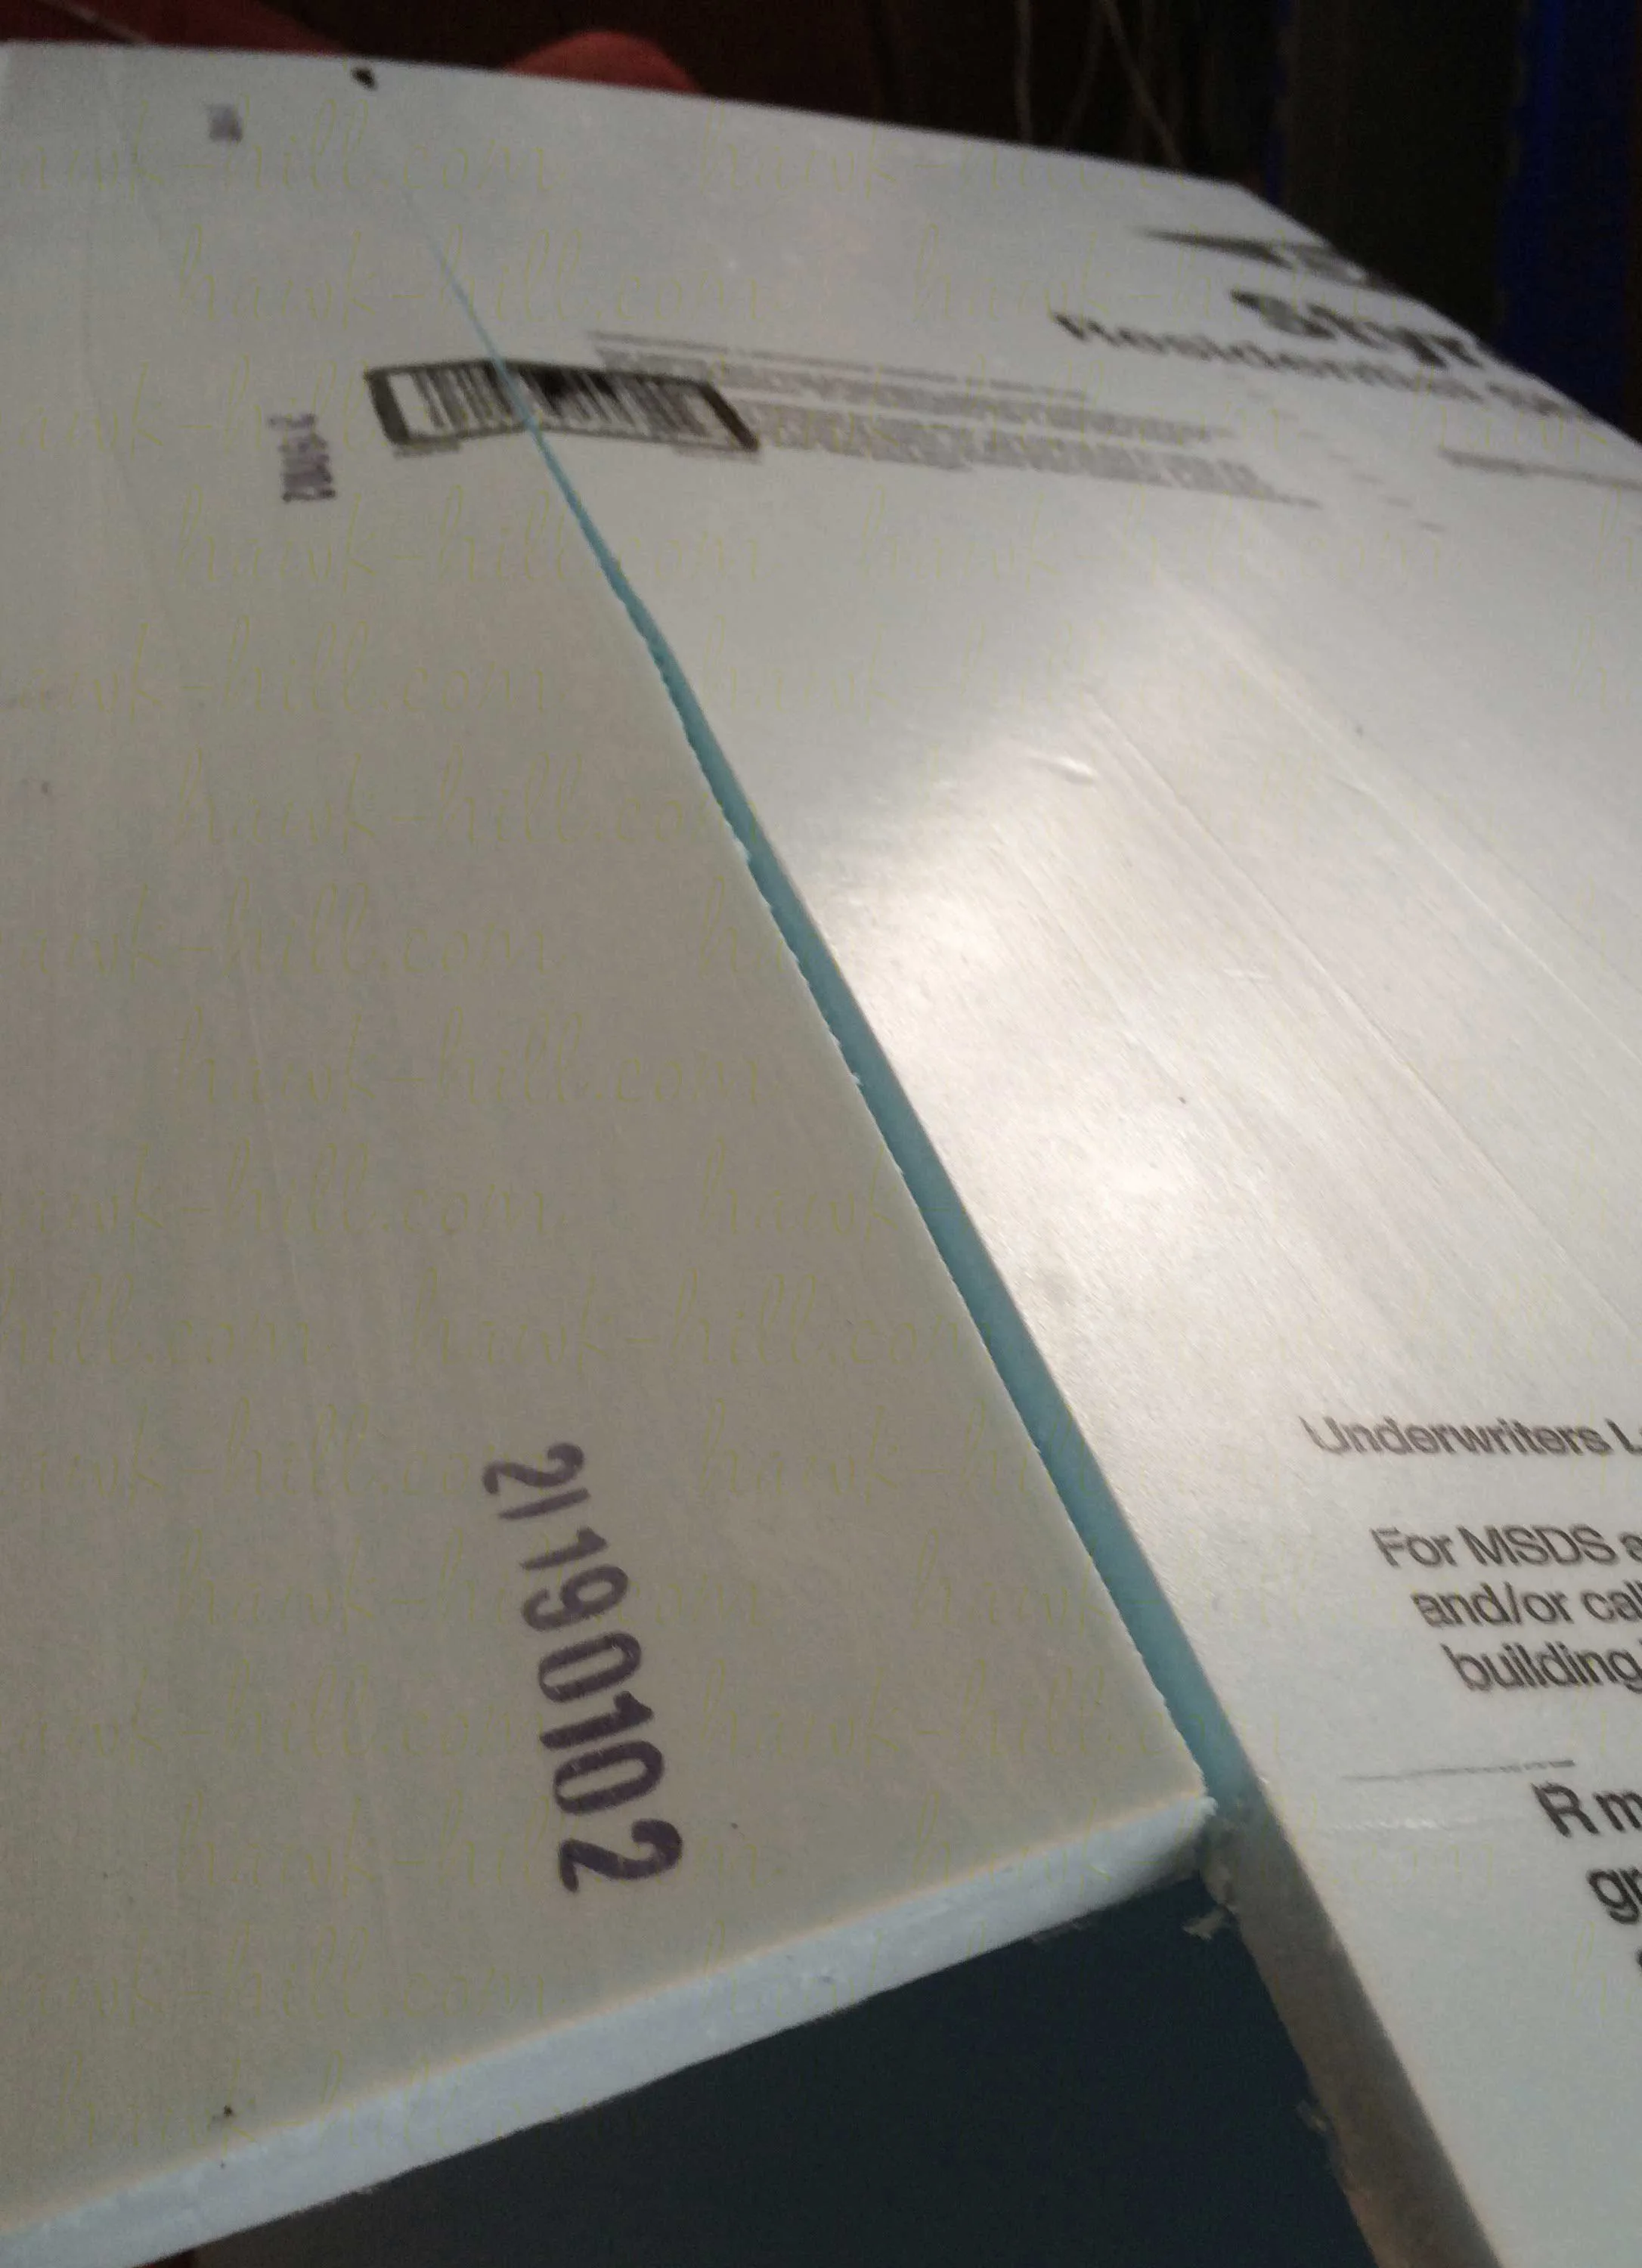
First, size your foam board. Carrying the board, uncovered, into your space and experimenting with positions and hanging may be helpful. Once you’ve determined the perfect dimensions, foam board is easy to trim to size- just use a straight edge to score one side and then snap the excess foam off.
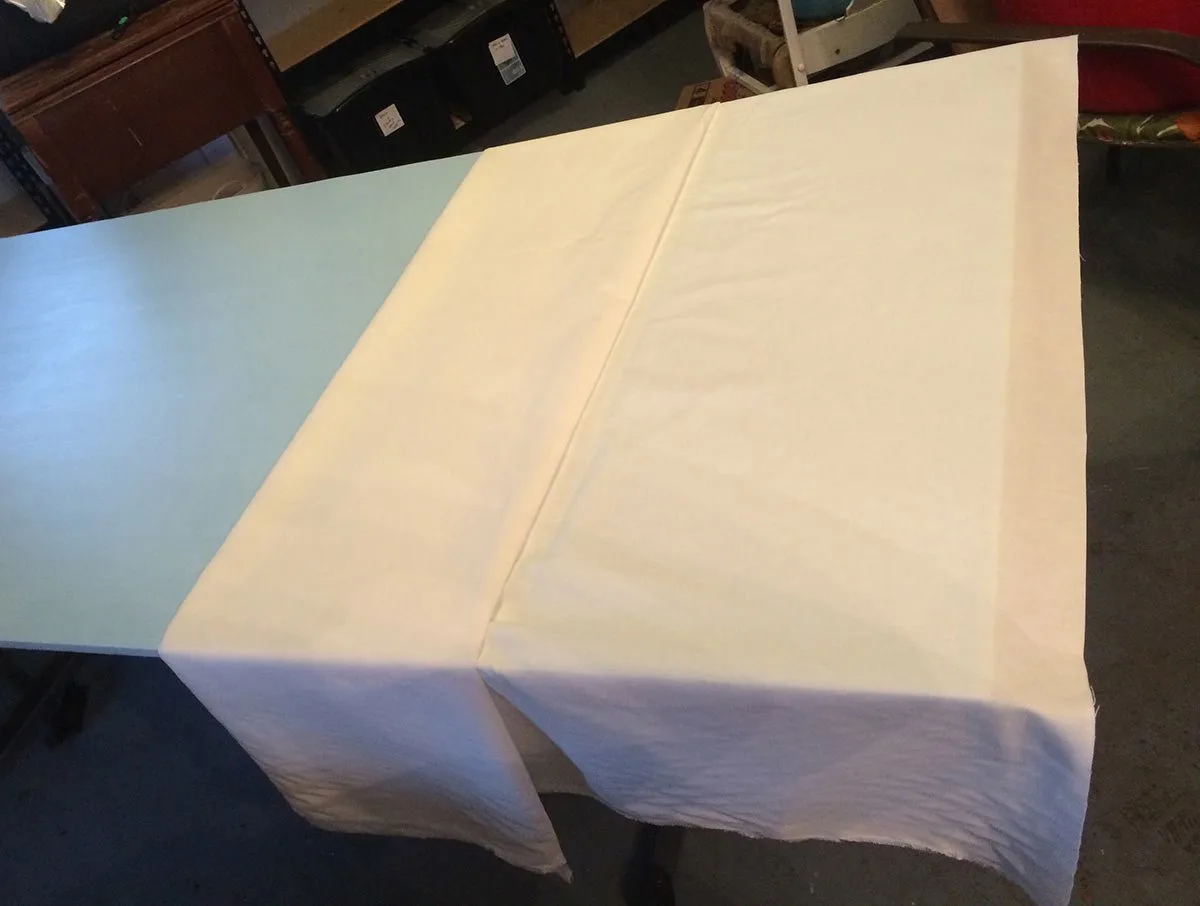
I began by using spray adhesive to attach a sheet of canvas cloth to the unprinted side of the foam. Working in sections (necessary because of the size of the board), I’d work my way down the board in 1 foot increments, spraying the adhesive on the foam then stretching my canvas taut across the surface.
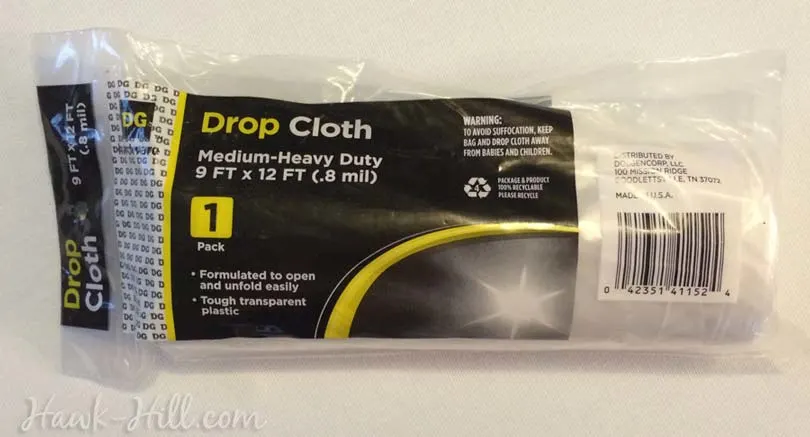
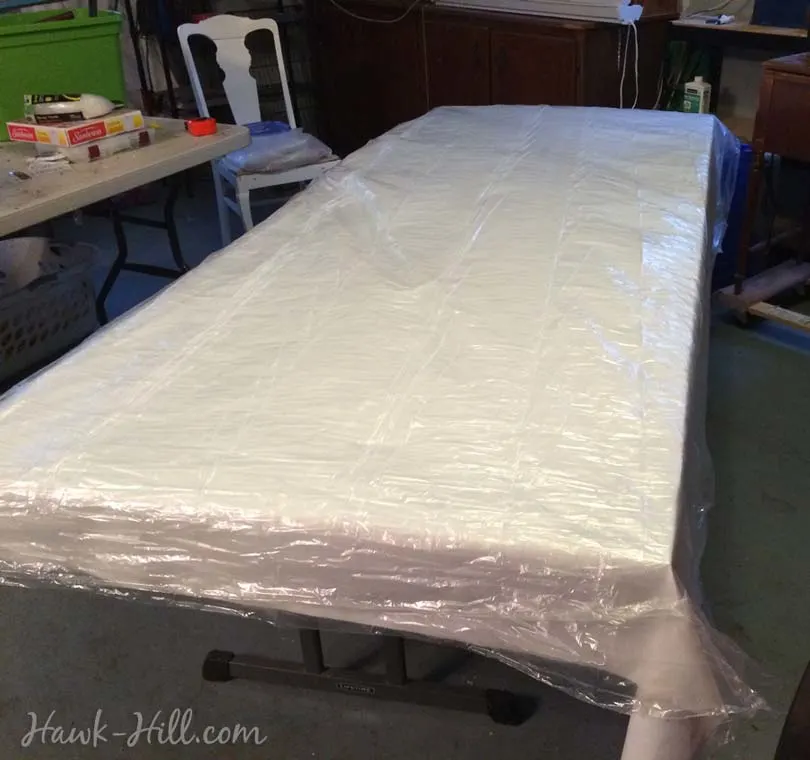
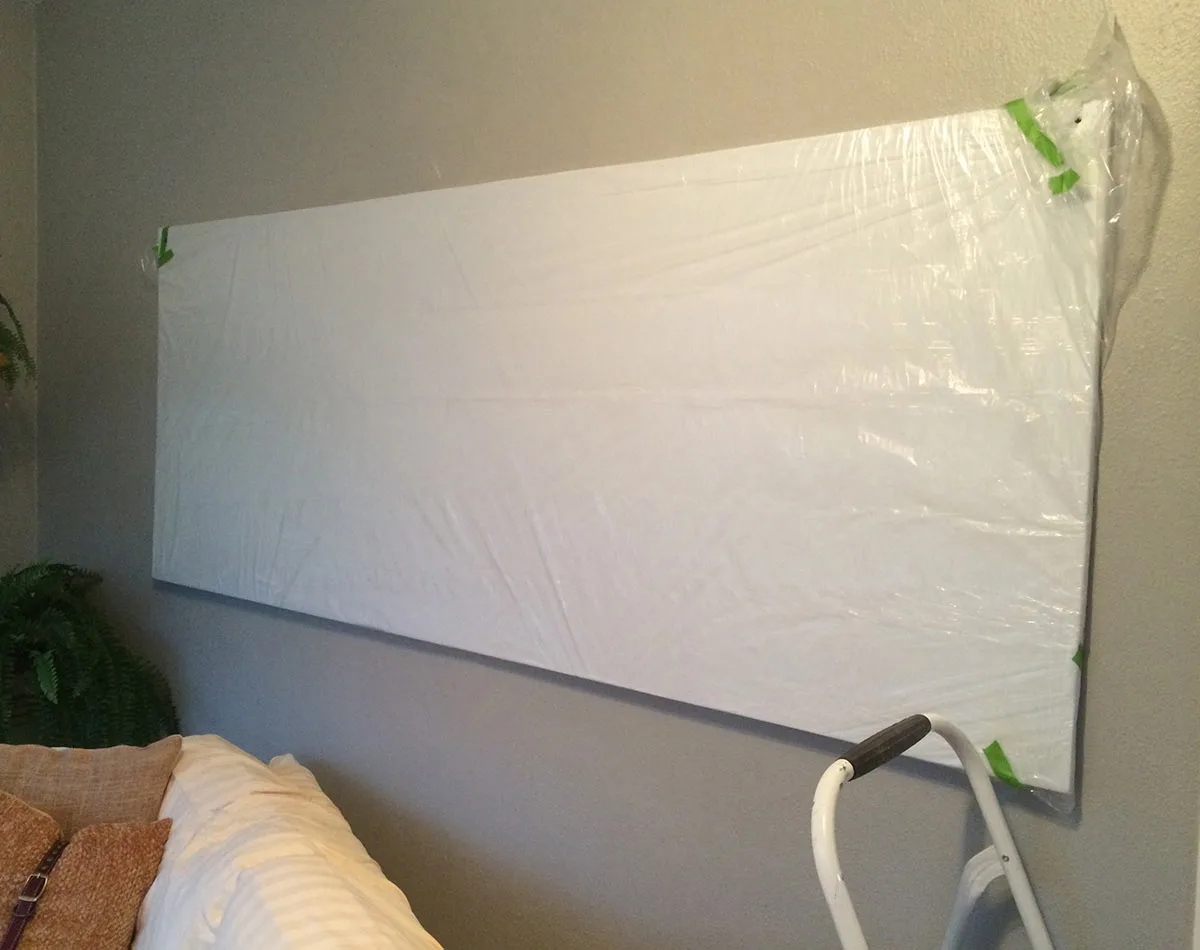
Next, I covered the white canvas with a $1 plastic dropcloth.
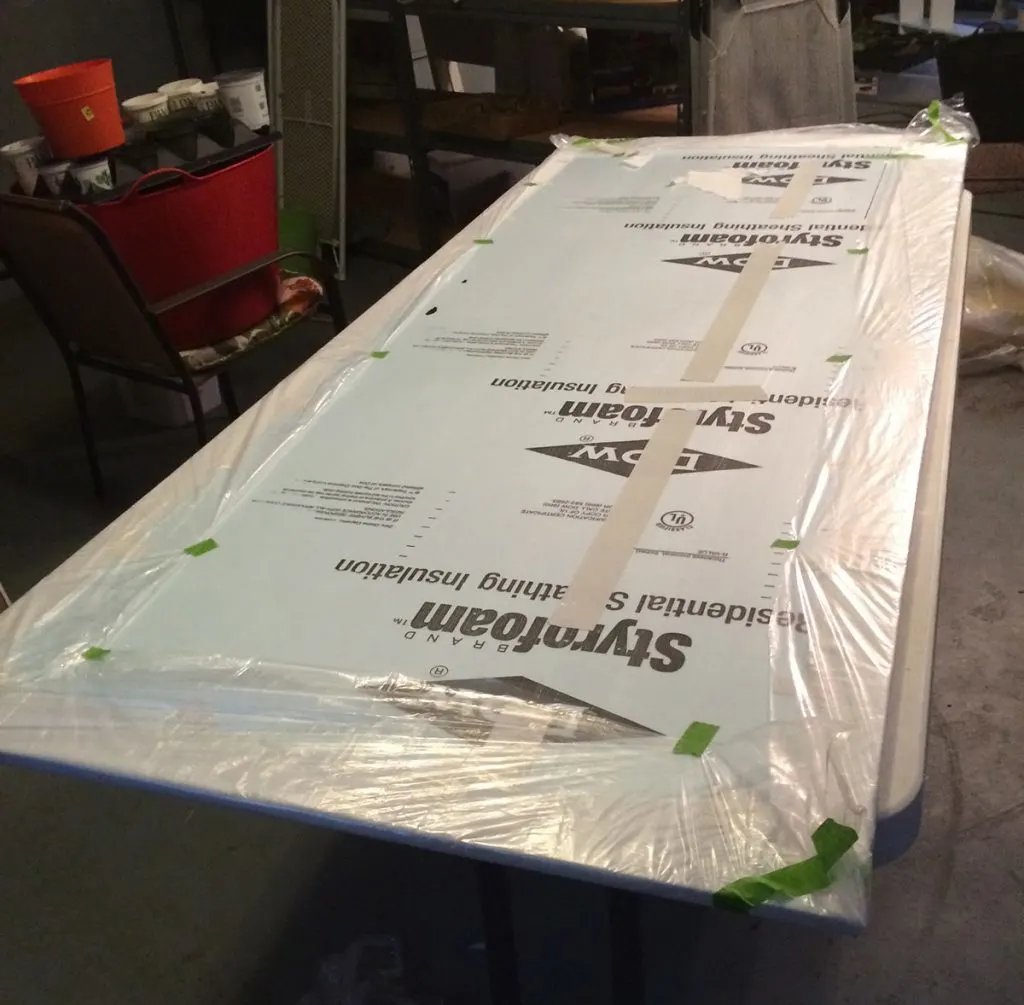
This step was purely a cautionary step- I felt quite sure that in working with such a large surface covered in white canvas, I’d inevitably acquire a stain or smudge at some point during production or installation! First I just draped the plastic like a tablecloth, then using painters tape at each corner to secure the plastic over the edges. Taping down the plastic meant I could flip all the layers over without losing the protective layer.
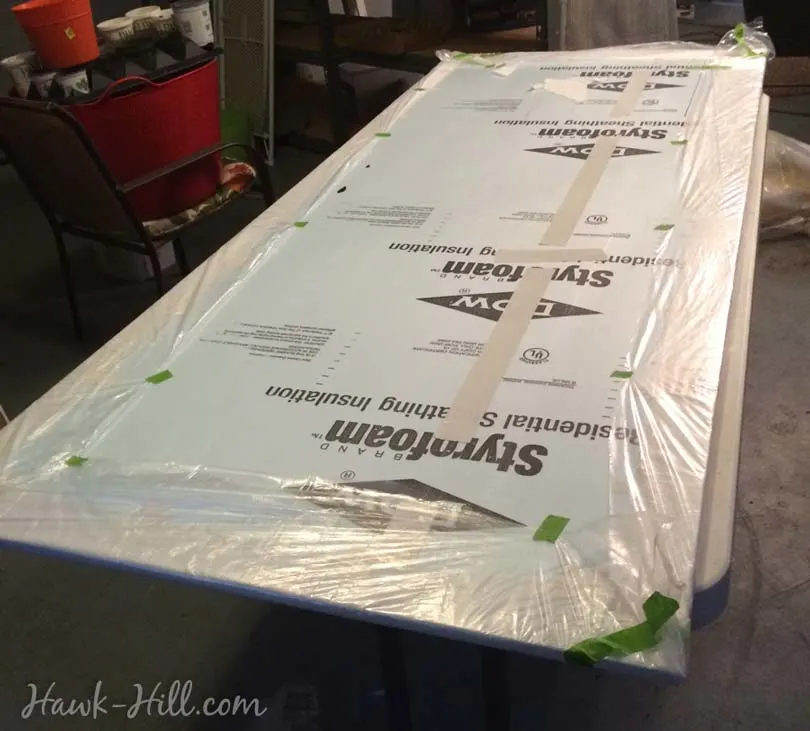
Once covered with a layer of canvas and a layer of plastic, I carefully flipped my foam sheet and began to gather and fasten my fabric smoothly on the back side of the foam sheet. I used spray adhesive to attach the fabric, and bits of painter’s tape to secure the layer of clear plastic- planning to pull the thin plastic off the board once installed on the wall.
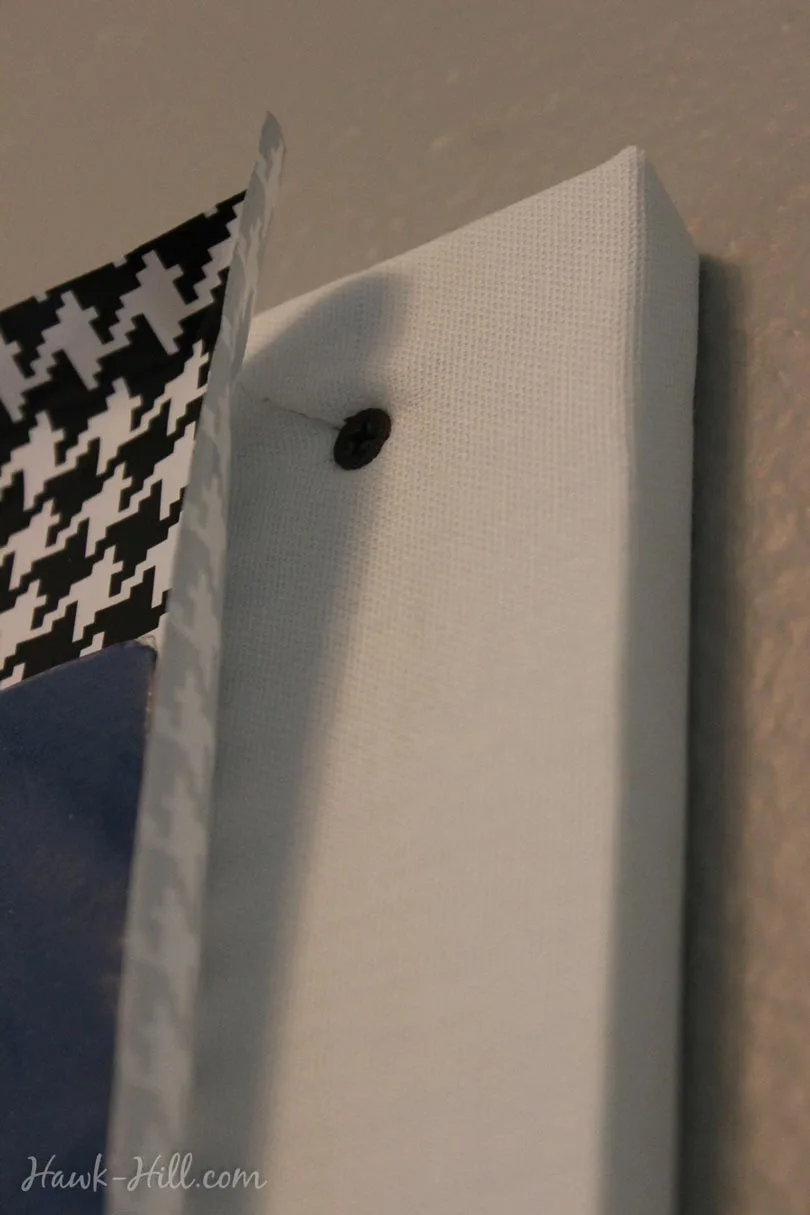
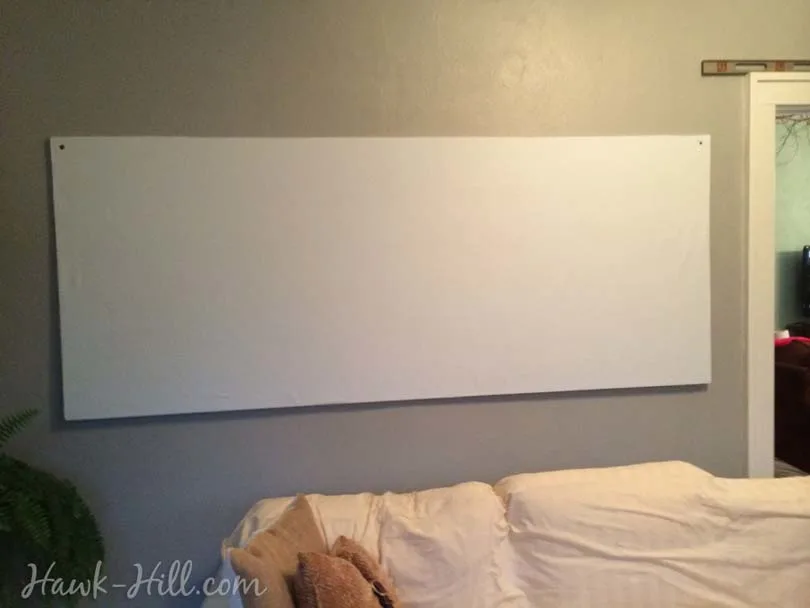
After the canvas was stretched and secured with neat edges and protected by a layer of plastic, I very carefully carried my board into the studio and, using a level, carefully mounted my foam pinboard to the wall using drywall screws.
I kept the plastic drop cloth on my white fabric pinboard through the whole installation process- protecting it from dirty tools.
After installation I pulled off the thin plastic sheet to reveal a pristine surface to begin placing real life pins on.
this entire project was actually made from leftovers from other projects, but had I started from scratch the cost would be under $30.
$13.40 – foam board
$15.00 – 3 ft of white canvas
$1.00 – Plastic Drop cloth
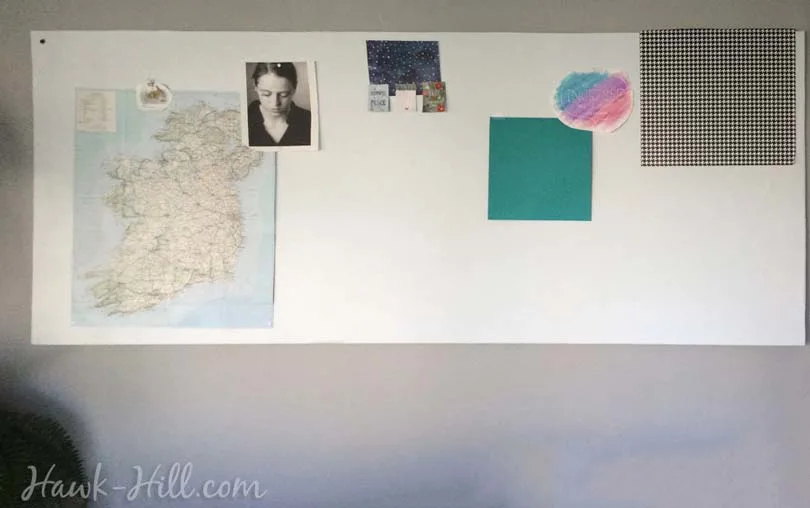
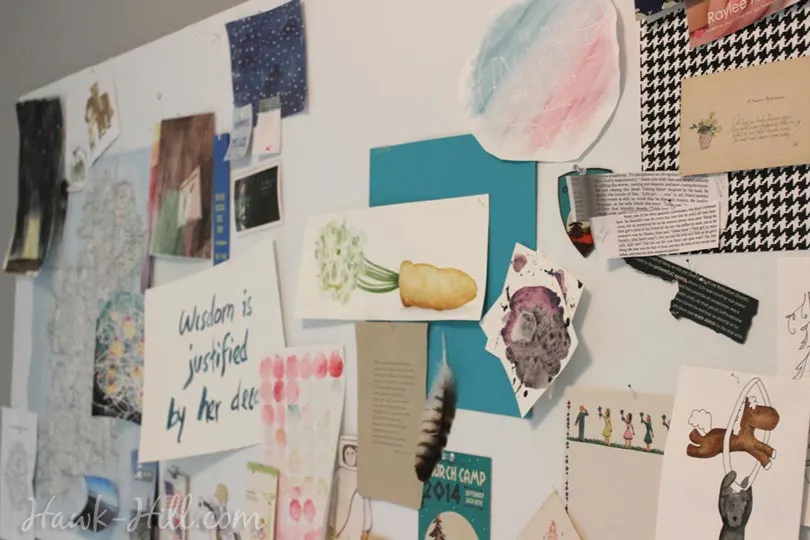
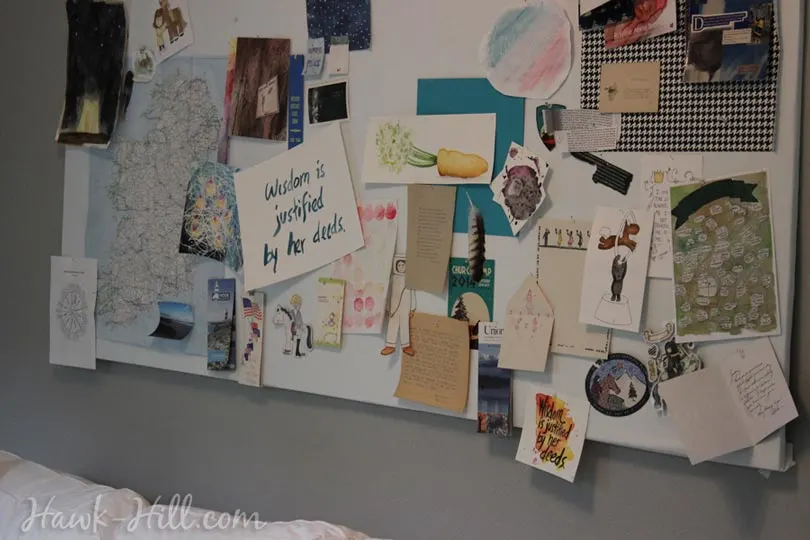
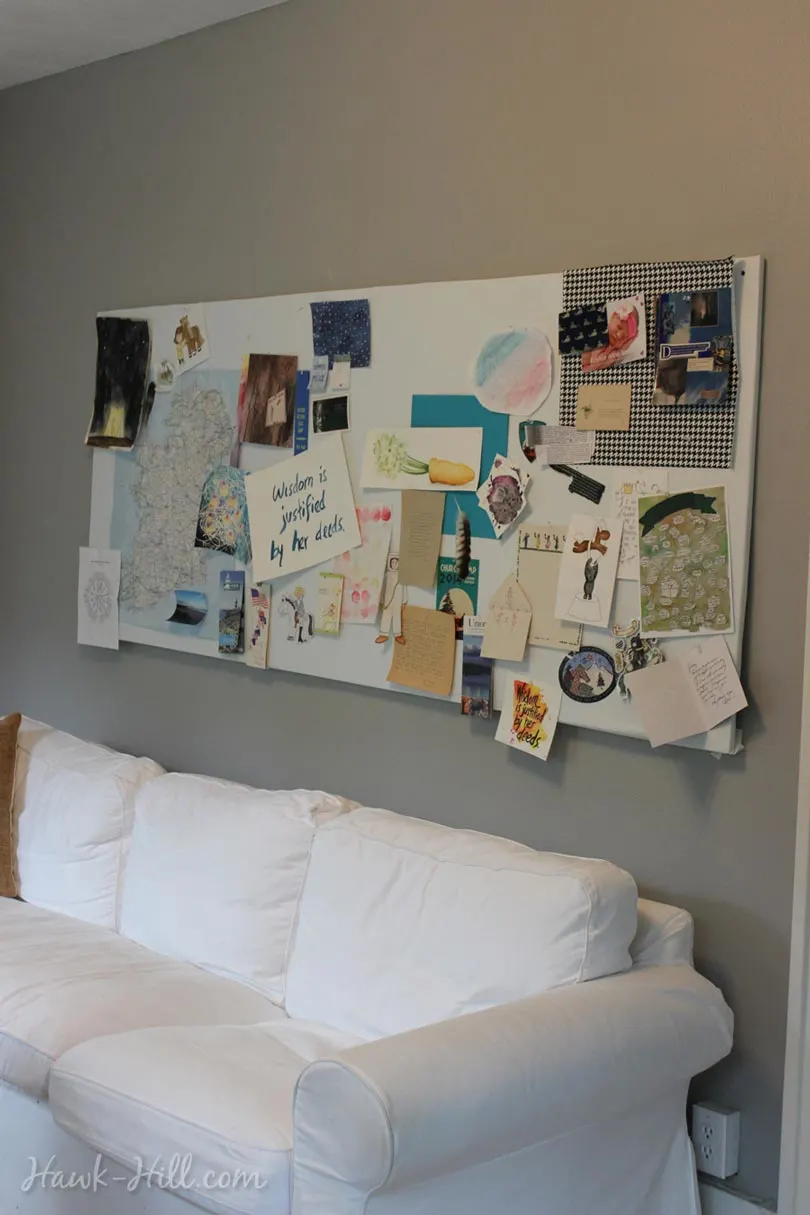
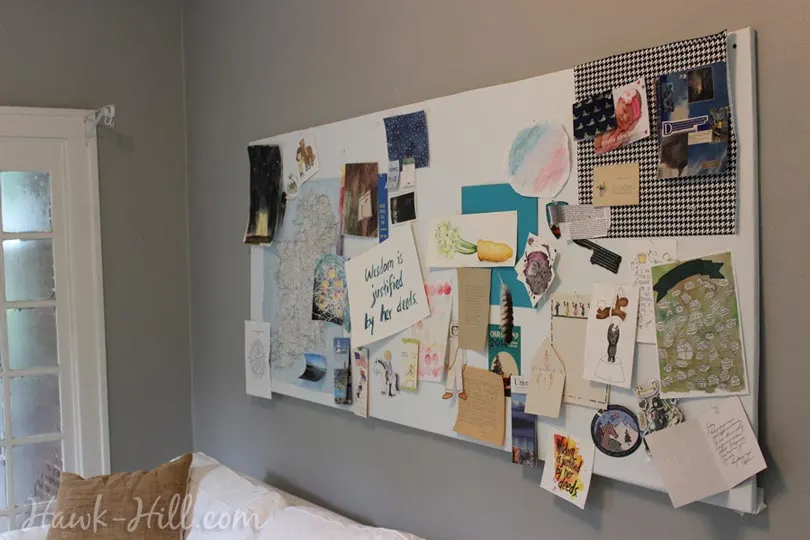
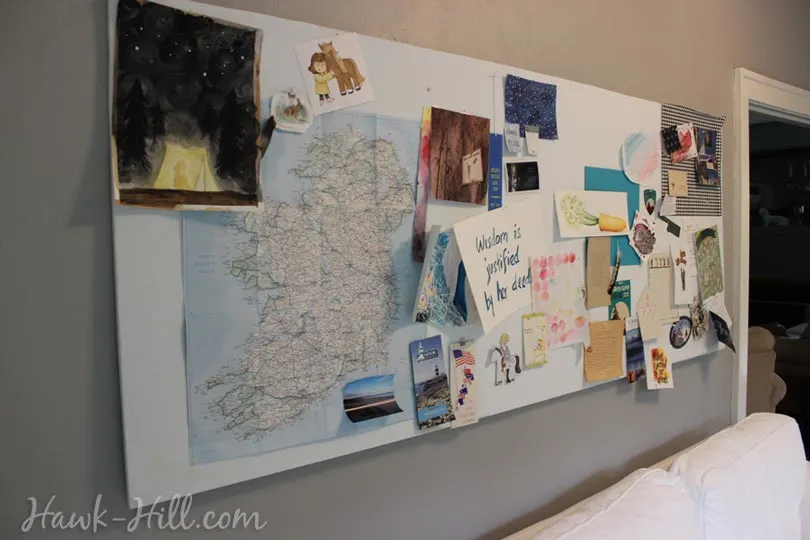
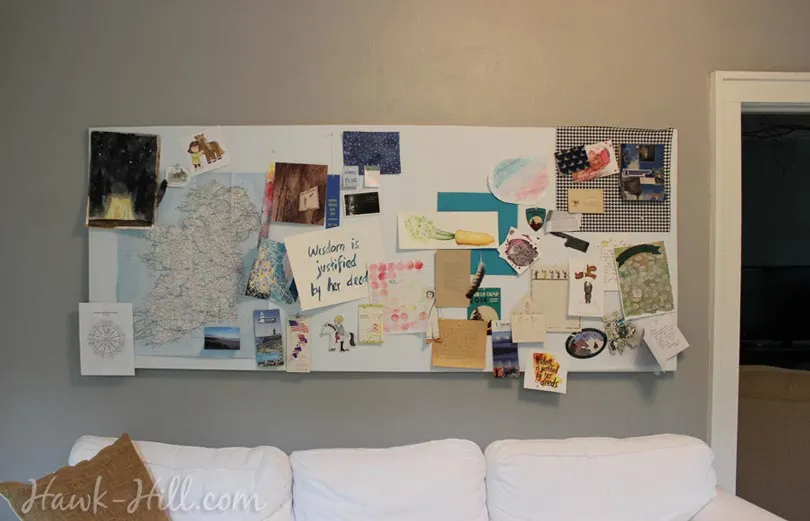
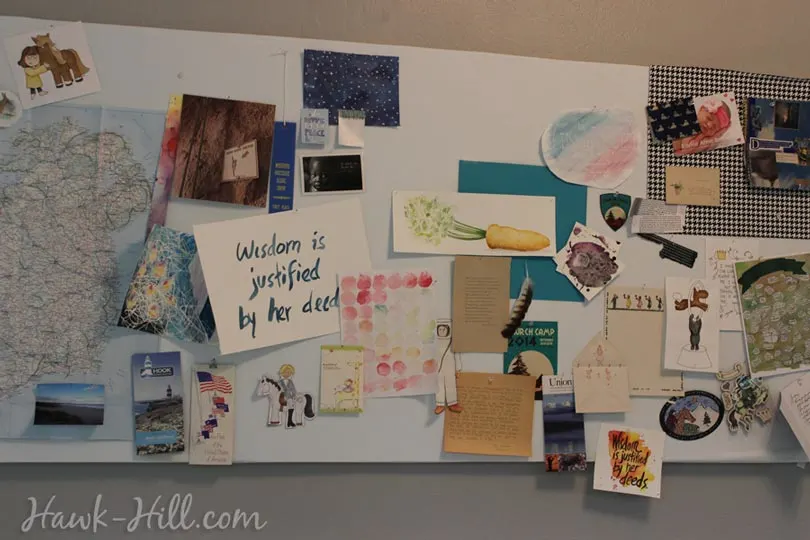
I placed some large background items, and gradually my pin board began to take shape over the weeks and months to come:
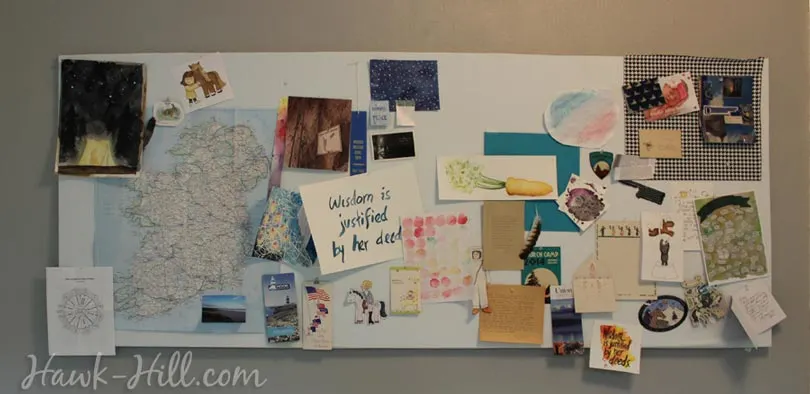
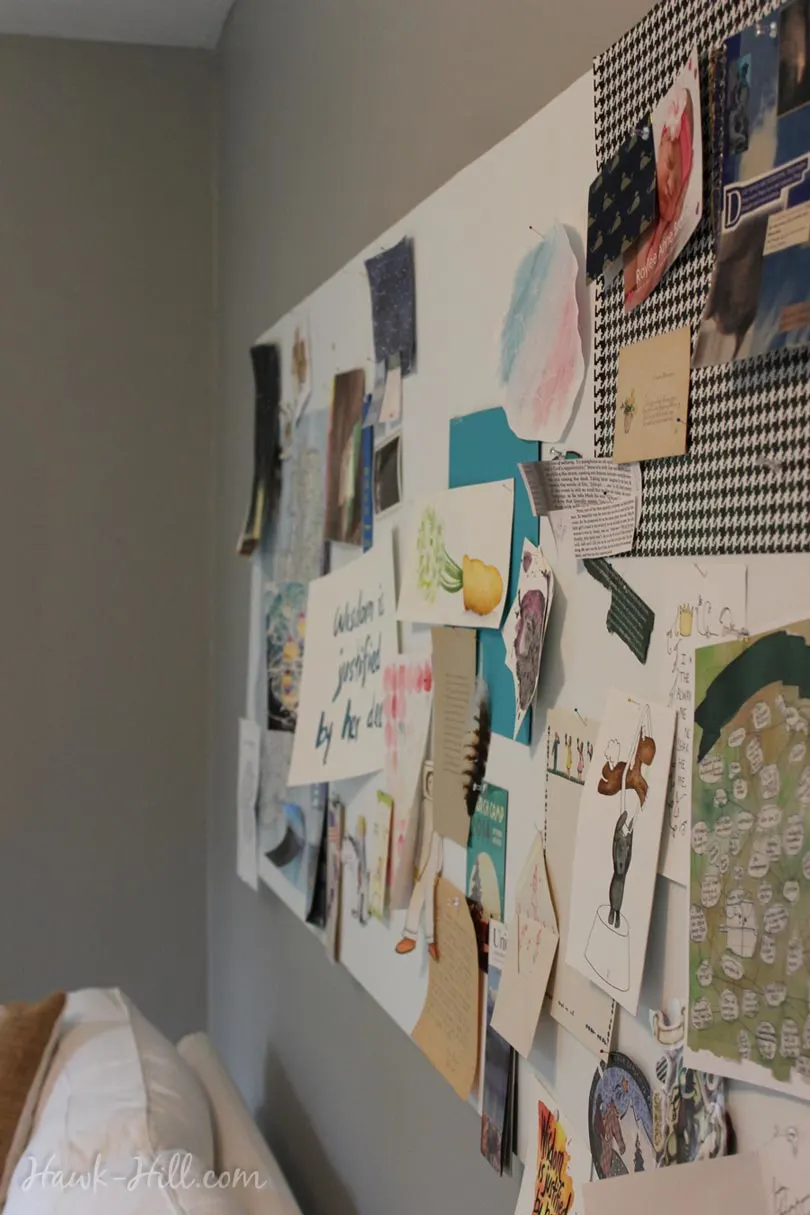
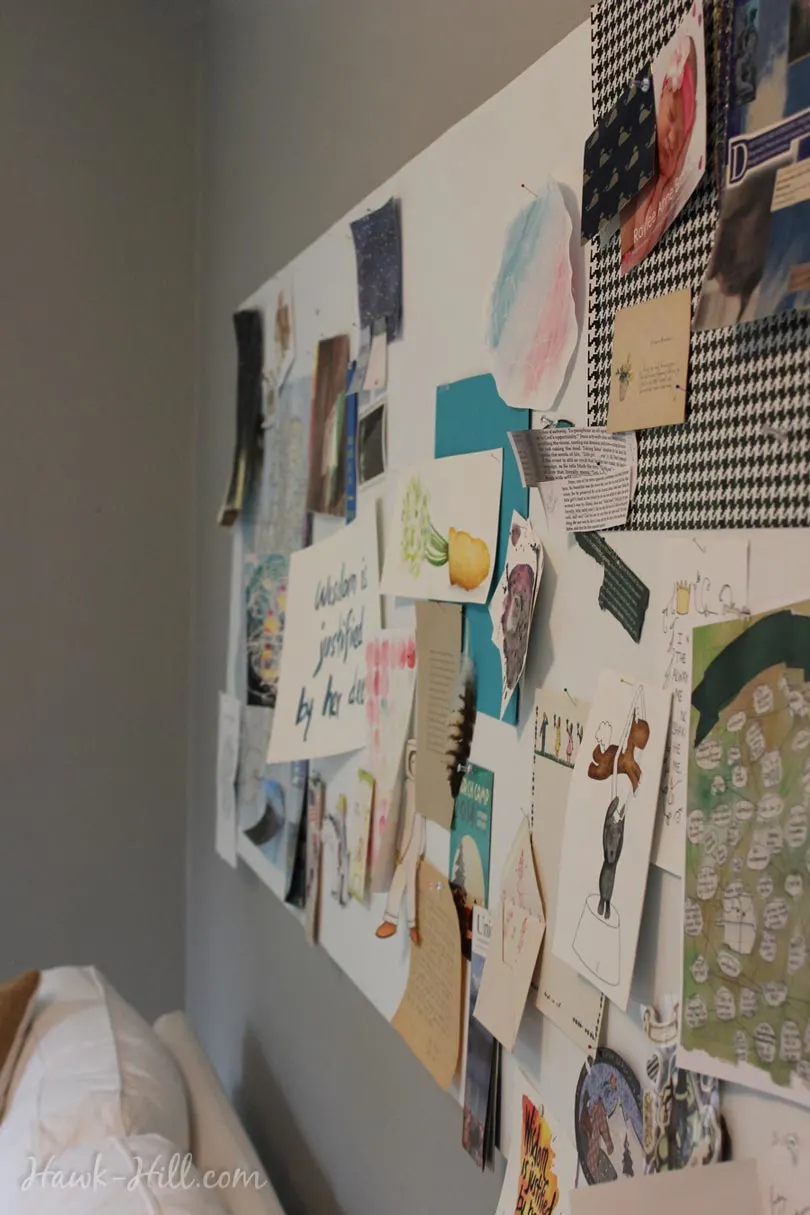
Completed Art Studio Pin Board:
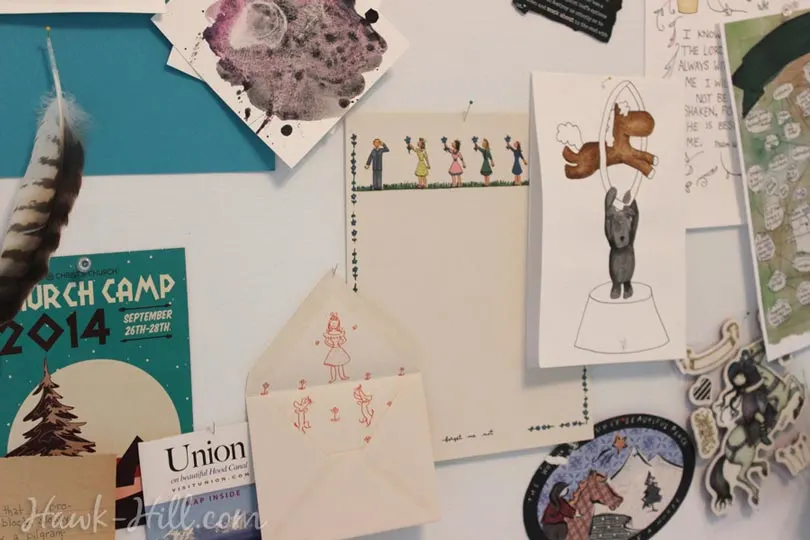
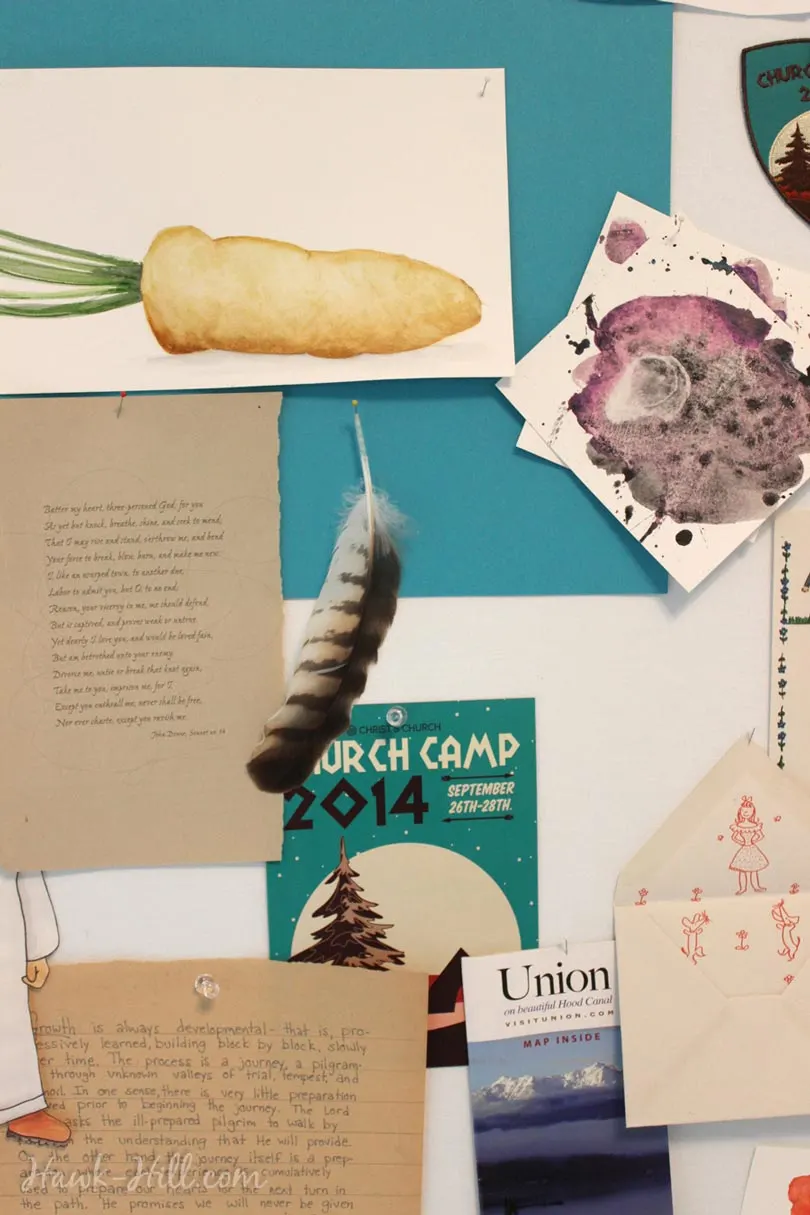
It took a few months, but as I began to pin and layer momentos, art projects, quotes, and vintage ephemera I grew more and more fond of this pin board. Unfortunately I moved before it ever felt fully “finished”, but I loved the creative process of creating and having a place to place beautiful papers without feeling weighed down by stacks and shreds of loose paper in my studio.



Penny Ploughman
Friday 9th of September 2016
I love your designs and tutorials! keep sharing, please...