Project: Butternut Squash stuffed felt food toy
skill level: beginner
Time needed: 60-90 minutes
In this tutorial, we will be demonstrating step-by-step how to create a cute and snuggly butternut squash out of felt.
This fluffy plush Butternut squash is a fun addition to any play kitchen, and it’s an excellent beginner–level project for beginner sewers. The three-dimensional figure is a fun and satisfying project that can be completed in about an hour from the beginning of pattern cutting to completion. It only requires basic sewing skills. Print instructions are included below, but if you get stuck just check out this video where I walk you through the process of making this squash step by step:
Like most of our patterns, this project can be made with craft felt or wool blend felt. Wool-blend felt is a more durable choice that holds up better to play, washing, and the process of stitching, turning and stuffing this plush toy.
This felt butternut squash goes great with felt potatoes, felt chicken legs, or even this fun felt turkey craft.
Things you will need:
Creamy tan colored felt (Beach Sand, Native Maize, or Straw all work for shades of butternut squash skin)
a small section of medium brown felt (for stem)
Polly-fill stuffing
+ basic sewing supplies and thread to match felt color
Pattern
FREE PDF BUTTERNUT SQUASH PATTERN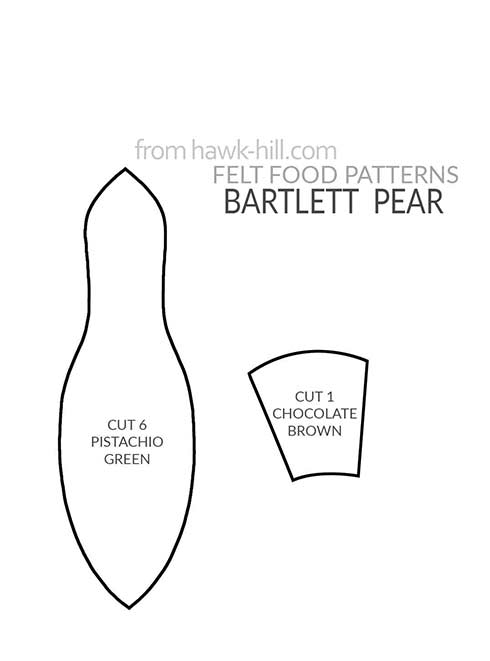
Hawk-Hill.com is a participant in the Amazon Services LLC Associates Program, an affiliate advertising program designed to provide a means for website owners to earn advertising fees by advertising and linking to Amazon.com and any other website that may be affiliated with Amazon Service LLC Associates Program
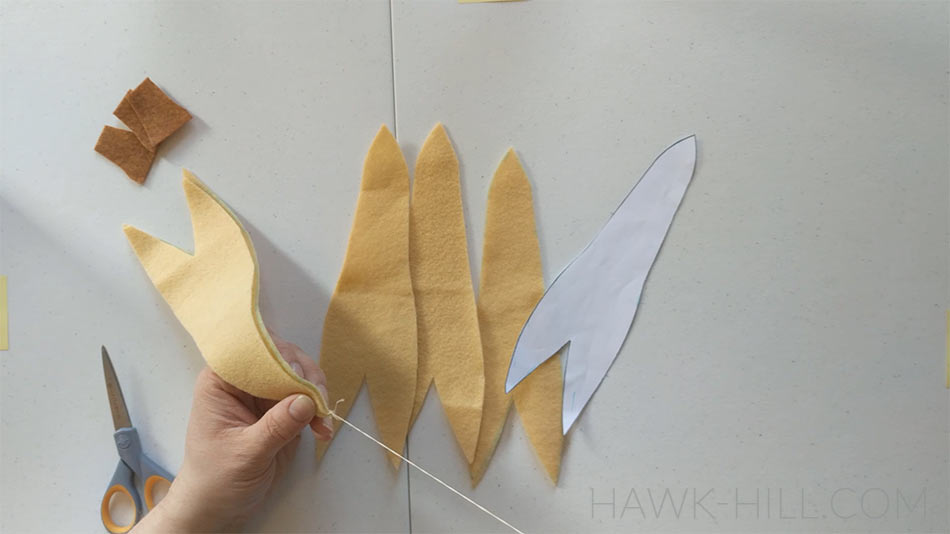
Step 1 – Cut Pattern & Stitch Sides
Use the free PDF pattern provided to transfer template onto felt using a fabric marker and cut 5 shaped wedges of cream felt and begin stitching them together down the sides using an overstitch (looped stitch around the outside of the seam) and color-matched thread.
Step 2 – Stitch bottom seam
The “V” at the bottom of each of the wedges helps create the bell shape of the plush squash. You’ll need to sew the V of each wedge closed- you can do this before or during the process of stitching together the wedges at the sides.
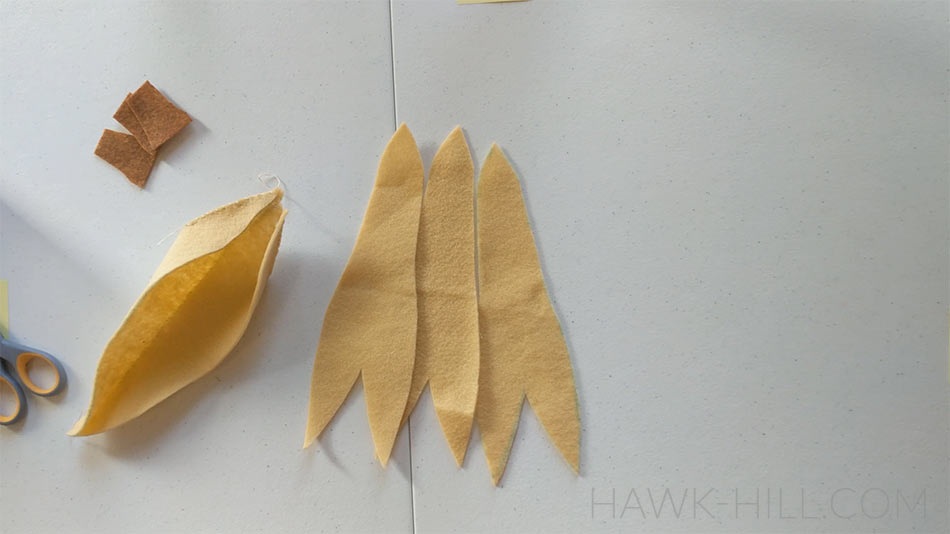
It may be helpful to work in sections- first forming half of the butternut, then the second half, and then joining them together.

Remember to leave an opening to turn the plush squash inside out!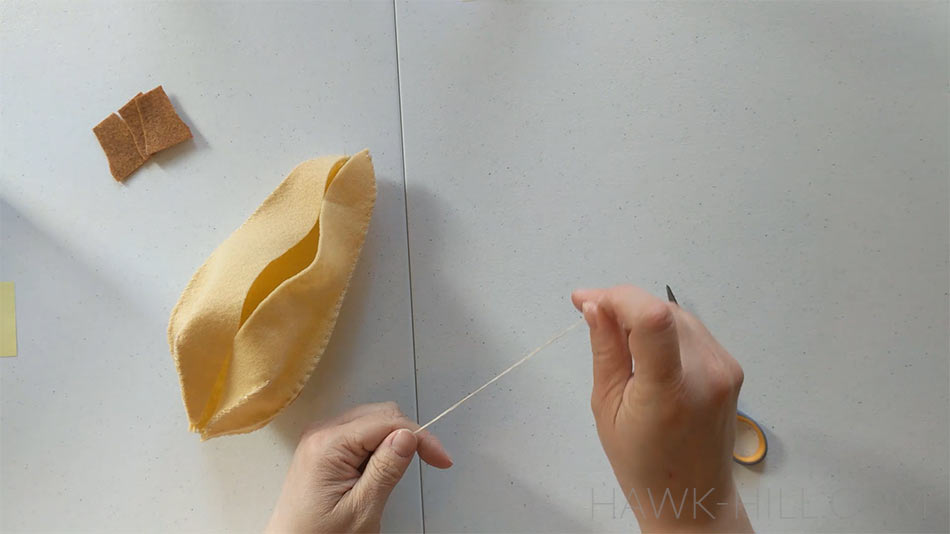
Don’t worry if all the points at the top aren’t quite meeting in a perfect star. The stem will cover most of the top. Add a few stitches, if needed, to tighten and neaten the center of the bottom of the squash where all 10 points of the pattern met up.
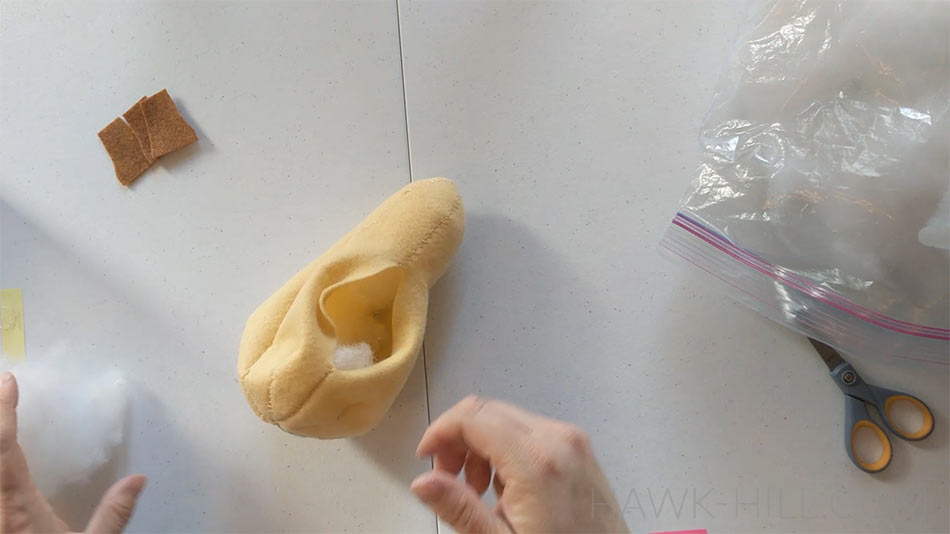
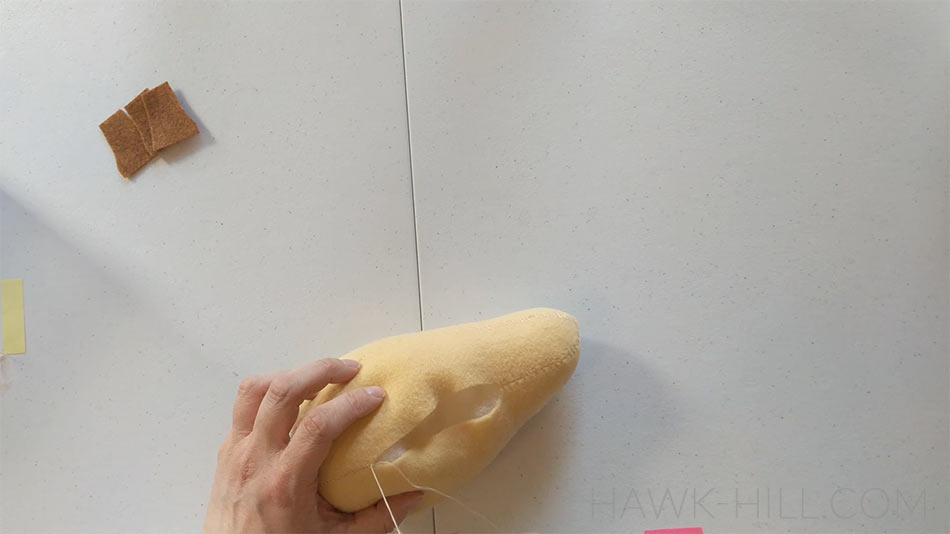
Step 3 – Turn and Stuff
When all the V’s have been stitched up and all the sides sewn together, turn your squash inside out and stuff with poly-fill filling, organic filling, felt scraps, wool roving, or another plush filling. Stuffing with wool roving can create a realistic heft and add to a needle-felted effect without the work.
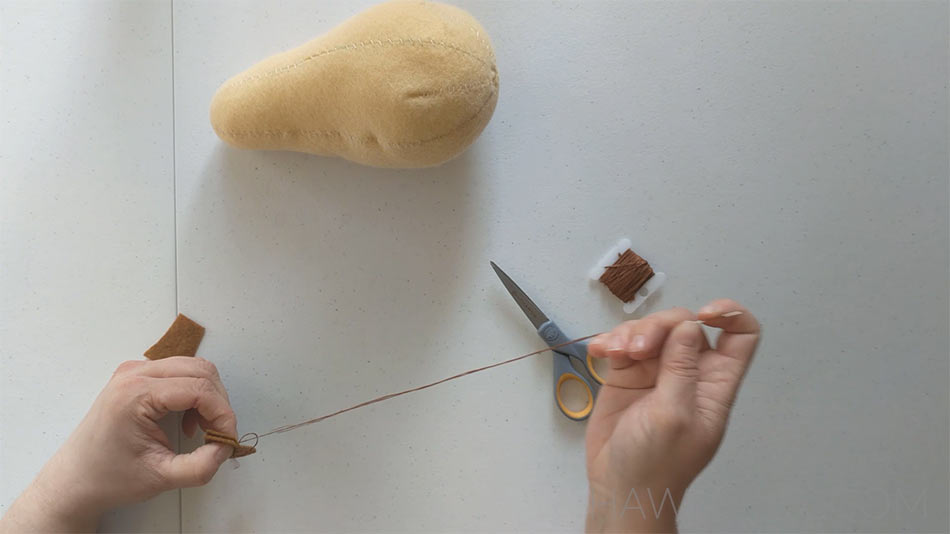
Step 3 – Stitch to Close
When your squash is stuffed to “pleasantly plump” status, stitch the gap closed with stitches that match your seam stitches as closely as possible.
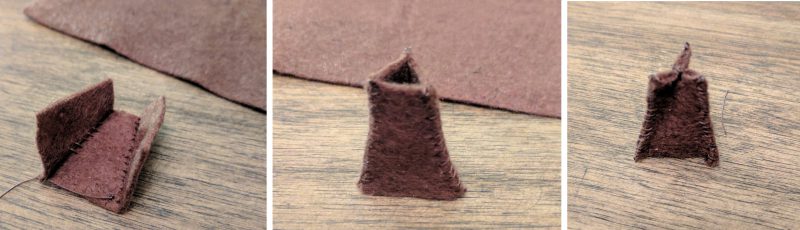
Step 3 – Stem
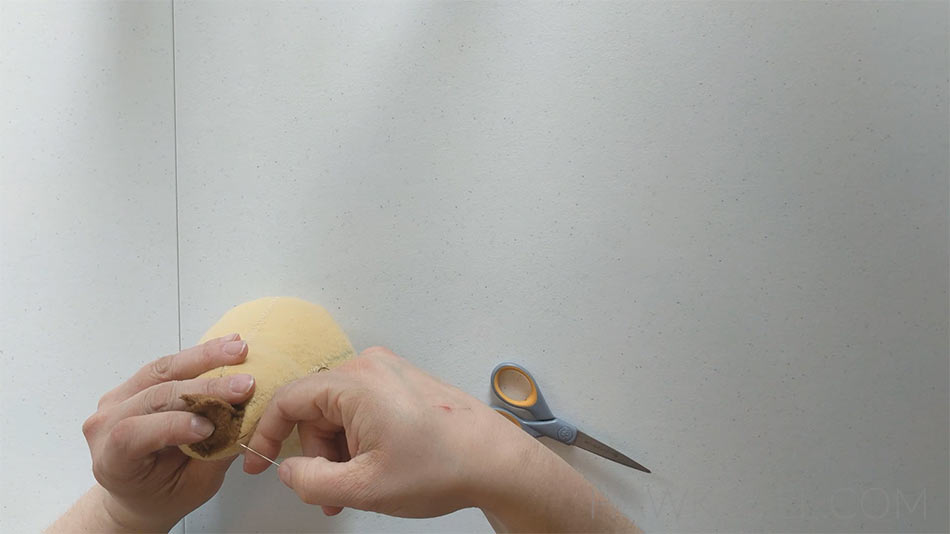
Set your newly constructed squash body aside and grab the 3 small sections of brown felt.
Sew up the long seams to create a small triangle shaped tube. Then close the tube on one end as shown. This recreates a stem on a squash that naturally withers after picking from the plant.
Before attaching the stem to the felt squash, stuff a bit of scrap felt inside the tube. 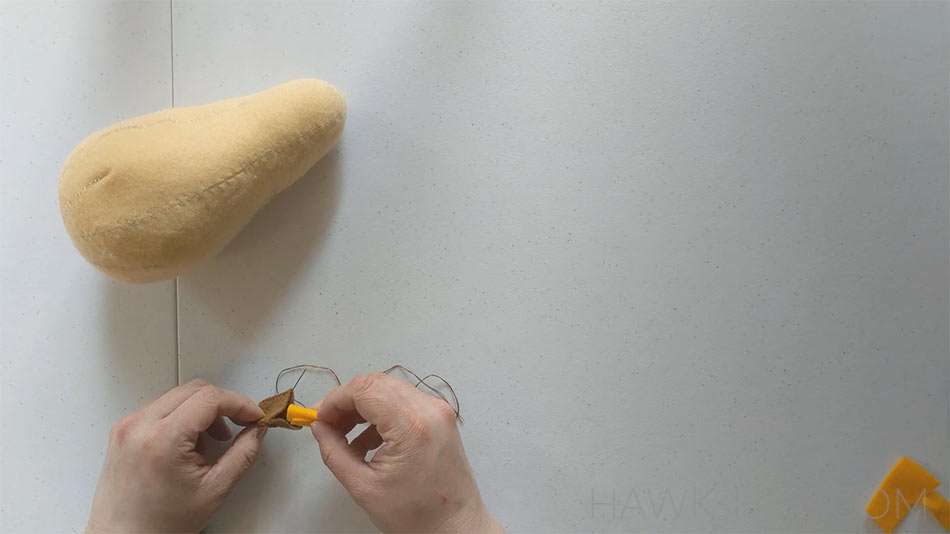
After stuffing, stitch your stem onto the slender end of the plush using a straight stitch. If you happen to have a curved needle this is the perfect spot to put it to use- however it’s very possible attach this stem, as shown, with a standard sewing needle.