
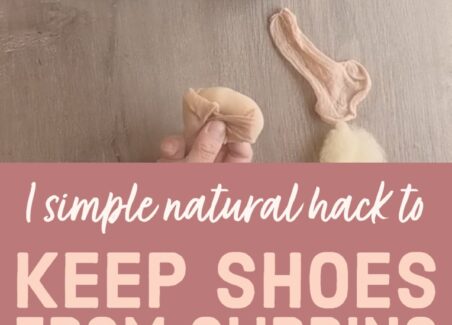
We all have them: Adorable flats or heels that almost but don’t quite fit, causing them to uncomfortably slip off your heel with each step.
Sometimes too-big shoes are the result of shopping a bit late in the day (when feet are fractionally larger) but for me, I blame my tendency towards against-my-better-judgment impulse buying.
Regardless of how they found their way into your closet, chances are you have a few pairs of heels, flats, or other shoes that are just a bit too big.
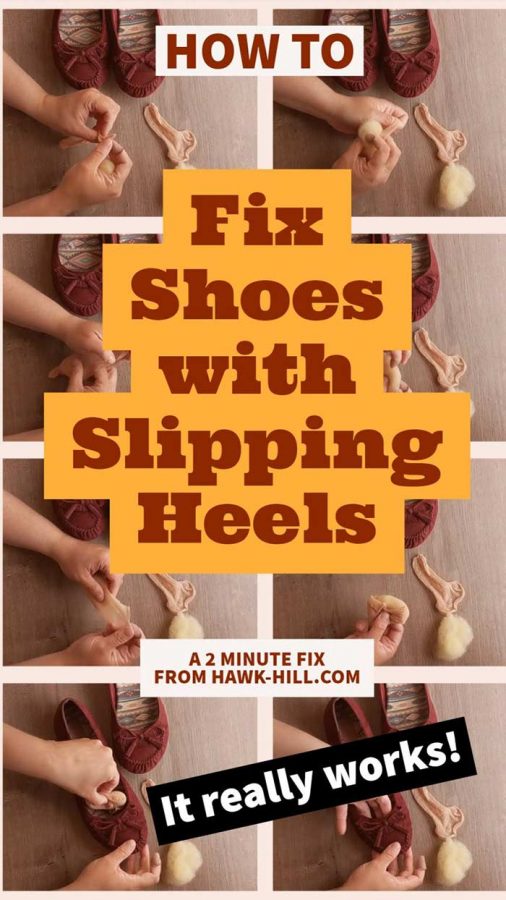
In this tutorial, I show two ORIGINAL ideas I created to permanently turn shoes with slipping heels into comfortable and easy-to-wear shoes that stay on with each step!
These two solutions result from experiments done on my 5-year quest to find the perfect pair of heels and learn to walk confidently in them. My adventure took me through the surreal world of luxury-high-heel brands (where buying my way out of the problem failed), and even into the world of burlesque, where a male burlesque performer (from the delightfully niche world of “boylesque“) taught classes for those of us woefully in need of professional guidance to master the art of high heel wearing.
Although you’d still be hard-pressed to pry my Blundstone Chelsea Boots from my cold dead fingers, I can boast that I finally learned to step, sashay, and strut in 5-inch heels- and I discovered two kickass anti-heel-slipping hacks during the journey.
Reasons Shoe Heels Slip
There are countless reasons we end up with slippy-heel-shoes, including shoes that are simply too big or poorly designed. For me, the issue is width: my foot is wide (like, measured-for-double-wide-running-shoes wide). Because of my wide feet, shoe fitting is a challenge. When I wear just about any shoe that doesn’t have straps, laces, or a buckle, my wide foot begins to slip down into the toe, widening the toebox, pushing my whole foot forward, and changing the fit of the whole shoe. Result: heels slipping off my heel with a suctioned “flop” at each step.
What didn’t work for me: I’ve tried inserts, I’ve tried non-slip liners, cushions, Band-Aids, and even duct tape. Some remedies worked better than others, but I was never able to resolve the heel slipping issue enough to be comfortable popping around my neighborhood in downtown Seattle in cute, low, non-strappy shoes… until now :]
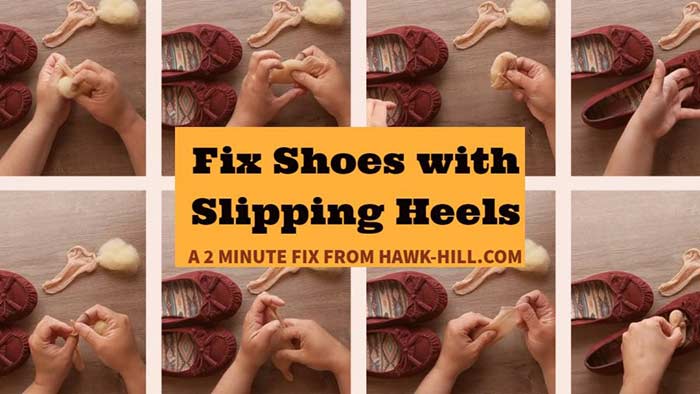
How I Permanently Fixed Slipping Heels in my Shoe Collection
1. DIY: Make your shoe heels non-slip using silicone caulking.
2. DIY: Prevent heel slipping with wool toe bumpers.
Method #1: How To Make Comfy DIY Toe Bumpers for Shoes
Here’s the step by step for how I fixed my heel slipping permanently. Read on to read the step by step, or just check out the video version below!
In this 1 minute video, I show just how fast and easy it is to create a custom fit in your shoes using wool:
It’s always been a challenge to find shoes that comfortably fit my wide foot, but when it comes to finding heels, it’s nearly impossible. I’ve always resorted to ankle straps or various other designs to keep a shoe in place on my foot as I walk, but recently I came up with this idea for using foot-friendly wool for custom shoe fit.
A few years back, a friend and I decided to sign up for a course at Seattle’s Burlesque Studio. Brave enough only to dip a toe in the water, we decided the “How to Walk in High Heels” class would be a not-too-intimidating entry point. Part of the class included helpful tips on the biometrics of walking in high heels and how to care for feet before and after a night in heels.
Also part of the course was a myriad of “tips and tricks” on wearing heels from burlesque performers. Among the supports, guards, cushions, and insoles mentioned, one performer mentioned repeatedly stuffing the toes of their shoes with tissues in order to prevent heel slippage as feet slowly smashed their way down into the toebox (the section of the shoe that supports and frames the toes).
Even though the heels I wore to the class took considerable smashing to even get my foot in the shoe, after 15 minutes of class, the heel began slipping. Inspired to think more creatively and sustainably about this tissue-stuffing method, when I got home I set to work crafting my solution.
With basic supplies from my needle felting craft supplies, I quickly created a solution that worked great and still-3 years later- continues to work as a method to keep my shoes in place.
The next day, I eagerly placed my tiny buffers into the toe of an adorable pair of moccasin flats I’d purchased but never been able to wear due to heel slippage, and immediately discovered I was- finally– able to wear these flats without my heel slipping. Now they are one of my favorite pairs of shoes and I wear them all over with confidence that they’ll fit and not slip.
What You’ll Need:
Hawk-Hill.com is a participant in the Amazon Services LLC Associates Program, an affiliate advertising program designed to provide a means for website owners to earn advertising fees by advertising and linking to Amazon.com and any other website that may be affiliated with Amazon Service LLC Associates Program
- Old Pantyhose cut to 4-5″ tubes OR disposable nylon try-on socks
- Loose Wool Fiber (technically called “roving”)
*See the end of the post for links to my suggested supplies!
Important Don’t use cotton or synthetic fiber for the fluffy filler- wool works, uniquely for two reasons: 1. Wool breathes, which prevents odor and helps keep feet dry, and 2. Body heat and friction will literally turn the wool fiber into what is, essentially, a felt orthotic that is custom fit to your shoe and your toes.
You can swap these bumpers from one pair of shoes to another, but for best results, DON’T.
Why? If given the opportunity to conform to your shoe and felt in place, these bumpers will sort of become part of the shoe. As body heat and friction turns the loose fiber into felt, those fibers will conform to- and in some cases interlock with- the toe of your shoe. This will allow you to put on, walk-in, and even kick off your heels without giving a second thought to the anti-heel-slip bumpers.
So make a few bumpers at a time and don’t swap them once they’re in a shoe. If you frequently swap them out, they’re less likely to stay in place in your shoe- which could be a tad awkward if you kick your heels off in public and your toe pillows pop out!
How to Use Wool Fiber to Fix Heels Slipping
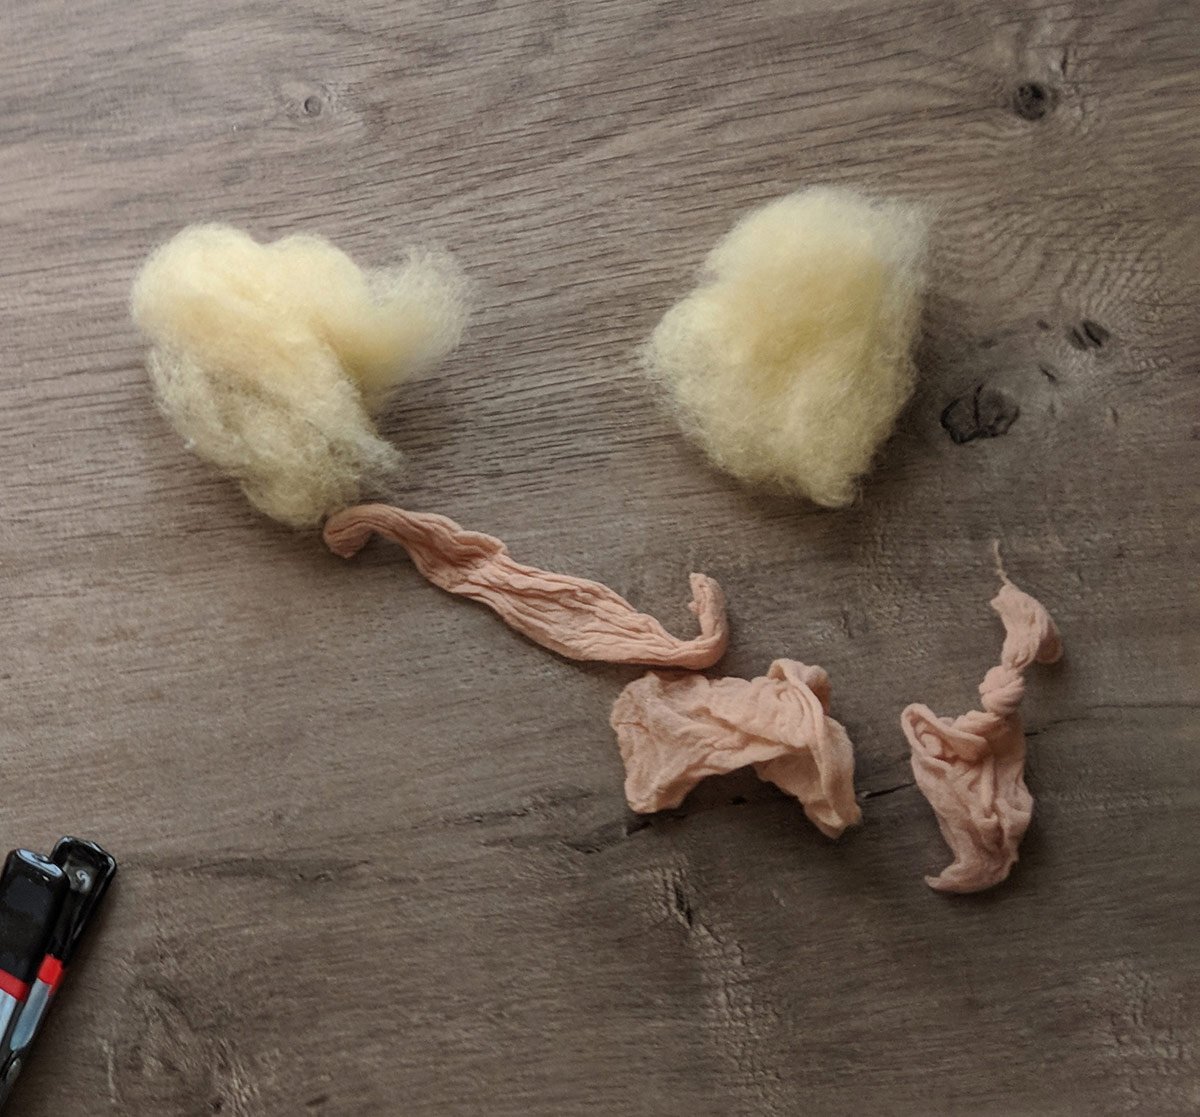
Once you have gathered supplies, tease the wool roving apart into two equal bundles, and bundle the fiber around itself so it’s a bit self-contained, as shown below:
Next, insert the wool into the tube of pantyhose, as shown below:
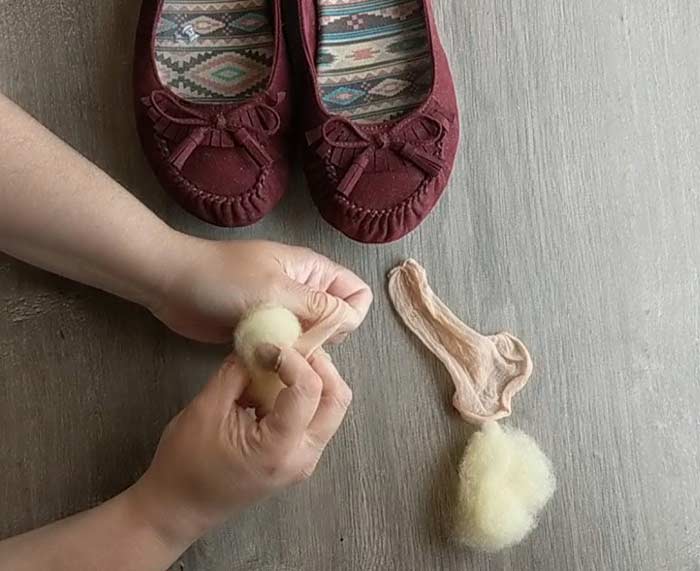
Then, treat the felt-pantyhose bundle like a tiny sausage and pinch the ends, give them a half-turn or so, and fold the edges inward.
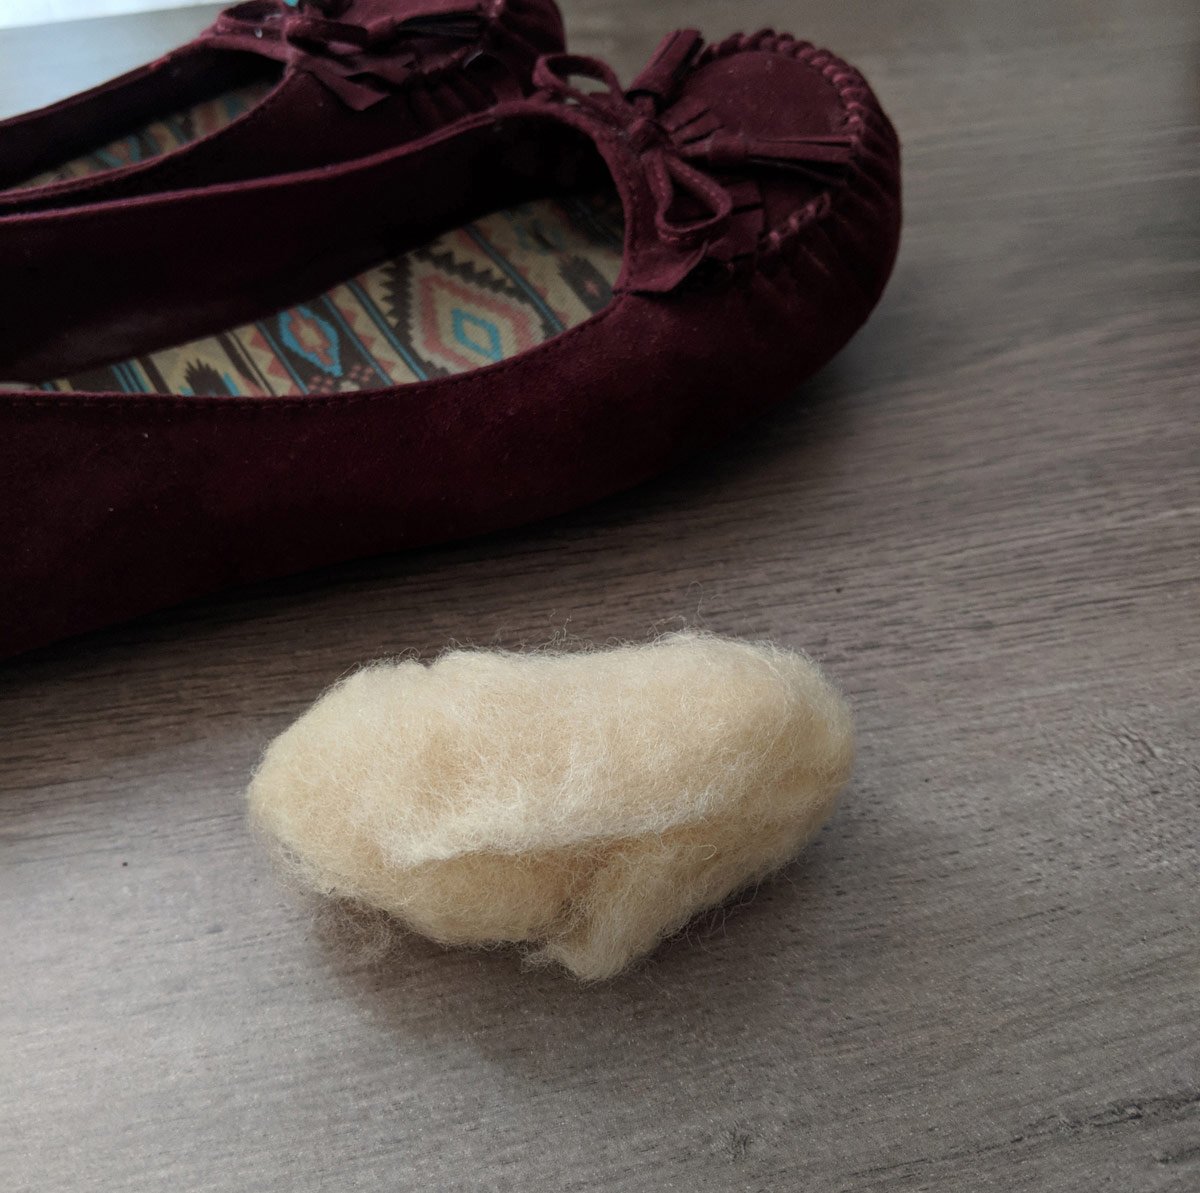
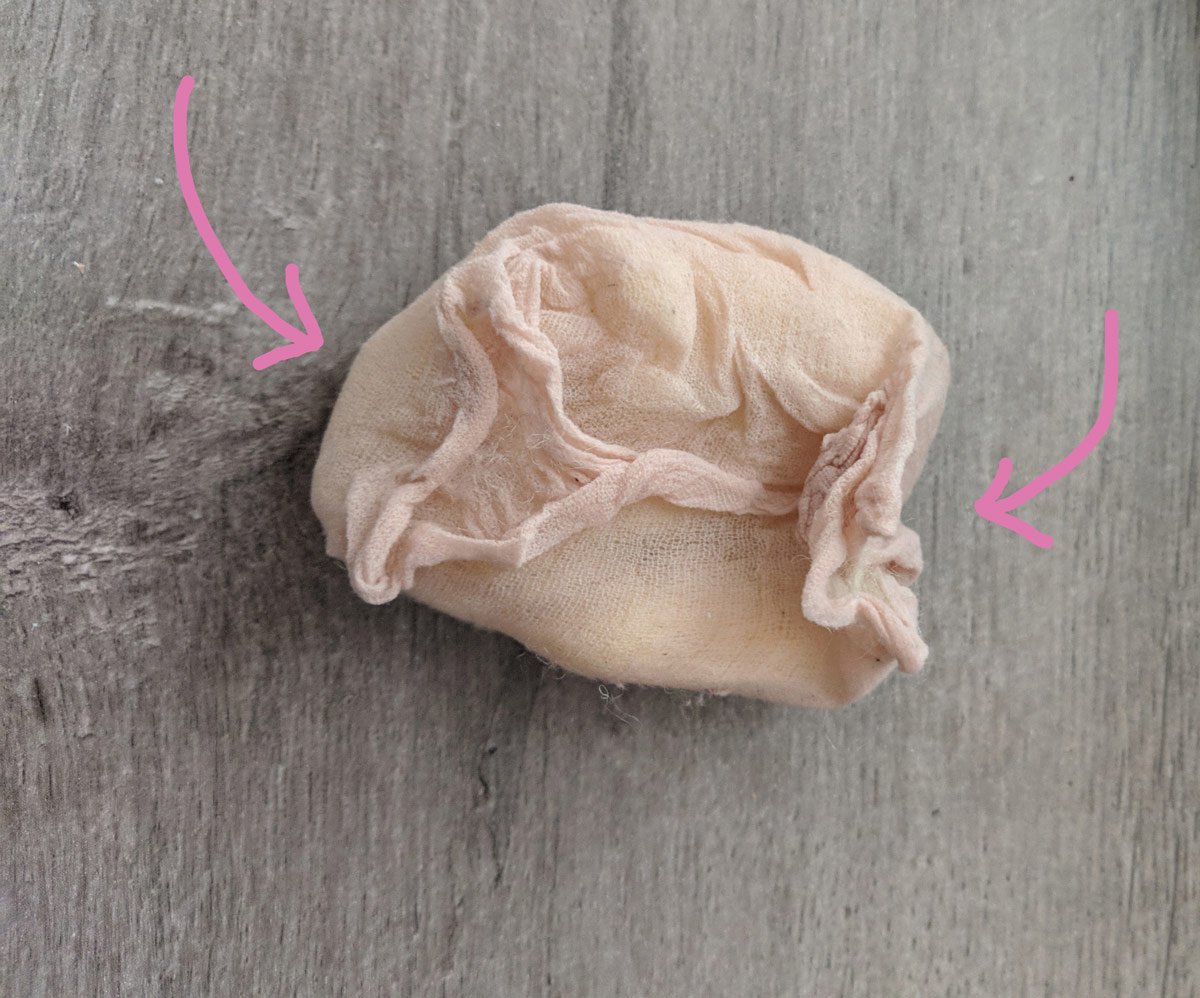
What you’ll have at this point is a little bundle with one smooth side- that’s the side that will be oriented to face your toes- while the actual toe of the shoe will keep the edges securely in place.
Simply press the little wool bumper into the toe of your shoe, making sure the folded edges face the front of the shoe.
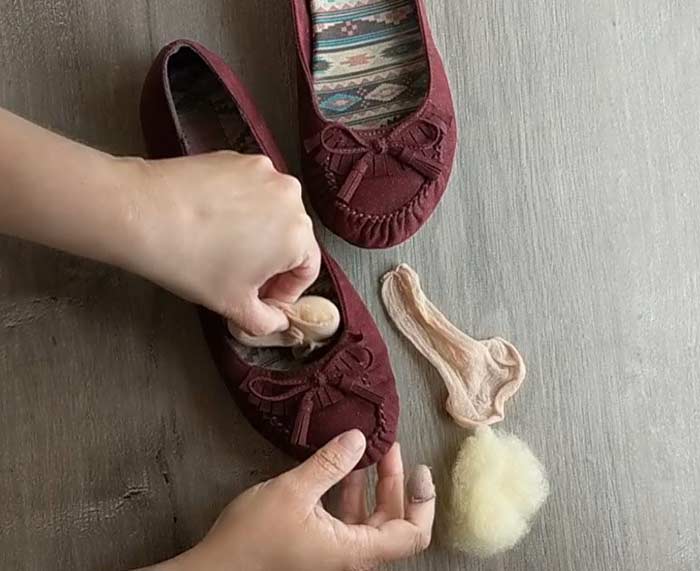
You might need to add fiber or remove a bit to get the perfect fit (it’s best to overestimate, because the fiber will compress a little) but this trick is a quick way to fix shoes that are otherwise impossible to wear due to heel slipping.
Method #2 For Preventing Heel Slipping: Silicone Strips
Lining the heels of a particularly slip-prone pair of heels or flats with silicone is a great way to add enough friction to keep the heel of your shoe in place without adding so much friction that your shoe blisters or rubs your skin raw. Silicone is perfect because it’s both non-slip and very, very soft- ideal as a shoe liner.
What you’ll need:
- Clean, dry shoes
- 100% Silicone caulk – Clear
- A small bowl of water
- (Optional: Turpentine for better flow, a heavy-duty zip-top bag, Acrylic paint in a color similar to your shoes, a craft stick to mix, and a mixing surface)
*See the end of the post for links to my suggested supplies!

How to Begin:
Lining a heel with silicone is both really simple, and takes a bit of finesse to get it to work. The problem is that silicone is formulated to be easy to clean up, and actually- straight out of the tube- resists adhering to leather or cloth on the inside of a shoe.
There are two ways to increase adhesion as you place the silicone non-slip:
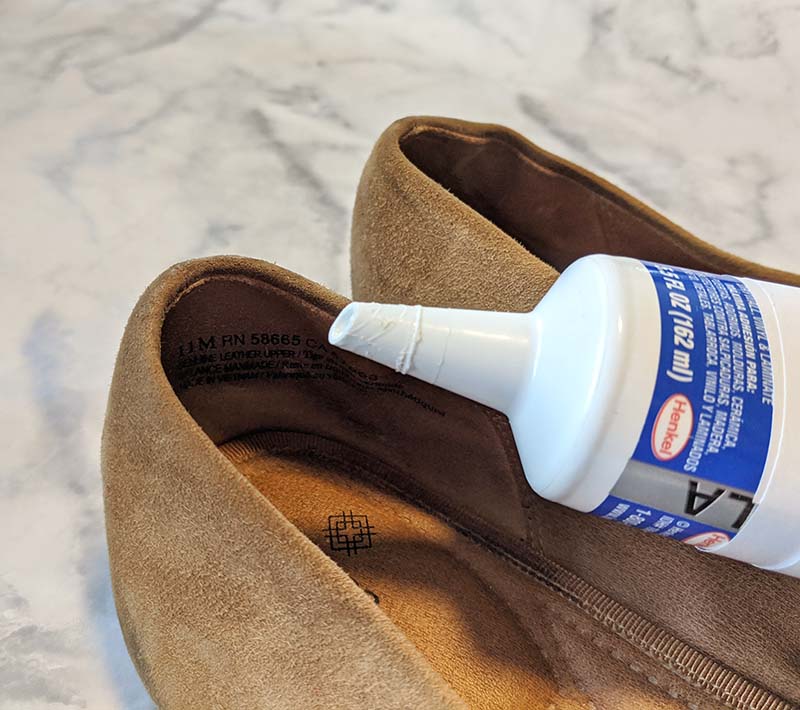
Method 1: The first way to increase adherence of silicone to the shoe is easy but requires patience to add a step and give it time to set before moving on. To apply pure silicone as permanent heel-slip prevention, you’ll need 100% silicone calk and wood craft sticks. To begin, place a bit of caulking on your craft stick (think: toothpaste on a toothbrush) and smooth the silicone along the inside back heel of your shoe. Use enough pressure that a thin layer of silicone is pressed into the material of the shoe, making contact and filling any seams or gaps and filling spaces between fibers.
Allow to dry for at least 1-2 hours.
When the thin layer is dry, you can use the silicone caulking tube to add ridges of silicone on top of the thin film. The film will adhere permanently to the shoe and the ridges will adhere permanently to the film, creating a long term, step-proof way to end heel slippage.
Method 2: Before putting the silicone in your shoe, squeeze it into a heavy-duty zip-bag, add a small amount of turpentine (roughly 1 part turpentine to 25 parts silicone caulk) squeeze bag till mixed well, and then snip off the tip of the bag and pipe in lines along the back inside heel of your shoes. (In this mixture the turpentine dilutes the silicone helping it to spread and flow just enough to penetrate the fiber that it’s placed on and stay put, instead of remaining in a coil and, once dry, easy to peel off)
If you add 2-5 parts acrylic paint, during the mixing, you can also match the silicone to your shoe color, to make it less obvious, while also decreasing the time needed for the silicone to set, dry, and be ready to use.
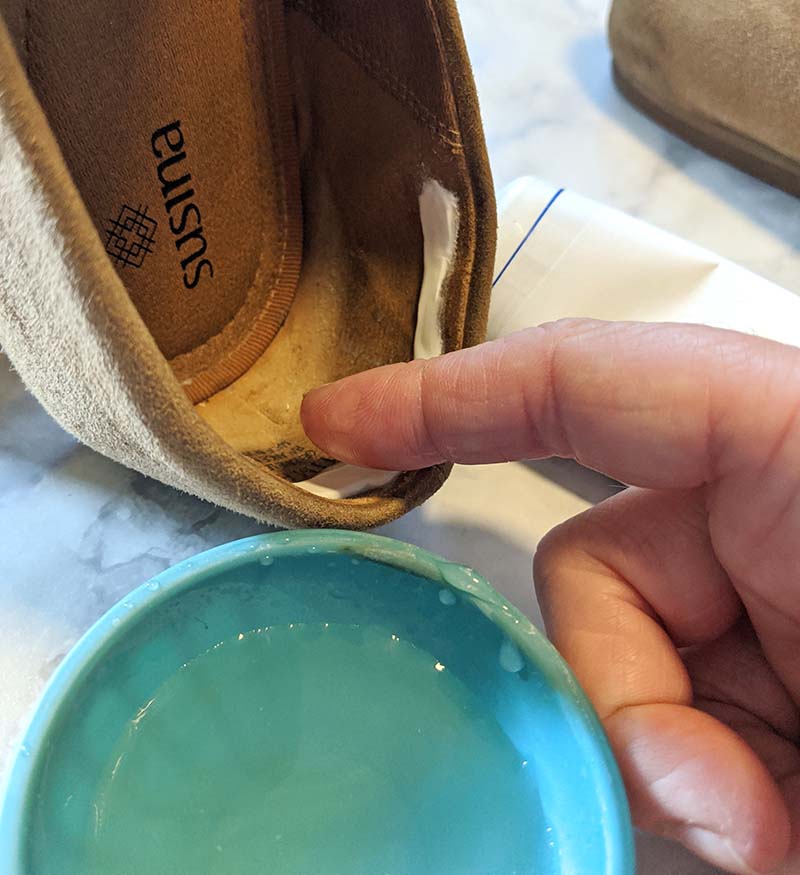
To smooth down a coil of silicone squeezed from bag or tube, wet your finger well, and use a water-coated fingertip to press the coil flat. Silicone and water do not mix, so as long as your finger is very wet, you’ll be able to touch the silicone without getting sticky. Don’t worry about the water and silicone mixing- water actually speeds the curing process that dries silicone!
Here are my suggested products for use:
A Request
If this tutorial saved you the expense of new shoes, would you consider saying thanks by becoming a $1 sponsor to help keep this website operating? 🙌👍🙏 Donating the equivalent of a cup of coffee helps me keep my site up and new tutorials like this one coming!
If not, please consider sharing the image below or check out my partner’s offers.
Thanks for Reading!!!
I hope you can tell that I love DIY, researching the best affordable solutions for every-day problems opportunities and documenting / sharing solutions!🙌 Hawk-Hill.com is reader-supported.
☕ Hawk-Hill.com is reader-supported. If this article saved you time or money, please consider donating $1 to help me cover the cost of hosting this website OR If you appreciate this information and want to throw a “Thanks!” my way by buying me a coffee – I would Of Course appreciate it! :]
Reader Questions and Recommendations
Readers, do you have any favorite topics / posts? What would you like to read more about in the future? As I hope you can tell from this and other articles on my site, I really enjoy DIY / a good challenge, and I’m not afraid to roll up my sleeves to figure out a great, and hopefully simple 😁 solution. So please feel free to let me know in the comments below (or reach out via social media)!
Ok Really – I’ll try to wrap this up now😂
Finally, if you’d like to continue to learn about interesting DIY options as well as how YOU can tackle creative new projects consider checking out the latest and most popular articles listed on the Hawk-Hill Home Page. I’m always trying to enjoy and write about the creative side of life so please don’t be a stranger – check back often!😍
Also chech our Pinteres account https://www.pinterest.com/curlylindsay/
If you enjoyed this post you may also enjoy reading / perusing / devouring😊 one or all of these articles as well!
- 💡4 Easy Steps to Make Your Own Sea Glass 🌊
- ❤️Bedroom Decorating Ideas for Single Women’s Master Bedrooms 🛏️
- 🏡Ikea Kitchen Cost: What I Spent for a 9×12 Kitchen Remodel 💵
- Turning a Spare Room into a Dressing Room or Walk-in Closet on a Budget
- Bedroom Decorating Ideas for Single Women’s Master Bedrooms
- 4 Easy Steps to Make Your Own Sea Glass
Thank you for these truly original solutions! I got some wool roving and now just need to find some old panty hose…for once I am sad that I usually toss things with runs or holes quite quickly!
Glad you found this article helpful – Thanks for reading!