In this post, I demonstrate how to clean Blundstone boots and keep them looking great for years through basic care and annual maintenance.
With a $200+ price tag, Blundstones boots are an investment worth taking care of the right way. These Blundstone boot care tips can help your books look newer, longer- and help them age gracefully into stylishly distressed leather boots instead of just wearing out.
Though my instructions are Blundstone-specific, these care instructions should prolong the life of any 100% leather boot.
How I Learned to Care for Blundstones
As a two-decade Blundstone user, I can testify to the versatility of these super comfortable boots.
I bought my first pair at the Rolex Kentucky three-day event (For context, it’s like the football equivalent of the Superbowl for the Olympic horse sport). There, in tents filled with row after row of equine-related wonders available for purchase, I bought my first pair of Blundstones. Originally, they were my favorite boots for horseback riding and stable management. But I had to prematurely replace my first pair only when, one day after having been left on the porch of my farmhouse to air out after chicken-coop cleaning, I emerged from my home the next morning to find one of my Blundstone boots missing! Despite searching high and low and placing a tongue-in-cheek “missing” poster at the post office in the tiny town in which I lived, I ultimately had to throw the remaining boot out, silently cursing whatever creature had dragged off its partner in the night.
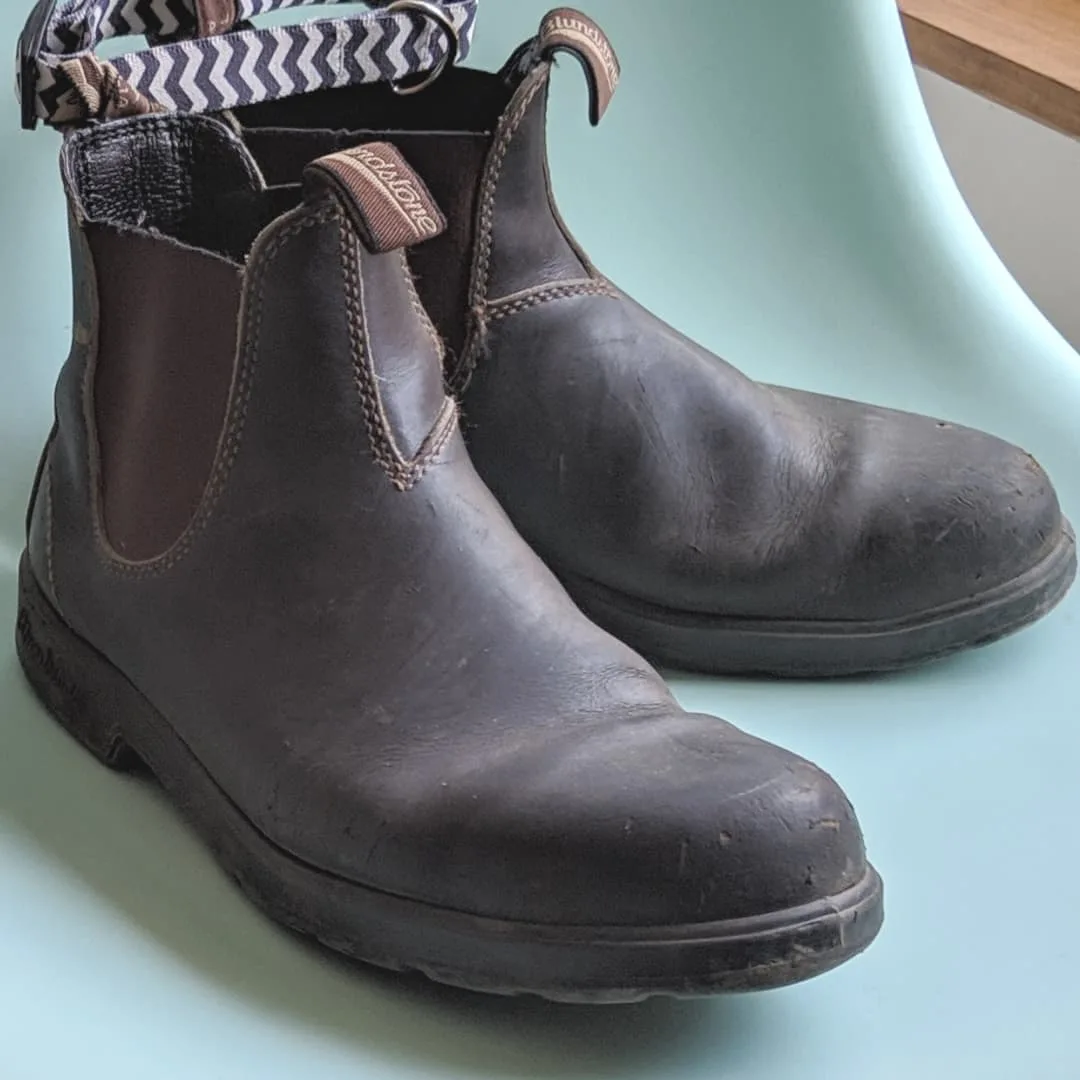
My second pair of Blundstones have, with much more attentive care, lasted for almost a decade. Despite wearing them through stables, hiking trails, and muddy gardens, my boots still clean up well enough to wear in a professional office and to be my primary shoe when I’m traveling overseas.
Blundtones are great for airport security because they slip on and off with one hand. My Blundstone boots have traversed the world, from Midwest horse farms to Pacific Northwest trails, from truffle hunting in Italy to exploring off-trail in Torres del Paine in Patagonia. Through it all, they still look nice enough to wear to the office. Here are my secrets for keeping these boots looking great.
Cleaning & Reconditioning Blundstone Boots
Here’s how I clean and condition my boots when they start to look a little rough:
The following section may contain affiliate links. As an Amazon Associate, we earn from qualifying purchases.
Suggested Supplies for Boot Care:
1. Saddle soap
First, Get your hands on some leather-safe soap, ideally: Red wing leather soap. (Hand made Castile soap from etsy works great and unscented Dr Bronner’s at Amazon also work).
Using a medium-soft nail brush or just a good washcloth, scrub the surface of the boots with warm soapy water. Avoid drenching or absolutely soaking the leather but getting it very wet is fine as long as afterward you care for the wet leather properly using the steps described below. Wipe the suds away with a wet cloth, and scrub again with soap.
Repeat this process until the suds wipe away clean, then wipe the surface of the boots dry with a clean cloth.
2. Allow Boots to Dry
The next step after cleaning is drying your Blundstone boots. Avoid fast-dry processes like sitting them directly in front of a hot heater (Leather will last longer if dried at a moderate pace instead of zapped dry by hot, ultra-dry air).
Stuff your boots with a boot-tree or dry, wadded newspaper. Dry newsprint or paper absorbs moisture from the inside and helps your boots keep their shape as they dry and as the leather contracts.
Allow the clean boots to dry for 24 hours in a warm, dry area. Remove the newsprint after 12 to 24 hours and let boots dry entirely before step 3.
Step 3. Conditioning
Moisture exposure and soap dries out leather, so an essential final step is reconditioning. Without reconditioning, boots can deteriorate faster and look worse after being cleaned. To remedy this, you’ll need to apply a quality leather conditioner. Conditioned leather resists stains, holds up to scratches, and remains soft, supple, and water-resistant.
Bick conditioner is my preferred leather conditioner- it’s worth buying a tin to keep all of your leather goods looking great, but you can also buy individual packets of leather conditioner for single applications. I like keeping leather conditioner on hand- it’s surprising how often it comes in handy.
Take a bit of the conditioner, put it on your fingers (you can use rubber gloves, but it’s not necessary), and begin to massage it into the leather. I like to apply a thin layer, wait 20 minutes, apply a second layer, then use a soft dry cloth to buff off any extra remaining on the surface of the leather.
WATERPROOFING: All conditioner will offer some water-proofing, since it works by filling pores in the leather with oil- but some conditioners definitely provide more waterproofing than others. For great waterproofing without gunking up the leather with synthetic ingredients, I recommend waterproofing wax.
PRO TIP: Generally, conditioning leather works a little better- and penetrates a little deeper into the leather- if the leather is slightly warm. Placing your boots in the vicinity of a heat vent or in a warm laundry room for a few minutes before conditioning- or while you are waiting for the conditioning to soak in- may improve the effectiveness of the process.
Annual Conditioning & Repair
This cleaning and conditioning routine is great for any time your Blundstones need refreshing, but to keep them looking their best you’ll need to give them extra TLC as needed.
When I lived in Missouri, I had a great cobbler- a saddle shop owner who, for $14, would repair deep scratches, gouges, and scrapes. After moving to Seattle, where both cobblers and saddle shops are a thing of the far-distant past, I had to learn to DIY my Blundstone care.
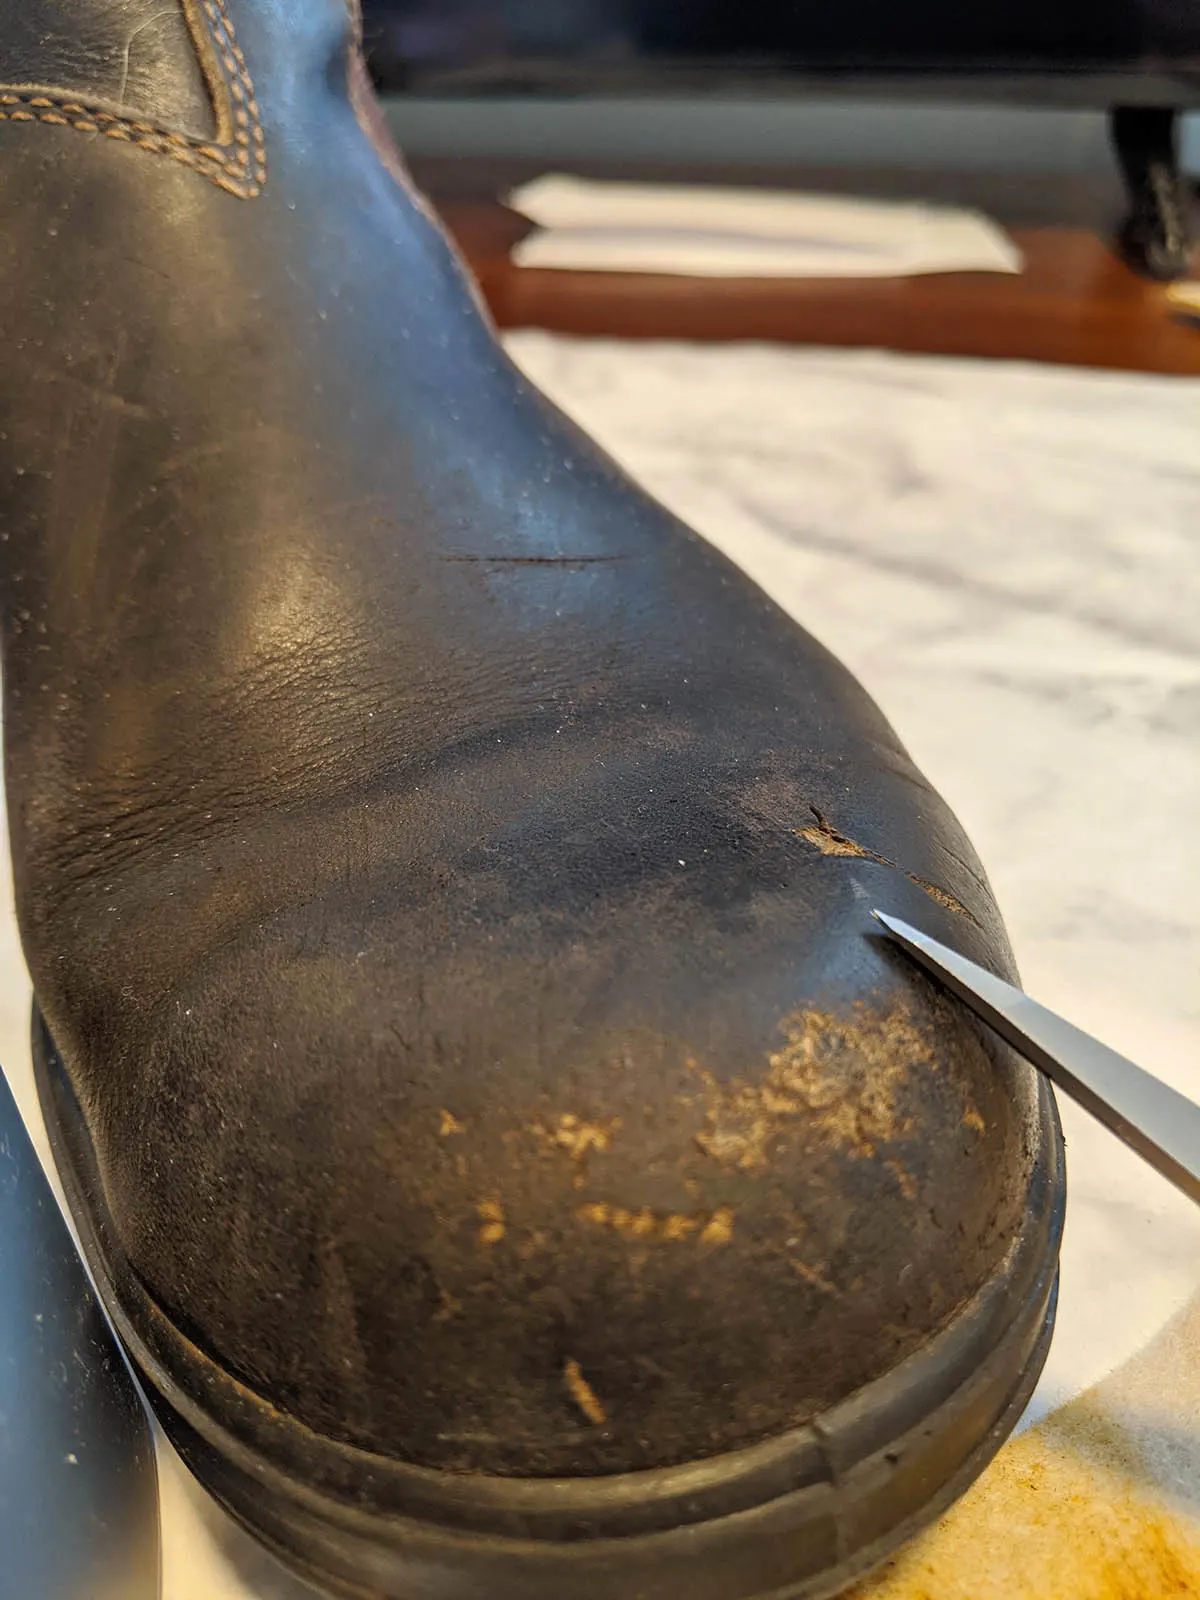
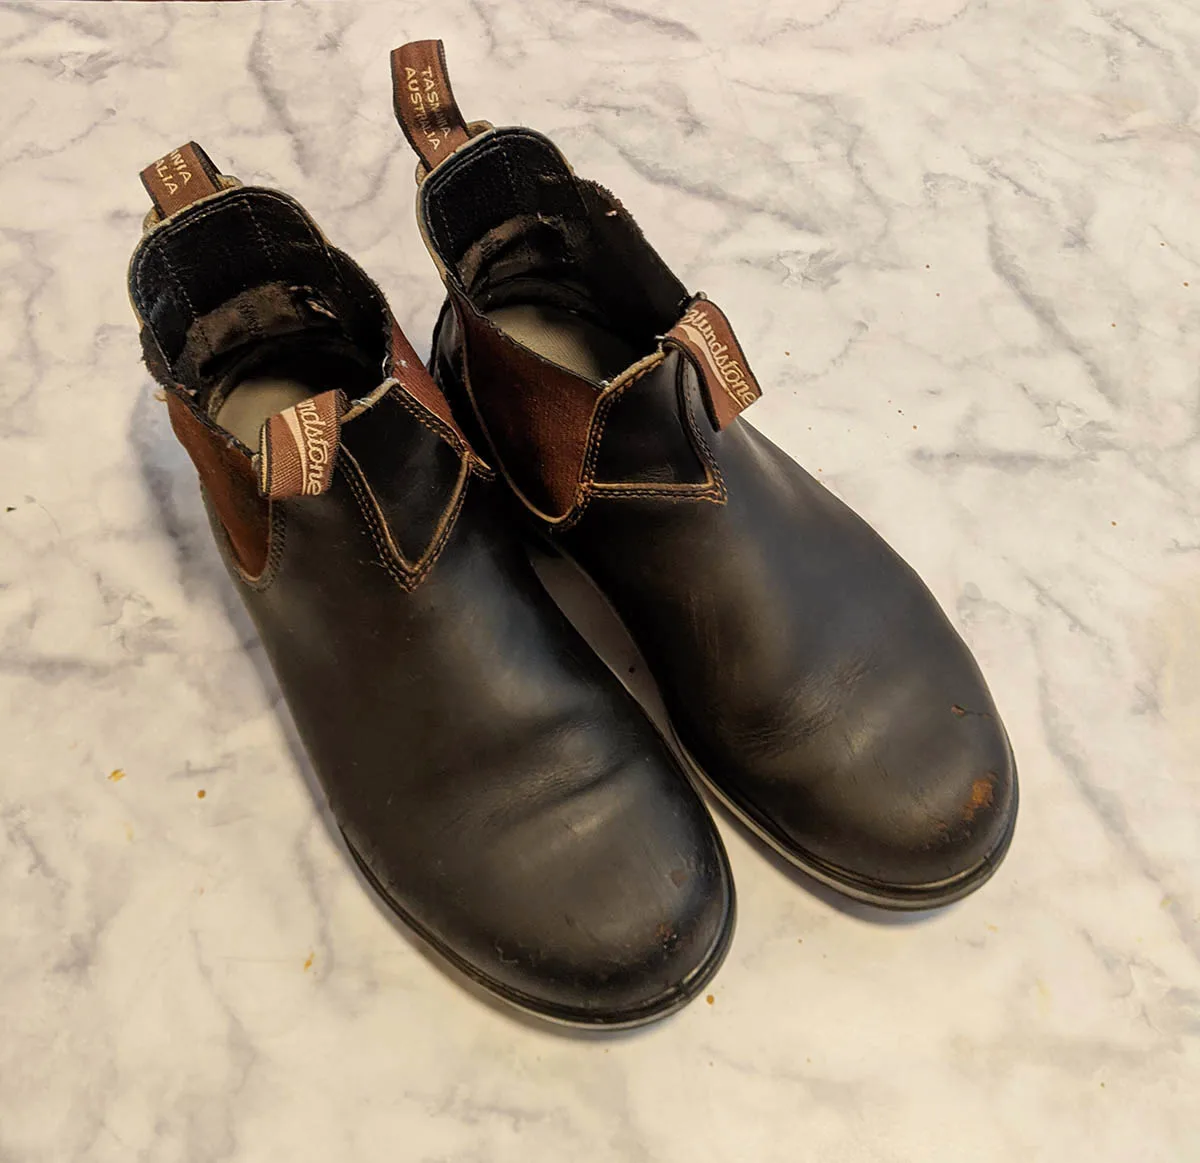
After I wore my Blundstones as my primary shoe throughout a 3 month trip to Patagonia in 2019, they returned home looking more than a little rough:
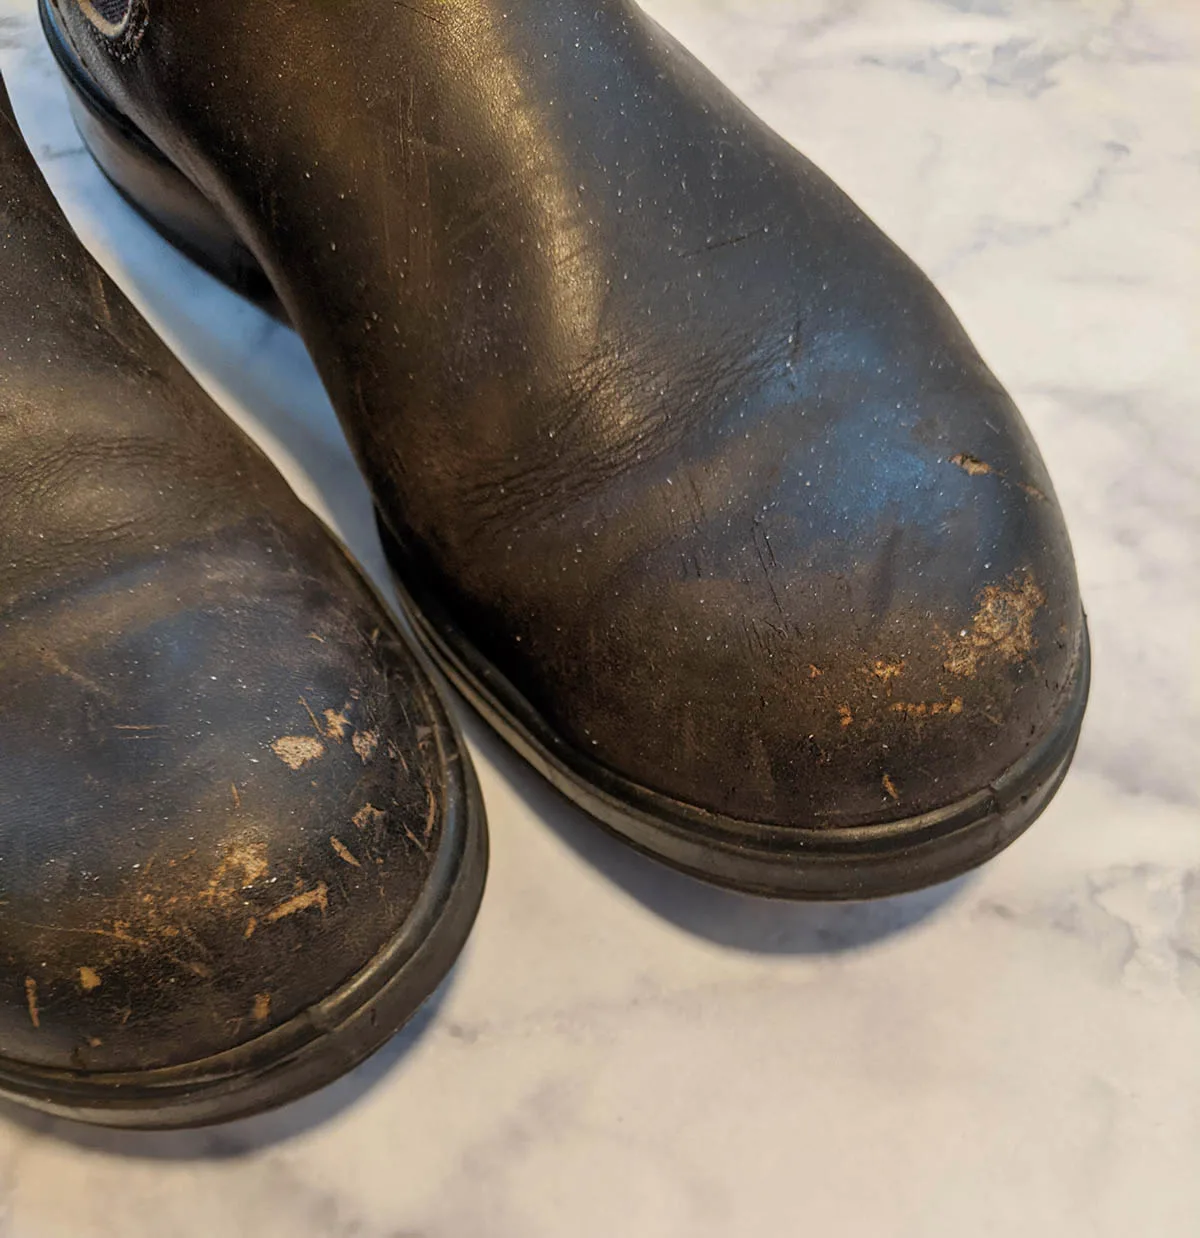
Deep gouges and scuffs exposed layers of undyed leather, creating an eyesore. I decided to try retouching them myself, in the same way my shoe repair guy had done for my last pair. So I gathered supplies and got to work. Here’s the method I used tofix scratches and gouges in the leather of my Blundstones.
Supplies needed:
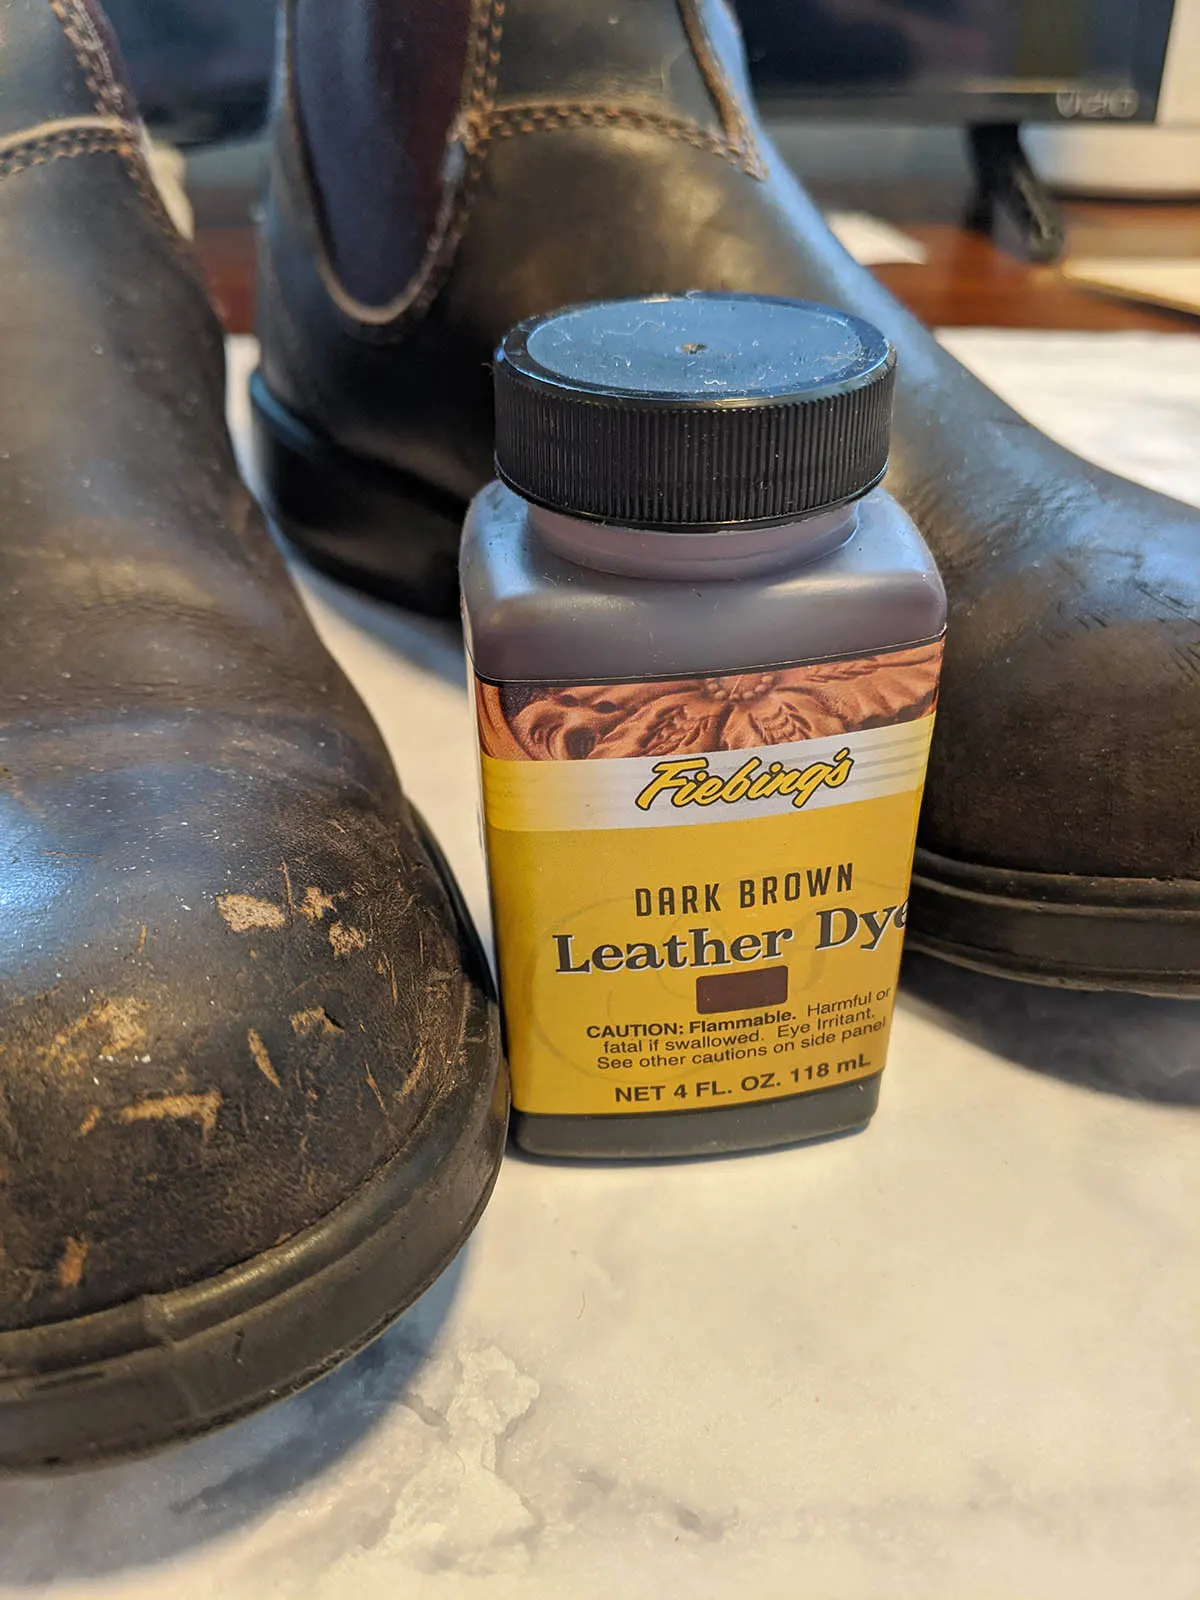
Fiebings Dark Brown Leather Dye (for a perfect match, blend dark brown with black, test an inconspicuous area to confirm match- I just used the dark brown straight in these photos)
SofSole Mink Oil (a paste-consistency conditioner that protects better than oils)
Step 1. Trim or Glue Down Loose Leather
Very deep gouges with a large flap of leather still attached can be glued down, but if the flap is tiny, you’ll want to trim off the excess leather with a pair of sharp scissors. For very (VERY) dry leather, you can use fine sandpaper to remove small flaps, but avoid scratching the surrounding leather.
For gluing leather gouges down, I always use Ever Tack, it’s like cement for leather repair, is non-toxic, and never dries out in the bottle (I’ve been using the same bottle for approaching a decade!) It’s what my cobbler in Missouri used and I’ve kept a bottle handy since.
If you glue, add some weight to hold the loose leather flaps down and wait 24 hours before proceeding with the following steps.
Step 2. Carefully Redye Scuffs
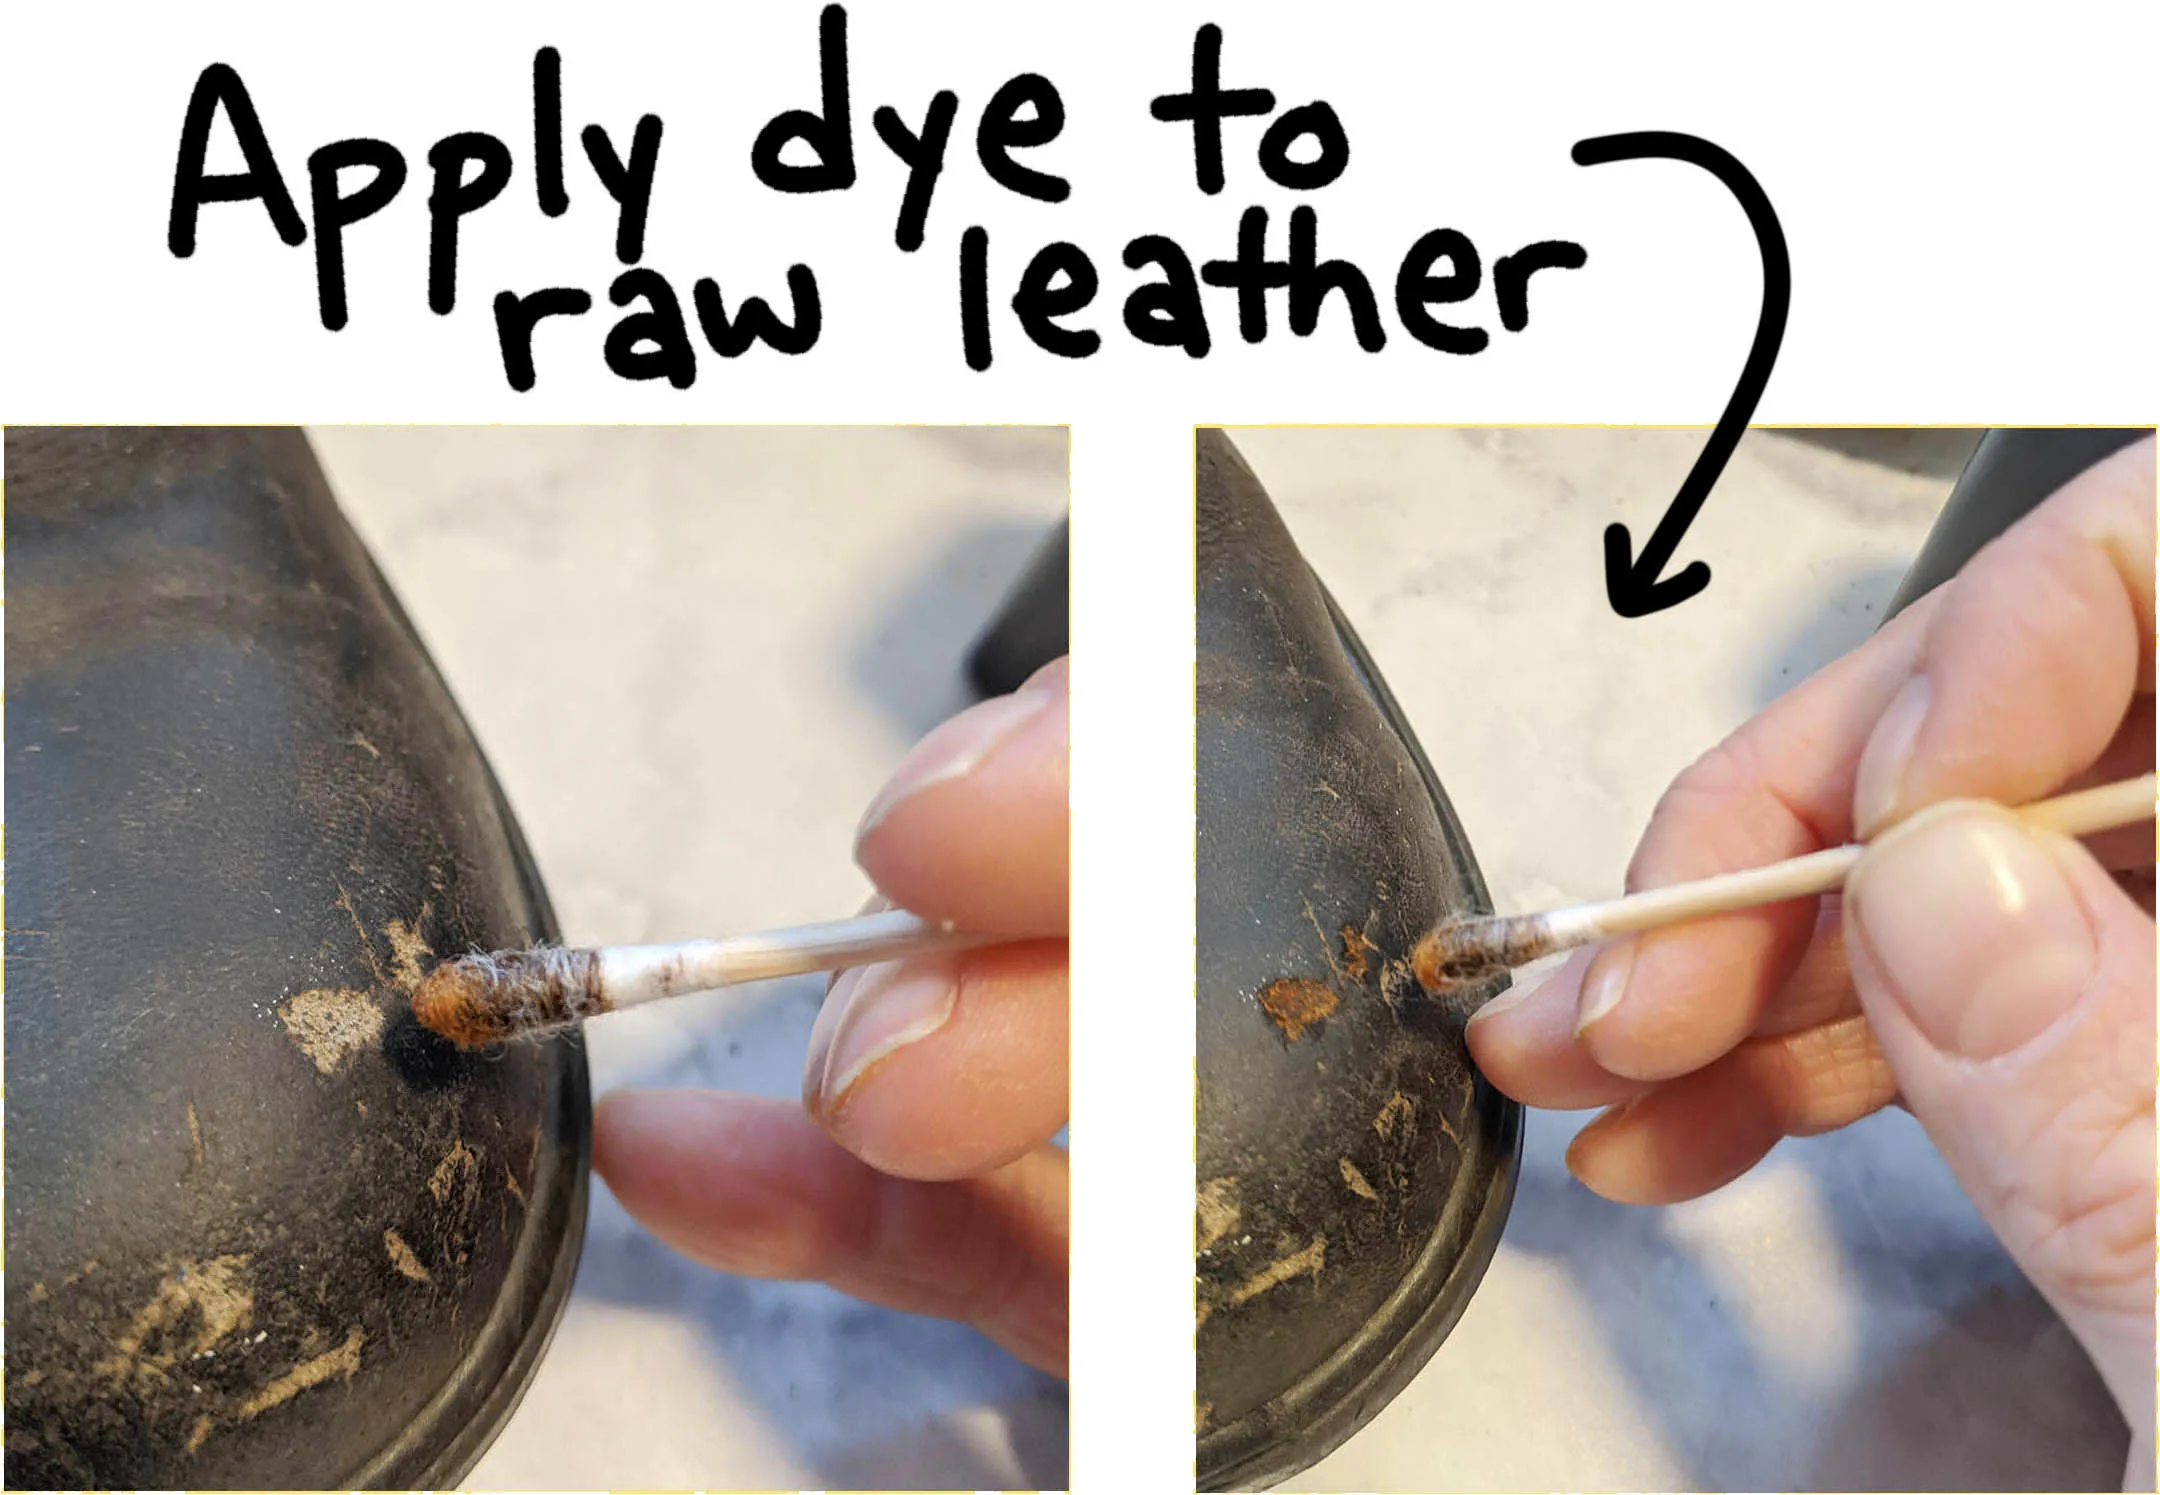
Use a cotton swab or tiny paintbrush to apply dye to the raw leather. Try not to get dye on already-dyed places, as this can create dark spots. Have a paper towel dampened with rubbing alcohol handy to wide away any overdye.
Wait about 5 minutes after the first application of dye, and then go back over the boots, applying dye again. The second application should darken the color slightly. Again, Fiebings dyes can be blended, so for a perfect match, you can blend brown and black dyes. Important: newly redyed spots will darken when the conditioner is applied in the next step, so it’s better to dye lighter.
Step 3. Condition
Listen, after step 2, you’re going to be low-key disappointed- but it’s temporary! Just hang in there, because the conditioner really takes the new dye job across the finish line!
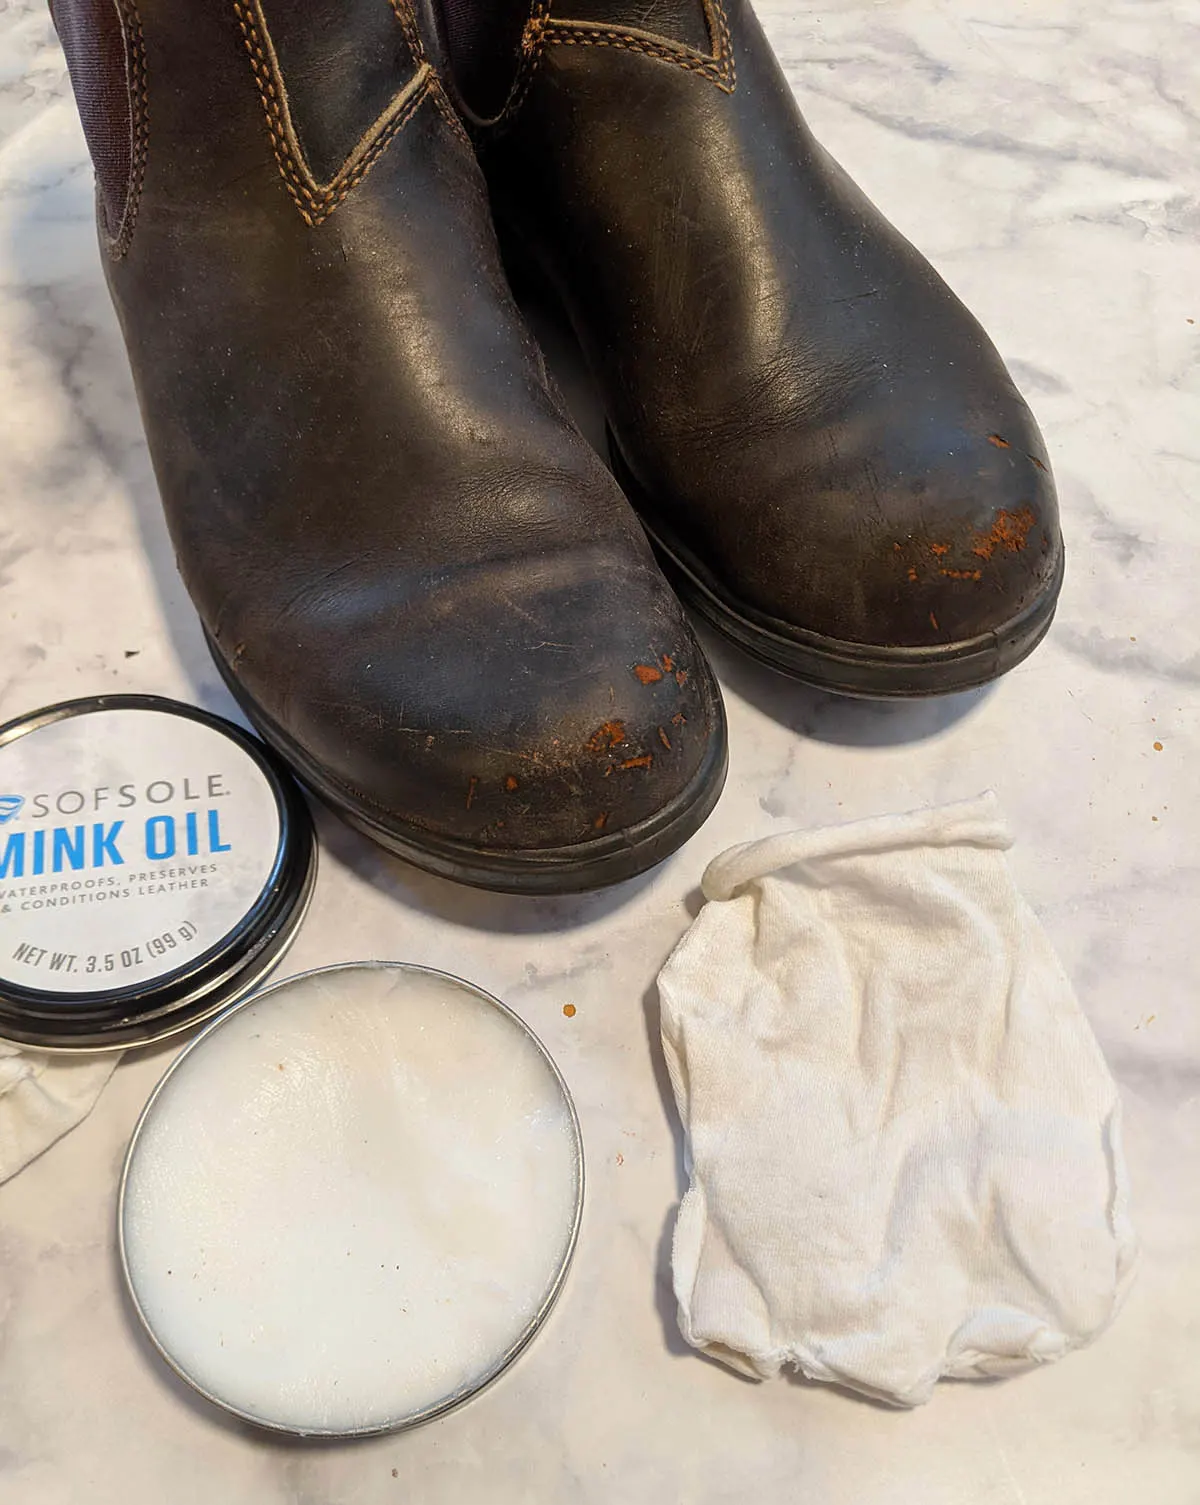
Gather the conditioner and a soft cloth and begin applying the conditioner all over- both repaired surfaces and the factory-condition surfaces.
LESS IS MORE when it comes to conditioner. Rule of thumb: apply conditioner as if it’s butter, the shoes are toast, and you are a 1980’s low-fat-dieter.
Conditioner that isn’t absorbed sits on the surface and turns to a gummy residue, so keep it light, massage it in well, and wipe away any excess. As mentioned above, conditioning will soak in a little easier if you warm your boots up a little first.
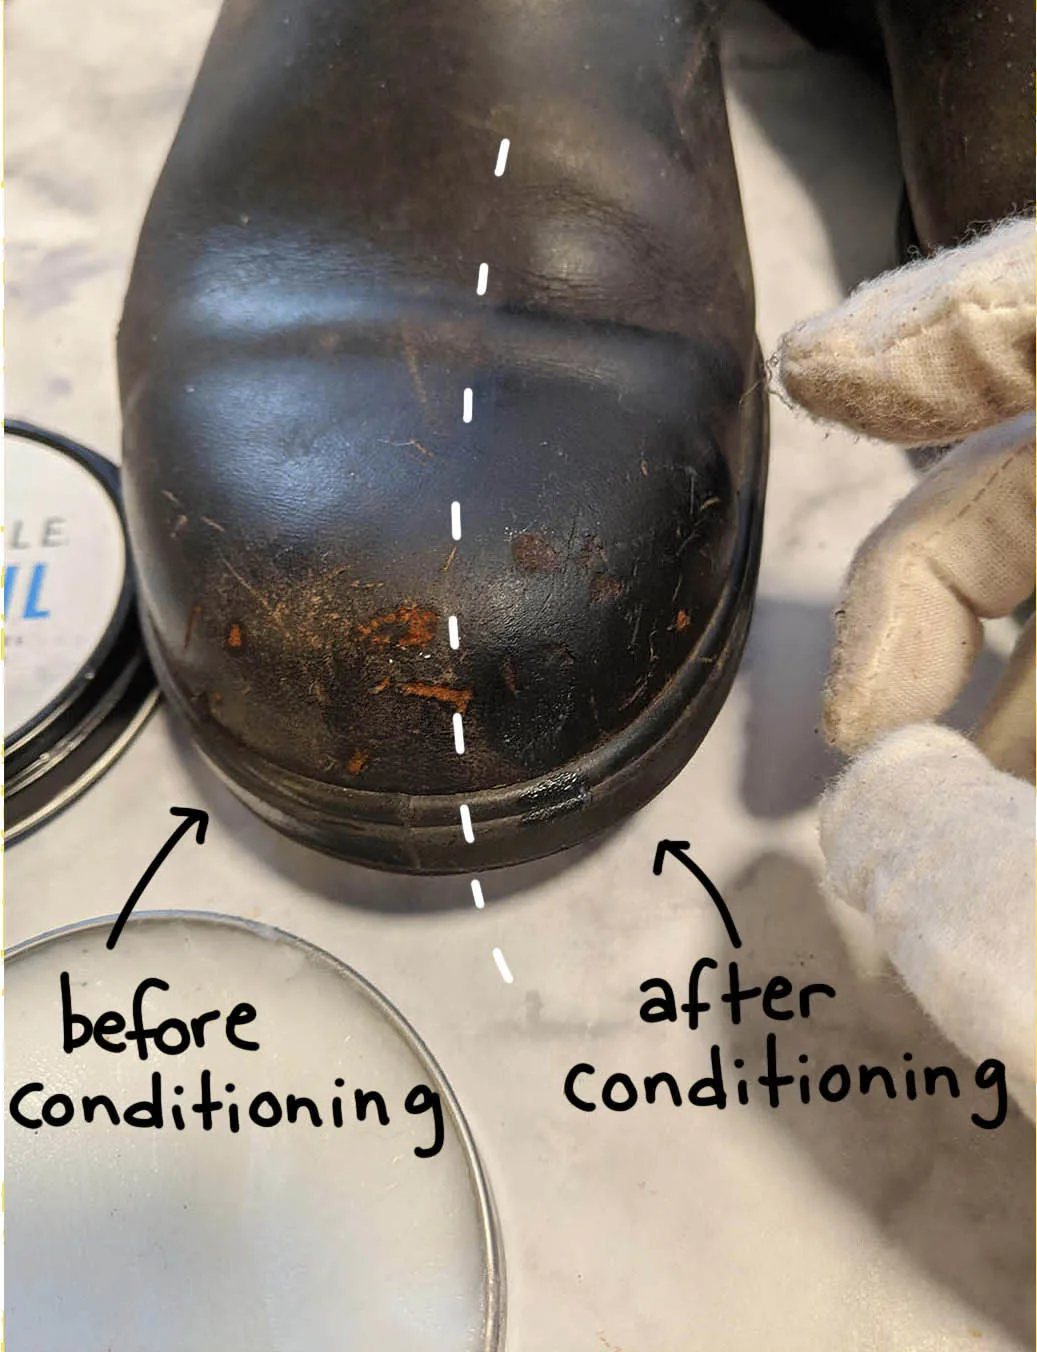
If you think your boots might need an extra layer of conditioner- resist the urge to smear it on. It’s better to do very light coats, wait 24 hours, and then add another light coat if the leather still seems dry.
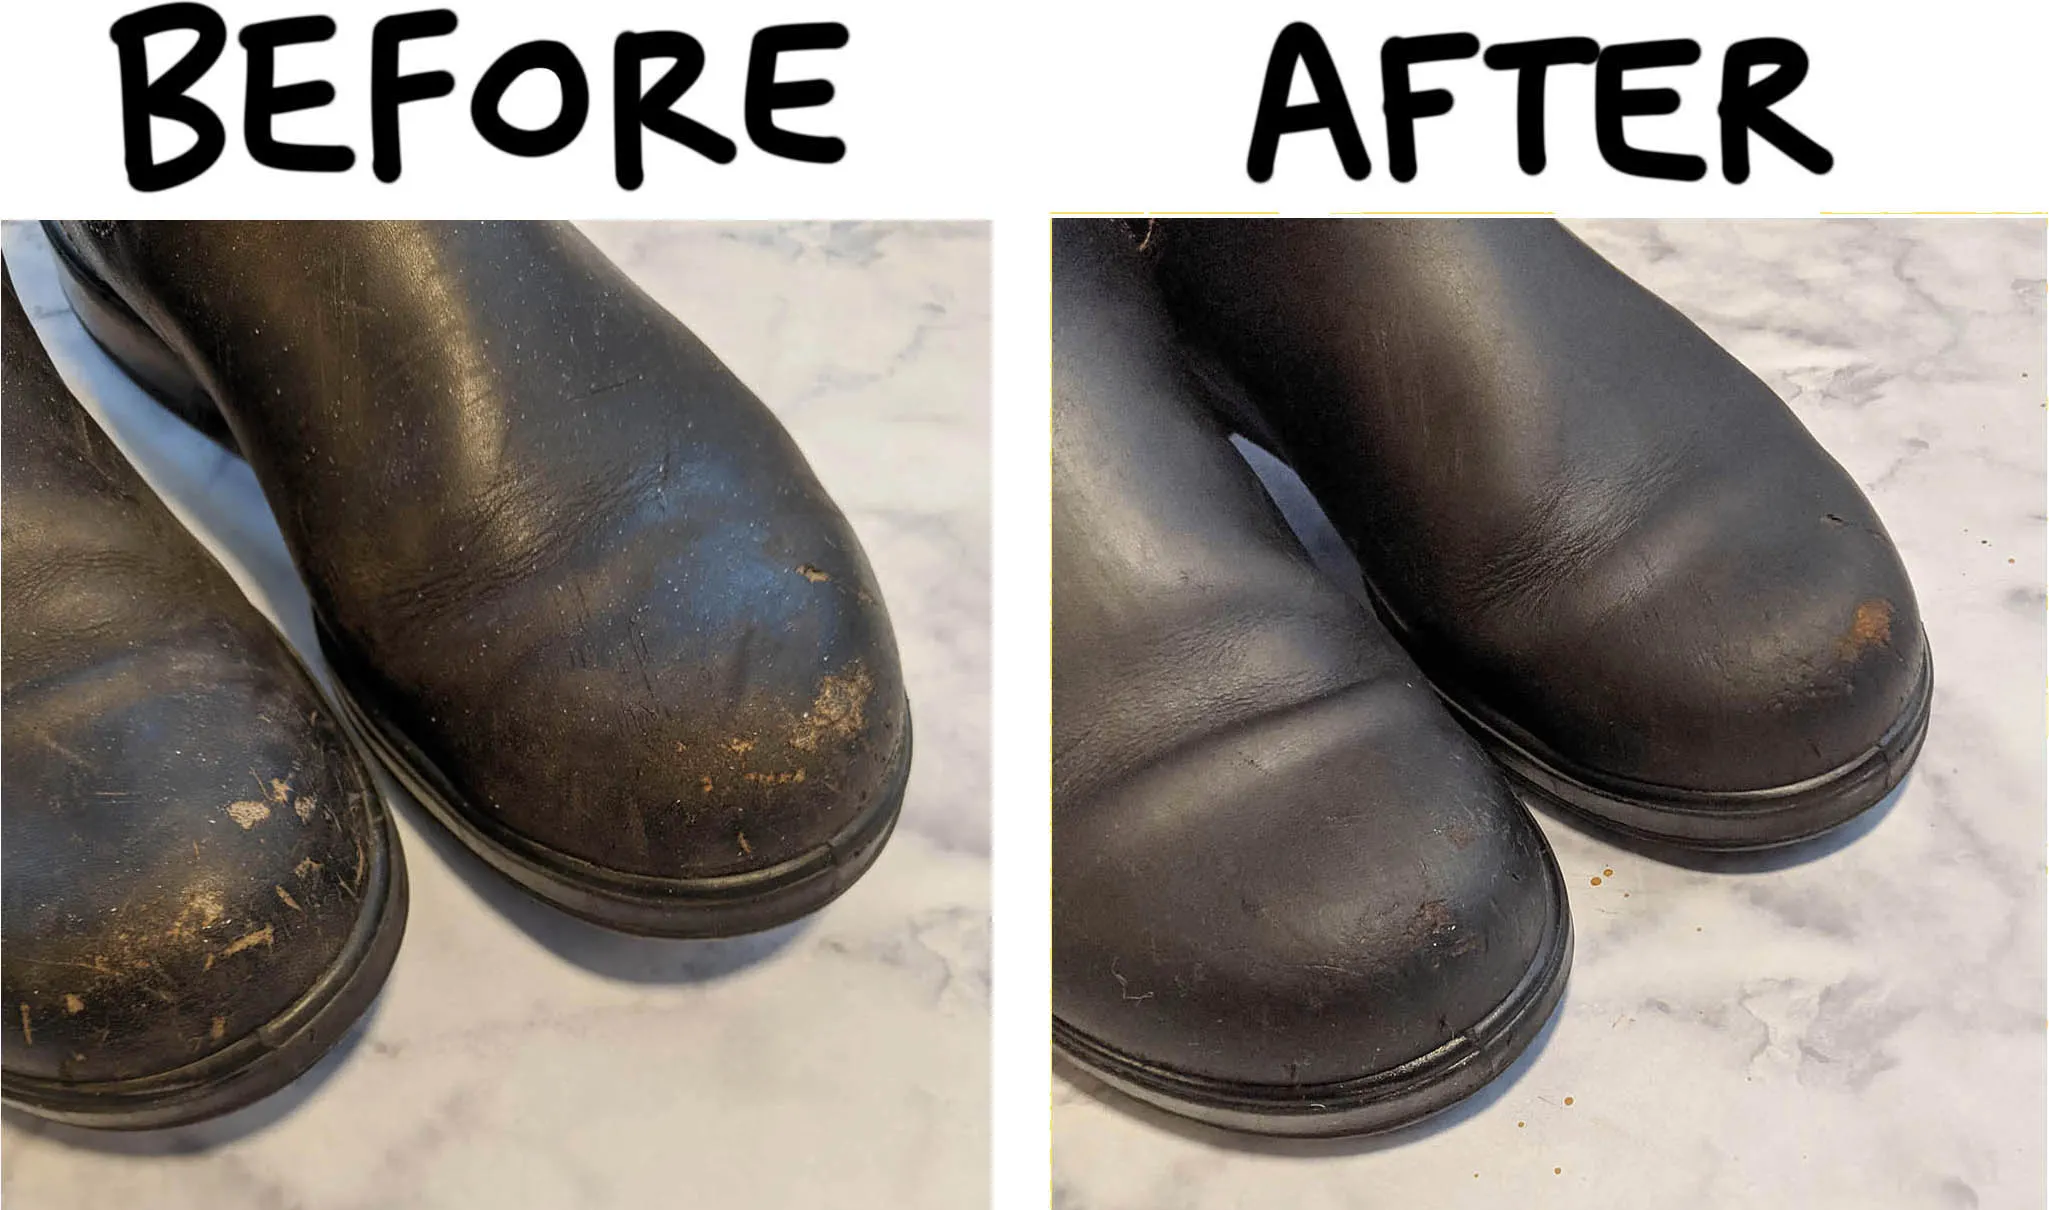
Here’s the final result of my reconditioning. With a bit of dye and deep conditioning, you’d never guess that these boots are going on 6 years old and have carried me from horse shows to pacific northwest low-tiding, and from the trails of Argentinian Patagonia to street markets in Transylvania and home again. With this rejuvenating treatment, they are ready to head right back into my business-casual office wardrobe.
Thanks for Reading!!!
I hope you can tell that I love DIY, researching the best affordable solutions for every-day problems opportunities and documenting / sharing solutions!🙌 Hawk-Hill.com is reader-supported.
☕ Hawk-Hill.com is reader-supported. If this article saved you time or money, please consider donating $1 to help me cover the cost of hosting this website OR If you appreciate this information and want to throw a “Thanks!” my way by buying me a coffee – I would Of Course appreciate it! :]
Reader Questions and Recommendations
Readers, do you have any favorite topics / posts? What would you like to read more about in the future? As I hope you can tell from this and other articles on my site, I really enjoy DIY / a good challenge, and I’m not afraid to roll up my sleeves to figure out a great, and hopefully simple 😁 solution. So please feel free to let me know in the comments below (or reach out via social media)!
Ok Really – I’ll try to wrap this up now😂
Finally, if you’d like to continue to learn about interesting DIY options as well as how YOU can tackle creative new projects consider checking out the latest and most popular articles listed on the Hawk-Hill Home Page. I’m always trying to enjoy and write about the creative side of life so please don’t be a stranger – check back often!😍
If you enjoyed this post you may also enjoy reading / perusing / devouring😊 one or all of these articles as well!

Cindy Peterson
Tuesday 20th of December 2022
Any tips on resoling Blundstones? I have owned and worn out the soles of 4 pair in 20 years as owner of a 4-acre garden center. The leather uppers were still good but the shoe repair said they couldn't resole composite or vinyl soles. I wanted to have a funeral each time I had to throw a pair into the trash.
Lindsayanne Brenner
Tuesday 20th of December 2022
Unfortunately, I've gotten the same advice on resoling Blundstones. It seems like once the sole is done, the shoe is done.
Bret
Friday 12th of November 2021
As an FYI, the 550 are dyed all the way through. Here's a good youtube cut in half video: https://www.youtube.com/watch?v=SHWFJ0KwlaU
Bclark
Sunday 11th of April 2021
Which blundstones do you have?
Lindsayanne Brenner
Thursday 15th of April 2021
The boots shown are Blundstone 500's!
John
Tuesday 6th of April 2021
Hey, This was very informative. Actually, I was very confused as to how to clean and care my blundstone boots, but your amazing article made it possible.
Mary
Tuesday 3rd of November 2020
Thanks for these tips! I love my Blundstones but I'm have some trouble figuring out what socks to wear with them. Too thick and they sock bunches when I pull on the boot, but if not sick enough the sock keeps sliding down my leg and the top of the boot rubs against my skin. Any advice on the best sock to wear, particularly for travel?
William
Sunday 13th of November 2022
@Lindsayanne, Darn Tough socks are the best!!
Lindsayanne
Friday 13th of November 2020
Hi Mary! Try a midweight boot sock that is fit to your shoe size. I'm a recent convert to Darn Tough socks, they have some really nice mid-weight boot socks!