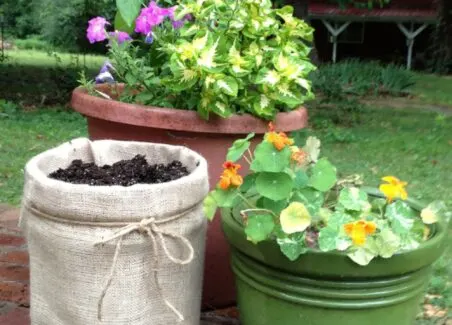
I love container gardening for the ease and accessibility, but the prices for big planters can be painful- especially when you plant as much each spring as I do! Recently, I decided to make my own budget-friendly planters using a few yards of burlap and a few 5-gallon buckets.
In this post, you’ll learn:
- How to make your own burlap planters, via a step by step guide.
- a list of supplies you’ll need for covering ugly 5 gallon bucket planters so they blend into any garden’s style,
- results of my tests to see how long burlap planters last outdoors,
- and advice for growing an entire garden using buckets of soil and container-friendly plants.
Keep reading for an illustrated guide to making your own burlap planters.

The following section may contain affiliate links. As an Amazon Associate, we earn from qualifying purchases.
Supplies Needed to Make these Burlap Planters
- a bucket
- burlap fabric
- string or twine to make a drawstring (chunky jute twine looks best)
- and a sewing machine.
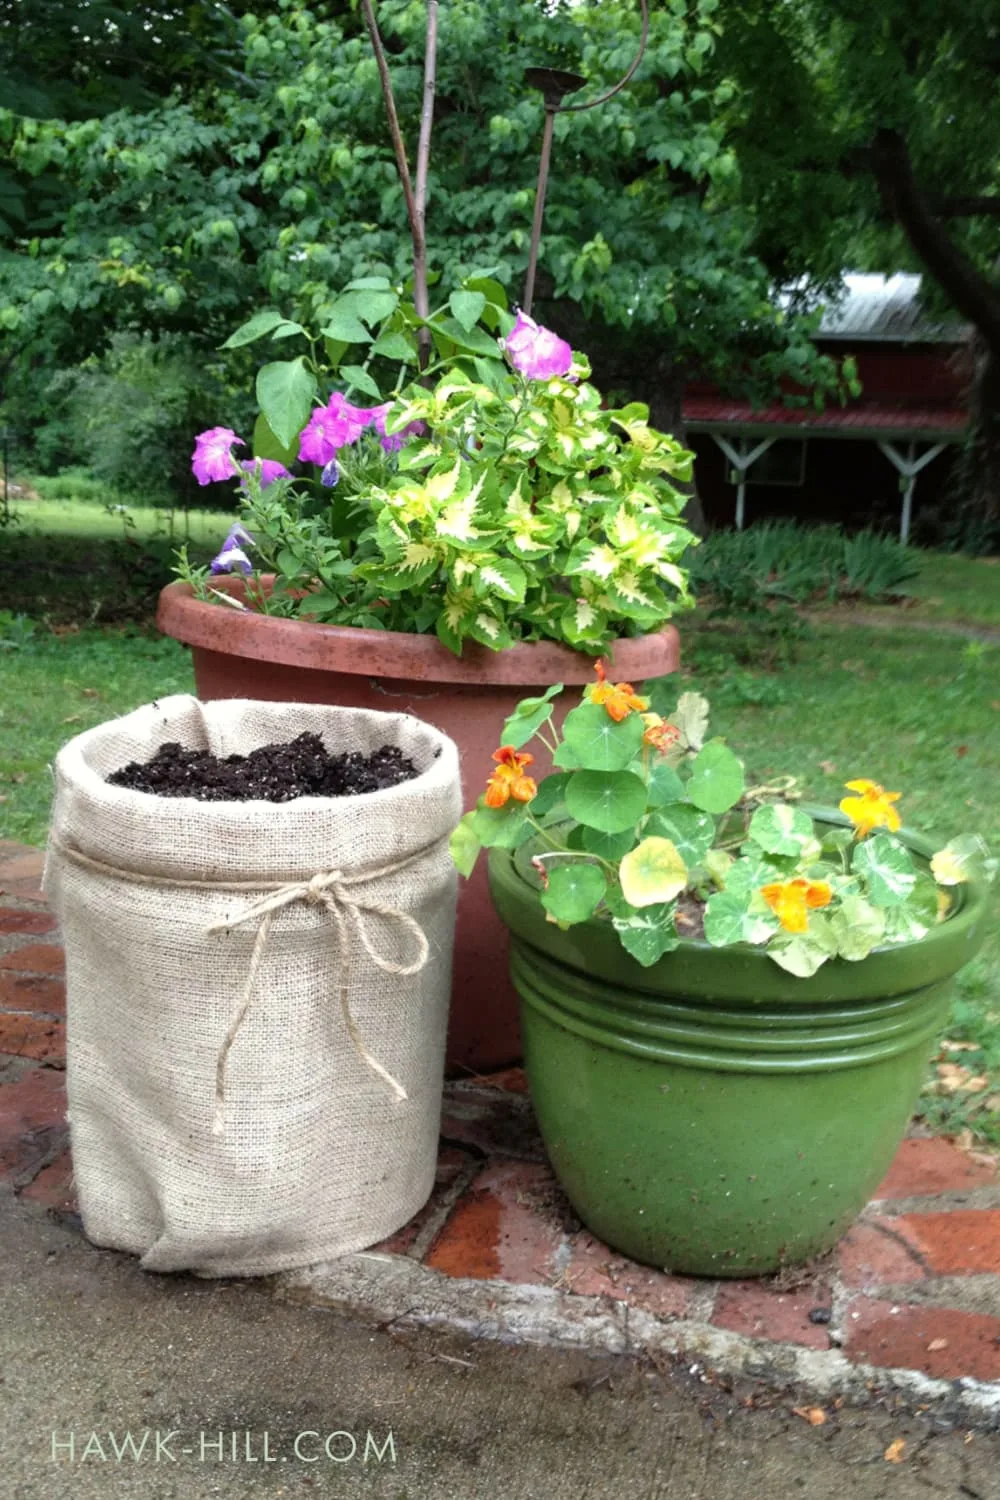
How to Make Burlap Planters from 5 Gallon Buckets: Illustrated
Step 1. Pick your buckets & drill holes
Your drainage holes don’t need to be bigger than 1/4″ in diameter- just large enough for water to drain. My buckets already had giant holes due to being previously used for a (failed) upside-down-tomato-growing experiment.
Step 2. Measure your Bucket
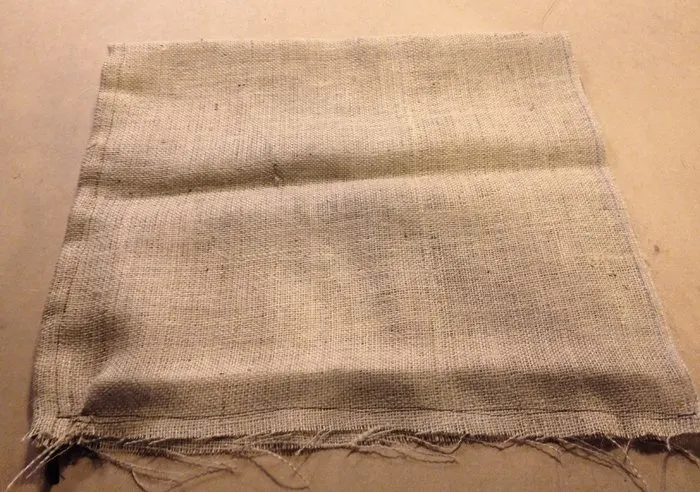
Knowing the height of your bucket is essential for cutting fabric right the first time. A standard 5-gallon bucket measures 15 inches tall and 38″ in circumference at the widest part. Assuming you are using a standard 5-gallon bucket, you’ll need to cut a rectangle of burlap that is 41″ wide by 35″ tall.
If you are using a non-standard bucket, like a 2-gallon or 10-gallon bucket, cut your fabric to the following measurements:
(outside circumference + 3 inches) x (height of the bucket + 8-10″ inches)
Step 3. Sew a Channel & Add a Drawstring
This sounds intimidating but it really isn’t- it’s the easiest possible sewing and can even be done with a loose hand-stitch. Sew a simple channel along the bottom of the fabric and place a cord or trim of some type into the channel and extending out either side. (we’ll use it like a drawstring to gather fabric)
Step 4. Fold & Stitch
Next, fold the rectangle in half and sew a seam from top to bottom- but don’t sew over your drawstrings!
Burlap will unravel extremely easily so make sure to leave a large seam allowance and add a second line of stitching if you have any doubt. You may even want to double up and stitch another line parallel right next to the first- since burlap can be a fickle fabric known to unravel.
Making burlap planters is so easy that I whipped two out in 5 minutes! Sewing is fast and extra-fun when the seams won’t show!
Step 5. Turn and Insert Bucket into Burlap Sleeve.
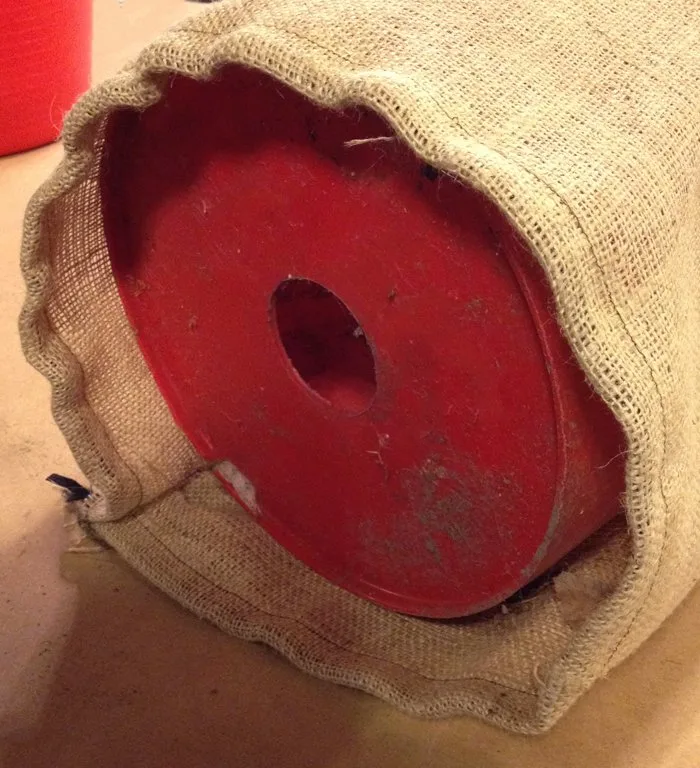
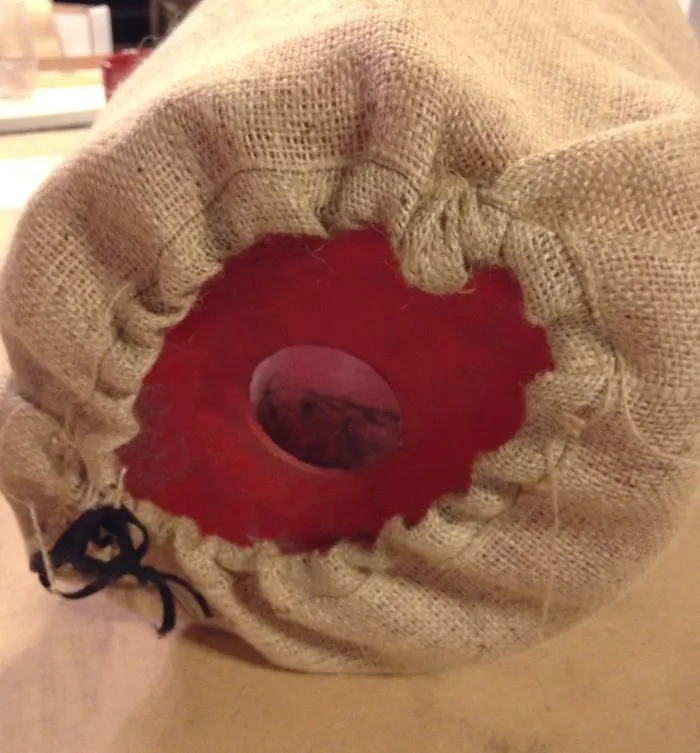
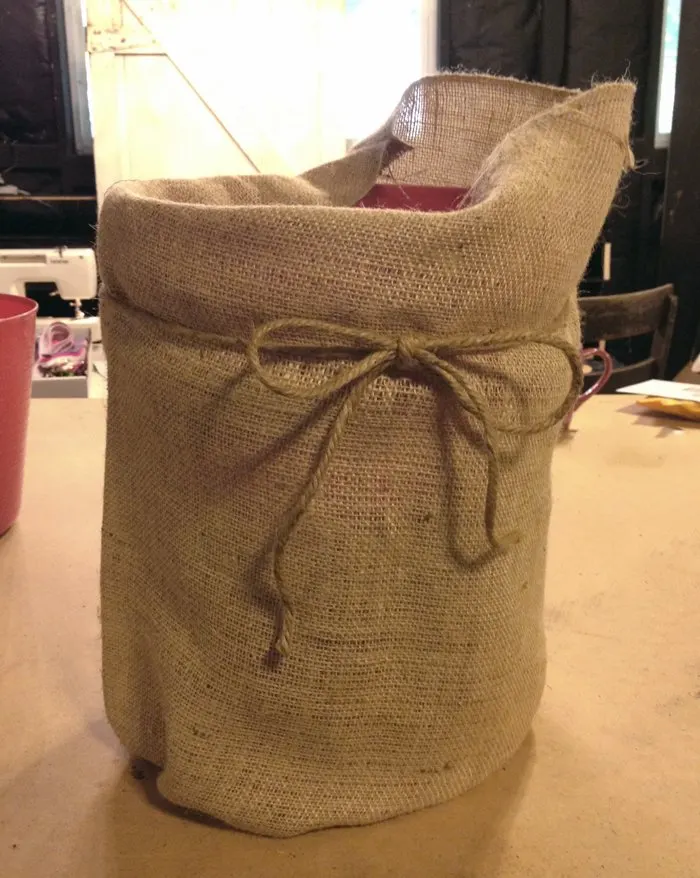
Turn your newly sewn bag inside out, gather the drawstring just a little, and slip the bucket into the bag. Adjust your drawstring until it gathers just enough to secure the fabric hidden underneath the bucket, and tuck the top of the sleeve into your bucket- once filled, the soil should hold the top burlap in place.
You can remove the handle of your bucket with pliers at this point, but I left mine on!
Step 6. Use String to Add a Decorative Tie
Tie a belt of jute, twine, or even ribbon or raffia around the upper rim and you’re done! At this point, you can either dump the soil into your new burlap planter and plant, or take an extra step and, using hot glue, glue the burlap down on the inside of the bucket. (Be VERY careful using hot glue with burlap! Because the weave is so open it’s easy to burn yourself when hot gluing burlap)
Time will tell if my burlap covered planters last more than just one season, but at a cost of under $5 ($3 for the buckets at the farm store + $1.50 for 1 1/8 yard of burlap with a coupon at Hobby Lobby) and time invested under 10 minutes each, I don’t mind repeating again next year!
Growing a Container Garden from 5-Gallon Buckets
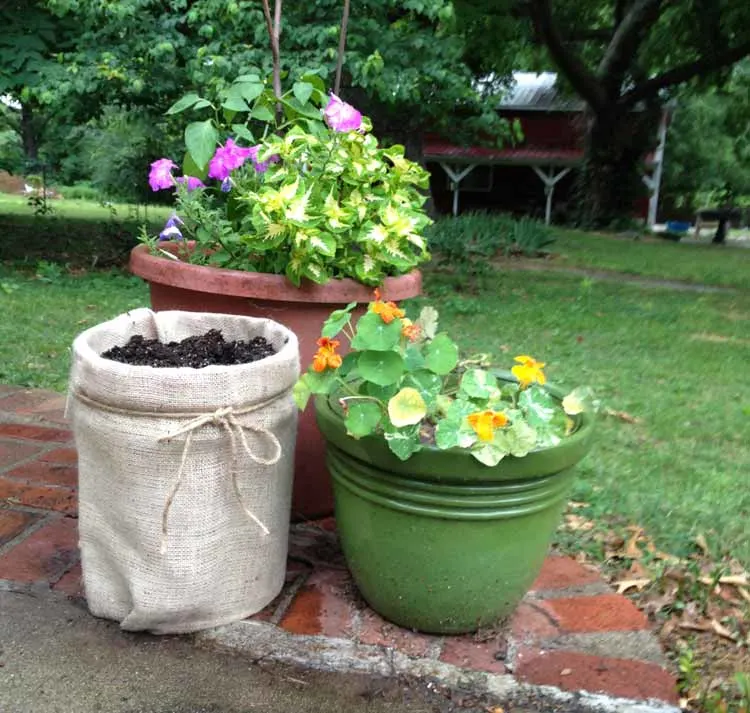
Many successful kitchen gardens have been grown in 5-gallon buckets. 5-gallon buckets make the perfect planters for an inexpensive container garden. 5-gallon buckets hold enough soil to grow vegetables like tomatoes, cucumbers, and zucchini and are also perfect for growing flowers.
The only problem with a container garden made up of 5-gallon buckets is that these brightly colored and often printed buckets are more than a bit of an eyesore – especially when grouped together. A raised container garden made up of 5-gallon buckets can make the loveliest garden or lawn look a bit neglected and unkept.
Upgrading a Bucket Container
A good container garden with enough fresh vegetables to support a family of two or three requires at least 10 to 15 containers.
For beginning gardeners, however, the cost of getting started with container gardens can be an obstacle: with most sturdy garden planters ringing up at $20-$30 apiece, the cost of starting a container garden can easily run into the hundreds of dollars on planters alone.
My solution for upgrading 5 gallon buckets makes starting a vegetable container garden affordable and accessible for anyone- and with this easy, attractive, bucket cover you won’t risk the ire of your homeowner’s association or the irritation of neighbors as you set out your container garden made of 5 gallon buckets.
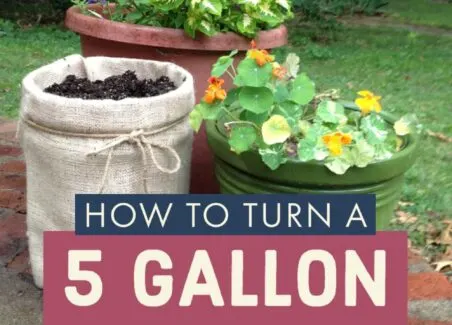
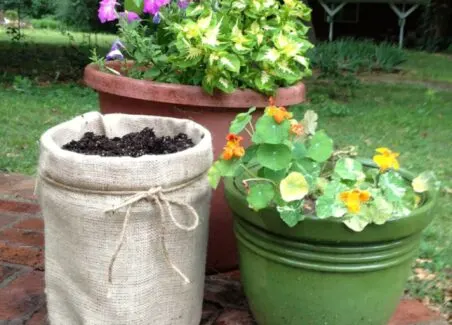
Although in these photos, I demonstrate using this bucket cover on a single bucket that I pair with more traditional planters, this method can easily be used to create an entire garden filled with burlap covered 5 gallon buckets. With the natural and organic burlap to mask the bright colors of plastic buckets, a burlap-covered bucket container garden creates a visually peaceful space that’s easy to blend into almost any landscape, lawn, or garden.
5-gallon Bucket Gardens and Accessibility
Raised bed gardens and container gardens are preferred by many gardeners because they are easier to access. Unlike a traditional garden in the ground – which requires a gardener to kneel to work the soil – container gardens are raised up off the ground by 1-2 feet. This elevation makes it easier to work the soil, plant plants, tend to the garden, and harvest fruits and vegetables.
One advantage that 5 gallon bucket gardens have over both raised beds and traditional containers is that 5 gallon buckets are about 6 inches taller than the average garden planter. These extra 6 inches (although they may take a bit of extra soil to fill) help give bucket containers an extra boost in height to make it even easier for individuals with disabilities or physical limitations to enjoy the benefits of gardening. For more ways to build accessible gardens, check out this handout from the city of Seattle’s urban garden program.
UPDATE: June 2022:
I have made these burlap covers for several years now and have found that generally by October they are looking quite worn and I dispose of them. Disposal is very easy, they usually will simply rip away from the bucket and I compost them to keep the cycle of use and minimal waste going.
If you want to prolong the life of your burlap covers and get an extra season out of them, there are a few things you can do. First and foremost, make sure to choose a heavy-duty type of burlap that can withstand the elements and wear and tear. The heavier the burlap, the more durable it will be and the longer it will last.
In addition to selecting a sturdy burlap material, consider using a water repellent spray to help protect the covers from moisture and potential damage. This can be especially important if you live in an area with heavy rain or snowfall. The water repellent spray will create a barrier between the burlap and the elements, keeping it dry and preventing mold and mildew from developing.
Another tip for extending the life of your burlap covers is to store them properly during the off-season. Make sure to clean the covers thoroughly and let them dry completely before folding and storing them in a dry, cool place. Avoid storing them in direct sunlight, which can cause the burlap to fade and weaken over time.
Thanks for Reading!!!
I hope you can tell that I love DIY, researching the best affordable solutions for every-day problems opportunities and documenting / sharing solutions!🙌 Hawk-Hill.com is reader-supported.
☕ Hawk-Hill.com is reader-supported. If this article saved you time or money, please consider donating $1 to help me cover the cost of hosting this website OR If you appreciate this information and want to throw a “Thanks!” my way by buying me a coffee – I would Of Course appreciate it! :]
Reader Questions and Recommendations
Readers, do you have any favorite topics / posts? What would you like to read more about in the future? As I hope you can tell from this and other articles on my site, I really enjoy DIY / a good challenge, and I’m not afraid to roll up my sleeves to figure out a great, and hopefully simple 😁 solution. So please feel free to let me know in the comments below (or reach out via social media)!
Ok Really – I’ll try to wrap this up now😂
Finally, if you’d like to continue to learn about interesting DIY options as well as how YOU can tackle creative new projects consider checking out the latest and most popular articles listed on the Hawk-Hill Home Page. I’m always trying to enjoy and write about the creative side of life so please don’t be a stranger – check back often!😍
If you enjoyed this post you may also enjoy reading / perusing / devouring😊 one or all of these articles as well!


Kristian and Iselchyresse Megahan
Monday 14th of October 2019
LIKE!
Andrea Larson
Monday 19th of March 2018
What a cute idea! And thank you for the update, too!