
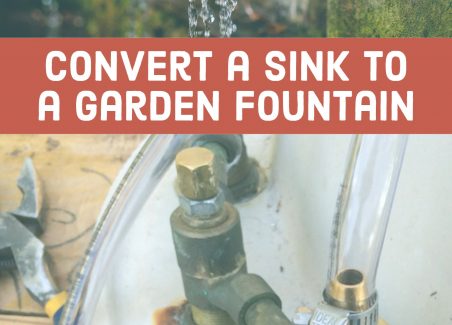
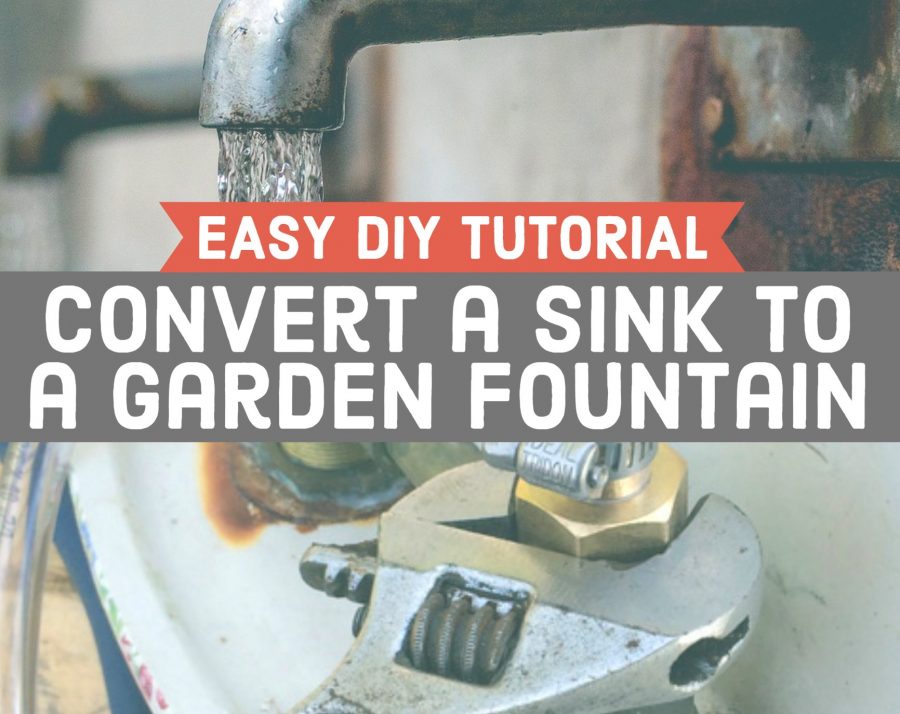
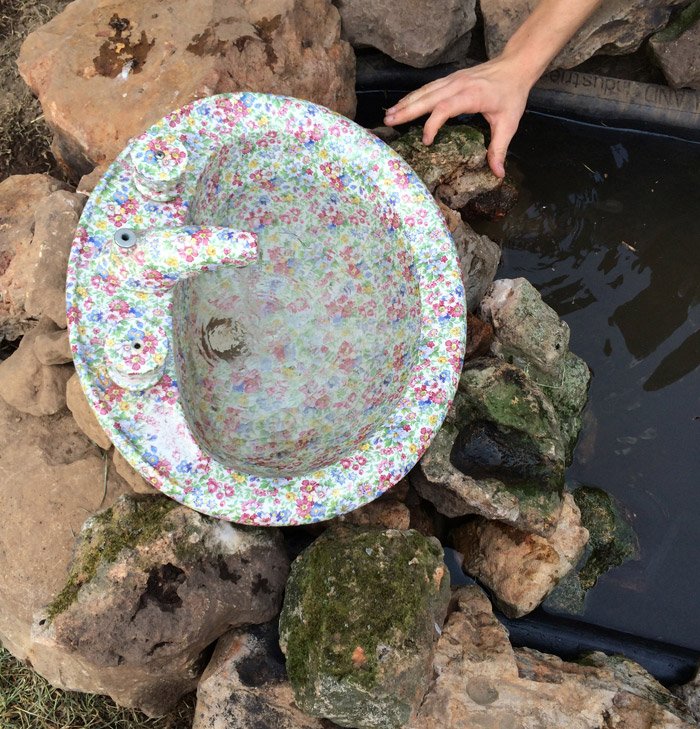
My good friend Merre has been hunting for a fun focal point for a new water feature all summer. When she discovered this sink at a second-hand shop, she fell in love with its quirky finish! And apparently, I have gained a reputation for garden fountain creativity, so I got to help her out with the setup for this project. Lets jump into creating a DIY garden fountain 🙌
We knew we wanted the water to stream out of the spigot, so the most critical part of the project was modifying the faucet to work with a garden pump. Two things needed to be accomplished to make this project work:
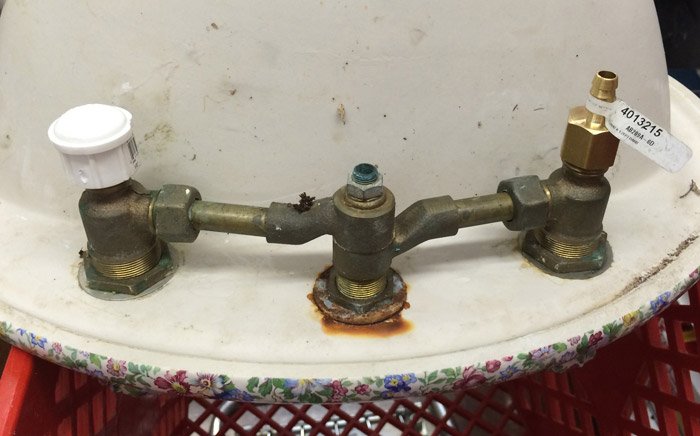
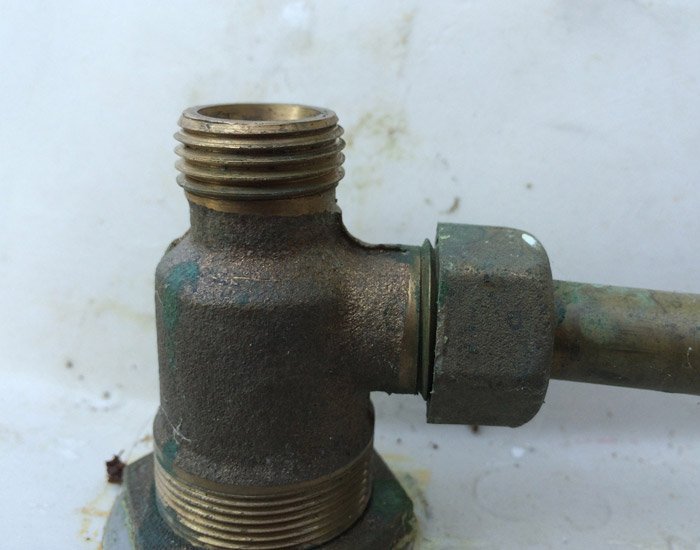
1. A two-handle faucet is basically a Y-shaped pipe configuration with water entering at the two top arms of the Y (under each handle) and exiting out the spigot. In order to plumb the faucet to one water source, we needed to cap off the fitting under one of the handles.
2. Sufficient adapters needed to be installed to convert the standard plumping inlet to work with a pond fountain.
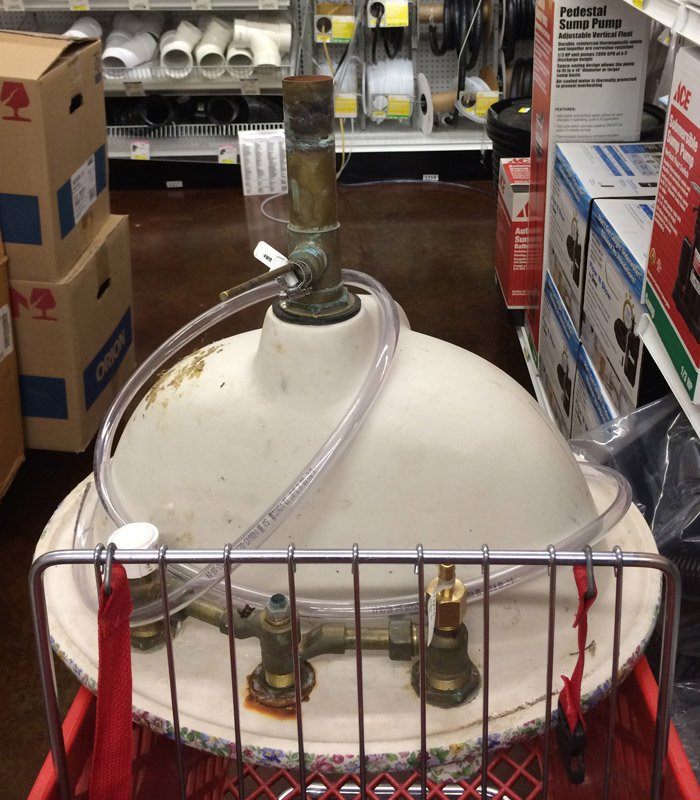
For both of these reasons, we just decided to toss the sink in the car and take it for a trip to the hardware store! We took it to our local Ace (I love small hardware stores for these projects where you really need the attention of a knowledgeable employee!) Within 5 minutes they had us set up with a perfect cap for the outlet and the couplers needed to convert the facet to run on the narrow tubing used by garden pumps.
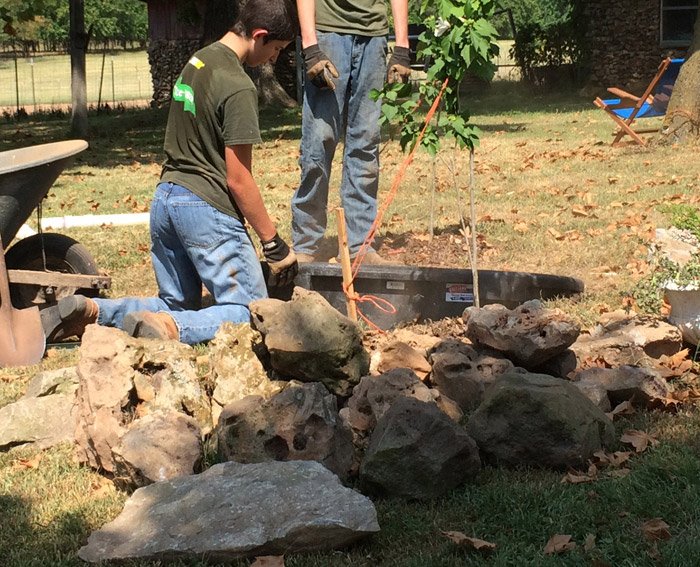
Once we had all our supplies, Merre gathered up some young men to dig the hole and gather rocks, found a trough to work as the basin, and we set to work creating a fun patio water feature for her cottage.
This fountain was created with the same basic instructions that I outlined in my Birdcage Garden Fountain Tutorial earlier this summer. If you need a basic lesson on setting up a fountain, be sure and read that article! This post is “Garden Junk Fountain 102!”
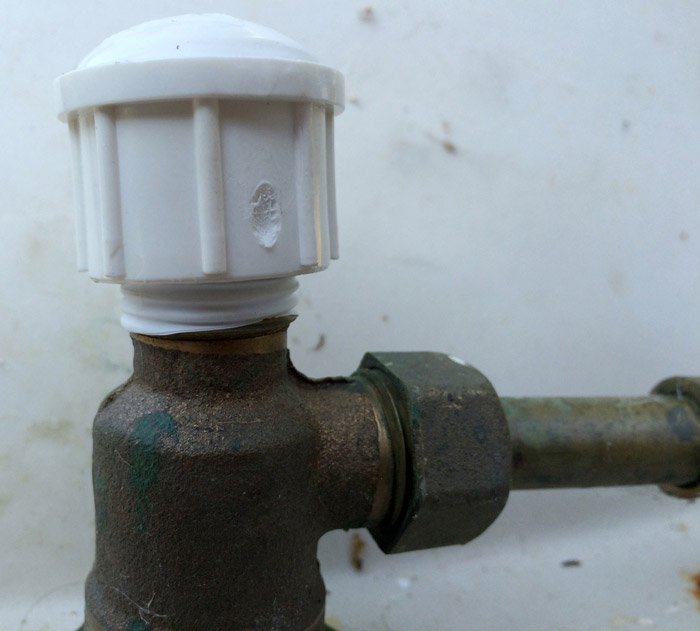
After our trip to the hardware store we knew we had the right parts, so we set to work assembling. First we capped the two unused inlets (center and one of the sides, under the faucet handles)
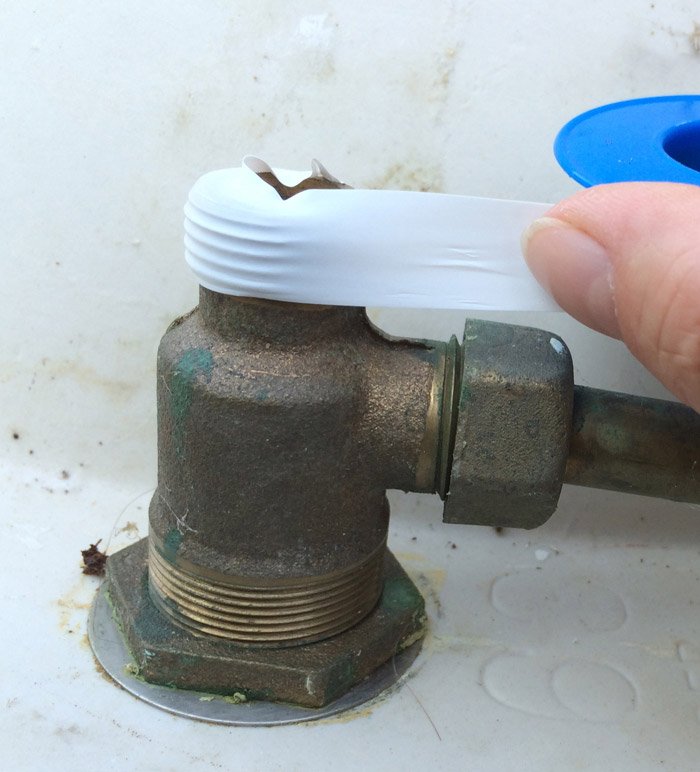
Next, on the side of the faucet we wanted to plumb our water into, we needed to repeat the process with a coupler we’d sized just right for our project. Teflon tape, then hand-screw on fitting,

Take a break to pet a goat…

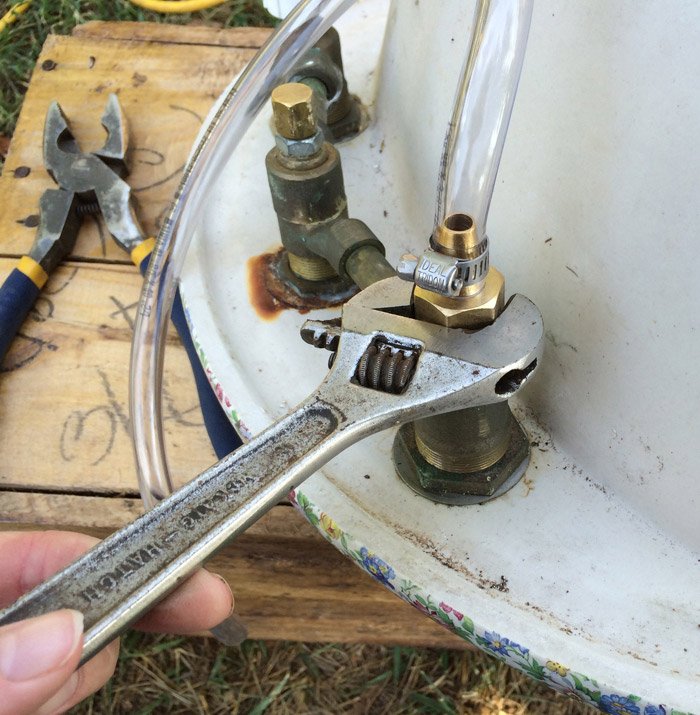
Now it’s time to connect the faucet to the pump via a tube for water. It’s best to use BLACK tube if you can find the right diameter. (Black tubes will not grow algae inside the tube.) Attach tube to barb and secure with a hose clamp as shown.
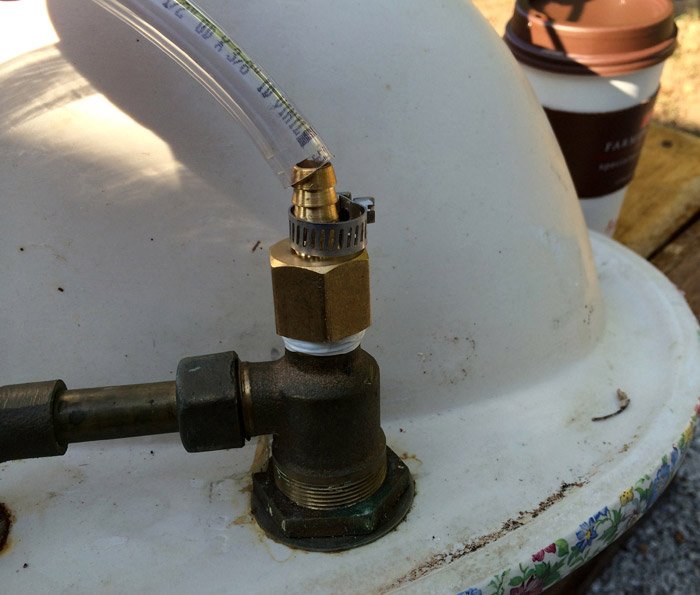
Then give the fitting a few quarter turns with a wrench to get it really tight and leakproof:
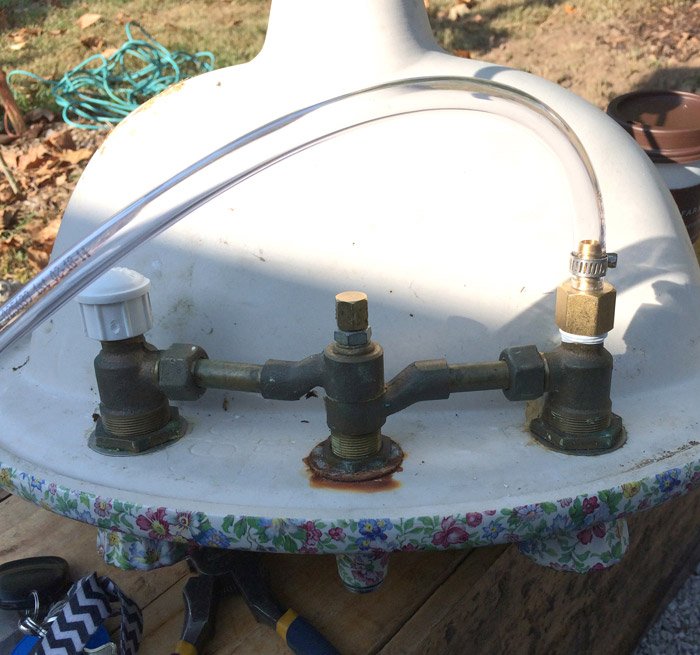
Here’s a photo of the underside of our sink, with the faucet plumbing totally converted and ready to be connected to a water feature pump. IMPORTANT, after connecting to your pump and before placing in pond, submerge your pump in a bucket of water and give your sink a trial run. Be sure the faucet handles are turned to their fully open position.
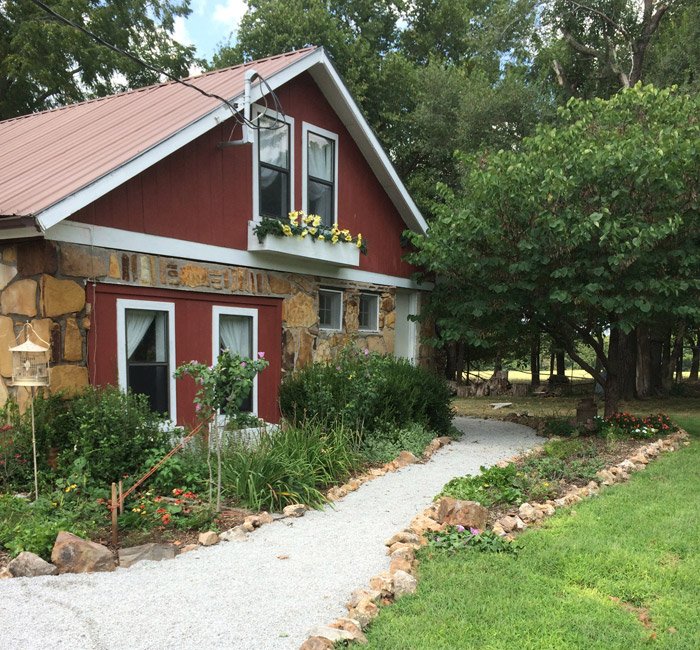
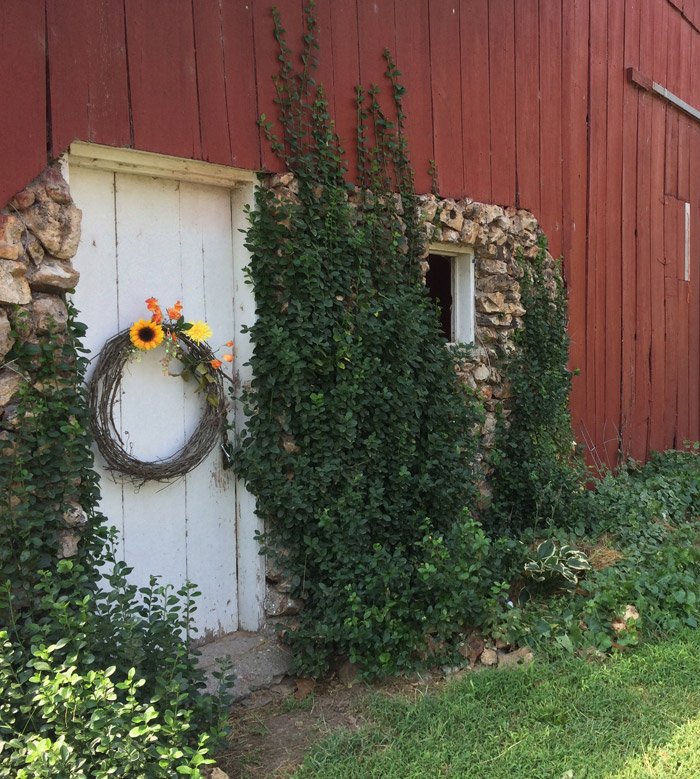
Now, take a break to take some cool photos of the cottage and barn while the hired help digs your hole. (Luxury, right?!)

And just like that, our hole for the in-ground water reservoir for the garden fountain was ready!
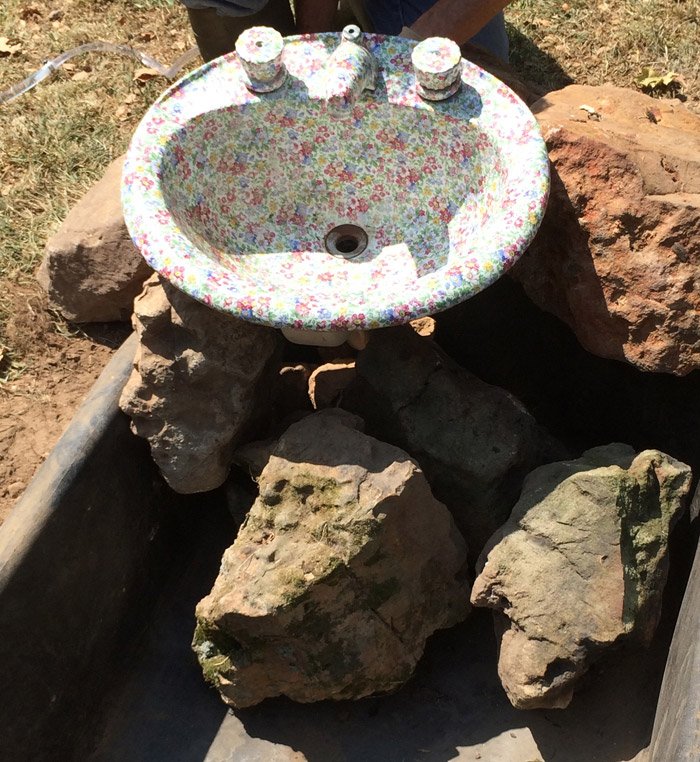
We then leveled the trough, and started moving large rocks to work as a foundation/riser for our sink.

We then gradually began adding rocks to support and conceal the underside of the sink.
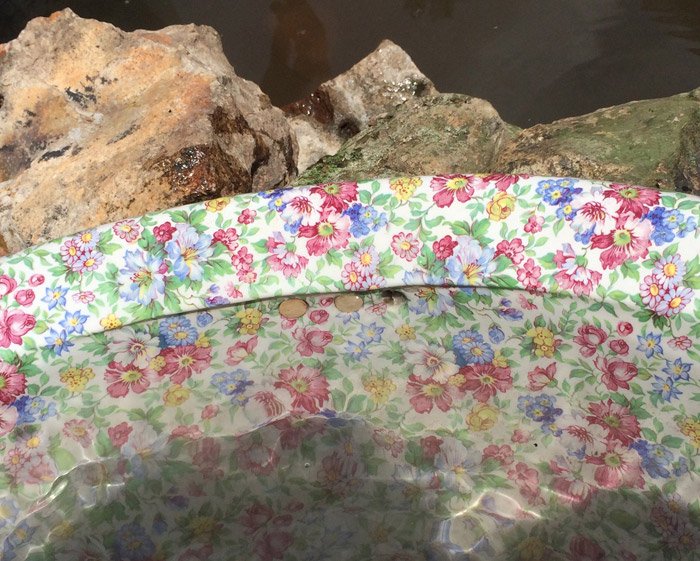
Overflow or Drain? As we built this fountain out of a sink, we realized we could either allow the sink to drain through the bottom, or we could block the drain, tilt the sink slightly forward, and let the sink overflow. We picked the latter, to increase the volume of the fountain, so we maintained a slight tilt as we finished arranging rocks.
At some point, you’ll need to block the drain and the drain holes towards the front of the sink. A sink stopper + small corks made our old sink waterproof:

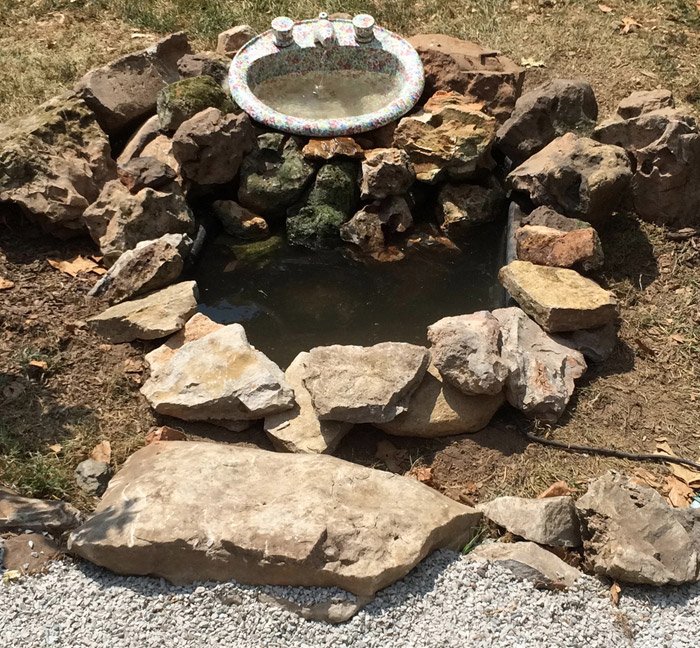
Sink in place? Drain plugged? Fountain Plumbed to Faucet? Time to fill ‘er up!
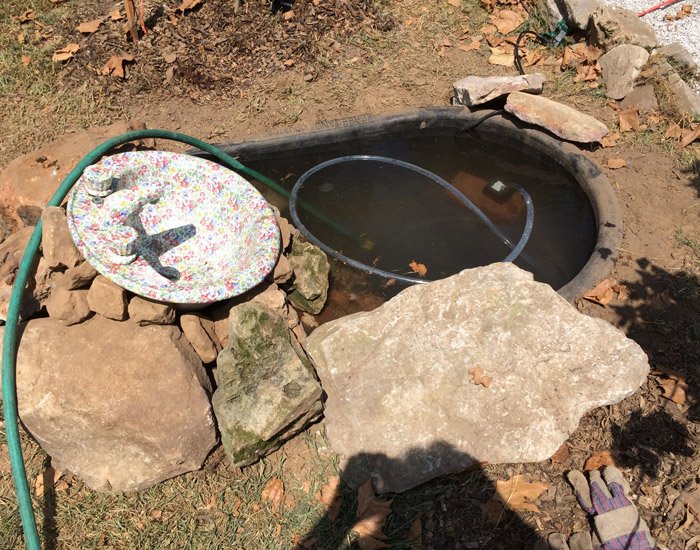
And take the time to place just the right rocks in just the right places…
And enjoy!!
This was a fun project, and was a perfect way to add interest to the back patio at Merre’s Air B & B cottage. I can think of so many ways to turn a cool old farmhouse sink or apron sink into a rustic and creative garden fountain.
Hawk-Hill.com is a participant in the Amazon Services LLC Associates Program, an affiliate advertising program designed to provide a means for website owners to earn advertising fees by advertising and linking to Amazon.com and any other website that may be affiliated with Amazon Service LLC Associates Program
If you are planning on building your own garden fountain out of an old sink, here are the basic steps that will be the same for every sink/faucet/fountain project:
1. Take your sink and your fountain pump to the hardware store to be sure you purchase the correct fittings. (Note: never buy a pump at a hardware store or big box store- they are about 60% less online! I use and love this $14 120 gph pump from Amazon for most small fountains without much lift.
SHOPPING LIST/MATERIALS NEEDED:
- Screw on caps for any point on the underside where water may exit- except 1
- A coupler for the 1 remaining inlet, that will connect your faucet to a tube that will connect to your fountain pump.
- a stopper for the bottom of your sink
- corks appropriately sized to fill overflow drain holes (marine grade caulk should also work, if you are patient enough to wait for it to cure!)
- 2 (buy 3-4 just in case) small hoseclamps.
- sufficient hose to allow flexibility in construction
2. Attach your caps and coupler, using teflon tape to create a waterproof seal
3. Turn faucet handles to the “open/on” position
4. Connect sink faucet (via barbed coupler) to fountain pump with flexible tubing.
5. Test pump/sink by placing pump in a bucket of water and confirming water flows from faucet.
6. Close/plug sink’s drain and plug overflow drain holes.
7. Place sink over your reservoir (which can be buried, like ours, or above ground), support sink on something (rocks, shelf, etc)
8. Ensure tube is not kinked or twisted
9. Power on, following instructions included with your pump to maintain electrical safety around water.
10. Enjoy!
Did you try this method of creating a DIY garden fountain? Have photos to share? Want to see more goat photos? If so, post a comment below!
Thanks for Reading!!!
I hope you can tell that I love DIY, researching the best affordable solutions for every-day problems opportunities and documenting / sharing solutions!🙌 Hawk-Hill.com is reader-supported.
☕ Hawk-Hill.com is reader-supported. If this article saved you time or money, please consider donating $1 to help me cover the cost of hosting this website OR If you appreciate this information and want to throw a “Thanks!” my way by buying me a coffee – I would Of Course appreciate it! :]
Reader Questions and Recommendations
Readers, do you have any favorite topics / posts? What would you like to read more about in the future? As I hope you can tell from this and other articles on my site, I really enjoy DIY / a good challenge, and I’m not afraid to roll up my sleeves to figure out a great, and hopefully simple 😁 solution. So please feel free to let me know in the comments below (or reach out via social media)!
Ok Really – I’ll try to wrap this up now😂
Finally, if you’d like to continue to learn about interesting DIY options as well as how YOU can tackle creative new projects consider checking out the latest and most popular articles listed on the Hawk-Hill Home Page. I’m always trying to enjoy and write about the creative side of life so please don’t be a stranger – check back often!😍
Also chech our Pinteres account https://www.pinterest.com/curlylindsay/
If you enjoyed this post you may also enjoy reading / perusing / devouring😊 one or all of these articles as well!
- 💡4 Easy Steps to Make Your Own Sea Glass 🌊
- ❤️Bedroom Decorating Ideas for Single Women’s Master Bedrooms 🛏️
- 🏡Ikea Kitchen Cost: What I Spent for a 9×12 Kitchen Remodel 💵
What size pump did you use for your faucet? I am worried it wont have enough pressure to flow.
I can’t remember what size pump we used, but it may be helpful to know that household faucets were designed to handle no more than 2.2 GPM at a water pressure at 60 psi (pounds per square inch)- a small, inexpensive garden water feature pump should be able to replicate that easily.
Also, The aerator built-in to the faucet will make it look like there is more water flowing with higher pressure, but it you don’t love the look you can pry out the aerator for a more natural flow of water.
Love this! do you know how the original owner of the sink added the floral design? What is that floral material ? – is it wallpaper?
Oooh, good question. Unfortunately I’m not sure. Fun piece tho!