


One thing I envy about high-end modern furniture is that often pieces are designed to accommodate modern technology. Being a fan of vintage furniture, I assumed these worlds: tech-friendly furniture and vintage styles, would never meet- until I began experimenting with this DIY solution to add a hidden retractable phone charger to the back of the 1920’s vanity I use as a bedside table. Every time you unplug your phone and your retractable cord hides itself it will put a smile on your face 😁
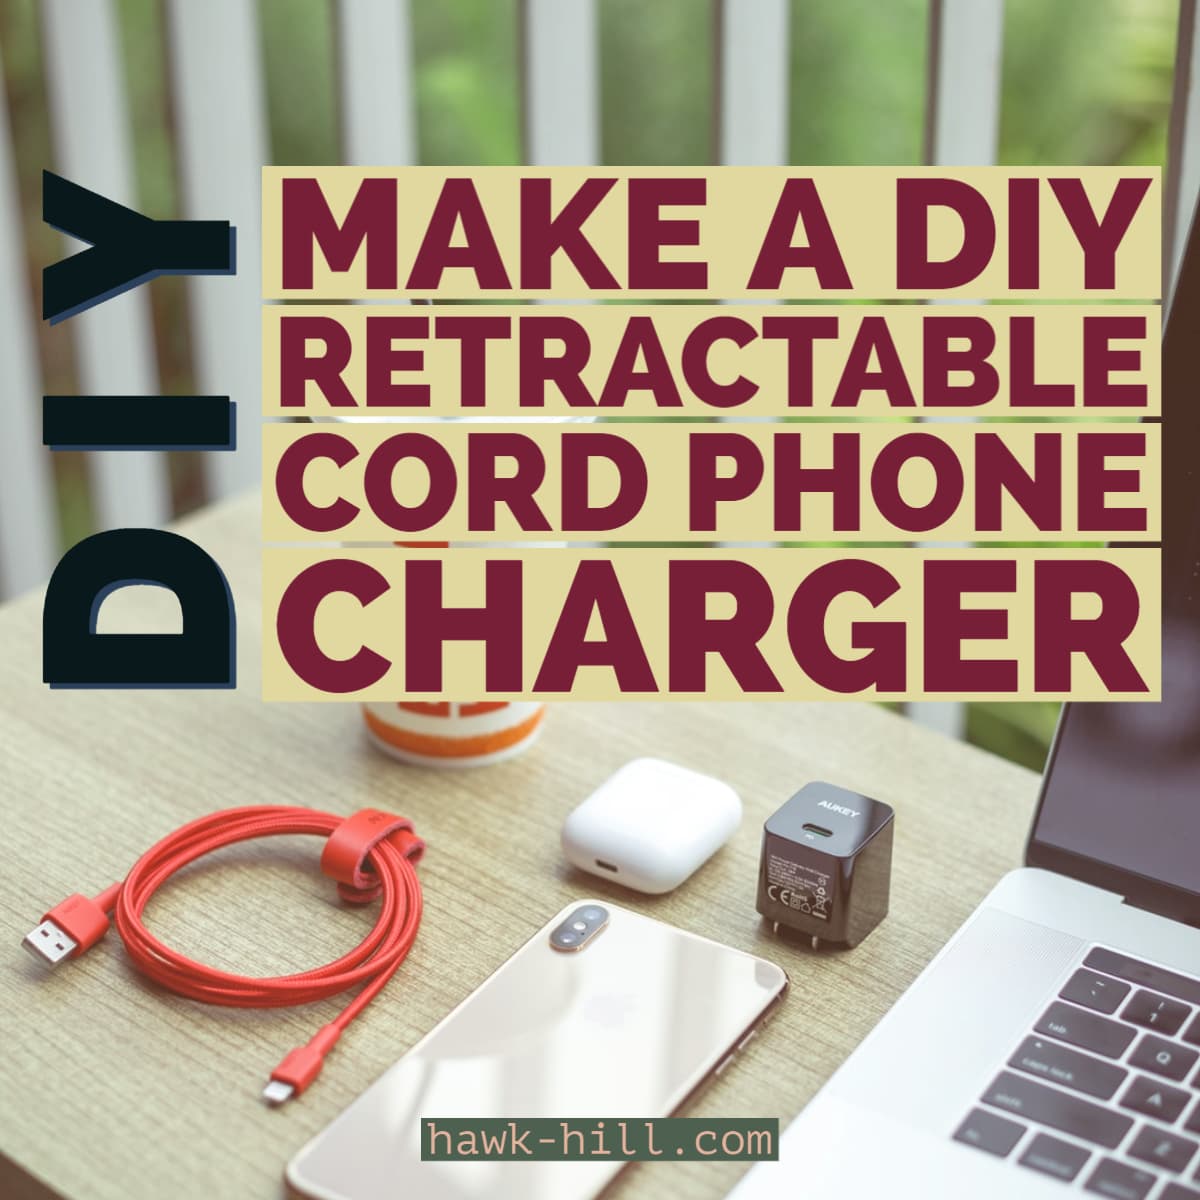
I hate how cords and adapters lying around make even a clean room look untidy- so I developed this methods for using basic, cheap hardware to create a retractable phone charger that fits basically any dresser, bedside table, or night stand- even vintage ones!
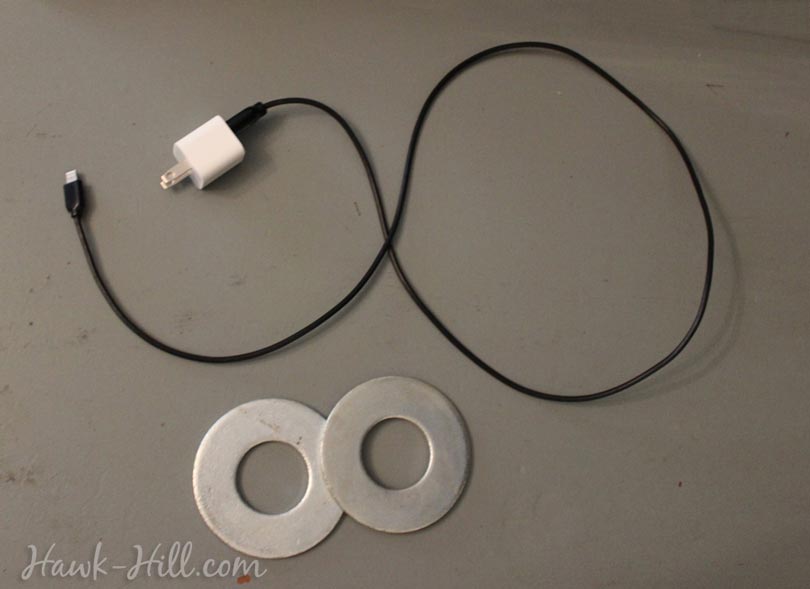
Supplies Needed to Create a Retractable Phone Charger that retreats from view when Not in Use:
Hawk-Hill.com is a participant in the Amazon Services LLC Associates Program, an affiliate advertising program designed to provide a means for website owners to earn advertising fees by advertising and linking to Amazon.com and any other website that may be affiliated with Amazon Service LLC Associates Program
• Small Hammer
• 1 Cable Clip sized slightly larger than the diameter of your charger cord
• Phone Charger USB Cord
• A counter weight (I used a large steel washer, but you could feed a few smaller washers or nuts onto a zip tie and get the same effect)
Step 1. Install Cable Clips to hold USB Cord
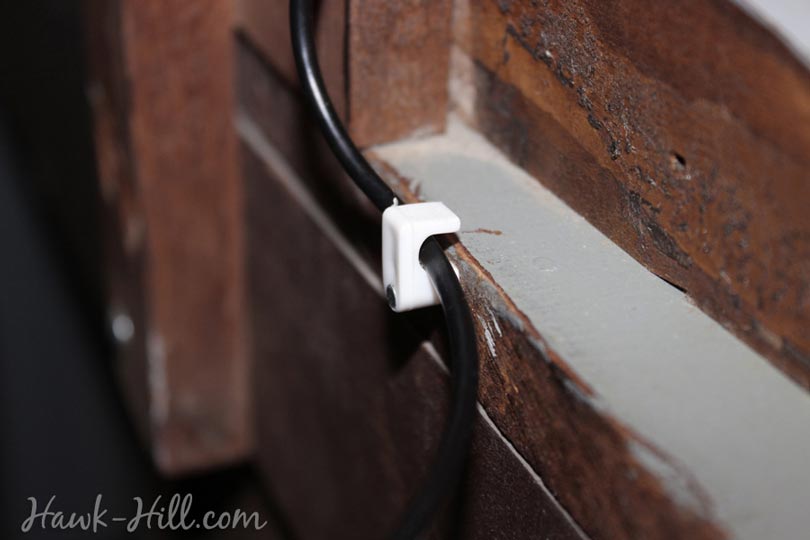
Cable clips are these cute little nail-in cord holders that are ridiculously cheap and super handy to have around. Get them here.
Unlike the clamp style cord holders that are popular for holding computer cables, if sized correctly these clips allow cords to slide freely through them. (They’re great for securing HDMI cables if you have an AirBnB space you rent out or for keeping a USB cable in place so your kids don’t take off with your phone charger for the twenty-fifth time)
For this project, you’ll want to use a cable clip larger than the diameter of your USB cable- since the point is for the cable to slide freely through the clamp.
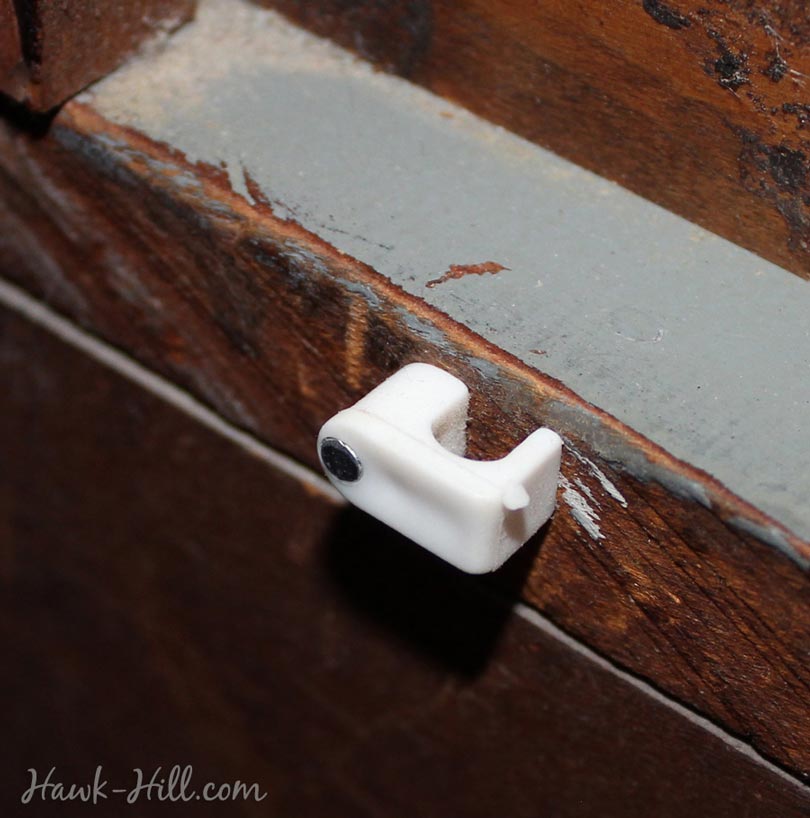
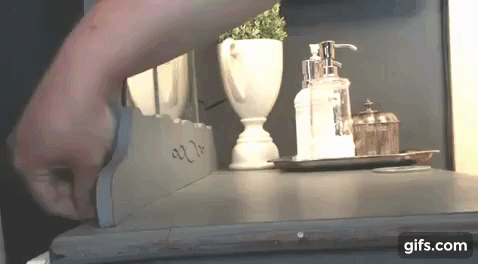
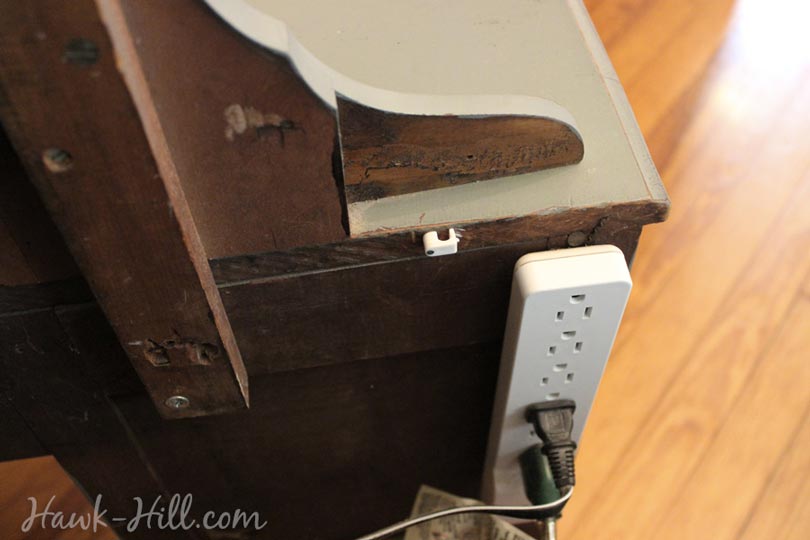
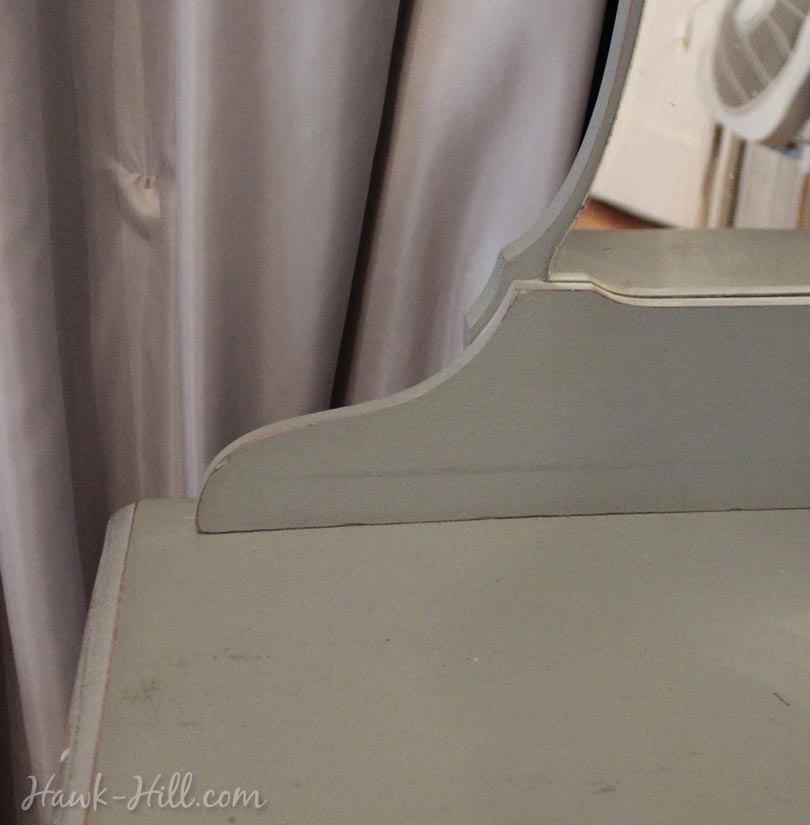
To begin, install cable clip with a hammer on the back of your nightstand or dresser, as shown. (For a tough piece of furniture you should be able to nail it right in- for antique items use a tiny drill bit to drill a pilot hole for the nail and then gentle tap the nail into pace) Make sure you install into a piece of solid wood rather than a veneer or thin fiberboard backing.
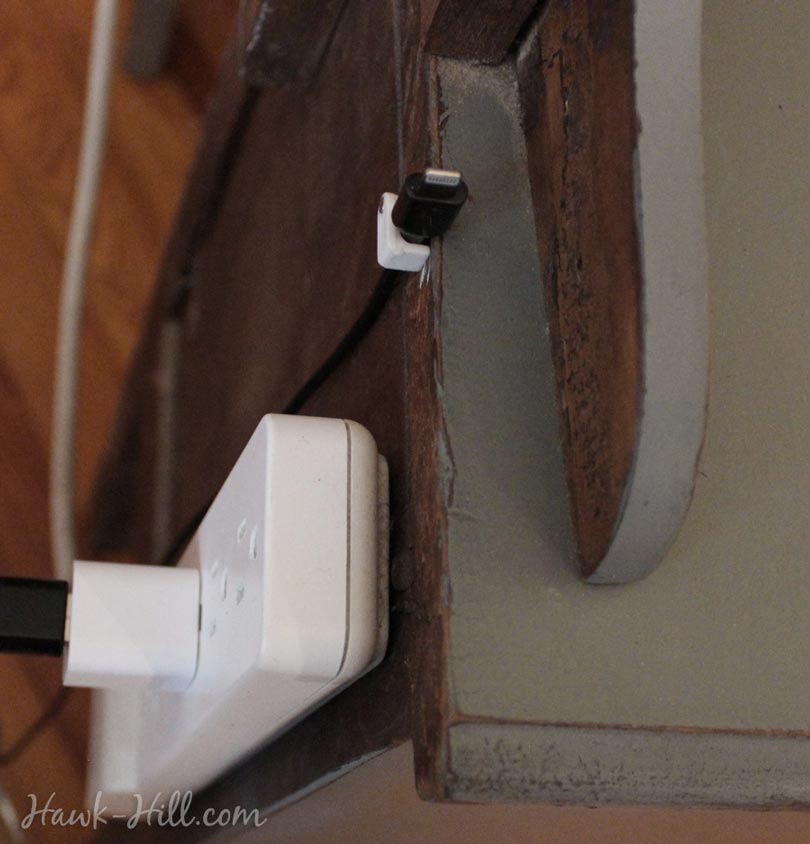
This clip will serve as a “holster” for the charger plug when the cord is retracted behind the dresser. Attach at the very top, where back panel meets top of dresser. Leaving about .25 inch between the top of the clip and the table top- so that if the clip is twisted, it comes up over the top of the table, allowing access to the hole.
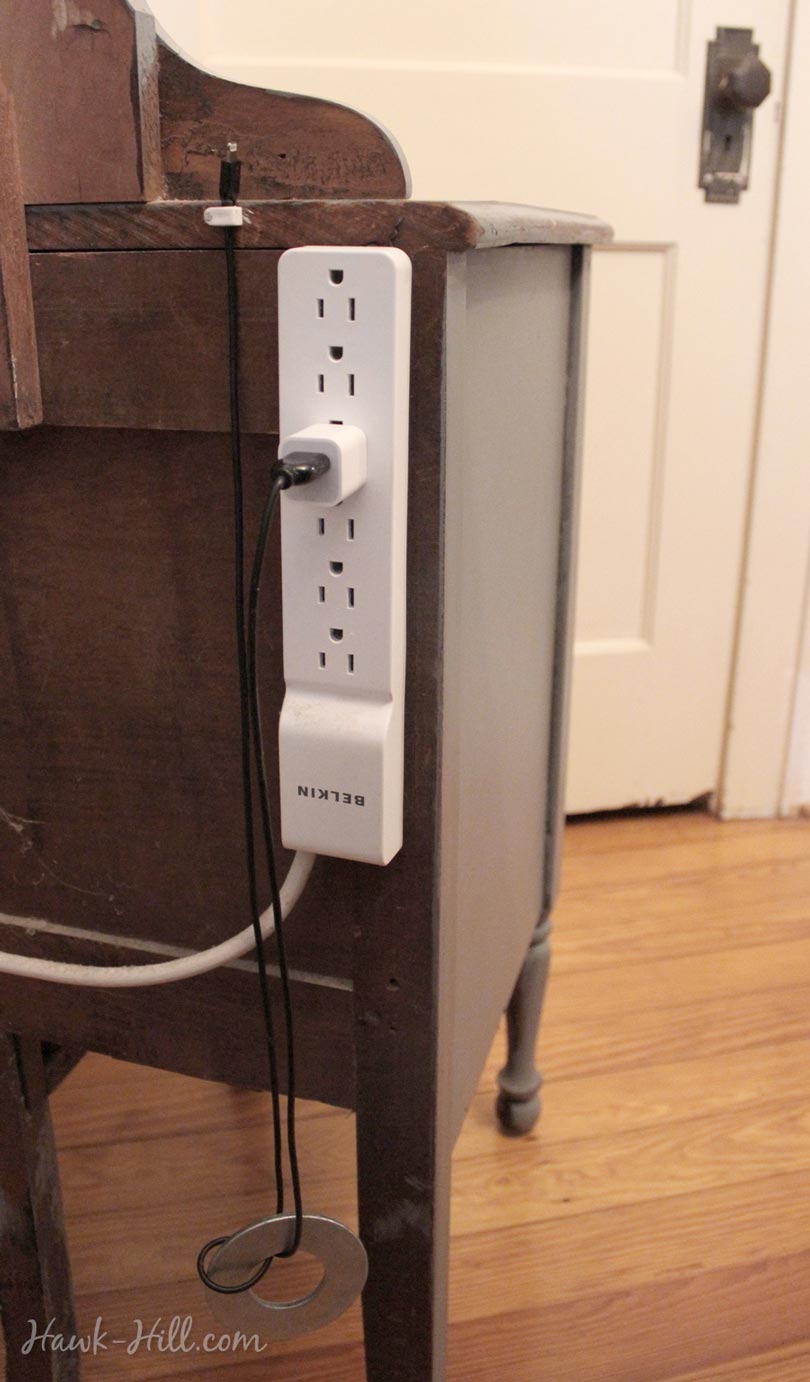
(in this picture, you can see I’ve mounted a power strip behind my dresser. It’s a really easy way to have a plug handy for heating pads, laptop chargers, etc. Most power strips have pre-molded holes on the bottom for mounting on walls)
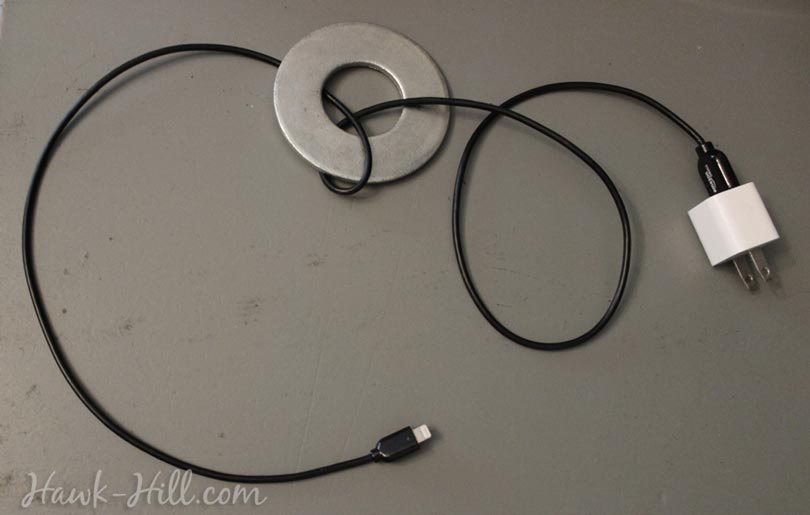
Step 2. Prepare your USB Cord
Grab your washer, it’s time to attach a counterweight to your retractable phone charger cable.
This weight will pull the cable back behind your dresser and out of sight when not in use. I used big washers (I ended up only needing one) but there are probably lots of ways to add a counter weight, just be sure that your washer (or whatever you use as a weight) is about the same weight as your phone (otherwise it could pull your phone right off the table!).
I put my cord through the opening in the washer, and then looped the cord so that the washer would not slide wildly up and down the length of the USB cable.
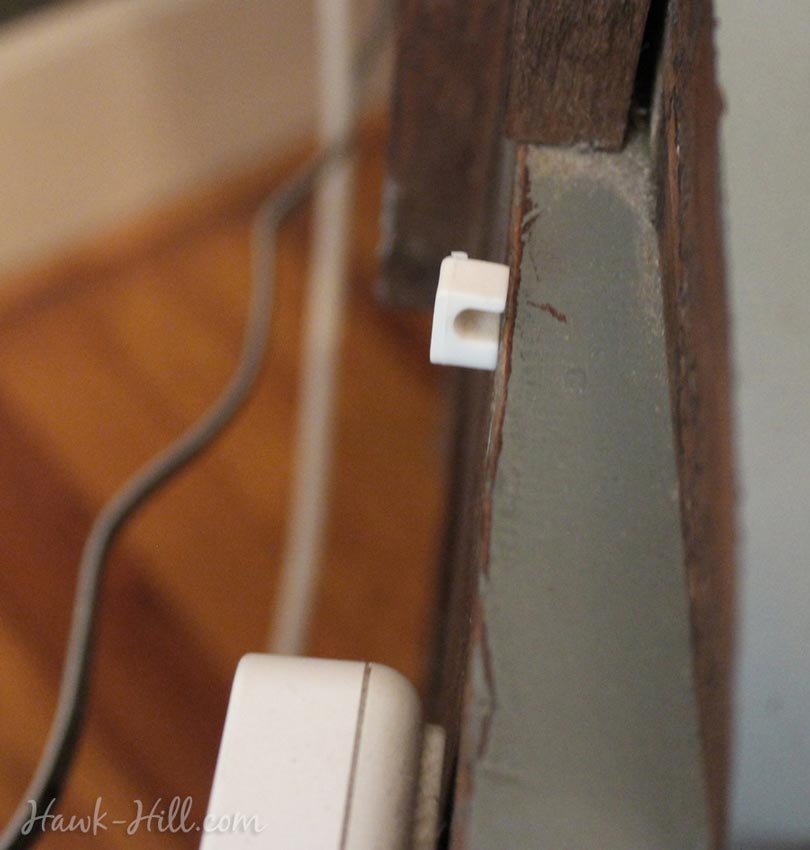
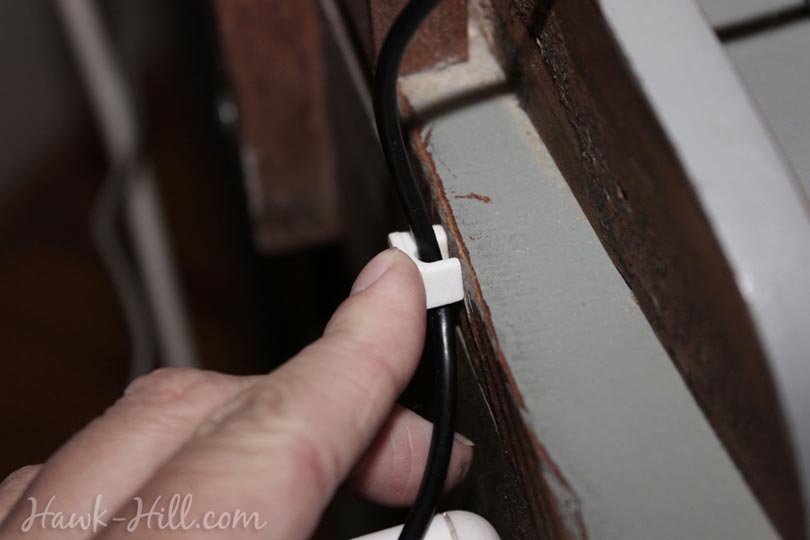
Step 3. Insert Cord into Clip Holder
With clip in the vertical position:
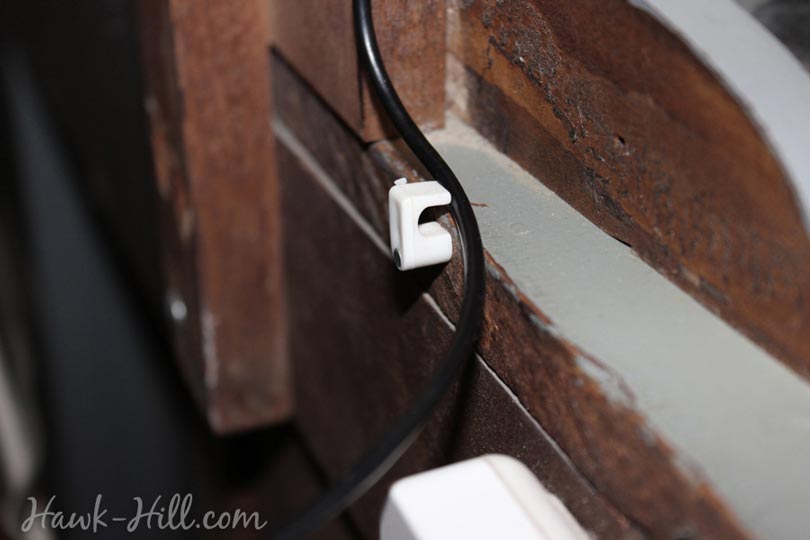
Insert your cable into the C. (at any point of the cord between the weight and the end with the adapter for your phone)
And twist the cable clip into horizontal position, behind your dresser. The cable should move up and down through the C clamp freely.
Step 4. Align Cord, Plug In, and Use!
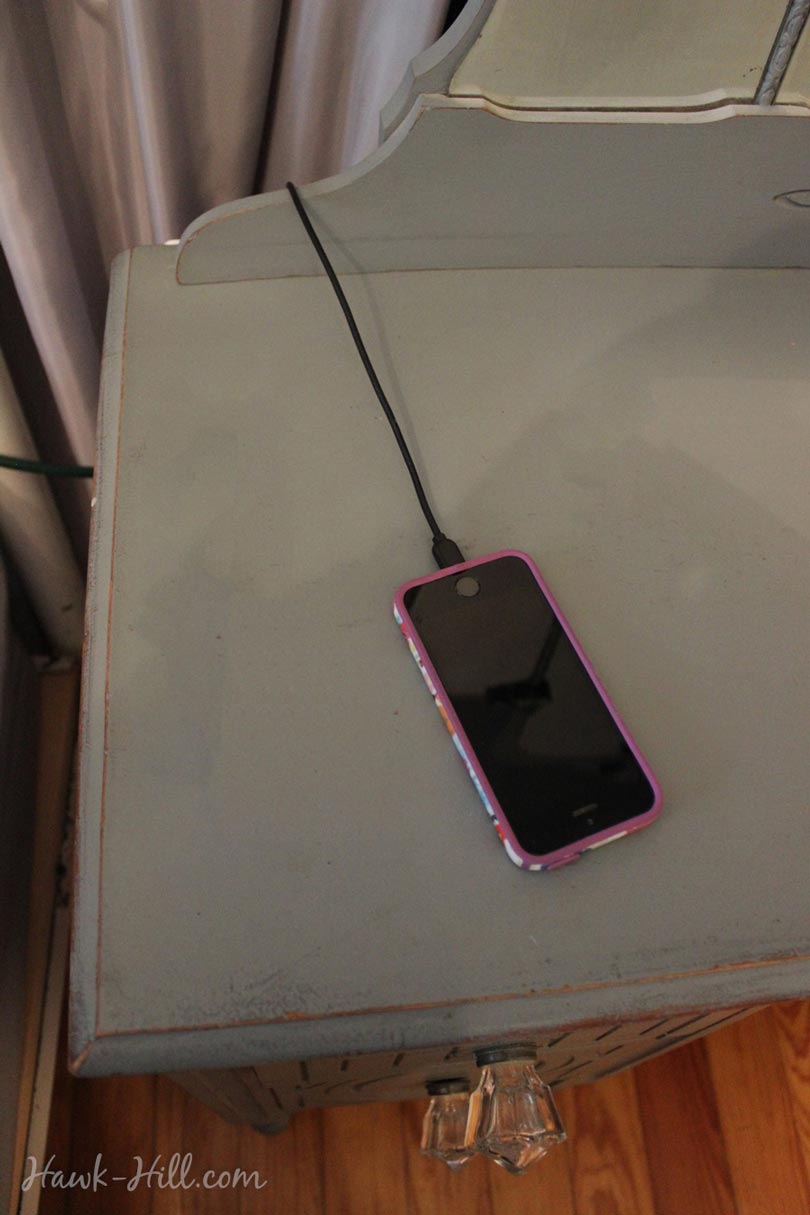
That’s it! Just make sure your weight hangs freely, and is sized right for the weight of your phone, and this quick method for installing a retractable phone charger on your nightstand is complete! Voila – retractable cord!
Your setup should look something like this (minus the power strip).
Variation:
When I was setting up my Seattle apartment, I didn’t have any cable clips handy but I did have a cute little vintage C clamp. I was able to recreate the exact same charging setup (though, admittedly, the cable doesn’t slide as freely through the C-clamp) by swapping out the c-clamp for the top loop of the antique clamp:

Thanks for Reading!!!
I hope you can tell that I love DIY, researching the best affordable solutions for every-day problems opportunities and documenting / sharing solutions!🙌 Hawk-Hill.com is reader-supported.
☕ Hawk-Hill.com is reader-supported. If this article saved you time or money, please consider donating $1 to help me cover the cost of hosting this website OR If you appreciate this information and want to throw a “Thanks!” my way by buying me a coffee – I would Of Course appreciate it! :]
Reader Questions and Recommendations
Readers, do you have any favorite topics / posts? What would you like to read more about in the future? As I hope you can tell from this and other articles on my site, I really enjoy DIY / a good challenge, and I’m not afraid to roll up my sleeves to figure out a great, and hopefully simple 😁 solution. So please feel free to let me know in the comments below (or reach out via social media)!
Ok Really – I’ll try to wrap this up now😂
Finally, if you’d like to continue to learn about interesting DIY options as well as how YOU can tackle creative new projects consider checking out the latest and most popular articles listed on the Hawk-Hill Home Page. I’m always trying to enjoy and write about the creative side of life so please don’t be a stranger – check back often!😍
Also chech our Pinteres account https://www.pinterest.com/curlylindsay/
If you enjoyed this post you may also enjoy reading / perusing / devouring😊 one or all of these articles as well!
- 💡4 Easy Steps to Make Your Own Sea Glass 🌊
- ❤️Bedroom Decorating Ideas for Single Women’s Master Bedrooms 🛏️
- 🏡Ikea Kitchen Cost: What I Spent for a 9×12 Kitchen Remodel 💵
I had the same idea as you because I have a bunch of the same cable clips (white, with nail built-in) as you, but didn’t like the fact the cable wouldn’t be retractable. I thought of all these (relatively) complicated solutions for that but your counterweight solution is best and hadn’t occurred to me at all, apparently because I’m only able to envision unnecessarily convoluted solutions apparently . So thanks!
Great idea! Thanks so much for publishing this idea along with the excellent illustrations. Now I can get my countertop cleaned up.
It’s amazing! You are very cool! Thank you for good idea!
Though technically the cord is retractable this technique only works where the cord pull is short. Unfortunately I have a situation where the cord needs to be stretched out to 6+ feet and then retracted. This method won’t work due to the limitations of height on tables where you’ve mounted the item.