
For those of us who work, play, or commute outdoors, rain can ruin a day. Backpacks get soaked and damage expensive tech devices inside, and waterproof covers for camping and patio gear often cost and arm and a leg! 🦵☔ Recently, I tested several methods for how to waterproof fabric.
In this article, I share my research in 3 simple, easy-to-follow tutorials to make fabric waterproof. Even better: these fabric waterproofing methods are eco-friendly and may even use supplies you already own!
Learning how to waterproof fabric is useful for many DIY projects, including 🥪⬜DIY food wraps, 🎒 Reusable grocery bags, 💺 Canvas patio furniture covers, 🌧️ Rain ponchos, and ⛺ camping gear.
What You’ll Need to Waterproof Fabric:
Hawk-Hill.com is a participant in the Amazon Services LLC Associates Program, an affiliate advertising program designed to provide a means for website owners to earn advertising fees by advertising and linking to Amazon.com and any other website that may be affiliated with Amazon Service LLC Associates Program
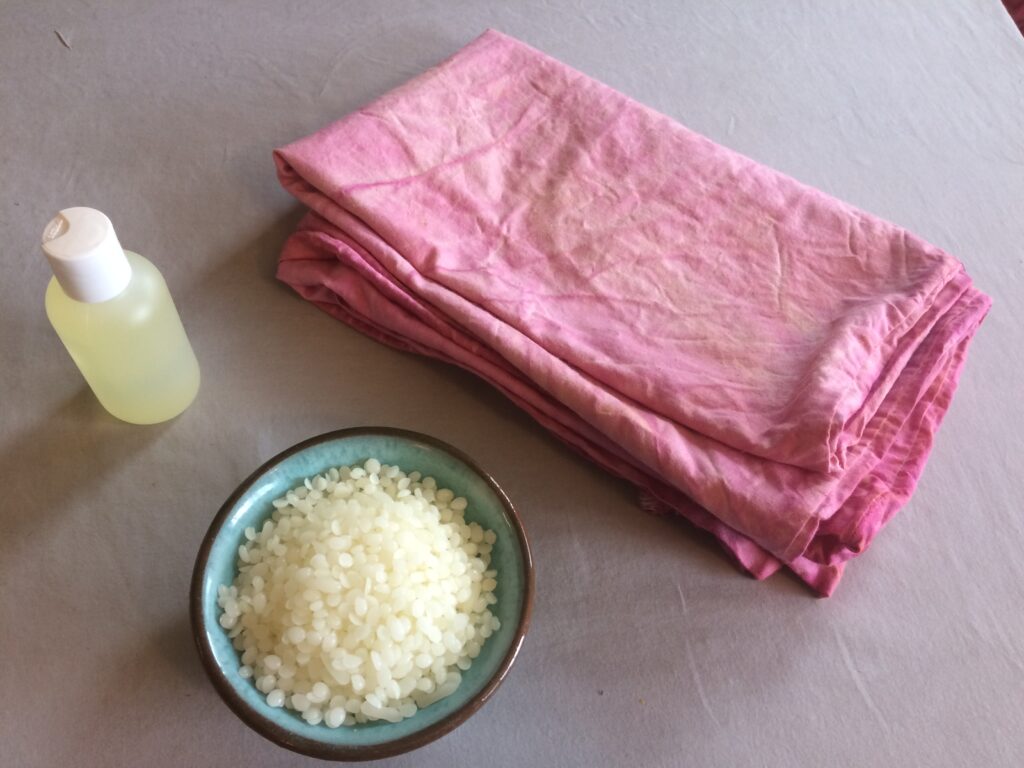
- Plant-based fabric (such as cotton/canvas/linen, etc)
- Wax (in this tutorial I use Beeswax and Paraffin)
- Drying oil (such as Walnut, Tung, or Linseed oil; See this link for the science behind Drying Oils)
Optional:
- Pine Resin (for food-safe projects)
- Pine Tar (for non-food, outdoor projects)
- Mineral Spirits (for non-food, outdoor projects)
Method 1: Waterproof Fabric with Beeswax and Drying Oil
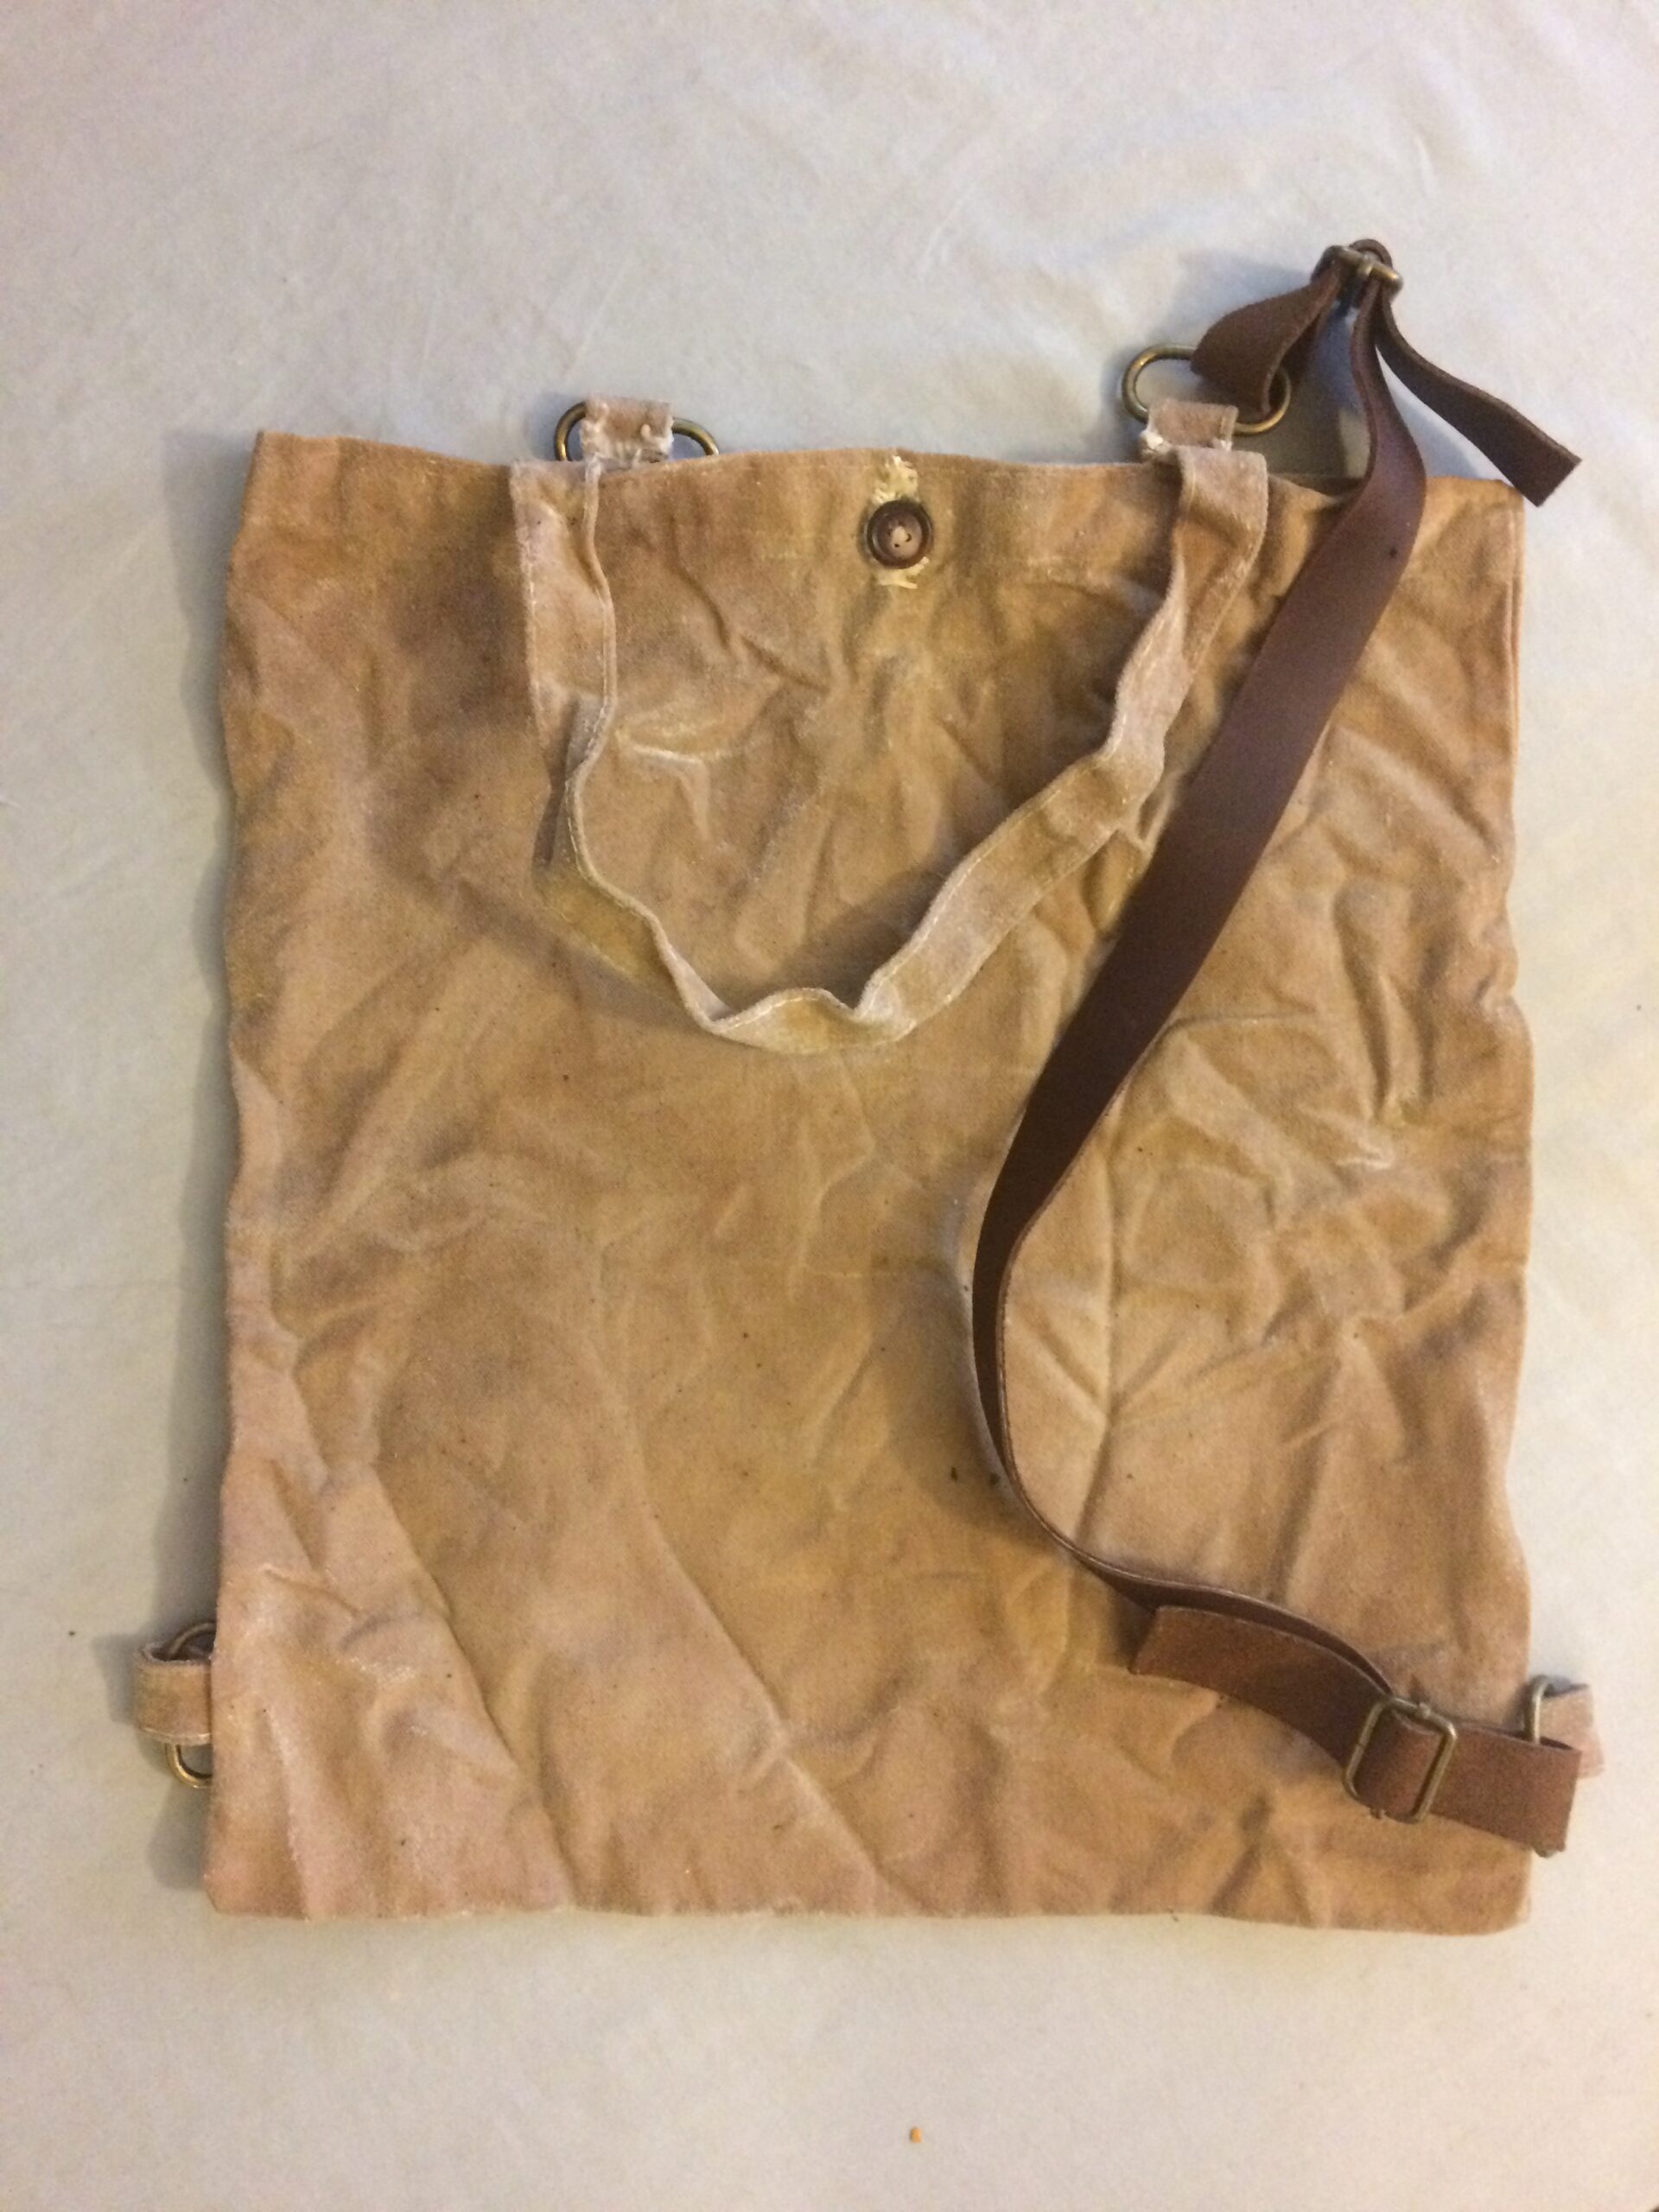
I used this method to waterproof my new DIY forager’s bag, because I needed the bag to be waterproof and more pliable than a pure wax waterproof fabric method.
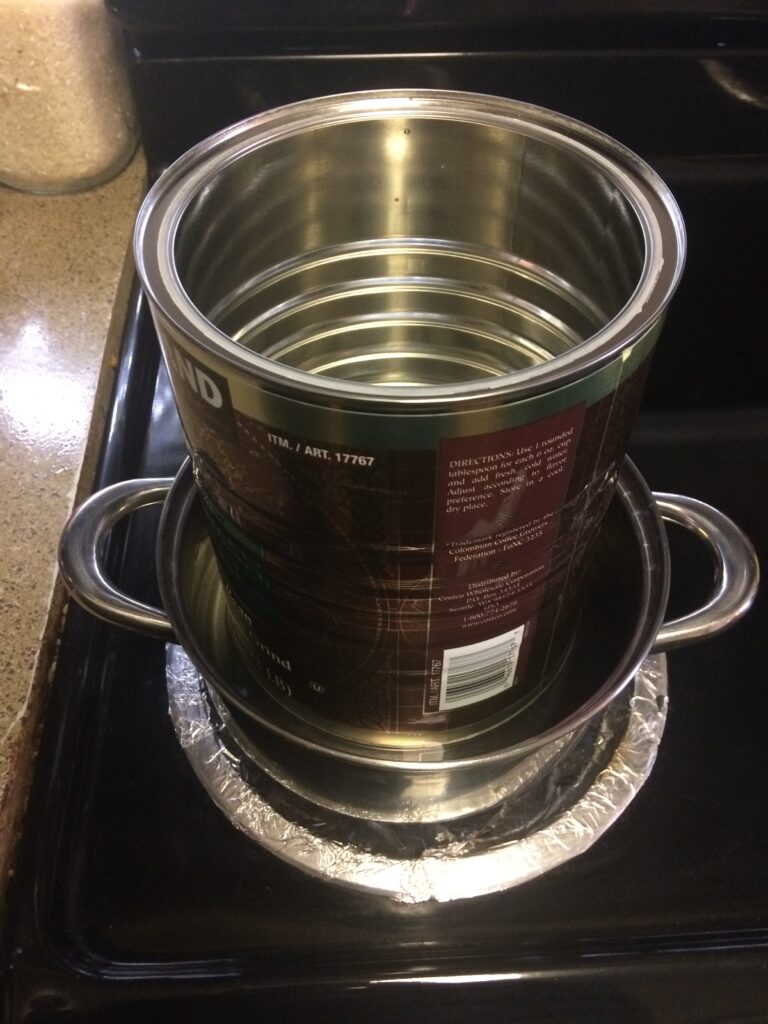
First, melt beeswax in a double boiler. I used an old coffee can for this, so that I could store the leftovers for later. used about 4 oz beeswax for my harvester’s bag, which is the size of a reusable grocery bag.
Next, remove the melted was from the heat and stir in the drying oil. I used walnut oil for this project, because it is a food safe option. In general, use a ratio of 2:1 wax to drying oil.
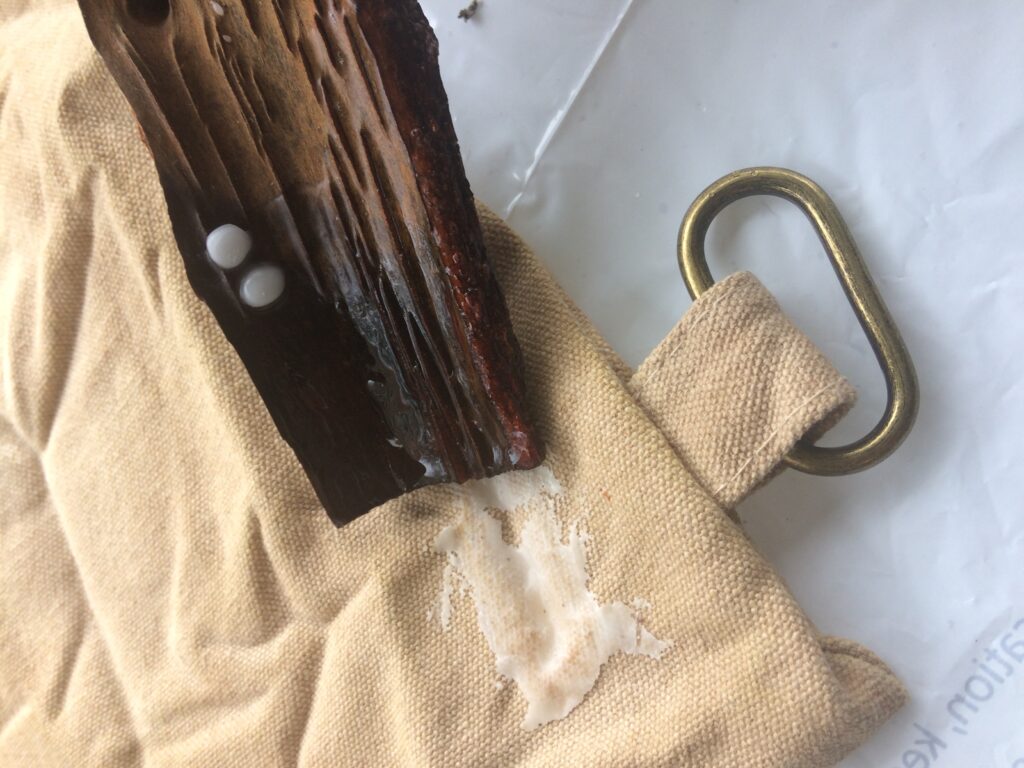
Once the mixture begins to harden, use a spatula or popsicle stick to spread the mixture on the fabric you want to waterproof. Use a fabric made of natural fibers; natural fibers such as cotton are hollow, which allows them to absorb the waterproofing mixture. Be sure to add extra to the seams of your fabric. At this point, it will look like a mess–that’s ok!
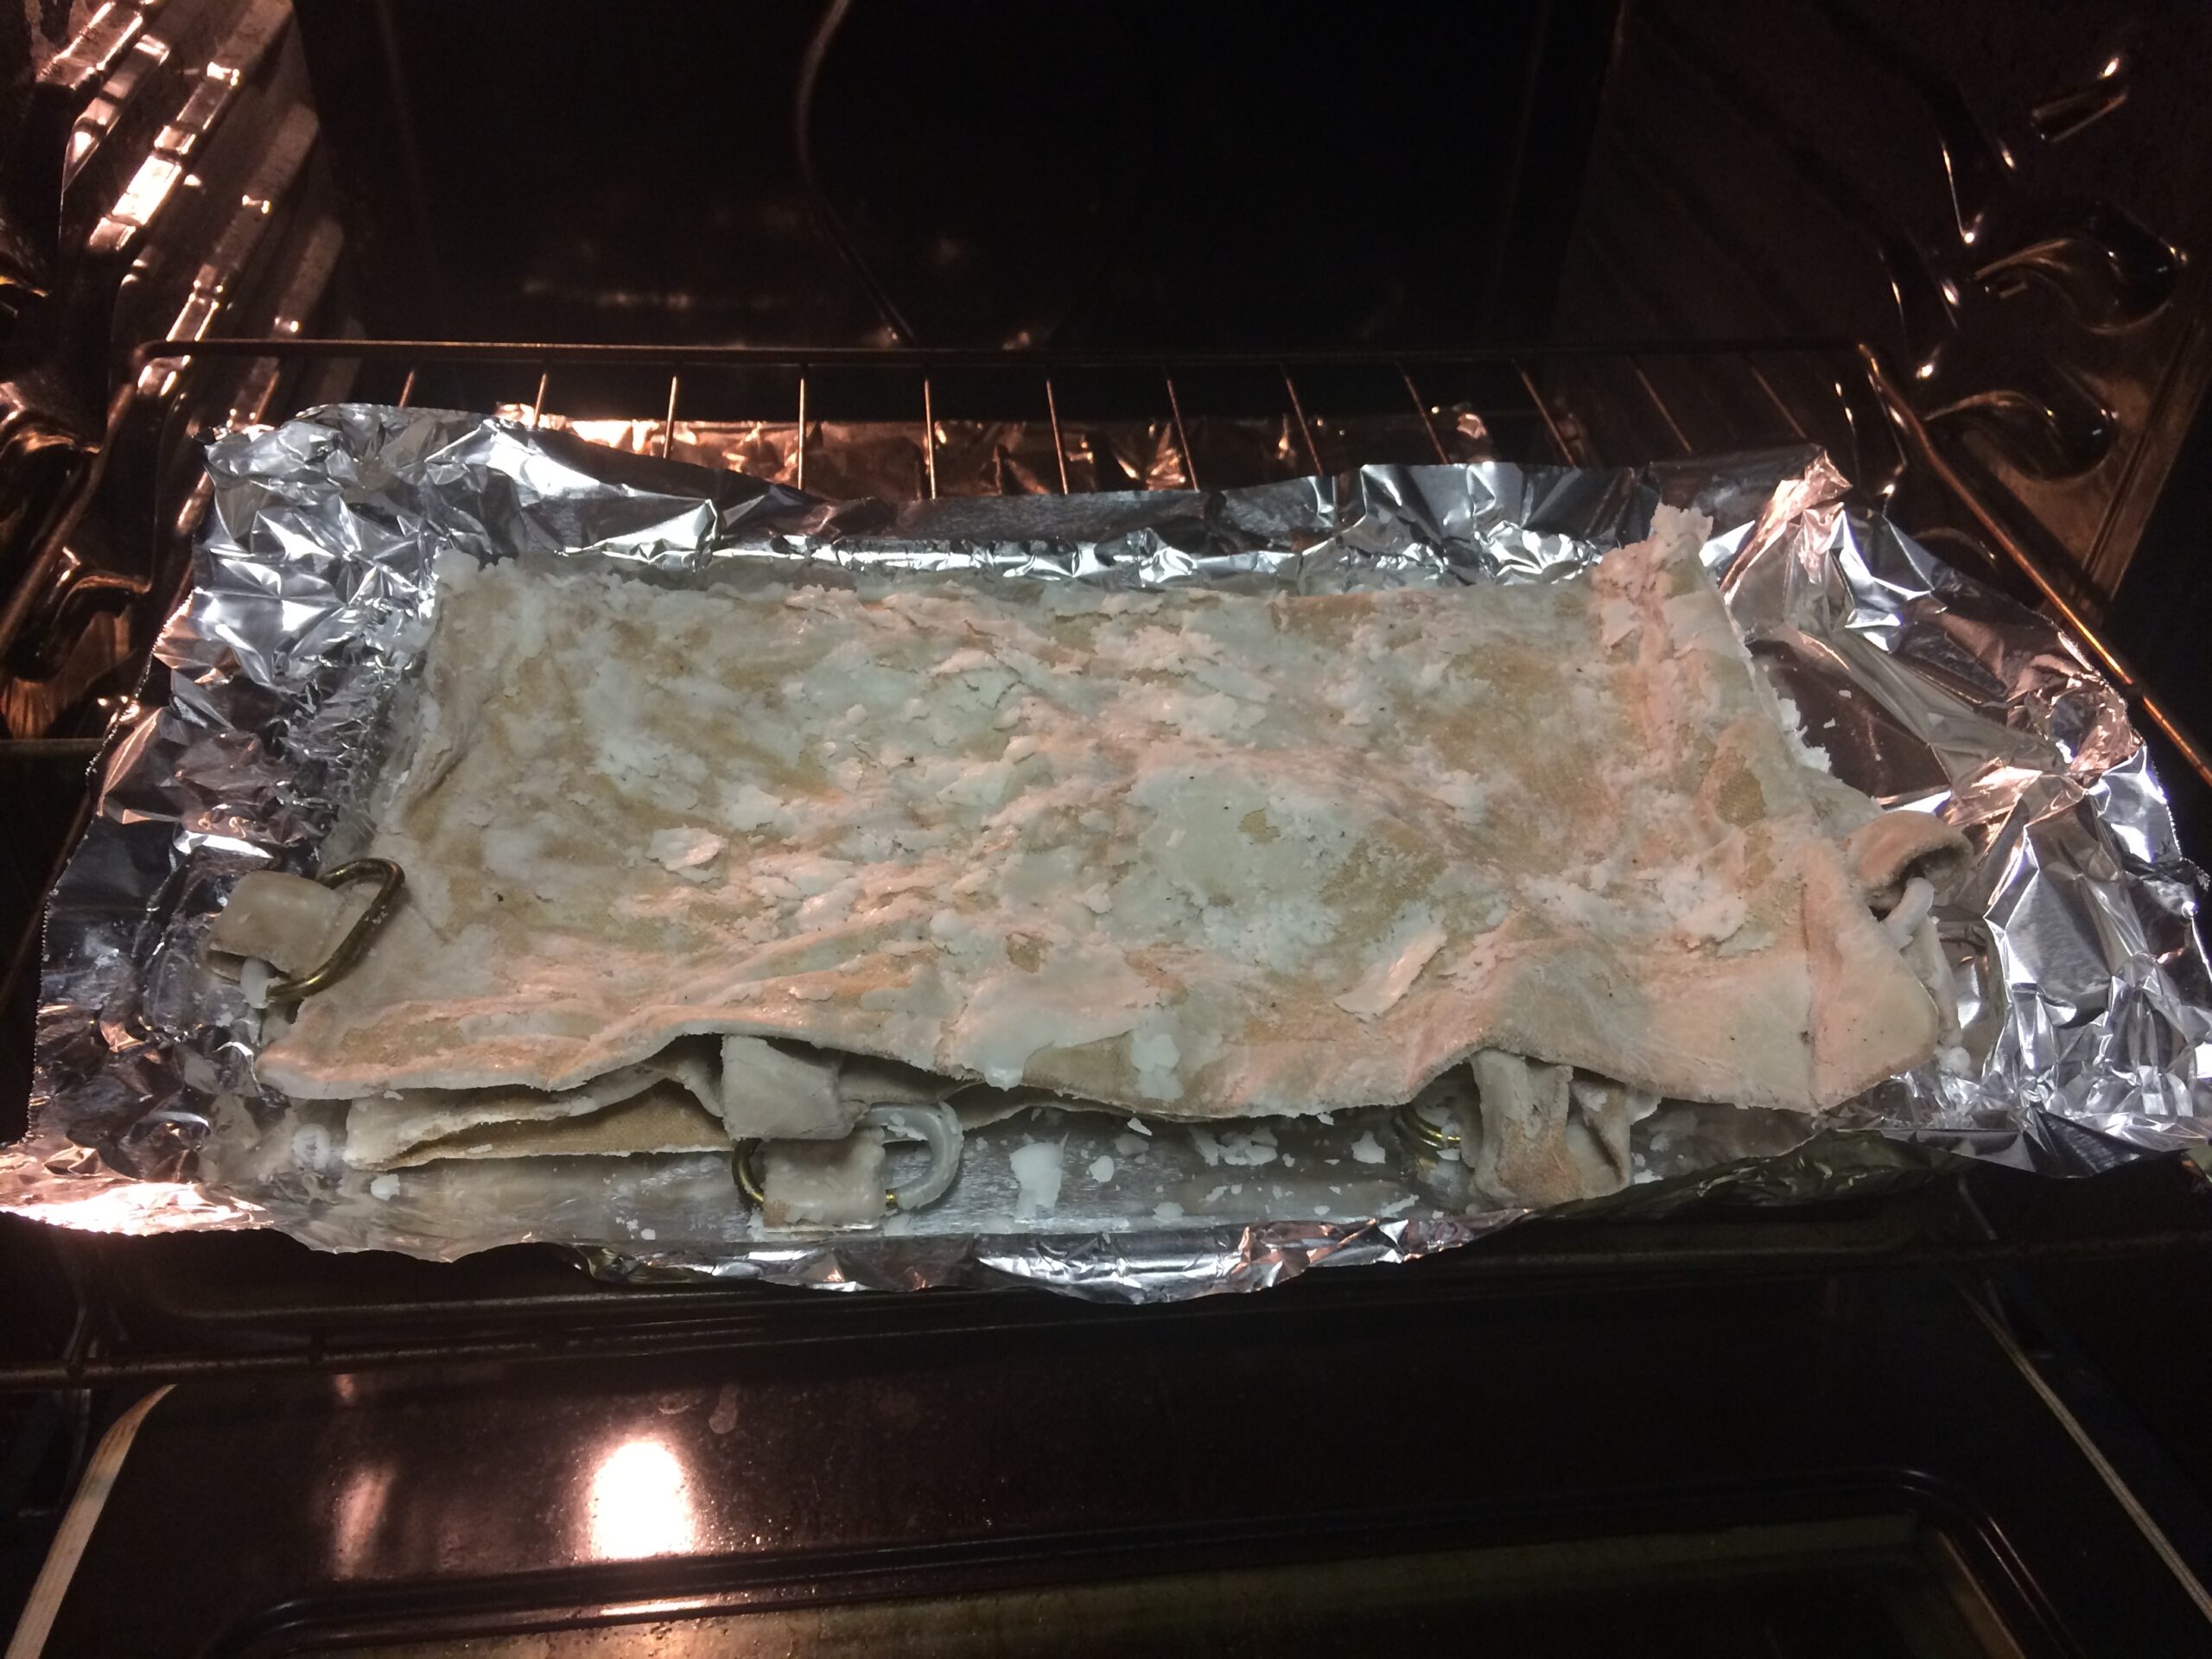
Finally, preheat your oven to 300 F, line a baking sheet with foil and place your fabric in the oven. It’s ok if you need to fold the fabric to get it to fit on the baking sheet. The heat will help the fabric to absorb the waterproofing material.
Once the waterproofing mixture is totally absorbed into the fabric, remove it from the oven and lay flat to cool.
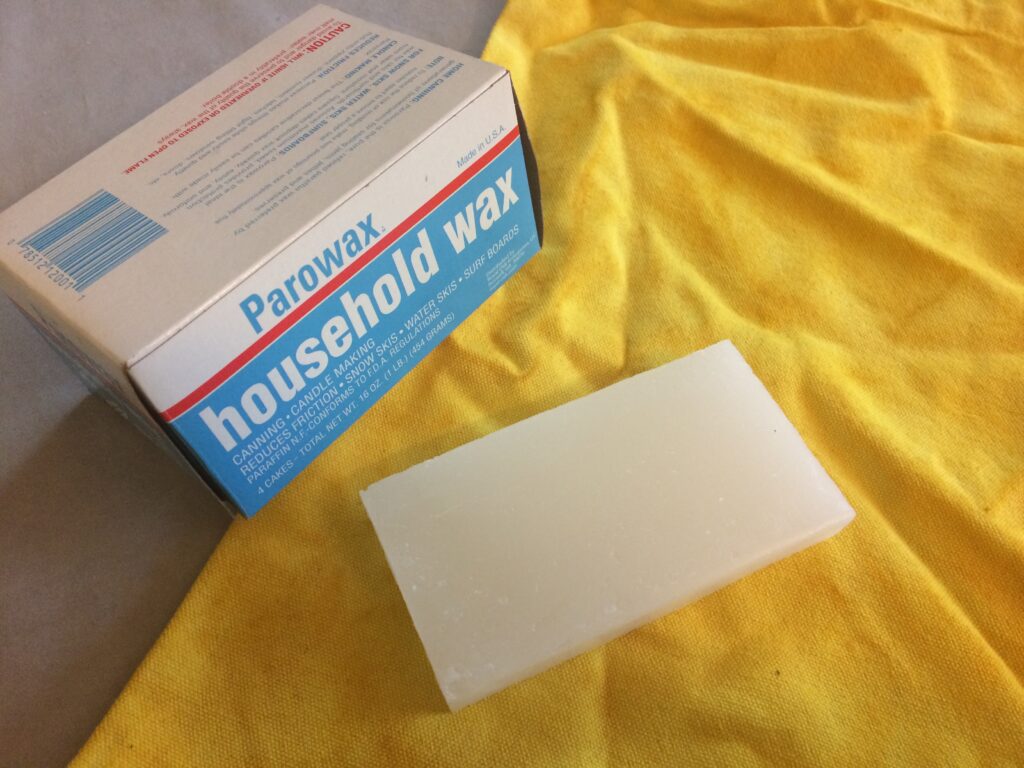
Method 2: Waterproof Fabric with Paraffin Wax
I used this method to waterproof a reusable canvas grocery bag, which I will also use to harvest vegetables from my garden this year.
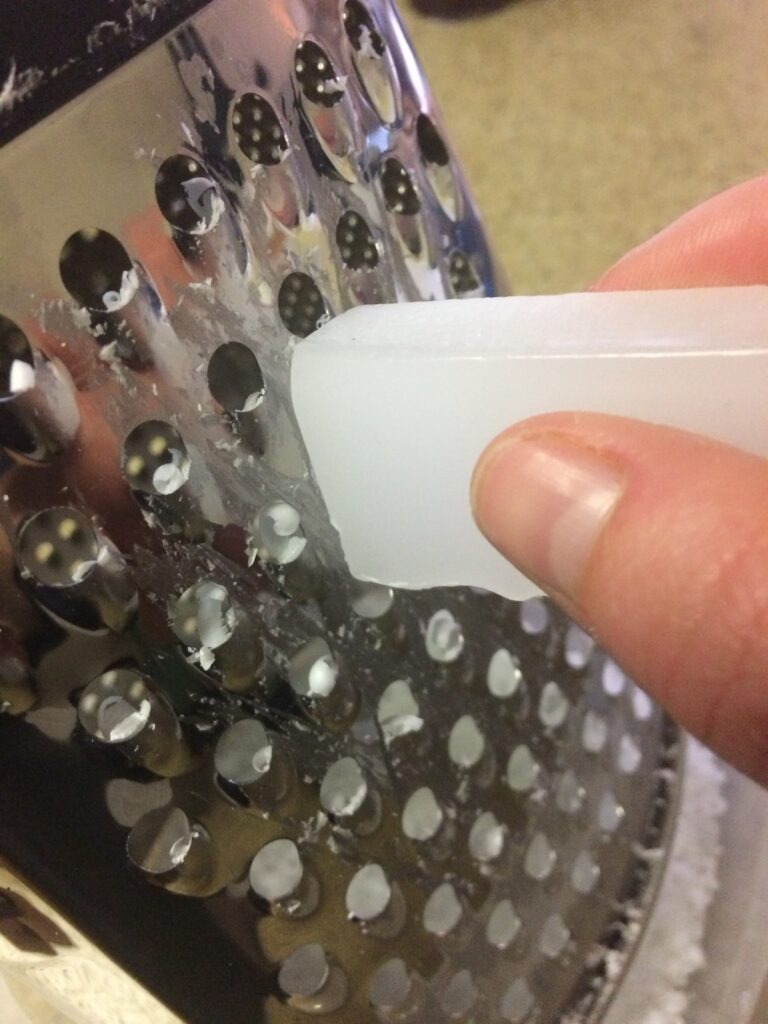
Paraffin wax is very inexpensive and easy to obtain online or at a grocery store. If your wax comes in a large block, the first step is to grate it into fine pieces. Or, obtain paraffin in pellet form.
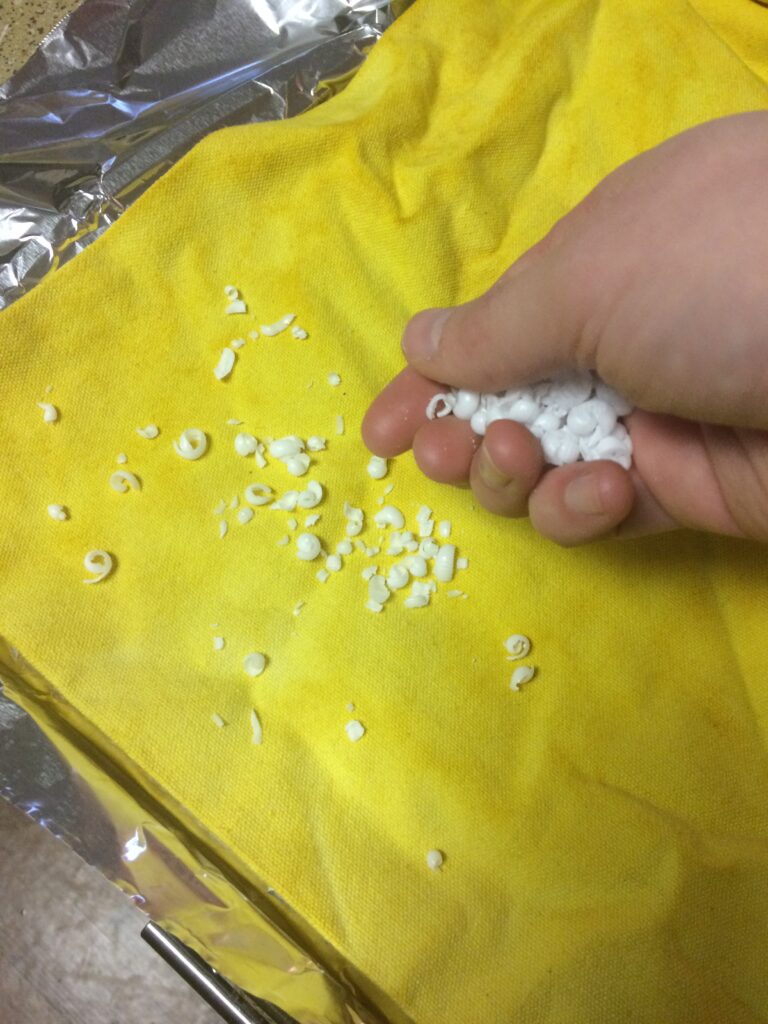
Preheat your oven to 300. Lay your fabric on a large baking sheet lined with foil, and cover it with a layer of wax pellets. Place the tray in the oven, and allow the pellets to melt completely.
You might need to repeat this step several times to fully cover your fabric, depending on how much you are attempting to waterproof and how heavy the fabric is.
Once the fabric is completely coated, lay it flat to cool. Be sure to cool the fabric unfolded; otherwise, it will dry stuck together and you will need to warm it again to
Method 3: Waterproof Fabric with Boiled Linseed Oil and Mineral Spirits
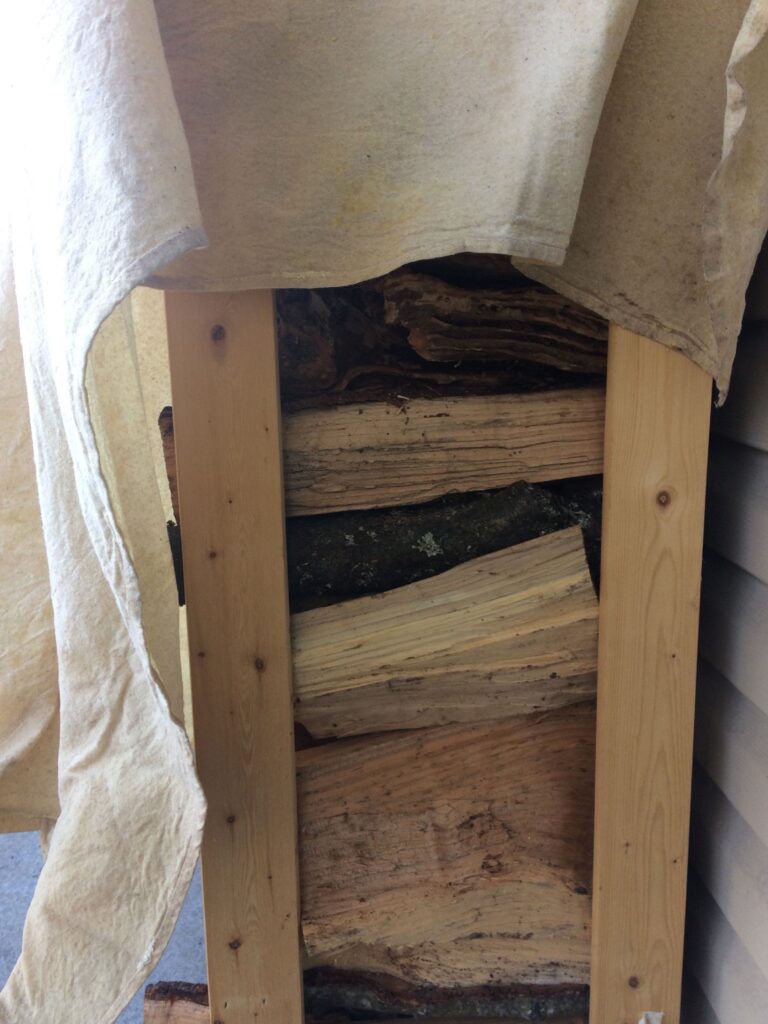
I used this method for the canvas tarp that acts as a rain splash guard over the wood pile on my porch. This is an incredibly easy method for waterproofing fabric; however, because the materials used can be harsh, this method should be performed only outdoors in a well-ventilated area.
First, mix equal parts mineral spirits and boiled linseed oil. Next, soak the fabric in the mixture until fully coated. Finally, hang the fabric to dry outside in a well-ventilated area for several days. The smell will dissipate after 1-2 weeks.
Important safety consideration: Do not fold the fabric until it is fully dry, and do not fold cloths or other materials that are soaked in mineral spirits or boiled linseed oil. These substances generate heat as they dry, and can be flammable if not disposed of properly. Boiled linseed oil is also not food-safe.
This is a great option if you want to create your own waterproof patio covers, DIY an old-school canvas tent, or waterproof clothing for bushcraft or other outdoor use.
How to Care for Waterproof Fabric
Clean your waterproof fabric in cool water, with a gentle sponge and mild soap at the most. Warm water or abrasive brushes will strip the waterproofing away from the fabric.
These methods to waterproof fabric utilize waxes and oils to coat and fill the fibers of natural fabrics. This means that over time, with wear and tear, the waterproofing will weather away. You may need to re-waterproof your fabric occasionally, depending on how much you use it and under what conditions.
Why you should waterproof fabric yourself instead of buying
💸 This DIY saves money
When you are deciding whether to waterproof your fabric yourself or to buy it already waterproof, there are several costs to consider.
The cost of the fabric is one factor, but the time and effort required to waterproof it yourself is another. You should also consider the value of what you’re protecting, and how long you need the fabric to be waterproof. If you are planning to use the fabric for something that will be exposed to water frequently, such as an outdoor tarp or awning, it may be worth the investment to buy fabric already waterproof. Tech fabrics tend to hold up longer in extremely wet conditions without mildew or rot.
However, if you only need the fabric to be waterproof occasionally, such as for a camping trip, you can save money by waterproofing it yourself. Waterproofing fabric yourself does require some time and effort, but it is a relatively simple process. The key is to make sure that the fabric is completely dry before you begin, and that you apply the waterproofing product evenly.
If you take the time to waterproof your own fabric, you can save yourself a lot of money in the long run.
☔ You have control over the degree of Waterproofing
You can make a heavy-duty waterproof fabric for an outdoor project or a light-duty waterproof fabric for an indoor one. Waterproofing your own fabric is a great way to customize the level of waterproofing to your needs. Some fabrics are naturally more waterproof, while others will need to be treated heavily. If you are unsure, consult a fabric store employee or do some research online.
Once you have the right fabric, you will need to prepare it for waterproofing. If your fabric is new, you will need to wash and dry it before waterproofing. This will remove any finishes or treatments that could prevent the waterproofing from working properly.
🏕️ You can use eco-friendly fabric waterproofers
Waterproofing your own fabric is more eco-friendly than using industrially treated waterproof fabric. Firstly, the process of waterproofing your own fabric is less energy-intensive than the process of treating fabric with chemicals in a factory setting. Secondly, when you waterproof your own fabric, you can control the type and amount of chemicals used, ensuring that only eco-friendly chemicals are used in the process. Using the wax-based methods above, you can eliminate harsh chemicals completely.
Finally, waterproofing your own fabric allows you to reuse and recycle fabric that would otherwise be discarded, further reducing your impact on the environment.
Other Considerations
For beeswax or paraffin food wraps, follow the instructions for waterproofing with a food-safe drying oil, and add a small quantity of pine resin. Pine resin will help the food wraps stick together and keep them pliable. Read here for tips to sustainably harvest pine resin.
For outdoor, non-food applications, consider adding pine tar to increase pliability, durability, and an added layer of waterproofing to your fabric.
For a tutorial on how to care for fabrics such as suede, check out this post. Or read about how to care for leather here.
Thanks for Reading!!!
I hope you can tell that I love DIY, researching the best affordable solutions for every-day problems opportunities and documenting / sharing solutions!🙌 Hawk-Hill.com is reader-supported.
☕ Hawk-Hill.com is reader-supported. If this article saved you time or money, please consider donating $1 to help me cover the cost of hosting this website OR If you appreciate this information and want to throw a “Thanks!” my way by buying me a coffee – I would Of Course appreciate it! :]
Reader Questions and Recommendations
Readers, do you have any favorite topics / posts? What would you like to read more about in the future? As I hope you can tell from this and other articles on my site, I really enjoy DIY / a good challenge, and I’m not afraid to roll up my sleeves to figure out a great, and hopefully simple 😁 solution. So please feel free to let me know in the comments below (or reach out via social media)!
Ok Really – I’ll try to wrap this up now😂
Finally, if you’d like to continue to learn about interesting DIY options as well as how YOU can tackle creative new projects consider checking out the latest and most popular articles listed on the Hawk-Hill Home Page. I’m always trying to enjoy and write about the creative side of life so please don’t be a stranger – check back often!😍
Also chech our Pinteres account https://www.pinterest.com/curlylindsay/
If you enjoyed this post you may also enjoy reading / perusing / devouring😊 one or all of these articles as well!
- 💡4 Easy Steps to Make Your Own Sea Glass 🌊
- ❤️Bedroom Decorating Ideas for Single Women’s Master Bedrooms 🛏️
- 🏡Ikea Kitchen Cost: What I Spent for a 9×12 Kitchen Remodel 💵
Hi,
Really helpful article – thank you!
Is boiled linseed oil not food safe in and of itself, or do you mean th e boiled linseed oil method? If it’s because of the mineral spirits in the method, wouldn’t they evaporate after a waiting/curing period, resulting in food contact safe fabric? In case it’s helpful, I found a highly-refined odorless mineral spirits that don’t have benzenes by RealMilkPaint, that they say creates a food safe surface when mixed with tung oil after the 30 day curing period.
@Linda, Boiled linseed oil is processed with chemical drying agents that you don’t want your food exposed to. Flax oil, the raw product, should be safe if you can find it, but is much slower to cure. Read the fine print on the can to be sure what is inside.
This is spectacularly helpful and inspiring! Thank you for providing such a great resource – so much information in a really clear, concise and easy to follow article. I would never have considered waterproofing my own fabric because I assumed it was a complicated, difficult and probably expensive undertaking.
I stumbled on this while searching to see how “non-toxic” some fabric I saw really is, which claims to be organic canvas that’s water repellent. After reading a little about this new ‘technology’ (a euphemism for more chemical cocktails, in my view), I’m not at all convinced it’s not toxic, just perhaps LESS so, but also less studied and understood.
Anyway, for a retro-inspired, tailored trench coat I’m drafting, I decided I will resort to only *actually* natural materials. Even that means it’s not water resistant at all. Your instructions have made me think that trying this method is not out of my capability as I’d thought, though I will probably need some experimentation to see if the results will be ok for this particular project.
I wondered if you have any thoughts on the beeswax/walnut oil method for a coat like I described. I’ll be using a medium weight cotton (likely twill, maybe ~8-9 oz per sq yard, and lined). I thought after the application is complete, it may be helpful to iron the fabric (not too hot) thoroughly between clean scrap cloth, to sort of distribute the wax and remove excess. I have no basis for that idea though, so I’m not sure if it would work. 🙂
I’m mainly concerned about the fabric becoming very stiff, as well as washing and caring for the jacket. I don’t mind that the water resistance might deteriorate a little with washing and time, since it’s still infinitely better than wearing something coated in perfluorinated (?) petrochemicals that are so harmful to the planet and everything living on it!
Thanks for any suggestions and for all the work you’ve done to show these options.