Whether you are selling your home or settling into a new house for many years to come, curb appeal matters. Your mailbox- and any mailbox decals on it- is one of the first things people see as they enter or pass your home- and it says a lot!
When I moved to Hawk Hill- my mailbox said BORING, and that was not the message I wanted to send!
In this tutorial, I’ll show you how to layer homemade Cricut cut decals or custom vinyl decals to create a classy mailbox design that’s functional and attractive. Plus, I share pro tips on how to actually put the numbers on your mailbox perfectly straight.
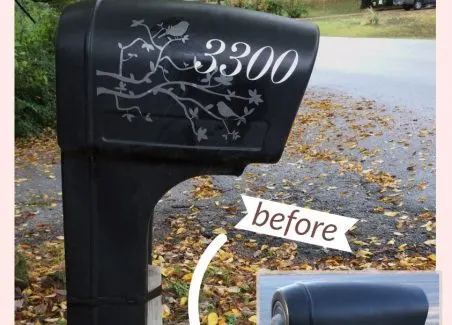
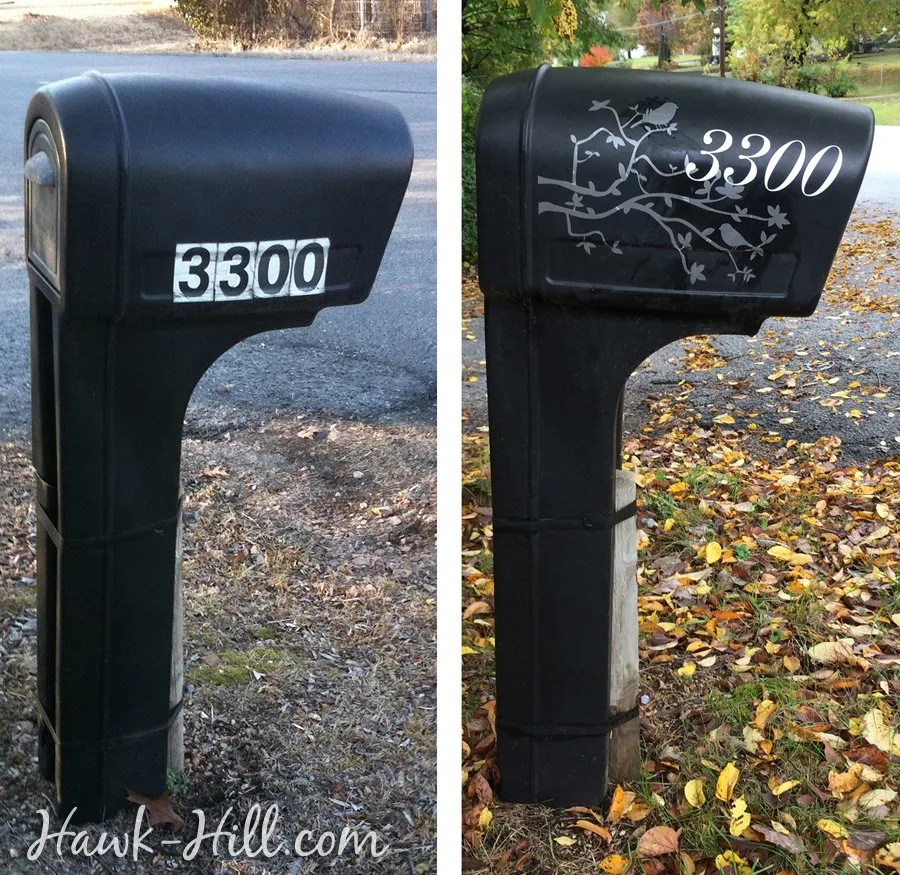
One of the fastest and easiest but most dramatic home improvement projects I have tackled is one of the very first projects I did after purchasing Hawk Hill. This lovely old home had a terribly generic mailbox with dirty peel and stick house-number stickers. It had no character- so it had to go! Out with the old and in with the new!
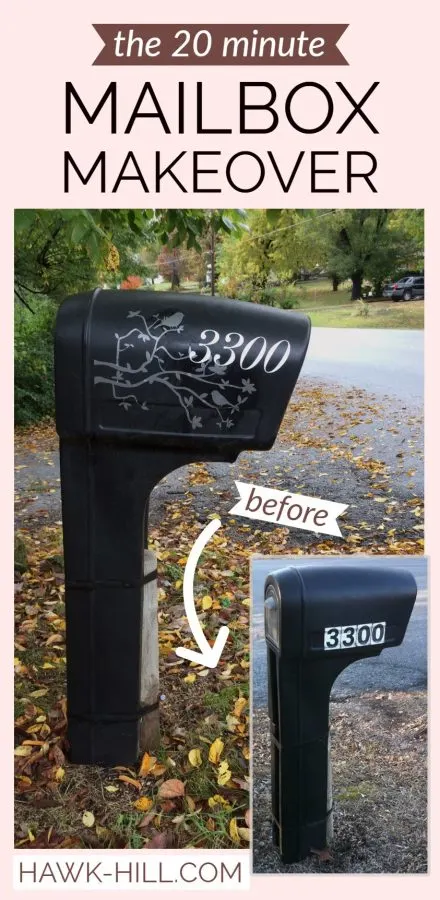
before
AFTER

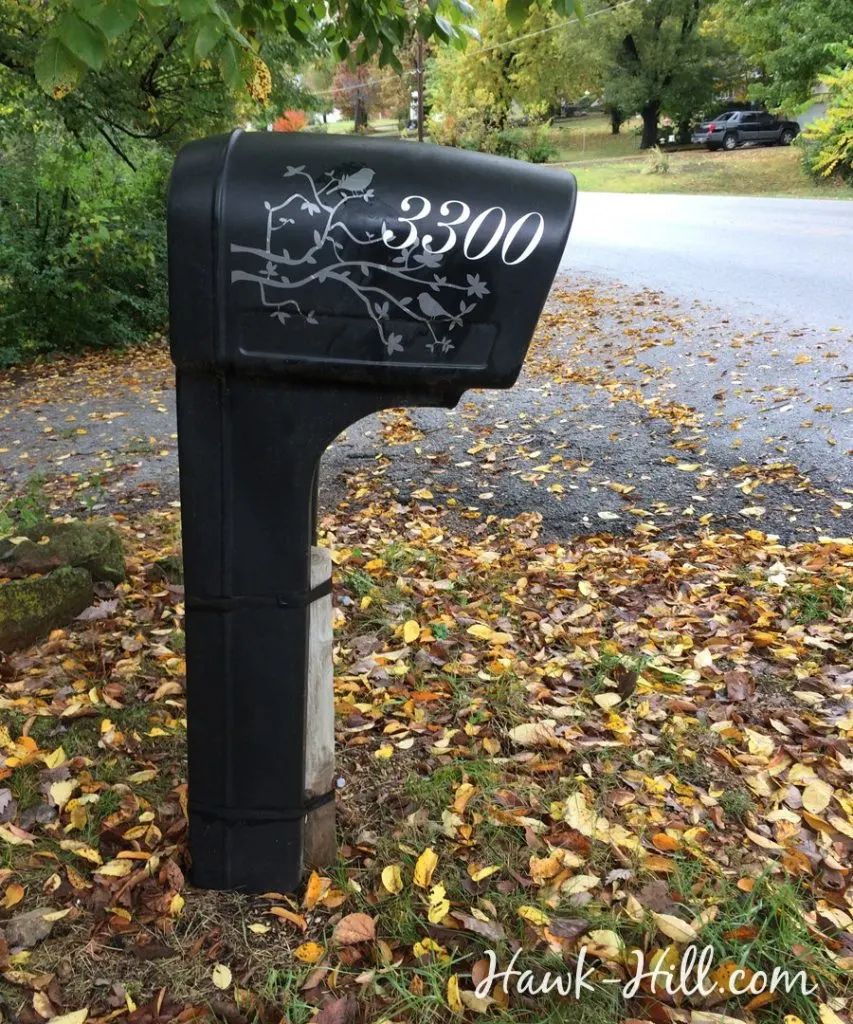
Replacing the mailbox was tempting. I felt like either a replacement with an old fashioned mailbox or an upgrade to a newer style locking mailbox would improve the curb appear, but I decided that rather than spend an afternoon and three figures installing a new mailbox, new, unique stick-on address numbers might do the trick- and I was thrilled with the result!
Although elegant vinyl numbers alone would have been a huge upgrade to the number stickers already on the mailbox, I decided to be playful and also place a subtle background image.
The following section may contain affiliate links. As an Amazon Associate, we earn from qualifying purchases.
First, I calculated the size I’d need, (about 3″ high for the letters) and purchased a background image, birds on a branch, in a fairly dark color from a seller on etsy. Then I purchased, peel and stick vinyl house numbers in a highly visible shade of bright white, from another seller.
Contrast is extra important on a mailbox- the way your house numbers standing out or blend on your mailbox can be the difference between getting utility repairs on time or getting packages delivered to the right house. Having to navigate the problem of “The status says ‘delivered’….but it’s not at my house…” is kind of the worst! lol. This article will really help with that : ]
Because no one wants dinner guests calling 15 minutes late 3 miles down the road- make sure any background image is subtle and mostly blends into the background. The letter or numbers on your mailbox decal should be big, printed in an easily readable font, and cut from a highly visible color of vinyl. Be sure to check the final results after dark, to ensure the numbers are readable.
If you plan on applying house number decals to your mailbox, remember to order or die-cut 2 sets of all your decals. You’ll need one set for each side of your mailbox.
After spending much longer than I anticipated scraping the old number decals off and cleaning the road grime from my mailbox, I used a product called Rapid Tac to apply and float my decals around on the mailbox till they were in the right spot, then used a rigid card to squeeze out the floating solution and adhere the decals permanently. I really recommend the rapid-tac, as it saved a lot of time.
Since you are going to the expense of custom decals, the surface treatment works out to be a good investment. I’m the worst at placing decals, even after lots of practice applying large decals to a horse trailer, but since I started using a surface spray to pre-treat my surfaces I keep having great results.
The background image was standard-grade vinyl decal and the house numbers were outdoor grade decals. I did this project back in 2011 and have been exceptionally pleased with the durability- the “after” picture was actually taken after my decals had weathered 2 years on the mailbox! [Update Fall 2022: I recently replaced this mailbox but WOW was I ever impressed with how long this decal lasted out in the sun.]
Deb was particularly impressed with this project, though less impressed with the fact that I made her practice her being-tied-up-patience while I worked on it.

Are you Sure Mailbox Decals are Allowed?
You may find some sources on the Internet indicating that decals are not allowed on mailboxes, but this misconception usually stems from a homeowners association rule rather than a requirement by the United States Postal Service. Mailbox decals may also be forbidden on USPS-owned mail receptacles (like those grouped units that serve multiple houses on a cul de sac or apartment building). If you own the mailbox, however, you are allowed to decorate it.
A quick search of decorative mailboxes shows that actually, all kinds of decorations are allowed on mailboxes as long as they don’t obstruct the function of the mailbox. While big, intricate decals are technically allowed on a mailbox, it’s best to play it subtle when adding decoration to your mailbox because mailboxes are used to help visitors and delivery drivers locate your home. Make sure the most prominent visual on your mailbox is your street address.
Painting a plastic mailbox
Technically, there are spray paints formulated especially for painting plastic. Unfortunately, the technology in these paints hasn’t quite produced a paint that adheres to plastic that is exposed constantly to UV light from the sun and the abrasion of daily use. For this reason, I don’t recommend painting any plastic item – including a mailbox – that will be outdoors full time. Instead, replace your mailbox or apply a mailbox cover or decal.
Deciding how Big your Mailbox Decal should be
Your mailbox decal can cover your entire mailbox – as long as the mail carrier is able to open and access your mailbox. When I created my mailbox decoration with vinyl decals, I went BIG but not solid. The birds and branches stretch across the mailbox in a mid-tone color, blending into the background. This allows the house numbers to stand out boldly.
How to Put on Mailbox Numbers Straight
If you’ve had any experience with vinyl decals on windows or walls, you probably know how challenging it can be to get a vinyl decal- such as mailbox numbers- perfectly straight!
Don’t worry, I’ve got a few tips for making sure that your mailbox numbers are applied straight every time. Putting numbers on your mailbox straight is a simple process: use a level to make a guide, mark the guide with a stripe of painter’s tape, and apply your mailbox numbers using the tape as a perfectly straight guide.
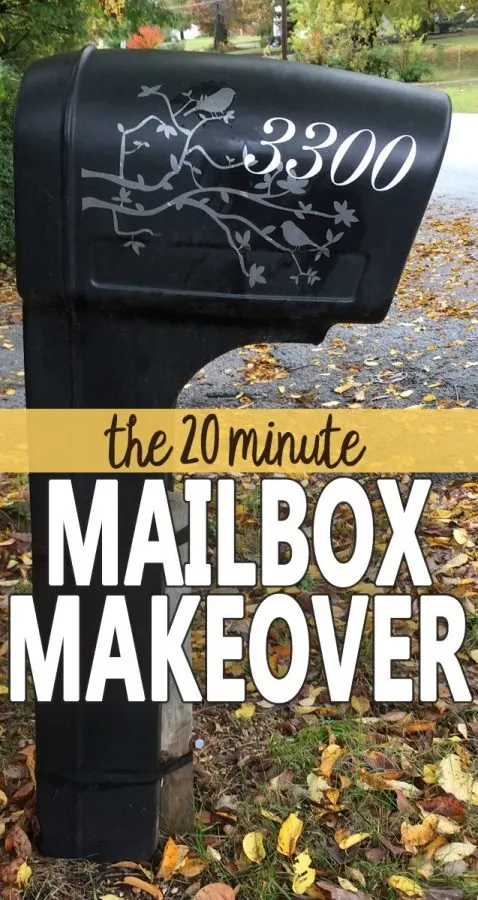
How to Apply Numbers to a Mailbox Straight
Total Time 10 minutes
Use the Level to Mark 2 Level Points
Take the level to your mailbox. Place the level along the side of the mailbox where you would like to place straight numbers. Use a temporary marker, such as chalk, a dry-erase pen, or wax crayon to make temporary marks. Only make enough marks to line up a strip of painter’s tape. There’s no need to draw an entire line on the side of your mailbox. Just give yourself 2 points to align the tape in the next step.
Apply A Strip of Tape in a Level Line
The next step to putting numbers on a mailbox straight is to tear off a 12 to 15 inch strip of repositionable painter’s tape and place it on your mailbox, lined up with the marks you made in step one. This will give you one line which you can use as a reference point to make sure that the numbers are straight when you apply the vinyl numbers to your mailbox .
(optional) Create a Second Guide
For some people, a single piece of tape will be a sufficient guide to get the numbers on straight. However, if you are determined to get absolute symmetry with the numbers on your mailbox, you can use a level to make a second line. This line should be spaced up to the height of your numbers. And add a second row of tape that will be the guide for the top of your numbers.
Make a Guide for Number Spacing if Desired
If desired, you can use your temporary marking tool or tape to add guides for spacing your numbers. By adding extra guides, not only will the numbers on your mailbox be put on straight, but they will also be evenly spaced.
Apply Numbers using a Lubricant Spray to allow Repositioning
With your guides in place, you are ready to apply your mailbox numbers. Use the Rapid Tac spray liberally before applying the vinyl decals. Use the spray under the vinyl, and then squeegeeing it out with a plastic-edged tool such as a putty knife or credit card. With this method you will be able to reposition the numbers on your mailbox to ensure that they are absolutely straight.
Estimated Cost: 5 USD
Supply:
- A level
- Painter’s tape
- Spray for applying vinyl decals
Like it? Pin It!

Christine
Sunday 12th of March 2023
I bought a plastic mailbox. What type of letters will stick to it?
Lindsayanne Brenner
Tuesday 14th of March 2023
Hi There - great question! You'll want to use 'rubber adhesives' lettering / numbering and avoid vinyl to get a good stickiness :]
Tasha Fabela-Jonas
Tuesday 20th of June 2017
Do you think Rapid-Tac will work on Mylar decals? Not sure you will answer back since this post was from a few years ago, but worth a try. Also, where did you buy Rapid-Tac?
Lindsayanne
Wednesday 21st of June 2017
Hi Tasha, thanks for reading! Are you doing a decal on your mailbox? Would love to see your take on this project! Ok so just a guess but I'm thinking the way the Rapid-Tac works probably has more to do with the adhesive than with the material the decal is made with, so I'd guess it would work. You can buy Rapid-Tac at Amazon
Lauren
Tuesday 8th of April 2014
I love your updated mailbox, but what really caught my eye in this post was that gorgeous Curly! (Oh look, my equestrian obsession is showing again. Whoops!) Maybe it's just the life-long horse owner in me, but I'd really love if you'd introduce your readers to miss Deb in a future post.
Lindsayanne
Saturday 12th of April 2014
Thank you! I will definitely do that! I have two curlies and you won't believe the spots on her brother!