A vacuum sealing machine is a small kitchen appliance that every home needs. In addition to helping food last longer and stay fresher, a food saver or other vacuum sealer can be used for a surprising number of household uses. I’ve had a food saver for over 10 years now – and in fact, the original version of this article was first published in 2015! Since then, I’ve learned even more tips, tricks, and FoodSaver hacks.

In this article you’ll learn more than just how to use a vacuum sealer to keep foods fresher, you’ll learn:
- How to use a food saver to save paint samples and make your next painting project clean-up a breeze,
- How a kitchen vacuum sealer can be your best friend when packing for your next family vacation,
- Plus, I’ll share two food saver tricks I’ve learned recently:
a. How to seal non-Mason jars using a food saver
b. How to seal liquids using a food saver.
The following section may contain affiliate links. As an Amazon Associate, we earn from qualifying purchases.
I purchased a Foodsaver in 2011 after finally being convinced by a friend who said it was the only small appliance she still used daily after owning it for more than a year. Finally, I took the leap and bought one. It turns out, I absolutely agree! In my recent kitchen renovation I even dedicated a drawer in the coveted kitchen triangle to storing my food saver.
The basics of using a food saver
I won’t reinvent the wheel, as every vacuum sealer manufacturer includes excellent instructions and typically a few YouTube videos on the basics of using their product. What they don’t cover are the little tips that take a vacuum sealer from a handy kitchen appliance to an indispensable kitchen workhorse.
That said, a quick review of a vacuum sealer and how they work might be helpful. Vacuum sealer’s are small devices that function like a combination heat sealer and suction device. When the right bags are used (vacuum sealer’s require a type of plastic bag made with air channels that allow air to move even as the bag is sucked closed) this machine can remove virtually all air from around the object being sealed into the bag. By removing oxygen (one key player in the process of decay) a food saver lives up to its name by helping foods last longer. In the refrigerator, fruits and vegetables last longer when sealed into a vacuum sealed bag, and in the freezer a food saver sealed bag almost completely eliminates freezer burn.
But here’s what the instruction manuals won’t tell you: both the vacuum and the sealer feature have a huge variety of uses not only in the kitchen but also in many other areas of life. Now let’s talk about a few of those food saver hacks:
FoodSaver hacks
Use a vacuum sealer to keep glue, paints, and caulk from drying
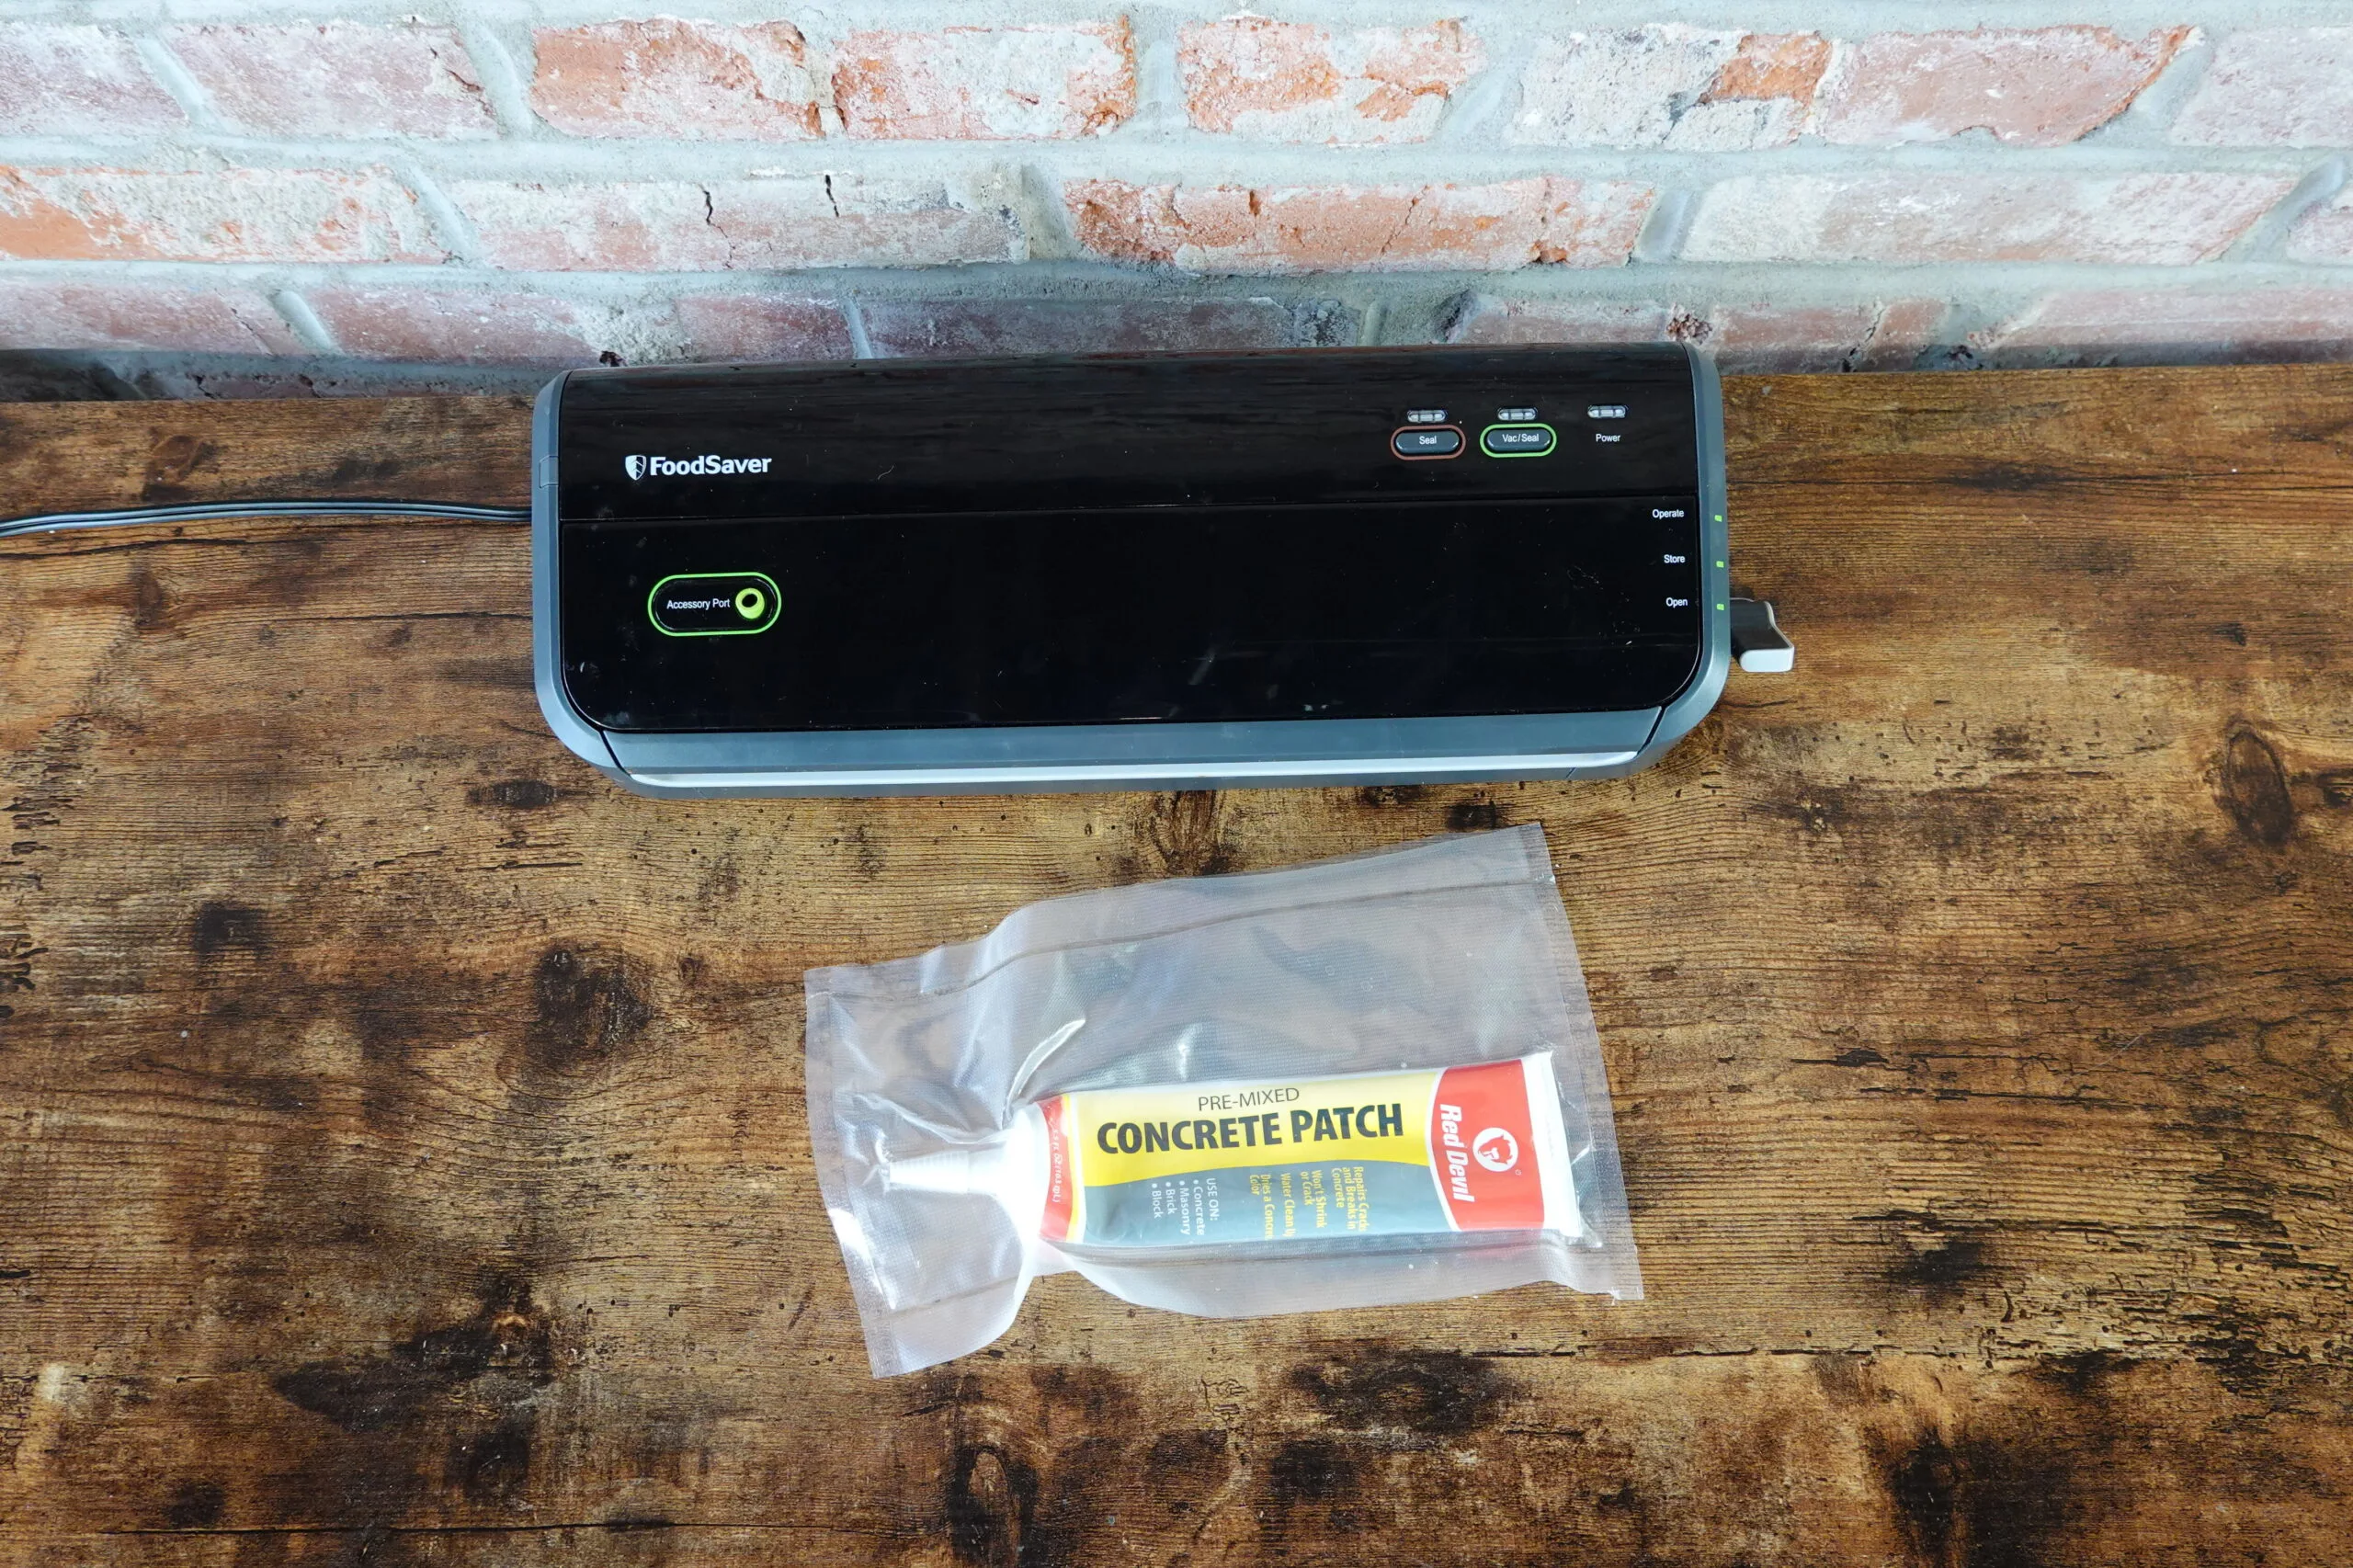
A year or two ago, I reached for a 99% full bottle of wood glue, only to discover that in the year since I had placed it back in my toolbox – with the container fully closed – the glue had dried to an unusable, nothing but a hard-as-a-rock lump of uselessness (maybe I could have used it as a doorstop…?). That’s when I decided to see what would happen if, after buying a new bottle of glue and using a bit, I sealed my glue in a vacuum sealed bag. The result? Absolute success.
TIP: Since first experimenting with using a vacuum sealer to keep glue from drying out, I have found this method works incredibly well for glue, opened tubes of caulk, and craft paint!
When manufacturers benefit from packaging with a poor seal, it makes sense that so many vendors sell products that can dry out in packages that are not completely airtight. By placing the tube, tin, or bottle into a vacuum seal bag, removing the air, and sealing the bag to keep air out, you can prolong the shelf life of glues, sealers, paint pots, and acrylic-paint tubes.
Handle your next paint job like a pro with a vacuum sealer
My most recent food saver hack, developed on the heels of my discovery that a food saver could help prevent paint from drying out: using vacuum sealed bags to make cleanup easier and store samples longer.
For me, my least favorite part of painting a room is cleanup (and taping perfectly everything that I don’t want to accidentally paint on…..taping is kind of the worst also!!). At the end of the painting session, I have to use tons of water and get paint all over me trying to get my brushes and rollers clean. During a recent project – as I was painting my kitchen accent wall I tried a new approach. Instead of washing my brush and roller at the end of the day, I placed them inside a plastic vacuum seal-able bag, and let the food saver do its magic. When I was ready to apply the next coat of paint the following day, I opened my vacuum sealed bags to find paint that was as fresh and fluid as the moment it was sealed. By safely storing my brushes and rollers instead of washing them, I saved time and was able to pick up right where I left off without wasting any paint! Yay for FoodSaver hacks!
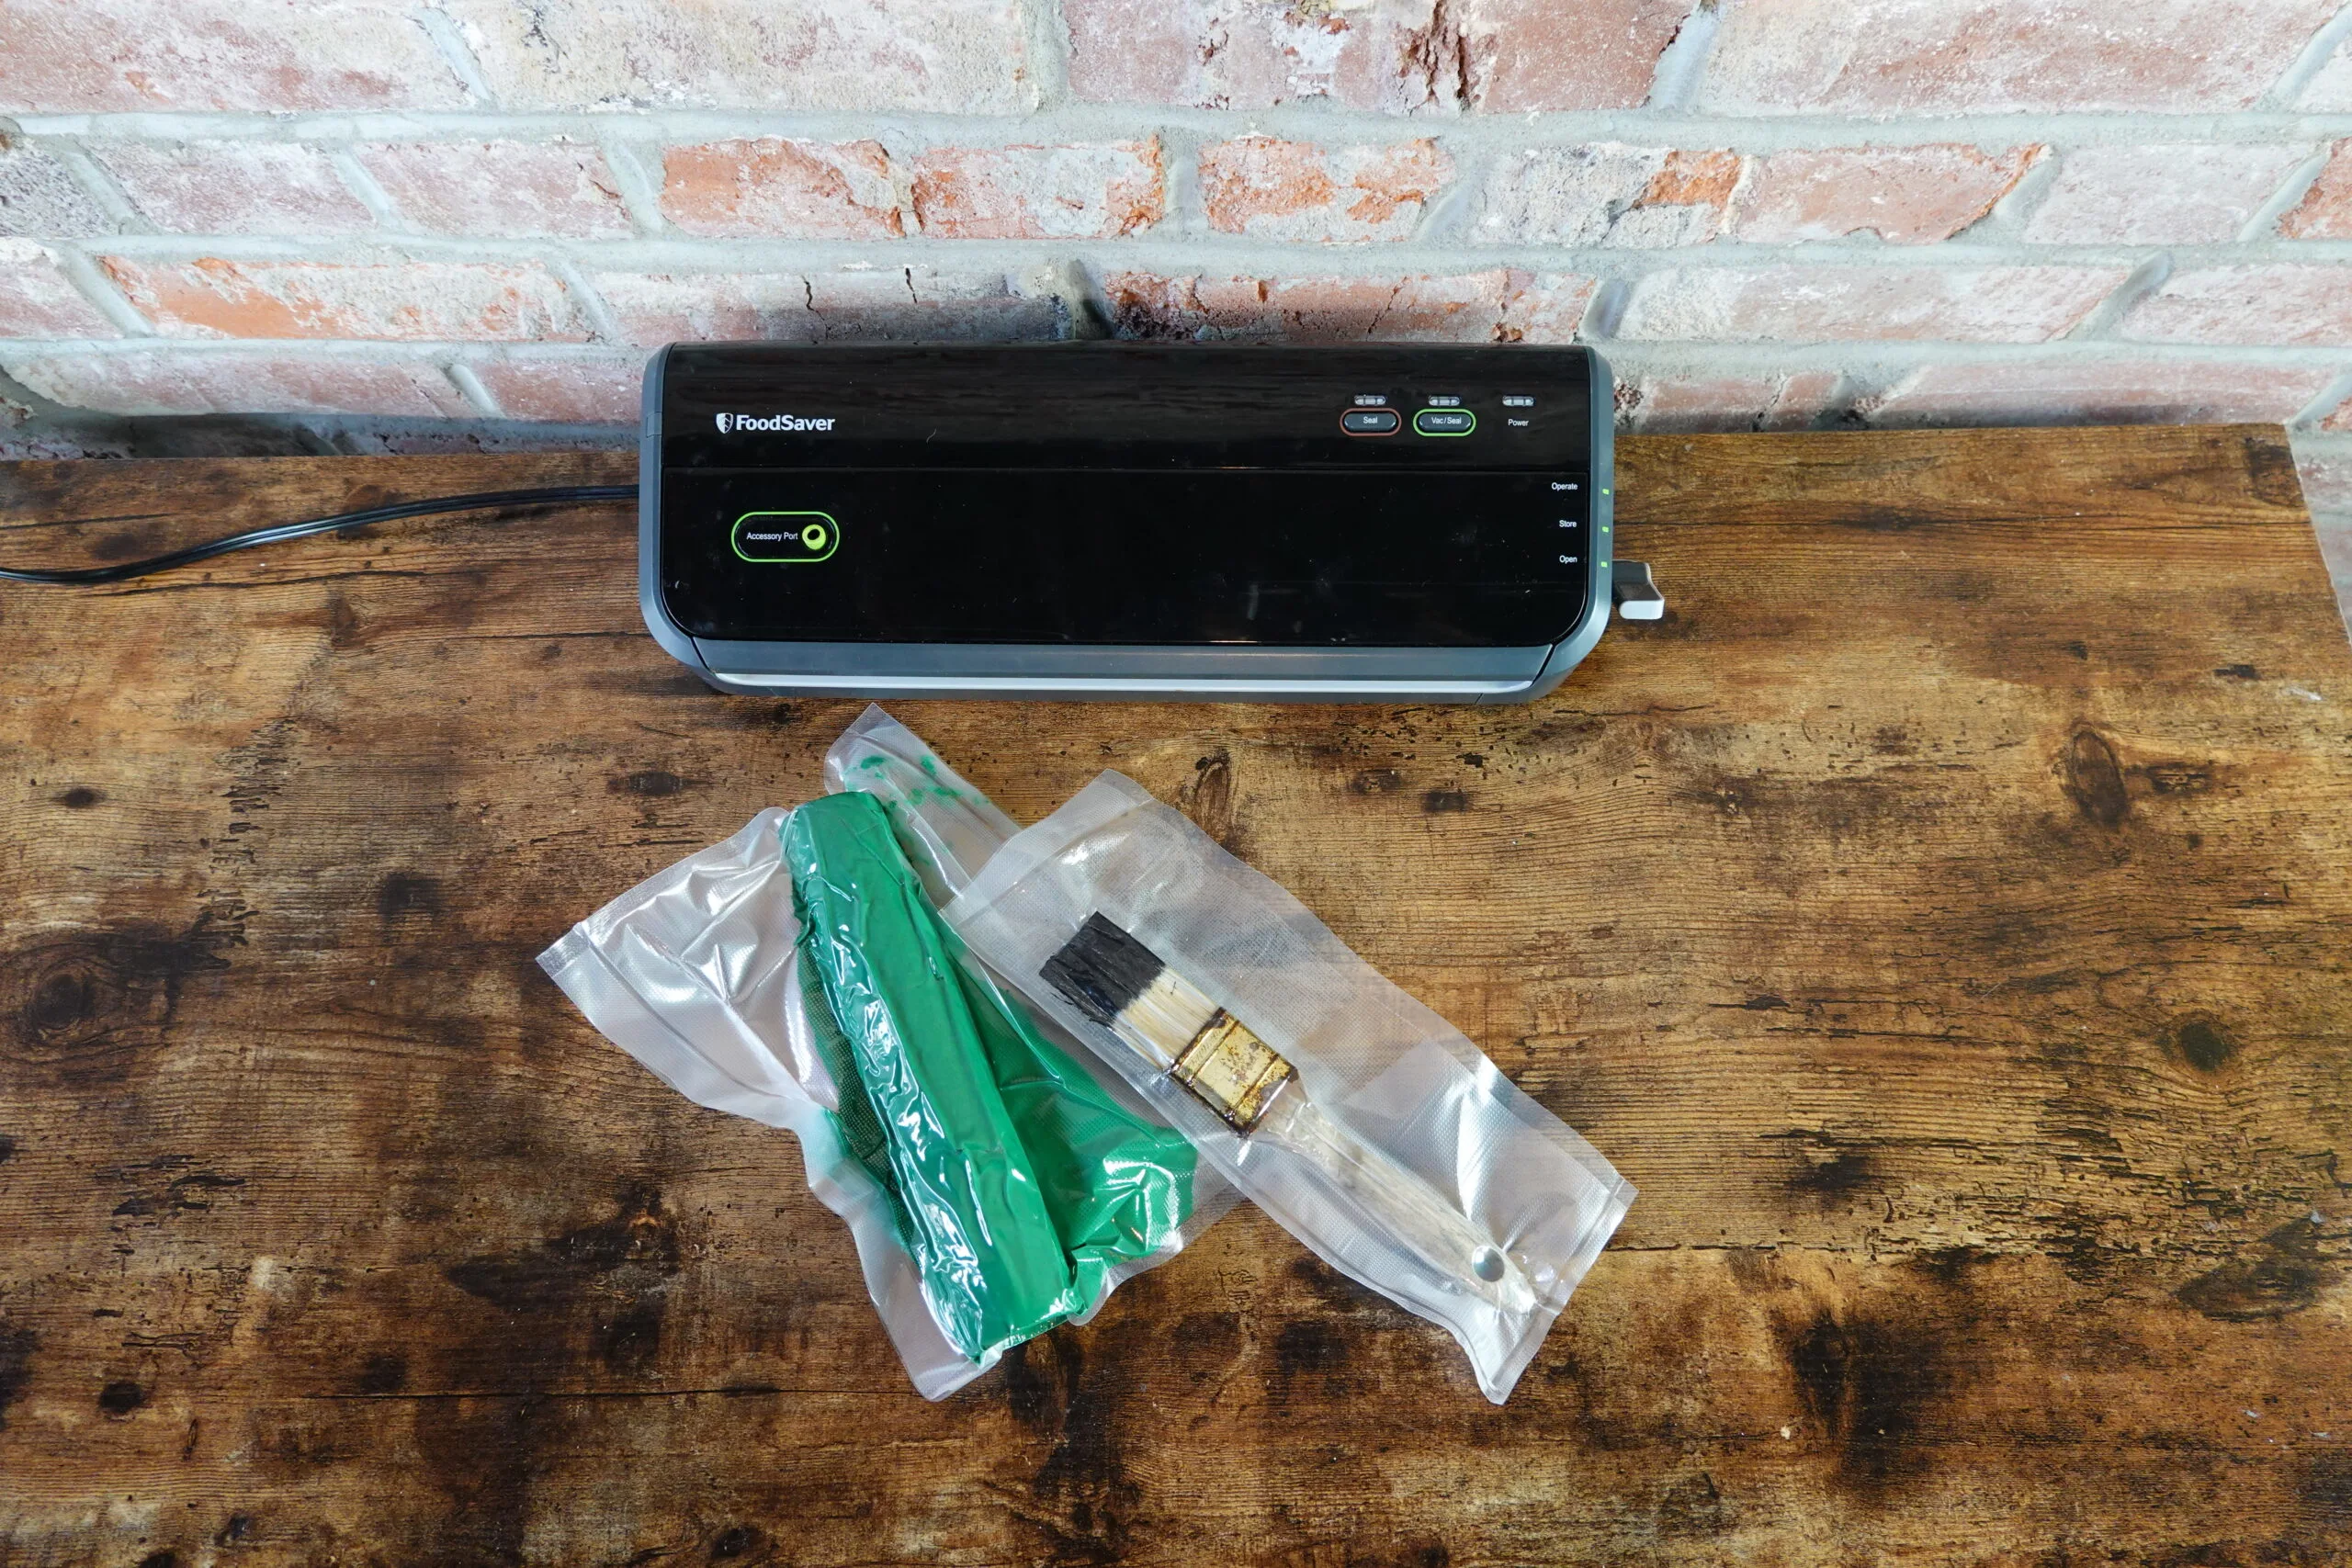
The magic of a food sealer on painting day doesn’t end there. All of us who have painted a room know the agony of seeing the first marks, scrapes, and smudges show up on our pristine walls. It can be a lot of work to scrounge around in storage for the original paint can, pry it open, mix it back up, and touch up your wall. A vacuum sealer can save the day. Here’s how:
At the end of your paint project, pour, scoop, or scrape the remaining paint into a heavy-duty vacuum sealer bag. Do not use the vacuum seal feature!! But instead use the heat seal feature to seal the paint in the bag with as little air as possible. (Seriously guys, using the vacuum seal feature with a bag full of wet paint will ruin your vacuum sealer!) It’s okay to leave a little air in the bag with the paint.
Seal the bag, double check that the seal is complete, and place the bag in storage. I like to do this with just a few teaspoonfuls of paint in a small bag. If I need to do a paint touch up, all I have to do is knead the bag in my hand to remix the pigments, snip off a corner of the bag, squeeze out some paint for my touchup, and re-seal the bag using my vacuum sealer.
A vacuum sealer will seal any plastic bag
Now, I’m not claiming that a food sealer will vacuum seal any bag, but the heat sealing function will work on virtually all types of plastic from sandwich bags to serial bags. It will also reseal plastic based food packaging like half eaten bags of chocolate chips, cracker sleeves, and partially emptied bags of frozen vegetables.
Even if I never vacuum sealed a single thing, I think the cost savings I’ve gained by sealing cereals and frozen vegetables would pay for this appliance.
TIP: Using the heat sealing feature of a food saver can also help keep food safe from wandering snackers! There’s a little more accountability in reopening a package of chocolate chips that have been heat-welded shut in the original packaging than there is if the package was simply closed with a chip clip!
Using a food sealer, you can seal almost any kind of plastic, including Ziploc style sandwich bags. While the thick plastic bags sold specifically for vacuum sealer’s are a tad expensive (more affordable option here) , you can seal items into the zip top bags, or even zip bags into sections using the heat seal feature!
Use a vacuum sealer to marinade in minutes
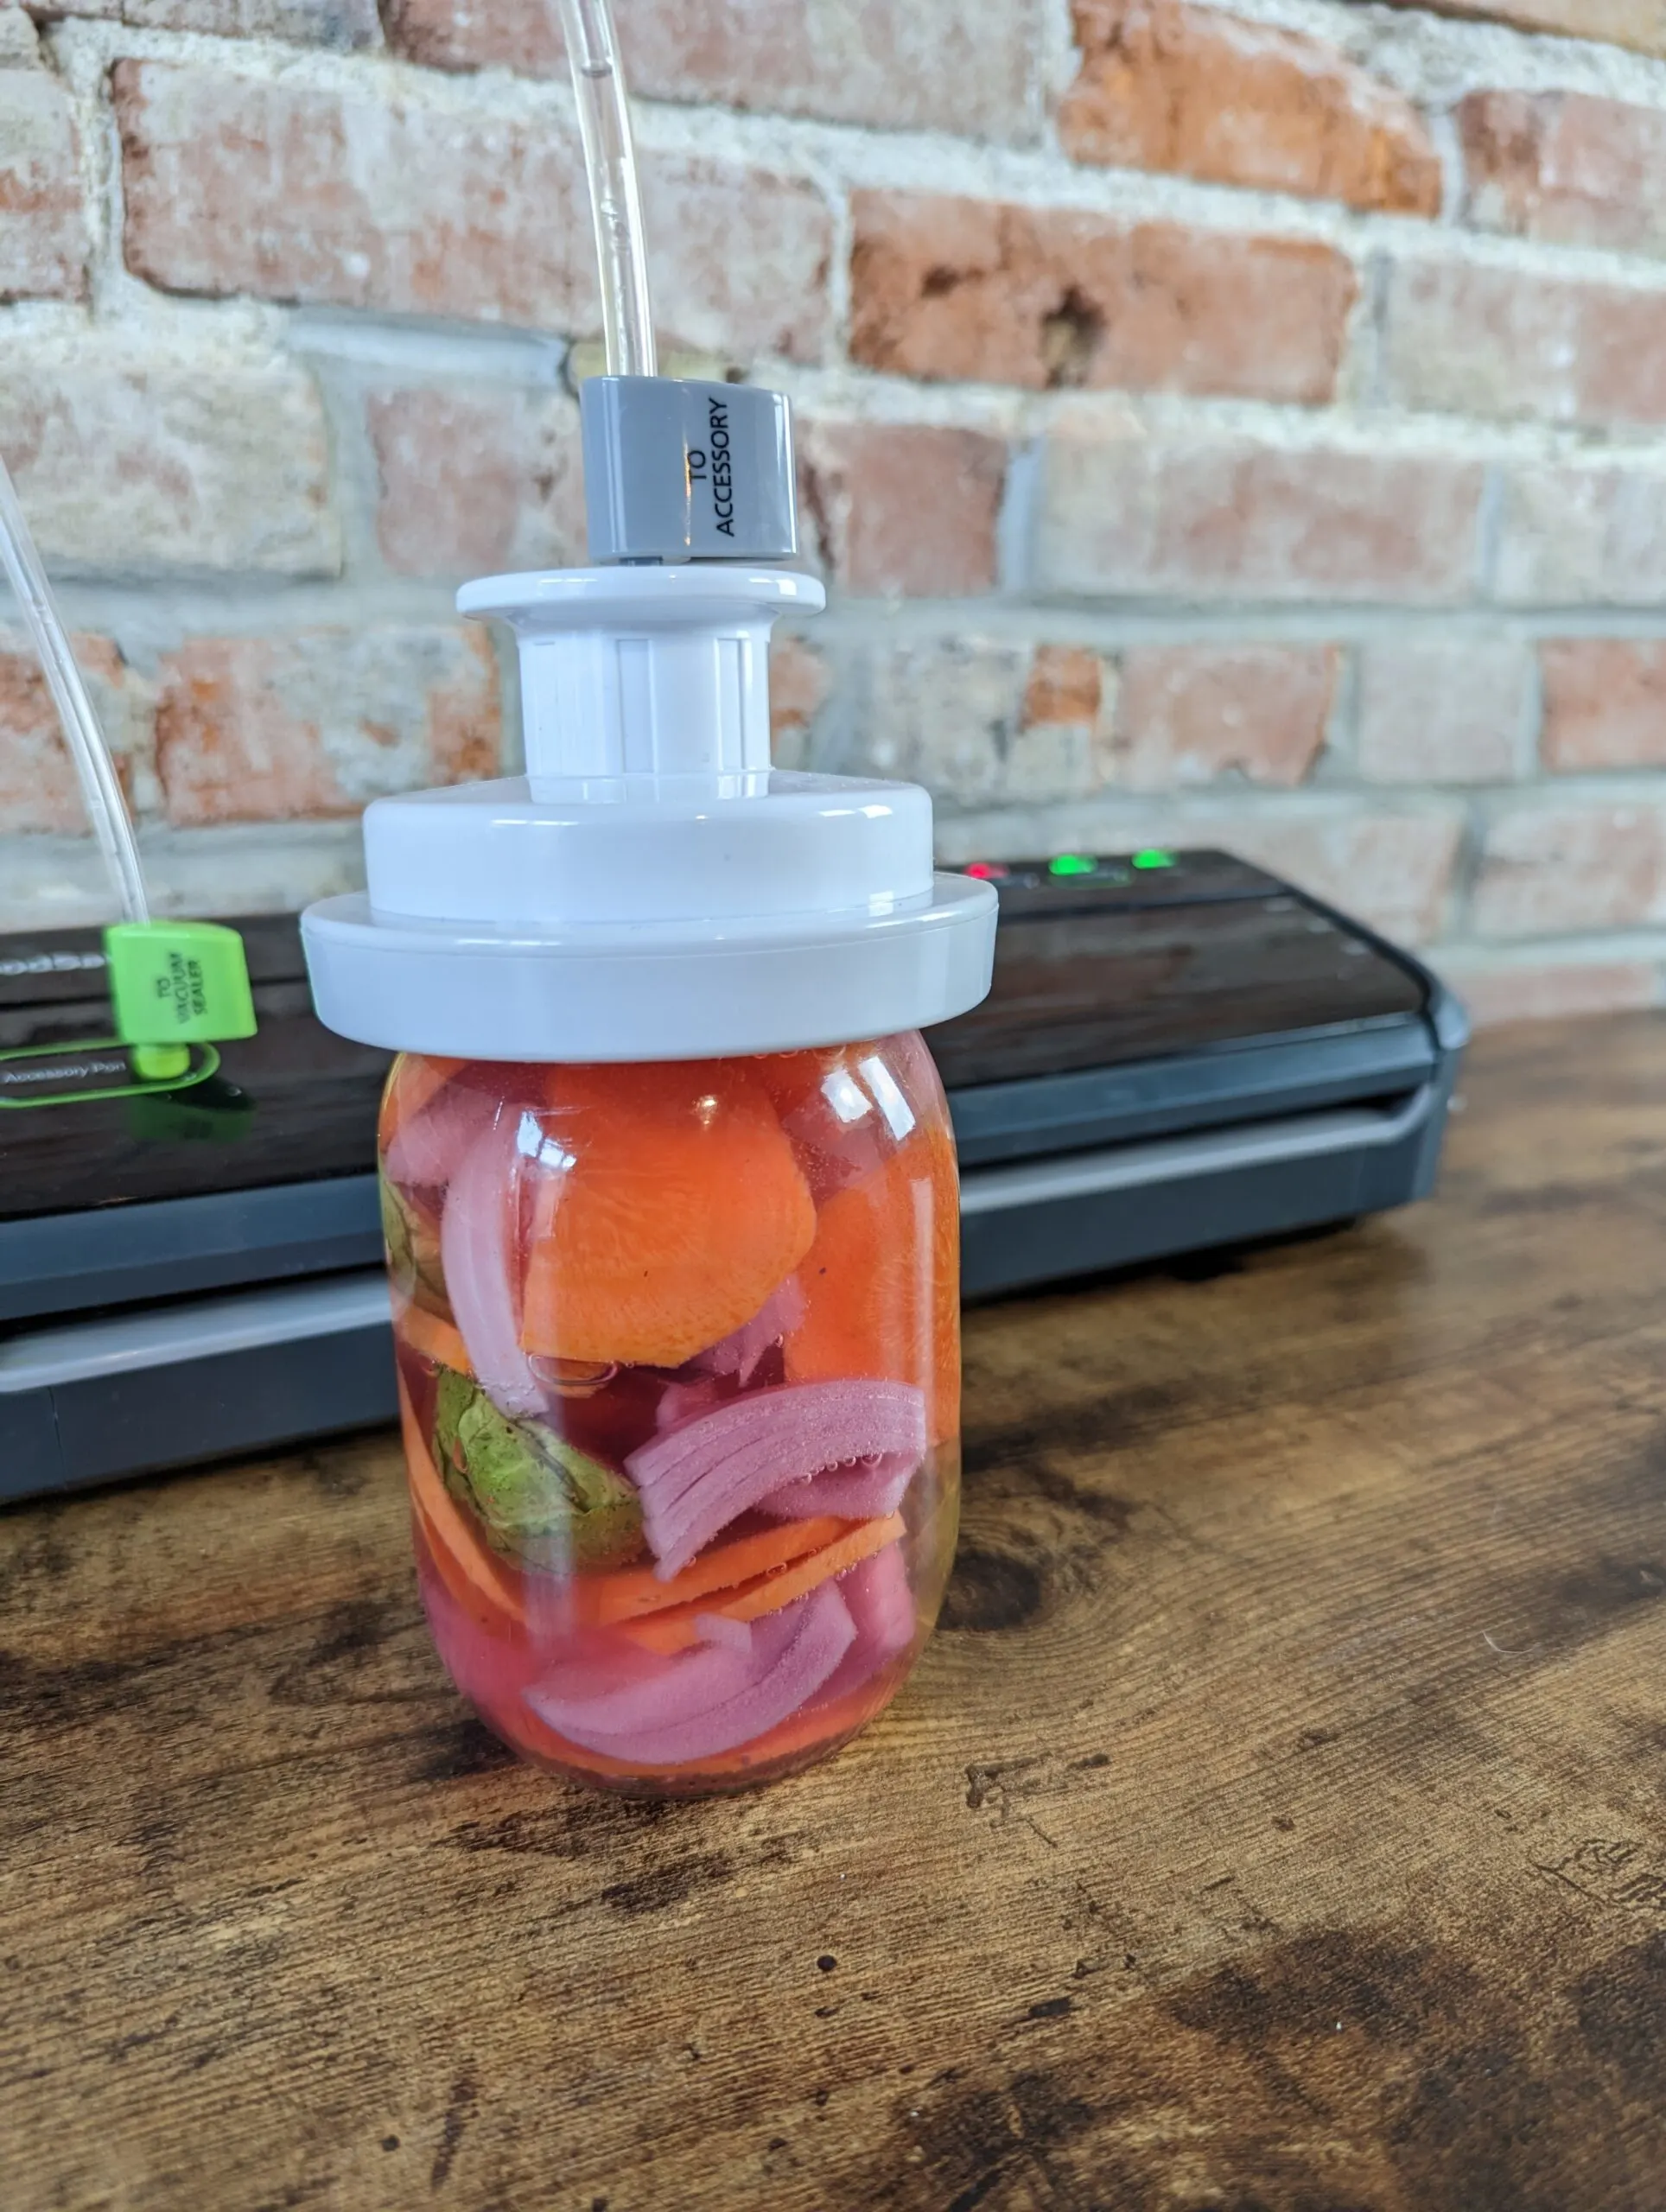
Typically, marinating meats or vegetables takes a minimum of an hour and sometimes up to 24 hours. With a food saver, you can get the same level of marinade penetration into your food in five minutes or less. Here’s how:
First, you will need a Mason jar sealing attachment. With an attachment and a mason jar, you can vacuum seal jars of marinades or pickles. Drawing the air out of the jar results in liquid moving into the food sealed inside, taking flavor with it. Instead of an overnight process, marinating and pickling can happen in just a few minutes – though to get the full power of what would be a 24 hour marinade, I will often seal a jar with meat and marinade inside, unseal it, and re-seal a few times.
Cooking for a big family? It still works! Pick up a half gallon-sized Mason jar (don’t worry, wide mouth lids still fit) and get started!
Use a food saver to be an ultra organized packer
Think of vacuum sealed bags like tiny space saver bags! While space saver bags are famous for shrinking a pile of sweaters into a shoe box sized compressed bundle, a food saver can do this on a smaller scale.
When I am traveling internationally, I use my food saver to vacuum seal items that waste a lot of space in my bag. I also like to vacuum seal items that I might not use on my trip but want to bring just in case.
For example, when planning my summer vacation I often vacuum seal a raincoat or light sweater just in case I need it. When packing for a winter trip or city excursion, sometimes I vacuum seal my swimsuit and pack it just in case. When vacuum sealed, my swimsuit takes up less space in my luggage than a deck of cards – and oh, has it come in handy on more than a few trips! For women who have periods, vacuum sealing period products makes them easy to pack in a minuscule amount of space.
Vacuum seal soft foods using Mason jars
If you are going to purchase a food saver, my advice is to absolutely splurge on the minor upgrade to attachments that vacuum seal Mason jars. In addition to making it possible to make quick pickles and marinades as described above, these attachments also make it possible to vacuum seal soft foods like lettuce, berries, and cucumbers without crushing the food.
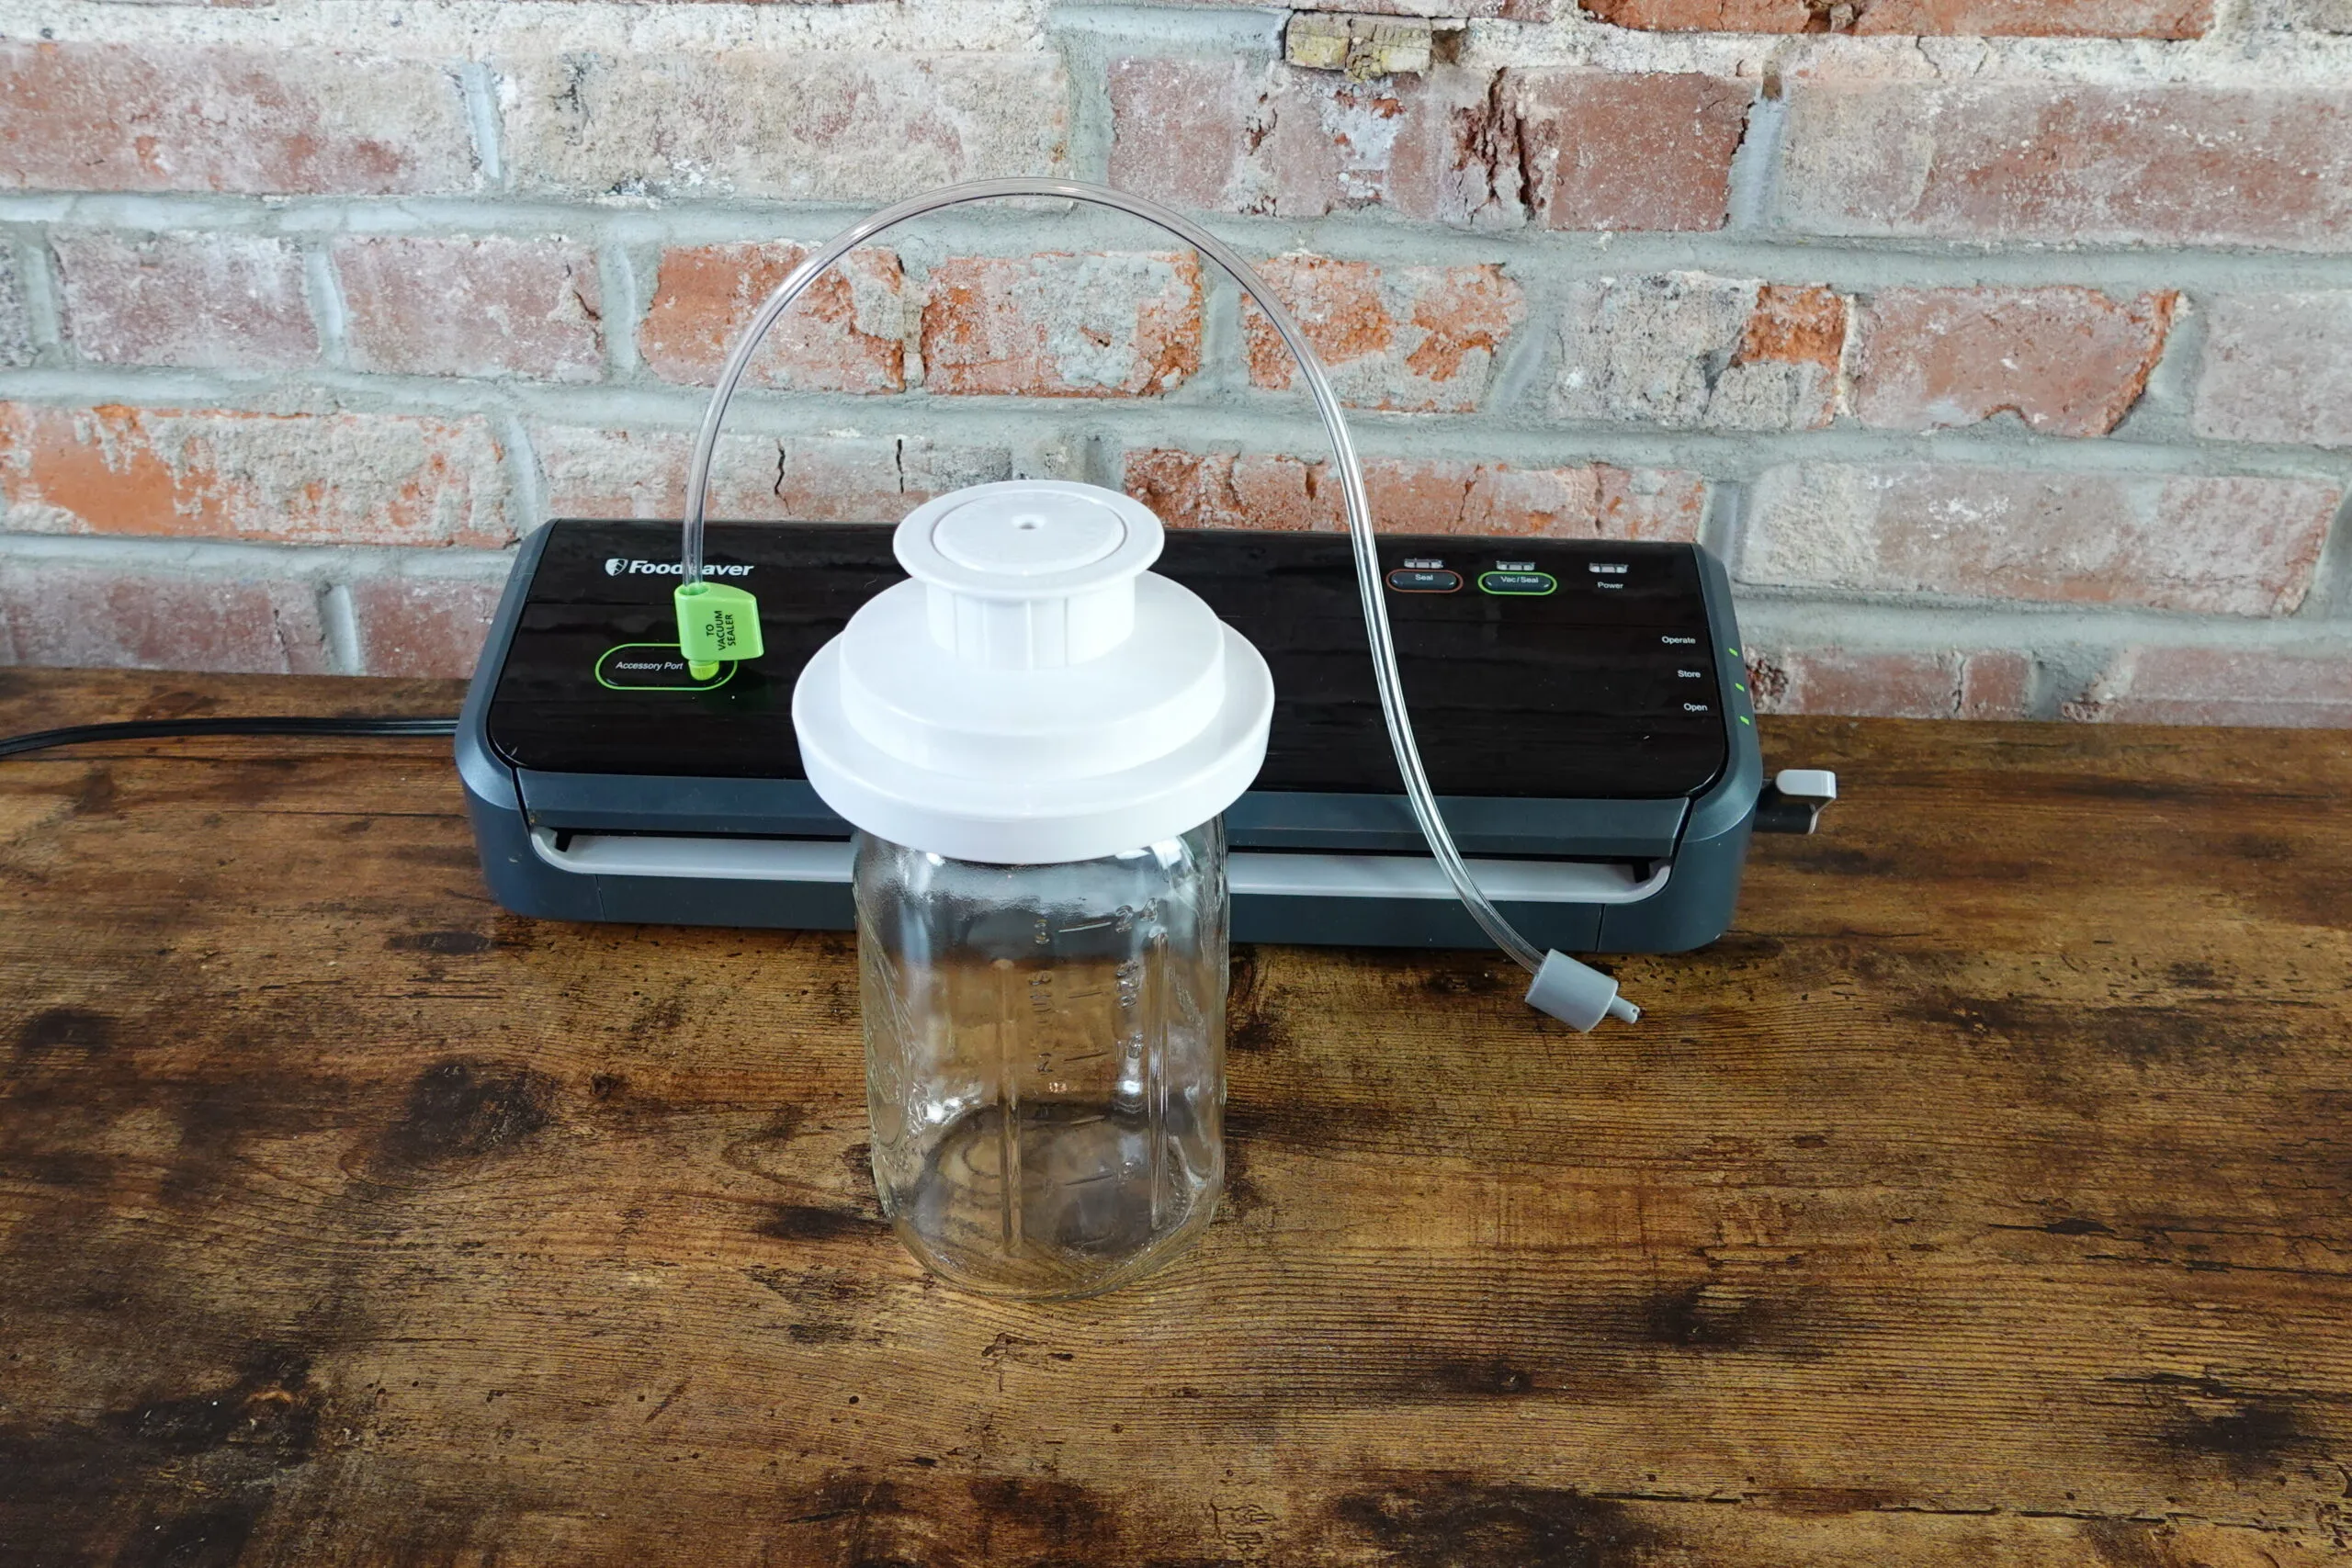
Almost all fresh vegetables and herbs last longer if sealed in a vacuum sealer, but vacuum sealing them in bags will crush delicate produce and ruin the texture. Using a mason jar to protect these soft items during vacuum sealing is cheaper (since you won’t be consuming a bag), it’s more environmentally friendly (since the jar can be washed and reused), and of course, preserves your food. I also seal sugars and grains in half-gallon size mason jars to preserve quality while creating farm-house style filler for my glass-front cabinets.
TIP: you know those bagged salads that go bad about 48 hours after you get back from the store? Try decanting them into a large Mason jar and sealing with a food saver. I’ve found that spinach, spring mix, and power greens last about twice as long when stored in a vacuum sealed jar.
Freeze foods first, then vacuum seal
I’ve become a pro at creating my own frozen meals since I got my Foodsaver, and the trick to being able to defrost single servings and/or products that look like they did before you froze them is to first spread the product in a single layer on a silicone mat or flexible cutting board and then, when the product has frozen COMPLETELY, place it in a Food saver bag and freeze. With this method, I’ve been able to freeze raw bread dough in shaped dinner rolls, lasagna rolls, and an entire season of blueberries packaged so I can just cut a corner, dump individual berries out, and reseal.
How to seal liquids with a food saver
Step-by-step instructions on how to seal liquids
Total Time: 5 minutes
Place liquid into Mason jar
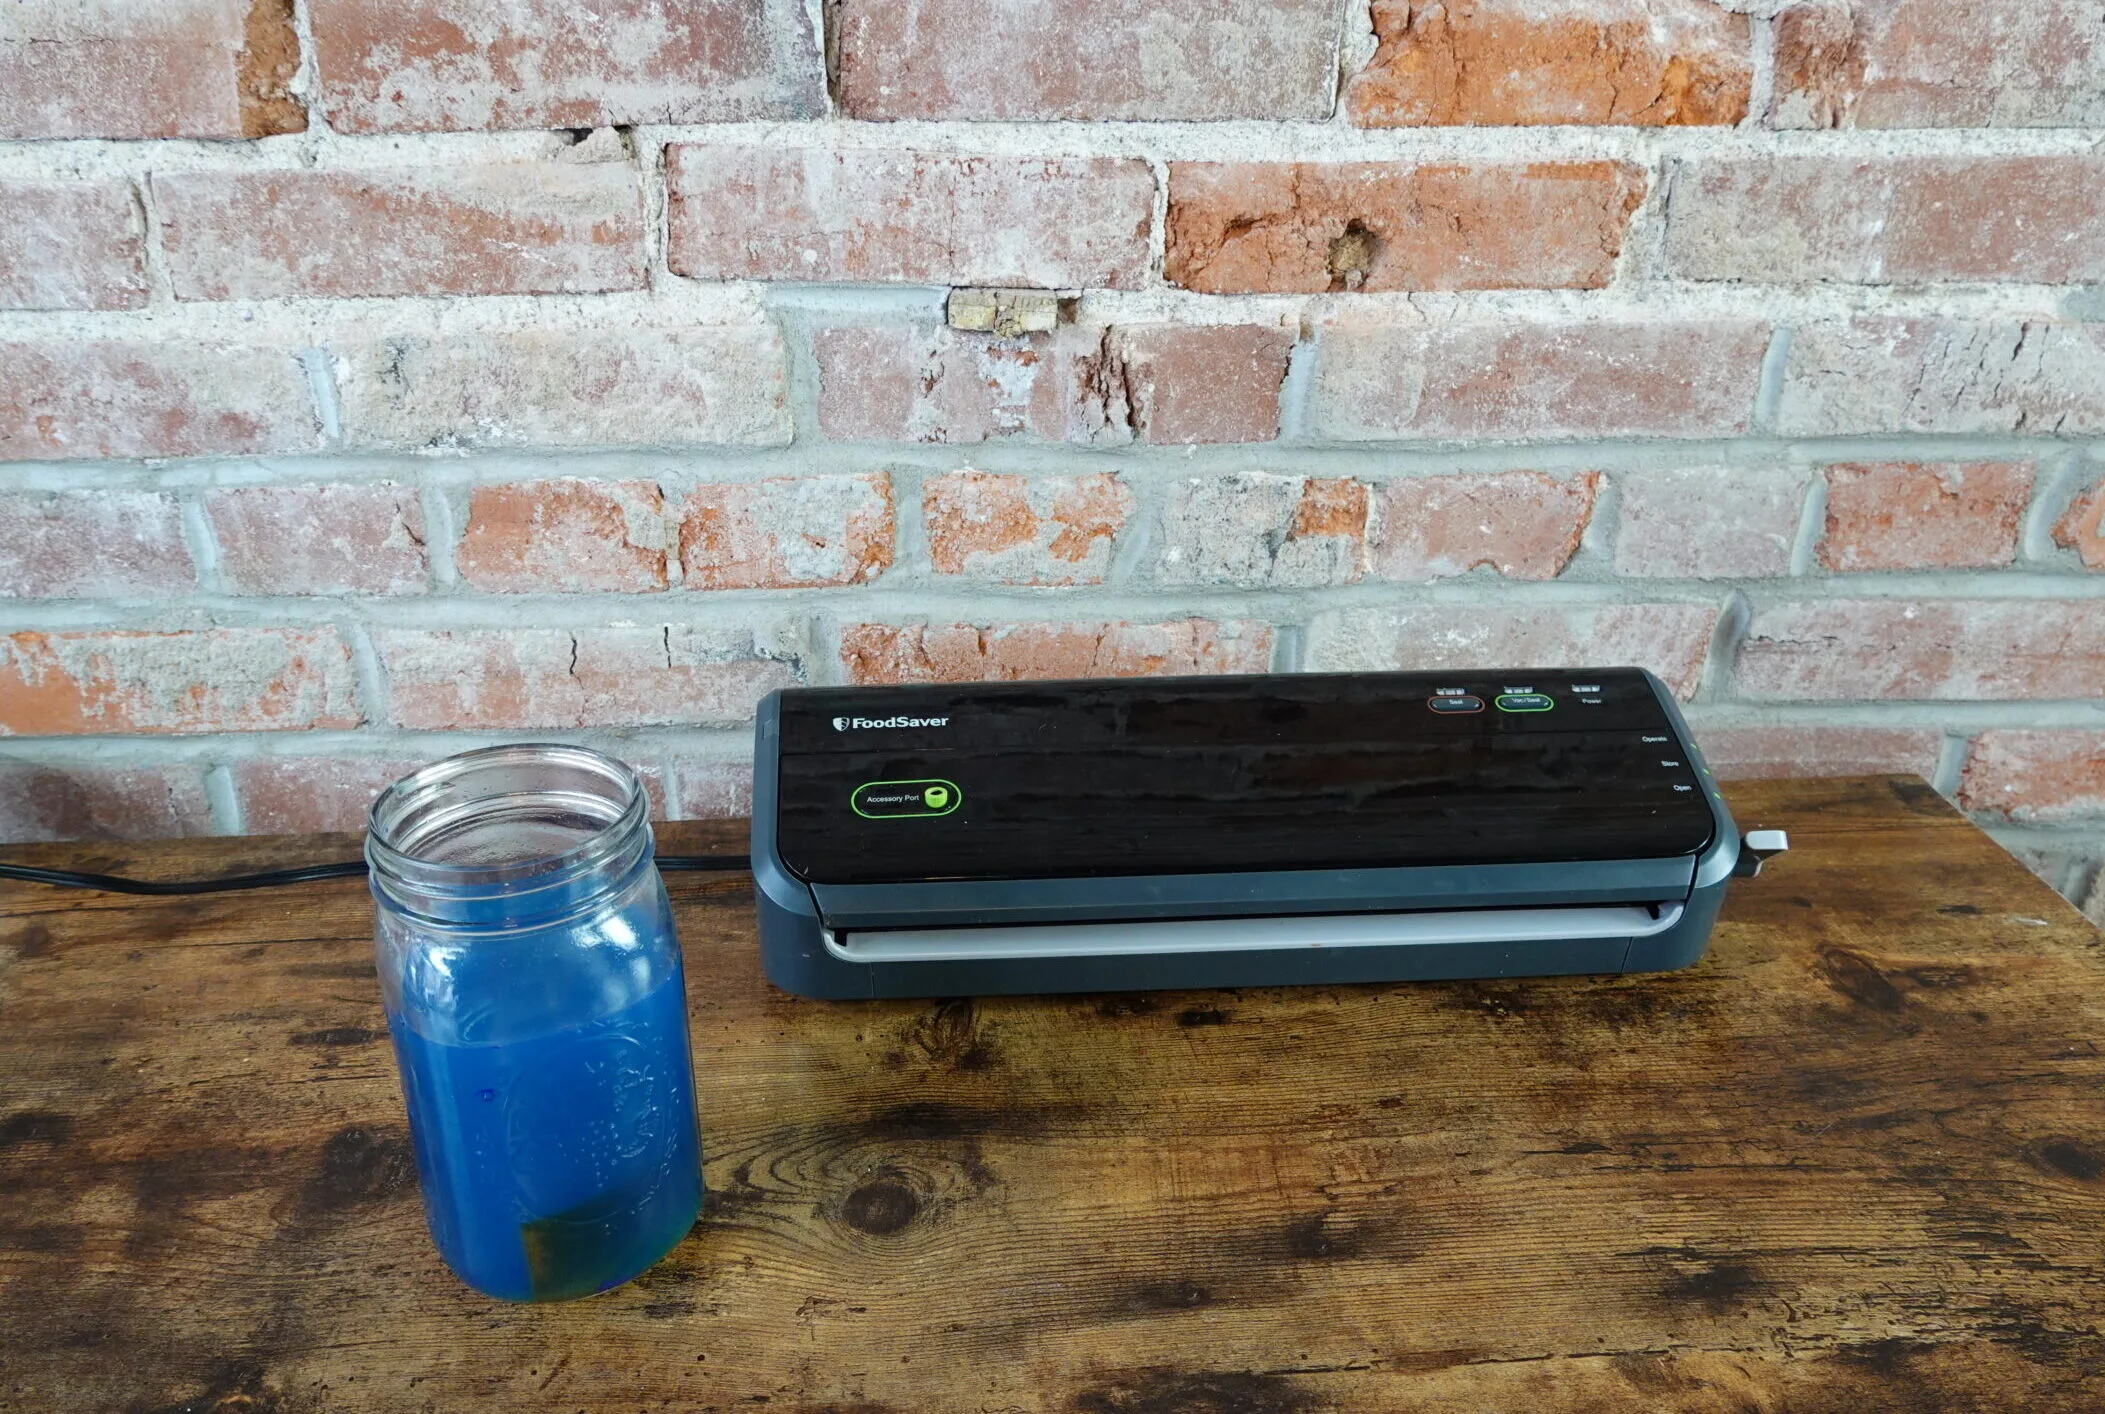
To avoid any overflow when the vacuum is applied, leave about 1 inch at the top of the jar after it is filled with liquid
Place lid on Mason jar
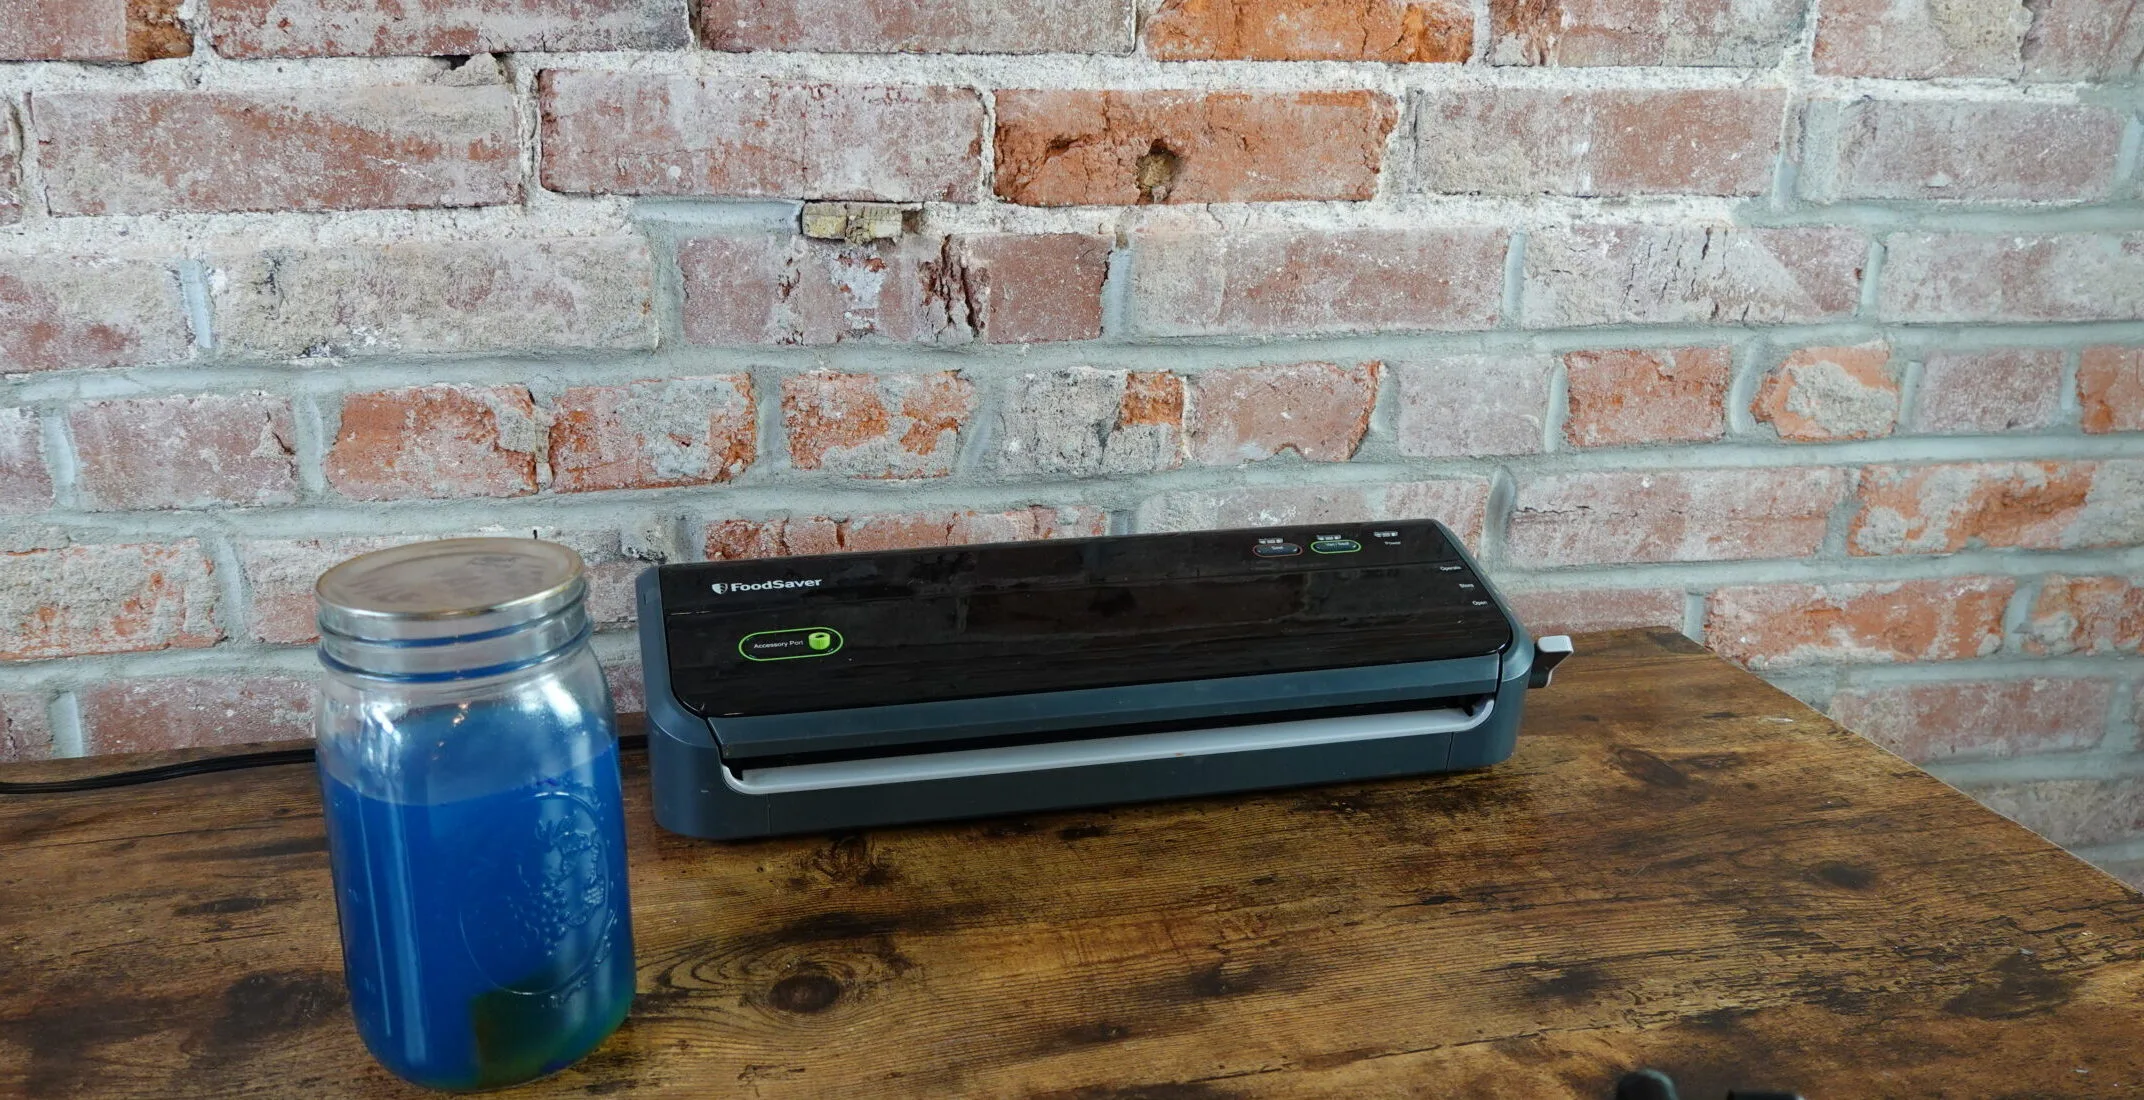
Place lid only (no ring) over the top of the mason jar.
Use accessory hose to connect vacuum sealer to adapter
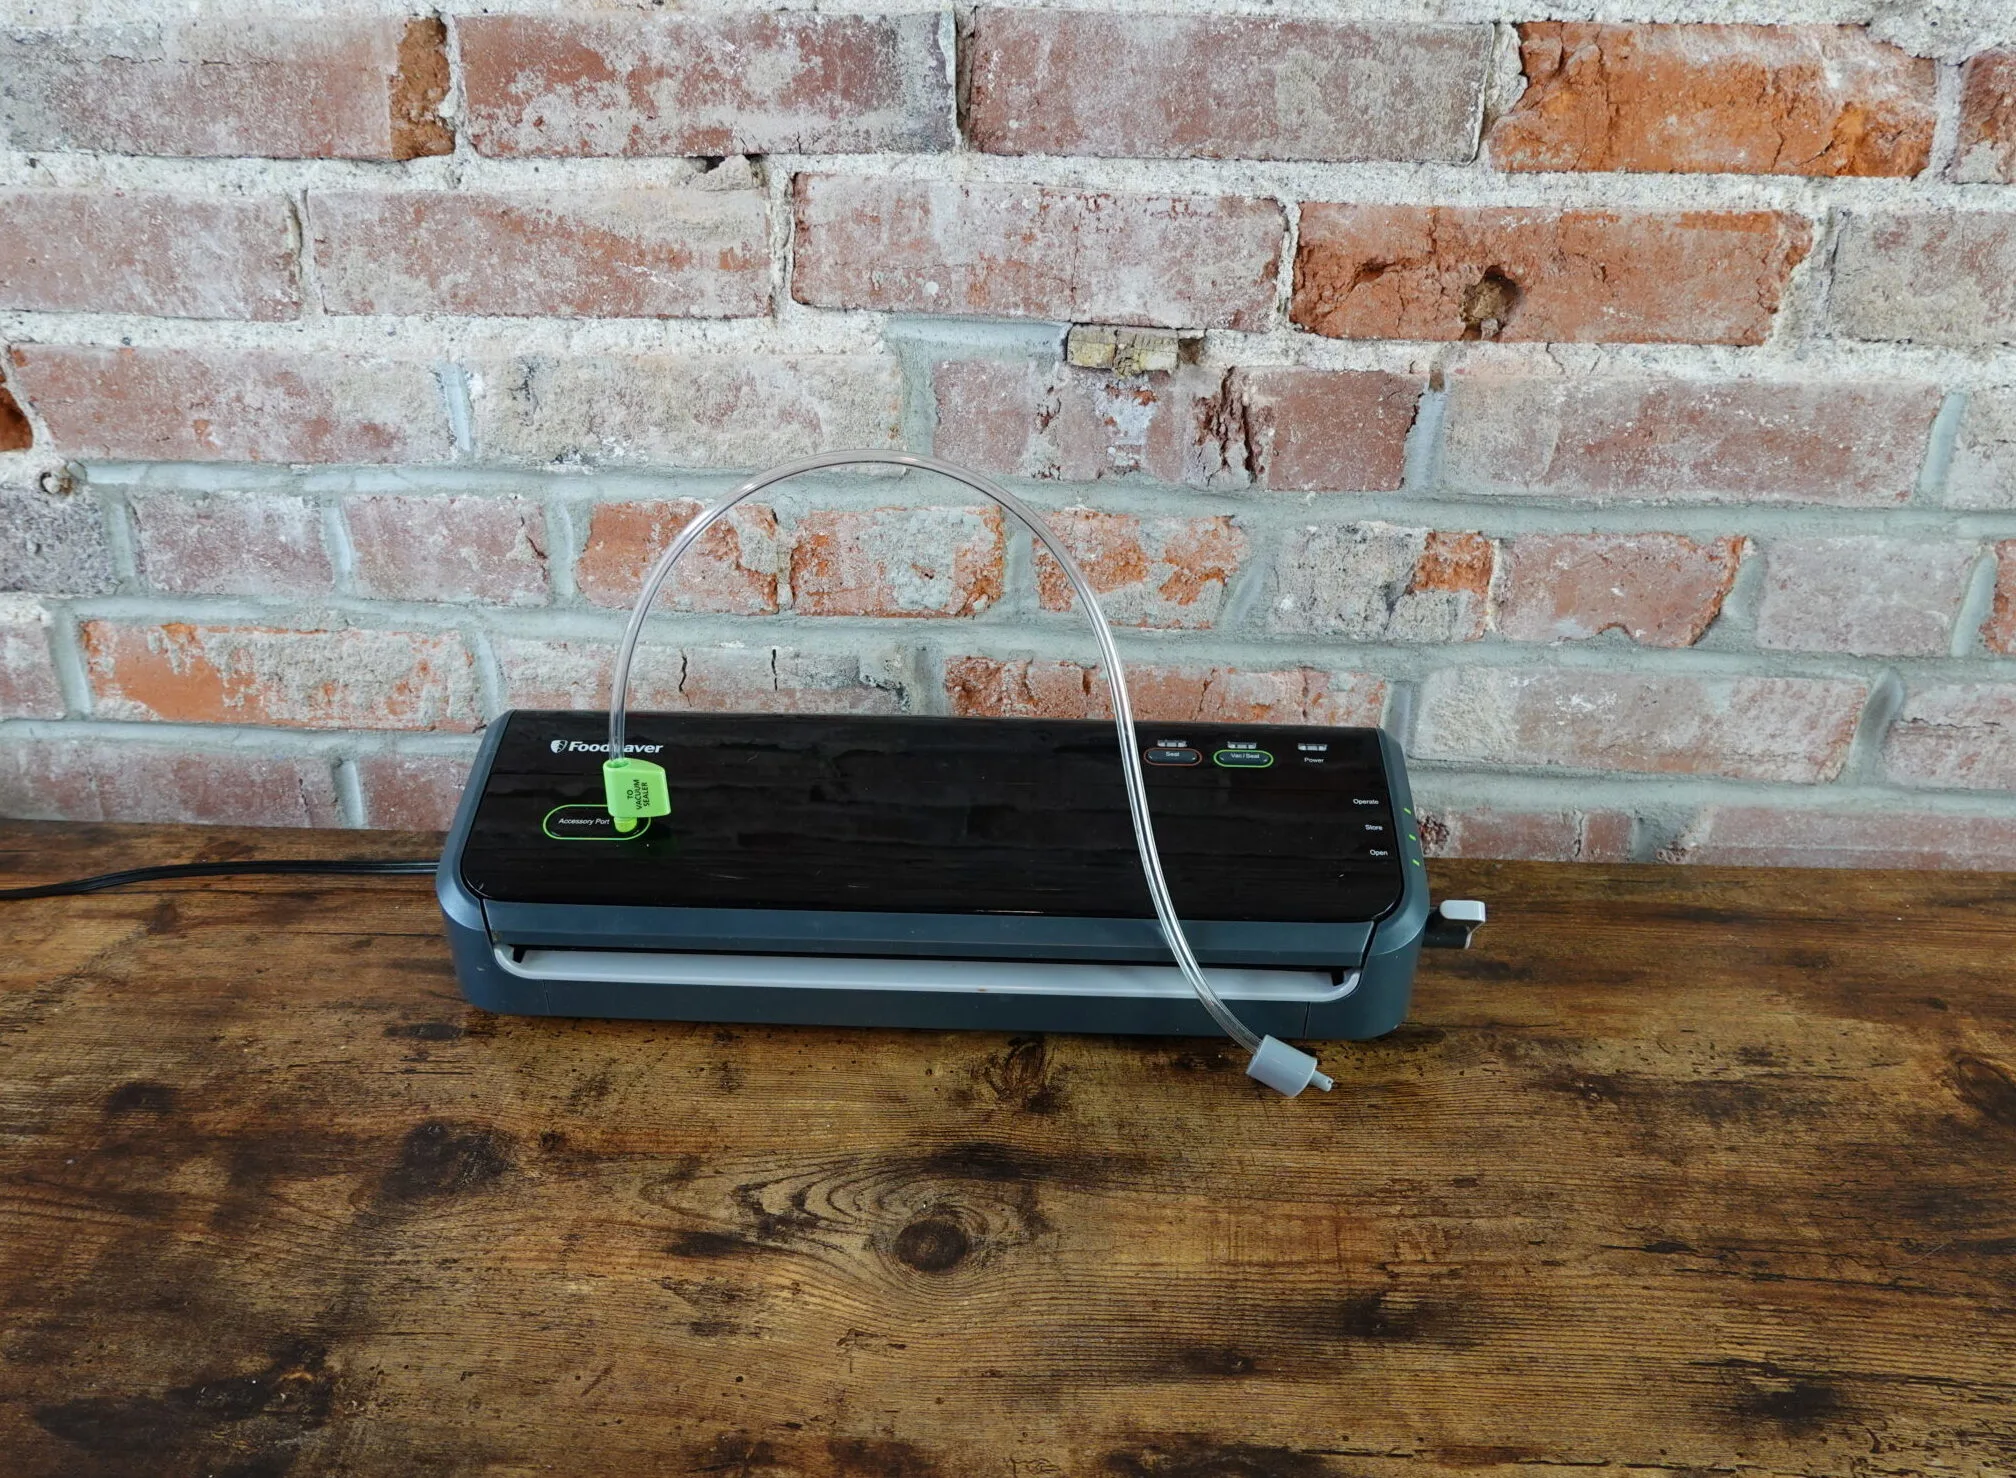
Be sure to fully insert the ends of the hose into each port to prevent air leaks.
Fit adapter over the mason jar lid
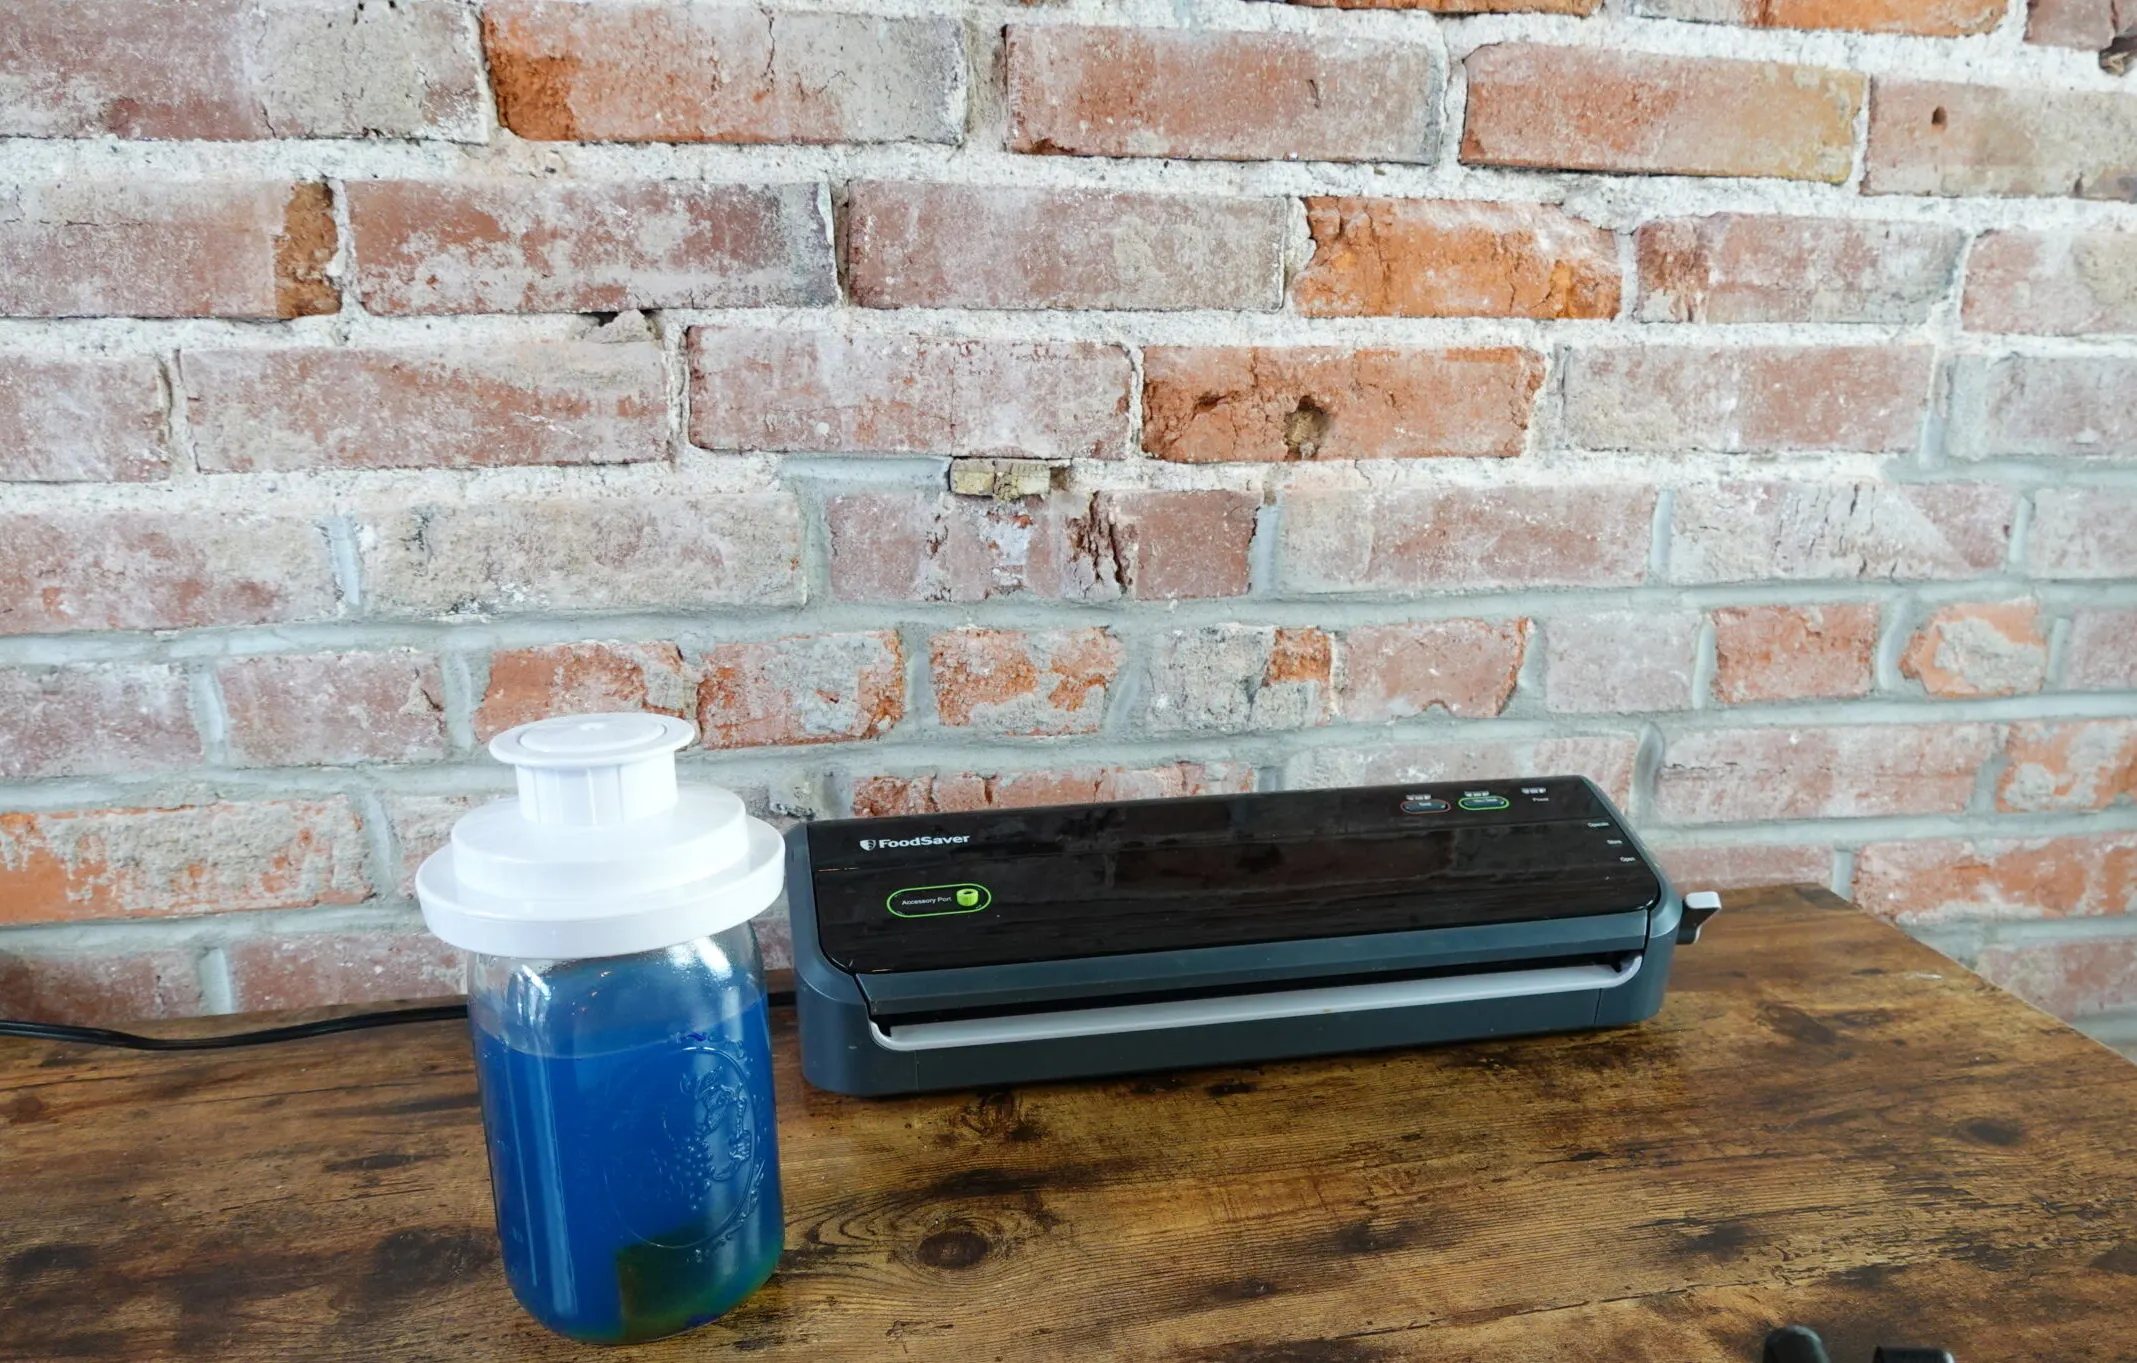
Place the adapter loosely over the jar. It will wobble until suction is turned on – that’s normal!
Press vacuum seal button
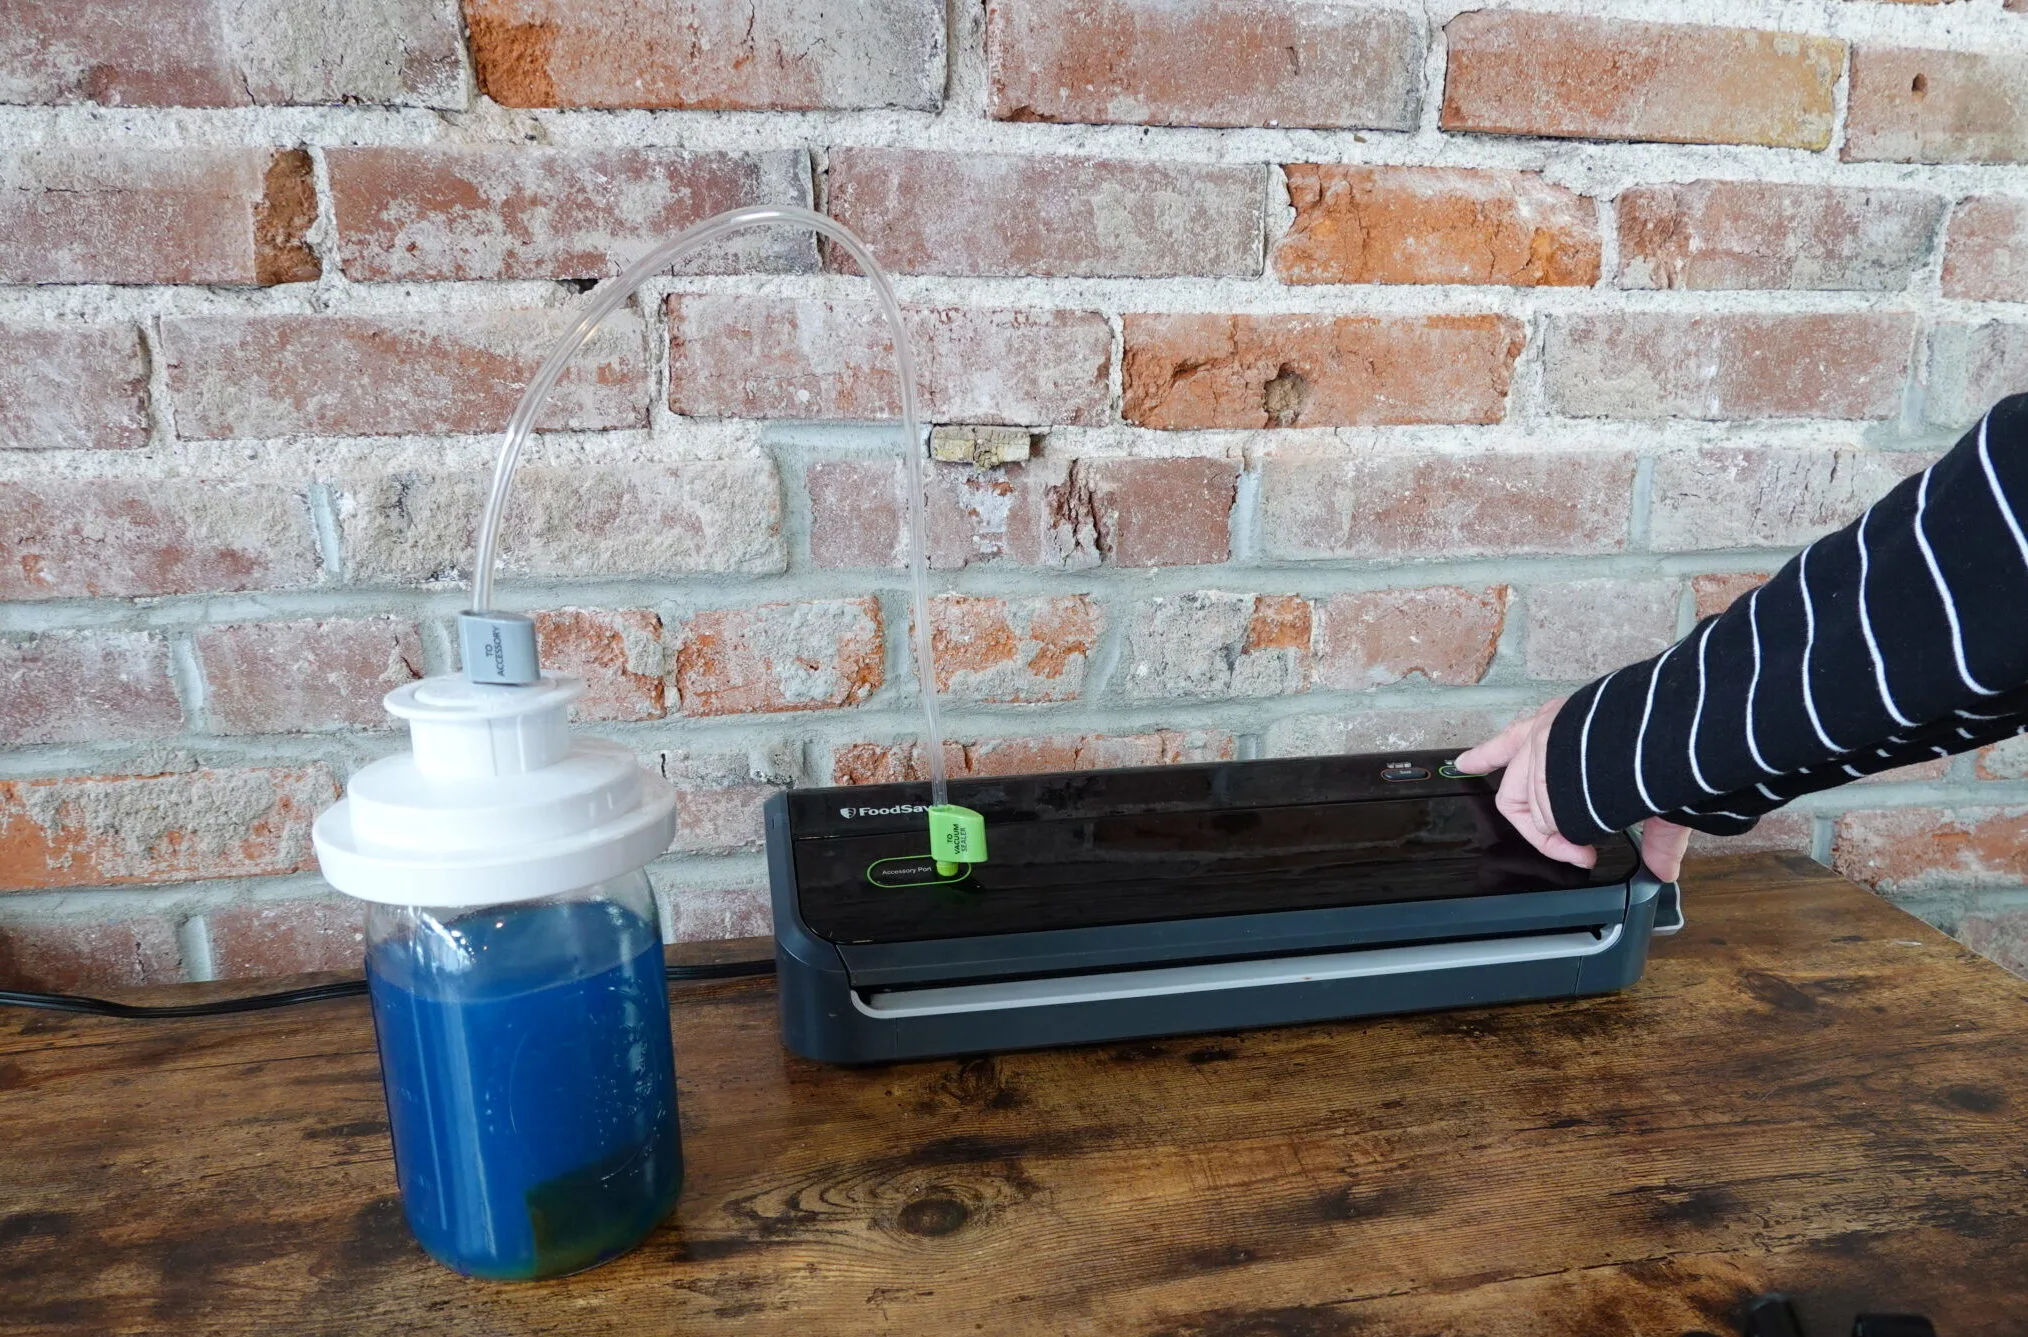
With one hand holding the adapter in place, press the vacuum seal button on your food saver or vacuum sealer. You should feel the adapter snap into place firmly as the seal catches on the rim.
Release pressure and remove adapter
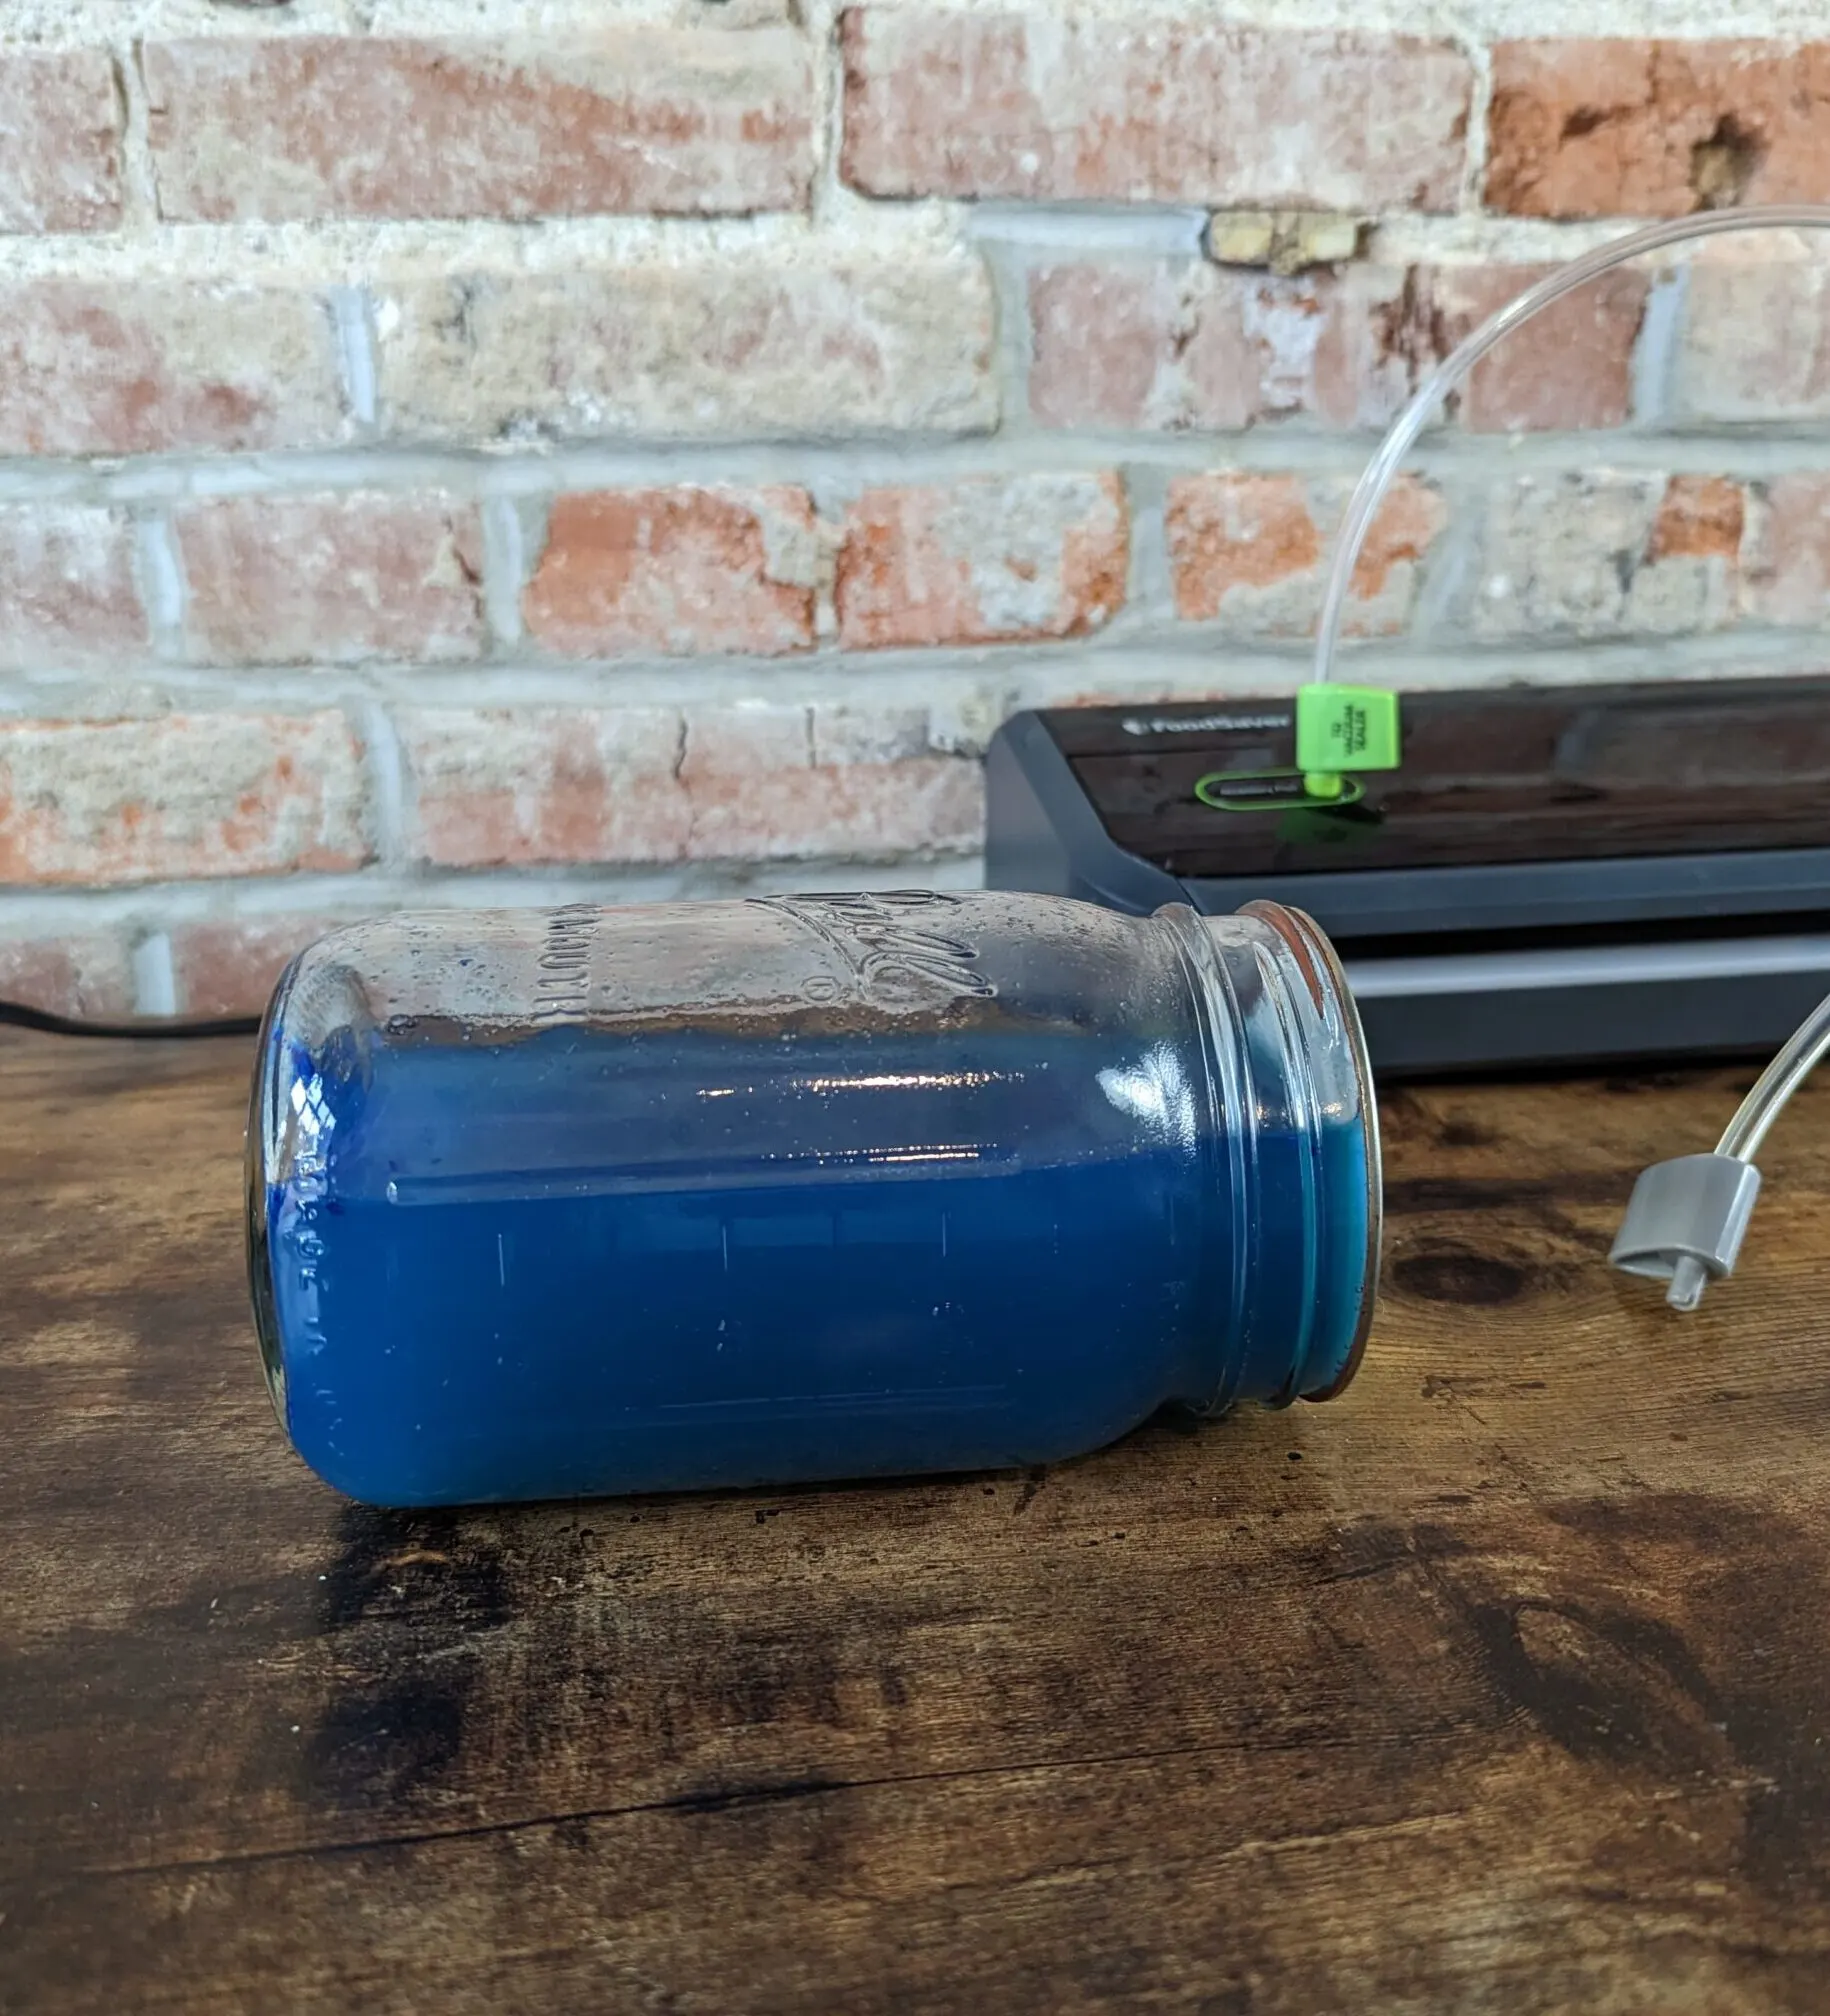
When your vacuum sealer stops vacuuming, your jar should be sealed. Release pressure by lifting the lever on your food saver, then remove the adapter from your mason jar by gently tugging upward. The lid should stay firmly in place on the jar of liquid, with a vacuum seal holding it securely in place.
Estimated Cost: 3 USD
Supply:
- mason jar and lid – wide mouth or regular
- food saver or vacuum sealer with accessory port
- a mason jar adapter for food saver, sized to match lid
How to seal recycled jars using a food saver
Although food saver jar adapters are only sold in two sizes, I recently learned a tip for sealing jars of almost any size.
Can I admit that I have a really hard time throwing away jars? I’m particularly partial to Target’s line of sauces and condiments.The Pad Thai sauce, Butter Chicken sauce and Panang Curry are not only phenomenal in flavor, but the sophisticated jars with plain black lids are primed for repurposing.
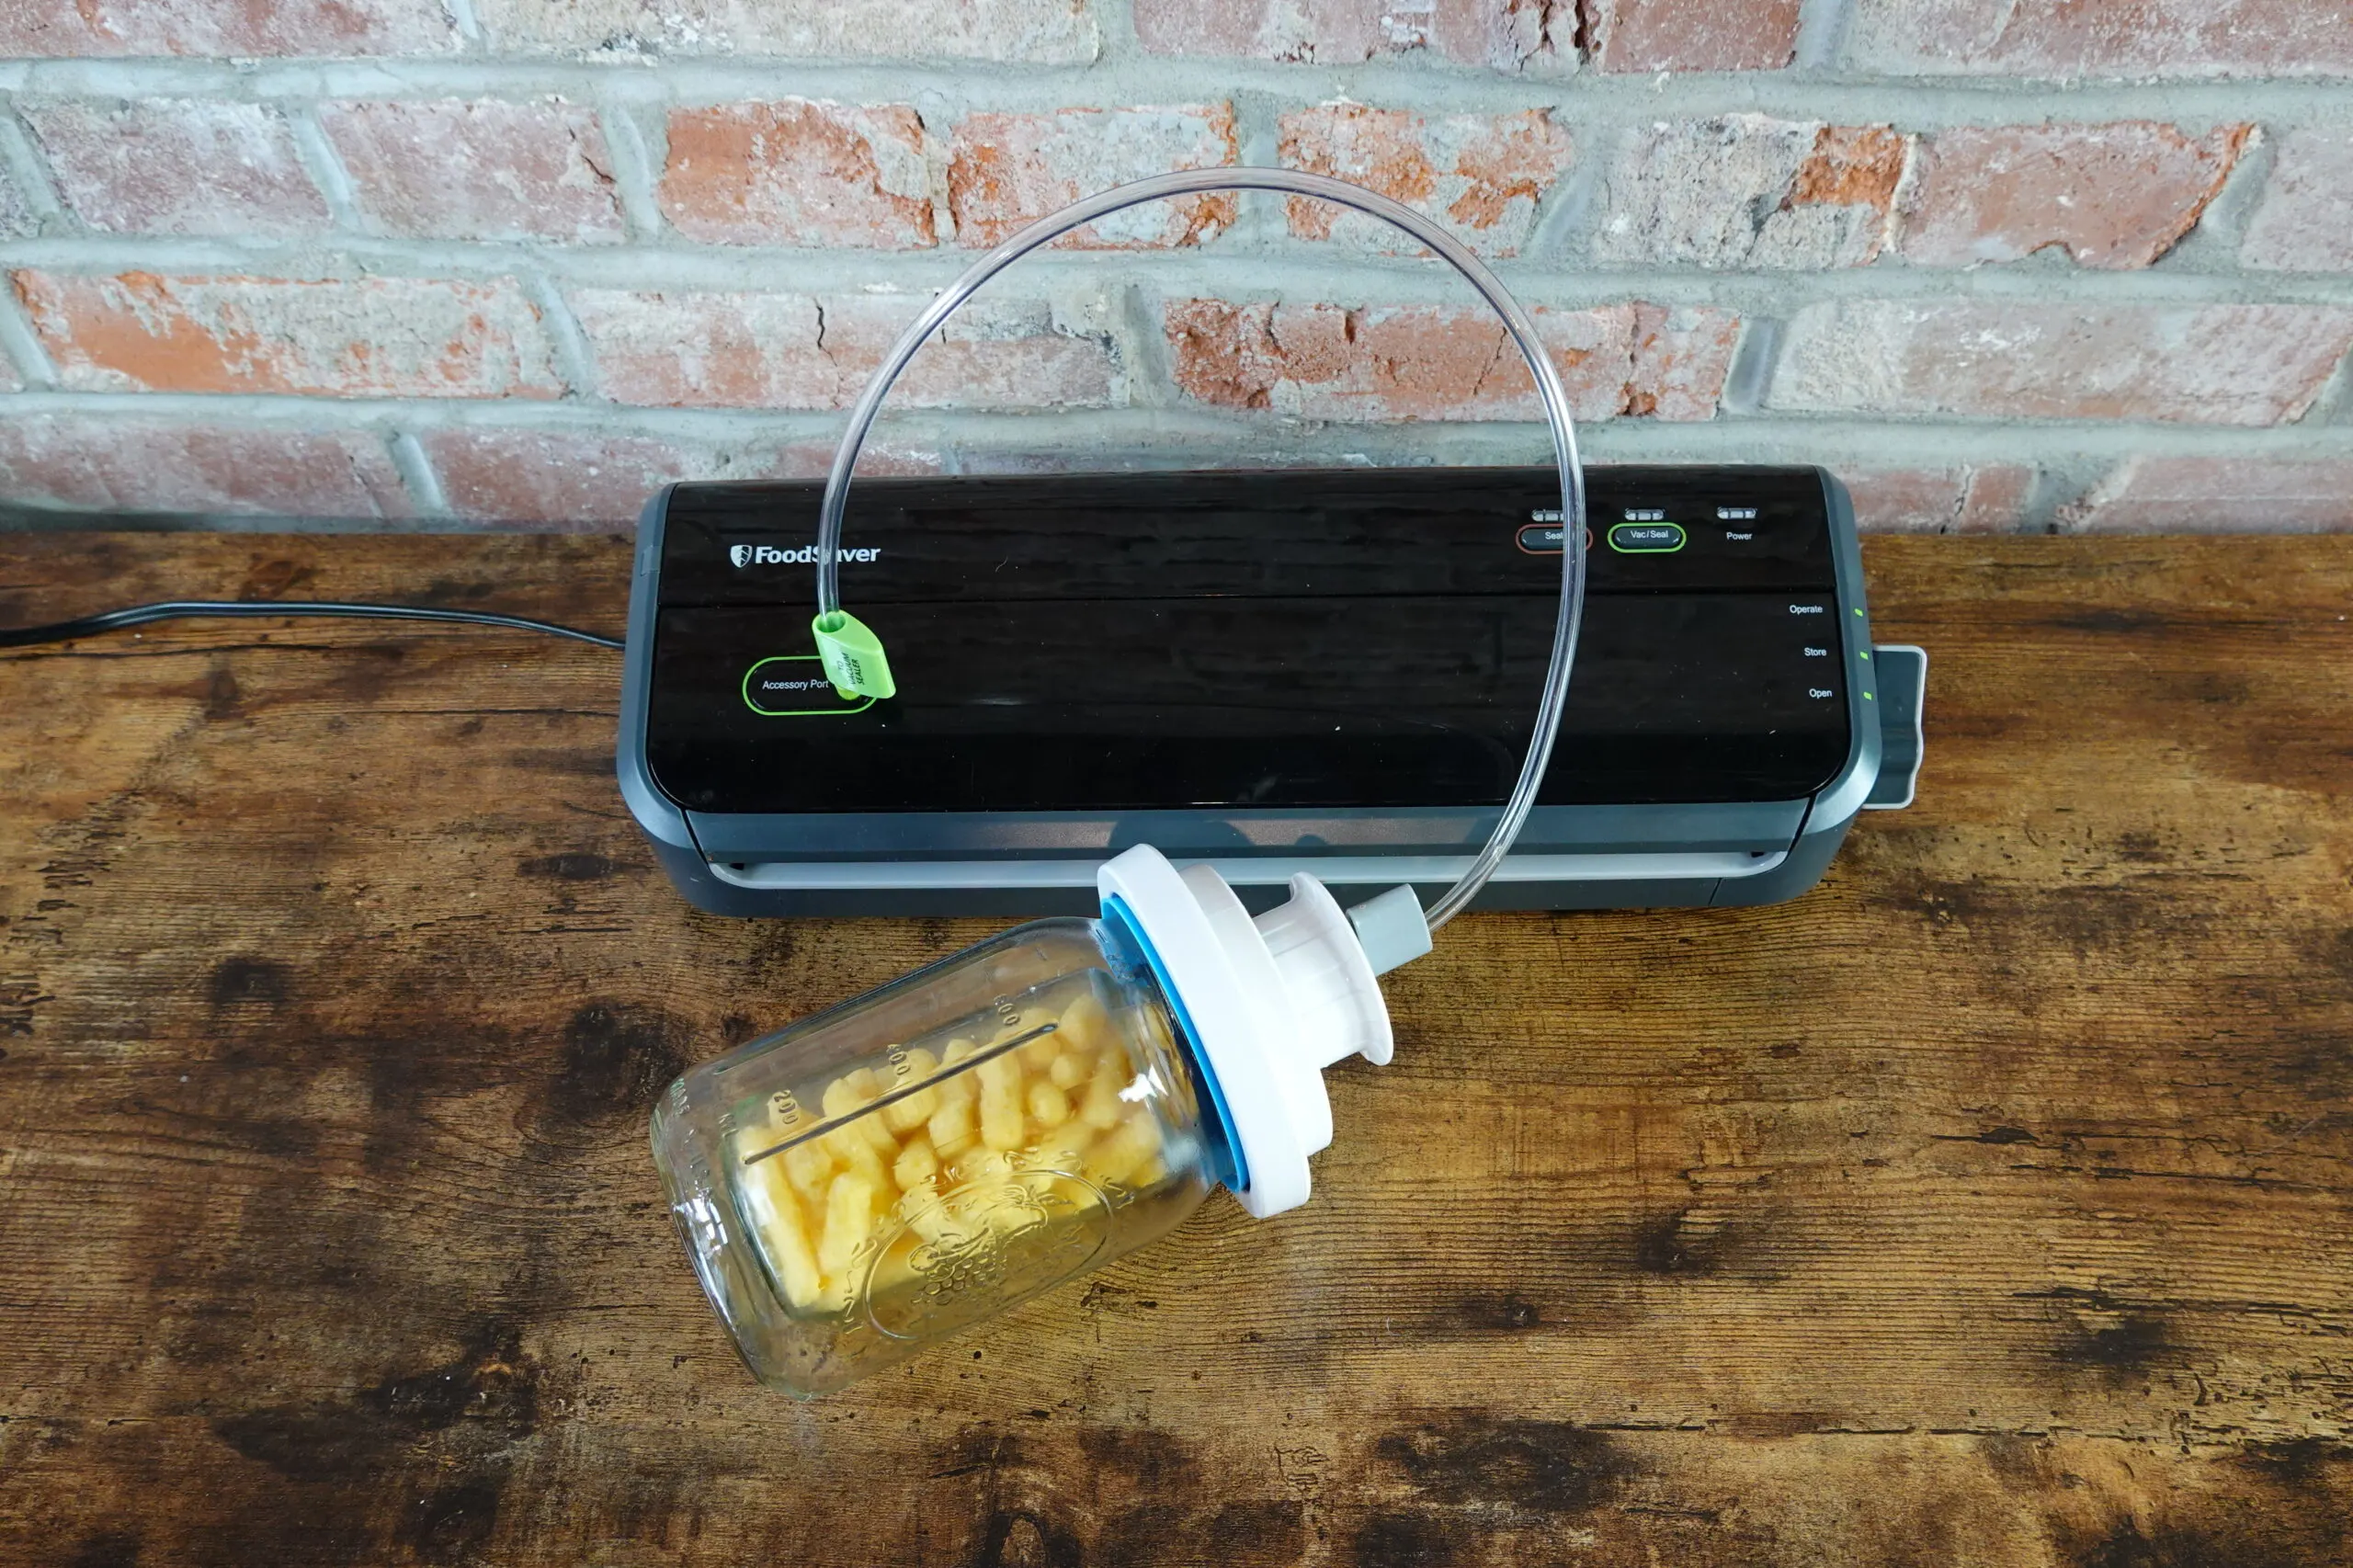
After reading a tip on Reddit about food preservation, I began experimenting with ways to use my food saver to seal these nonstandard jars. The result: success! Here’s how to use a food saver to seal other jars:The trick to sealing non-Mason jars using a vacuum sealer is to stick with jars that can fit inside of a XL wide mouth mason jar OR purchase the vacuum seal chamber. (The extra-large wide mouth mason jar can be used as a small vacuum seal chamber on a budget)

To vacuum seal my recycled Target jars, I simply place the lid on the jar, place the jar inside a wide mouth mason jar, and proceed to seal the wide mouth mason jar using the same procedure outlined for how to seal liquids using a food saver. The vacuum pressure reactivates the seal on the underside of the recycled jars lid and forms a seal. When the adapter is removed from the larger mason jar, simply pop the vacuum sealed lid off of the larger jar and remove the now sealed smaller jar from your DIY vacuum seal chamber.
Final thoughts on tips, tricks and hacks for using a food saver or vacuum sealer
As you can see, there are many ways to get creative with a vacuum sealer. These are just a few of the ways that I have experimented with in my kitchen and home to use my food sealer to seal liquids in jars, extend the life of paints, and to be a more organized traveler.
If you found this article helpful or money-saving, consider buying me a coffee using the link below (and then drop the ko-fi code directly instead of using auto insert from advanced ads).
Got more tips for creative and unusual ways to use a vacuum sealer? I want to hear them? Drop me a comment below.
Thanks for Reading!!!
I hope you can tell that I love DIY, researching the best affordable solutions for every-day problems opportunities and documenting / sharing solutions!🙌 Hawk-Hill.com is reader-supported.
☕ Hawk-Hill.com is reader-supported. If this article saved you time or money, please consider donating $1 to help me cover the cost of hosting this website OR If you appreciate this information and want to throw a “Thanks!” my way by buying me a coffee – I would Of Course appreciate it! :]
Reader Questions and Recommendations
Readers, do you have any favorite topics / posts? What would you like to read more about in the future? As I hope you can tell from this and other articles on my site, I really enjoy DIY / a good challenge, and I’m not afraid to roll up my sleeves to figure out a great, and hopefully simple 😁 solution. So please feel free to let me know in the comments below (or reach out via social media)!
Ok Really – I’ll try to wrap this up now😂
Finally, if you’d like to continue to learn about interesting DIY options as well as how YOU can tackle creative new projects consider checking out the latest and most popular articles listed on the Hawk-Hill Home Page. I’m always trying to enjoy and write about the creative side of life so please don’t be a stranger – check back often!😍
If you enjoyed this post you may also enjoy reading / perusing / devouring😊 one or all of these articles as well!

ChrisWang
Wednesday 9th of August 2023
Do you know the differences between a chamber vacuum sealer and the FoodSaver?
https://www.allpackchina.com/chamber-vacuum-sealer-vs-foodsaver/
Sarah
Monday 12th of June 2023
I love your idea about using vacuum sealed bags to save space when packing… but what do you do when you’re packing to head home? If you had to open those bags, how could you get everything to fit in your suitcase? As a chronic over-packer, this would be a huge help!
James Carter
Thursday 25th of May 2023
Why does the word "sealer" use an apostrophe to make a plural?