
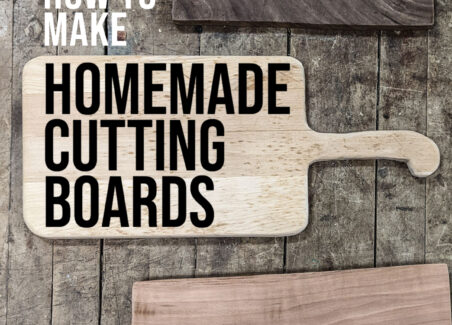
After my recent kitchen remodel, I needed a way to add visual interest to my countertops that was: A. pretty, B. functional, and C. affordable (after all, I’d spent everything I budgeted for my IKEA kitchen budget). The solution? Homemade cutting boards made by hand from repurposed wood using tools available in a community workshop.
The cutting boards I created set off the rich would tones of my reclaimed wood open shelving and add a decorative and useful visual element to my countertops.
In this article, I’ll share:
- The advantages of making your own homemade cutting boards and cheese board over commercial alternatives
- The steps I took to make my own cutting boards using basic tools
- Tips for caring for homemade cutting boards
Read on to find out how you can make your own homemade cutting boards even if you are a total novice at woodworking.
Why I prefer homemade cutting boards
While I am only in the neighborhood of 40 years old, I’ve seen the quality of cutting boards decline significantly in my lifetime. Maaaybe as the result of a movement towards the use of more sustainable woods like bamboo, but I have been frustrated by the fact that I need to buy new wooden cutting boards every few years when, growing up, the same cutting board last my entire youth.
Today, it’s rare to find a solid wood cutting board. While planks can be glued together to form perfectly solid and high-quality cutting boards, the glue can fail – causing a cutting board to break into pieces – or potentially leak chemicals from the adhesive into foods.
Concern about chemicals used in wood processing is legitimate – cutting boards are one of the few raw wood materials that come in direct contact with food that will be eaten. As a natural material soft enough to keep the edge on sharp knives, tiny wood particles inevitably end up in our foods (arguably, preferable to plastic particles and one reason I prefer wood cutting boards over plastic cutting boards). I like knowing, with my homemade cutting boards, that any wood that ends up in my body is wood that has not been treated or sealed with chemicals.
While technically, any food and drink item that isn’t safe to come in contact with food should be labeled as such by the manufacturer before being sold (you’ve probably seen this label on the bottom of wooden bowls and pitchers reading “for decorative use only, should not come in contact with food”) but manufacturers can’t always be trusted for accurate labeling – especially when profit comes in the play. For that reason, I think it’s best to buy wooden cutting boards from local woodworkers, from craftspeople on Etsy, or to make them yourself.
A step-by-step guide to how I made homemade cutting boards and wood cheese board
Tools needed:
- access to a bandsaw (a jigsaw may work depending on the hardness of your wood)
- palm sander with an assortment of grits of sandpaper pads
Supplies needed:
- flat wood planks (cherry and maple are most popular for cutting boards)
- pencil
- ruler
- a food safe oil that resists going rancid, like mineral oil or grapeseed oil
- lint free cloth for applying oil
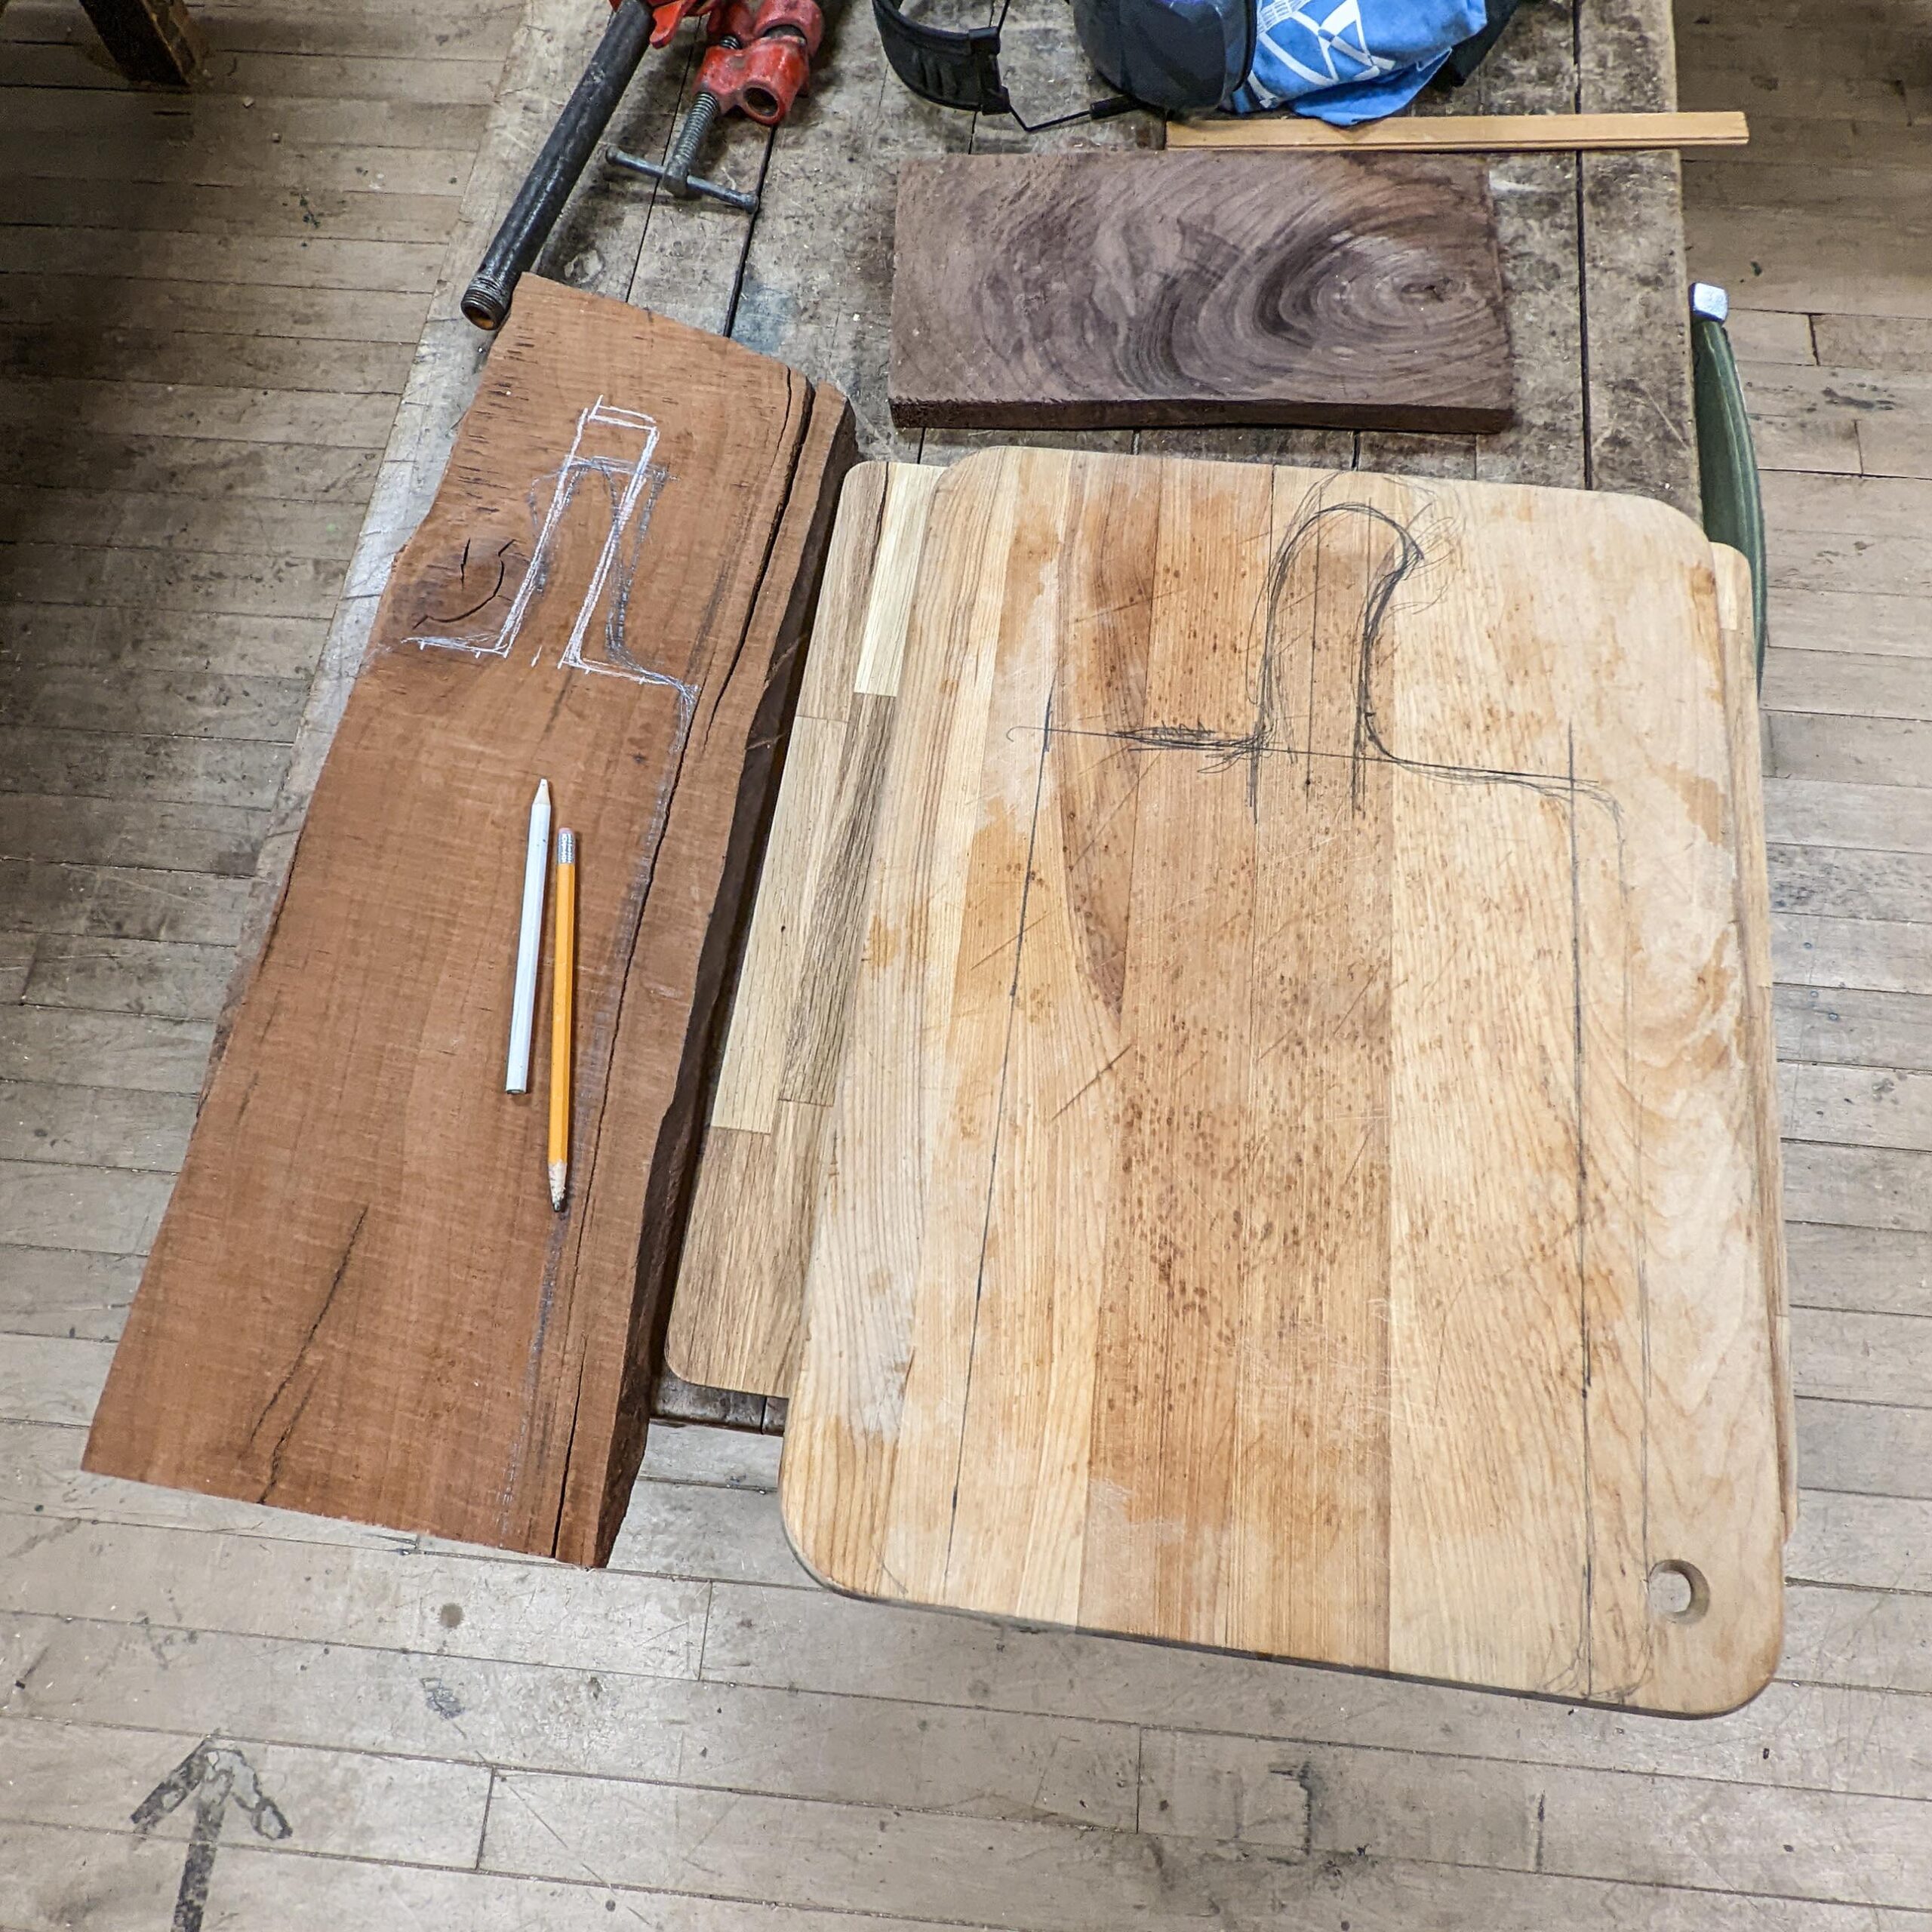
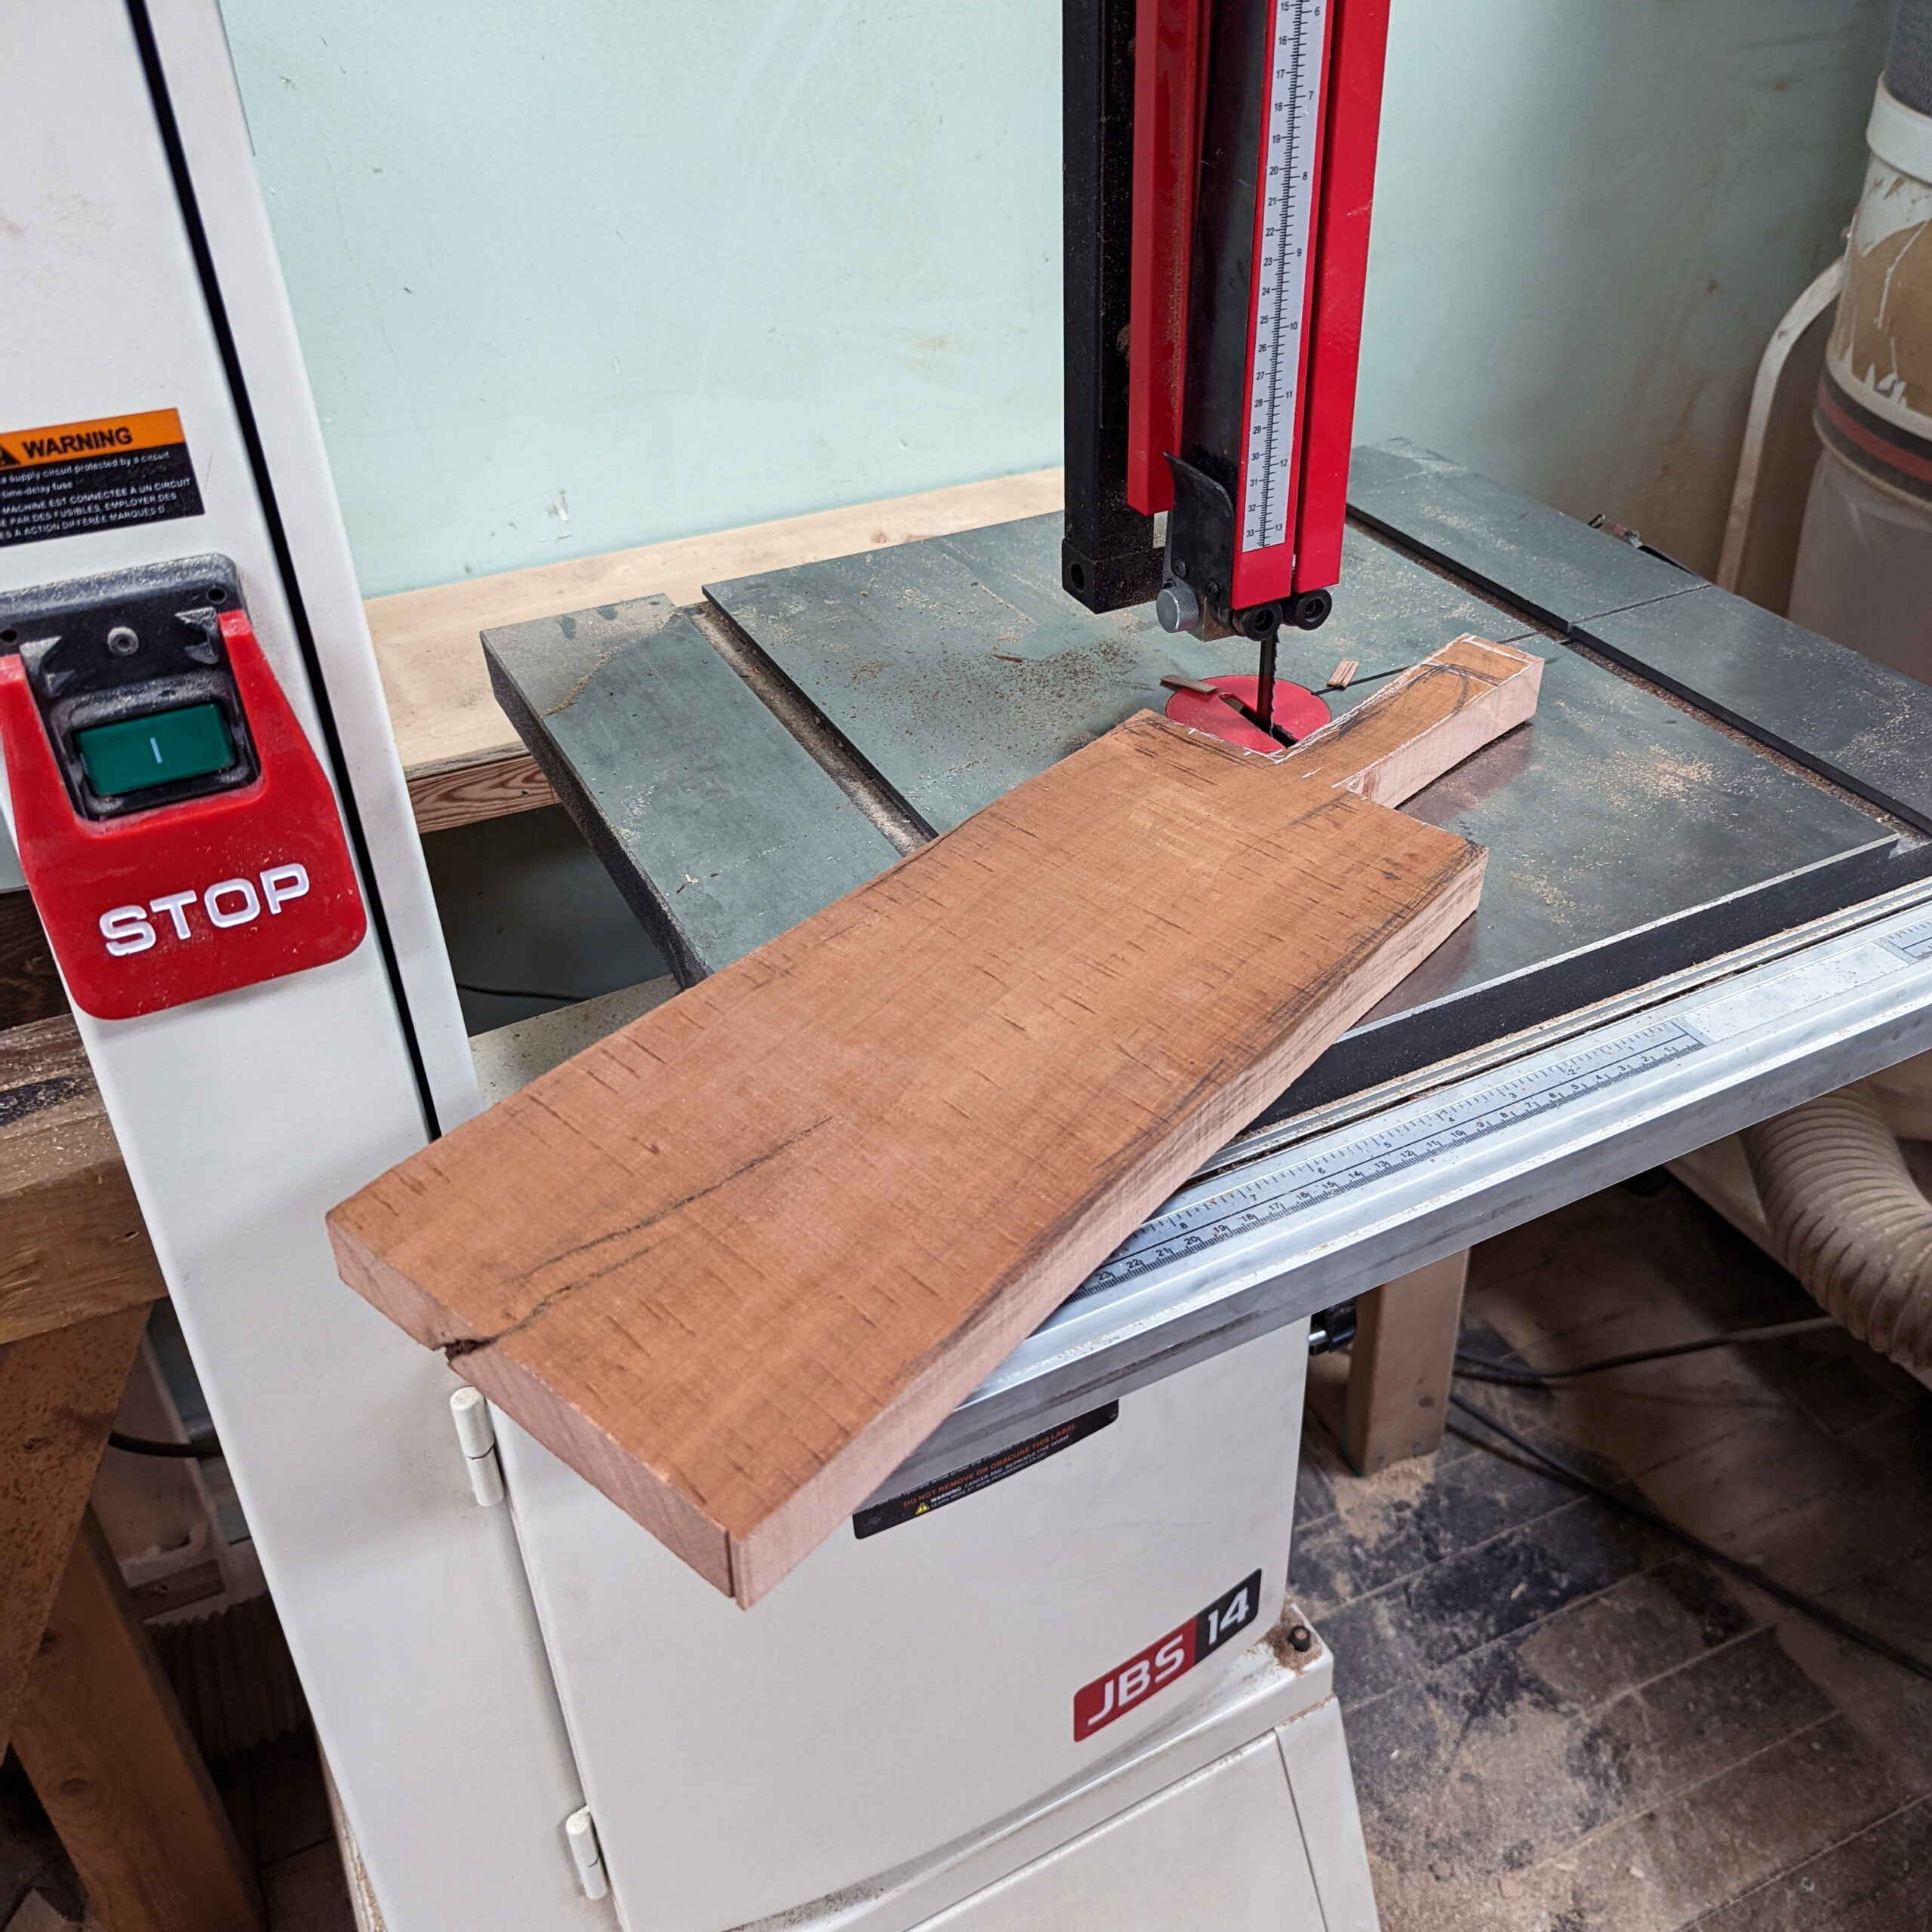
Step 1. Draw cutting board on the wood plank
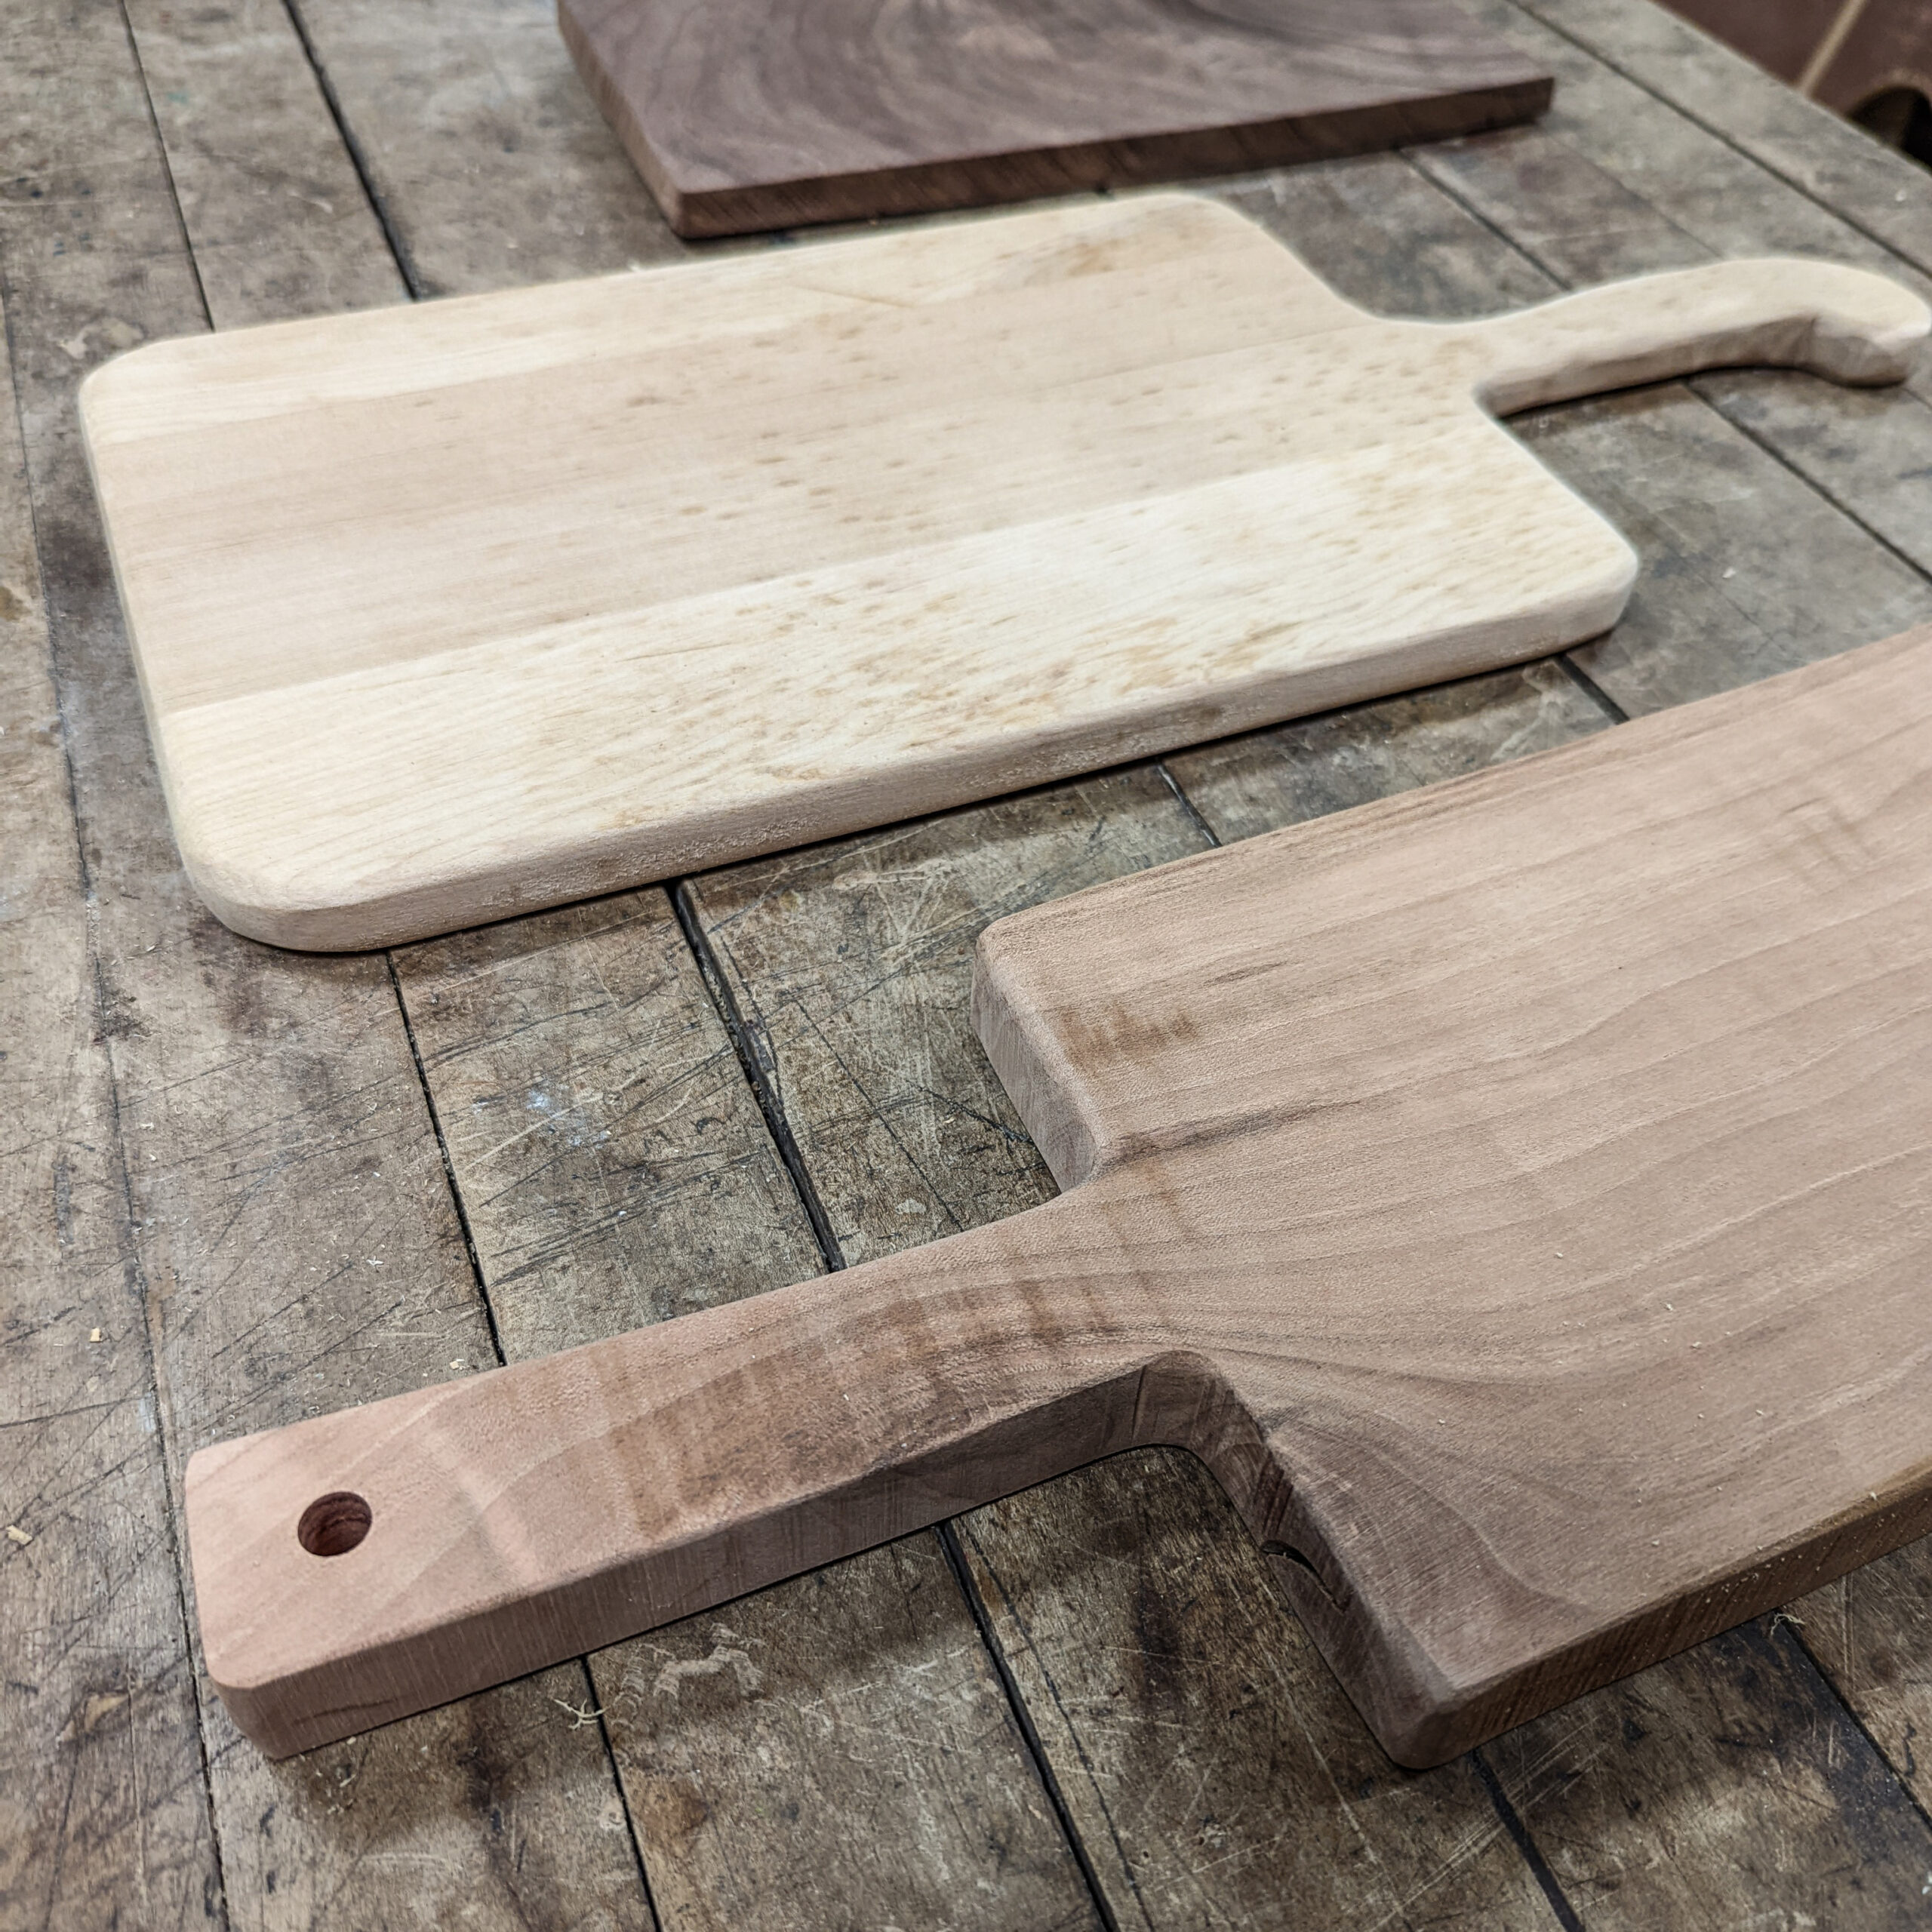
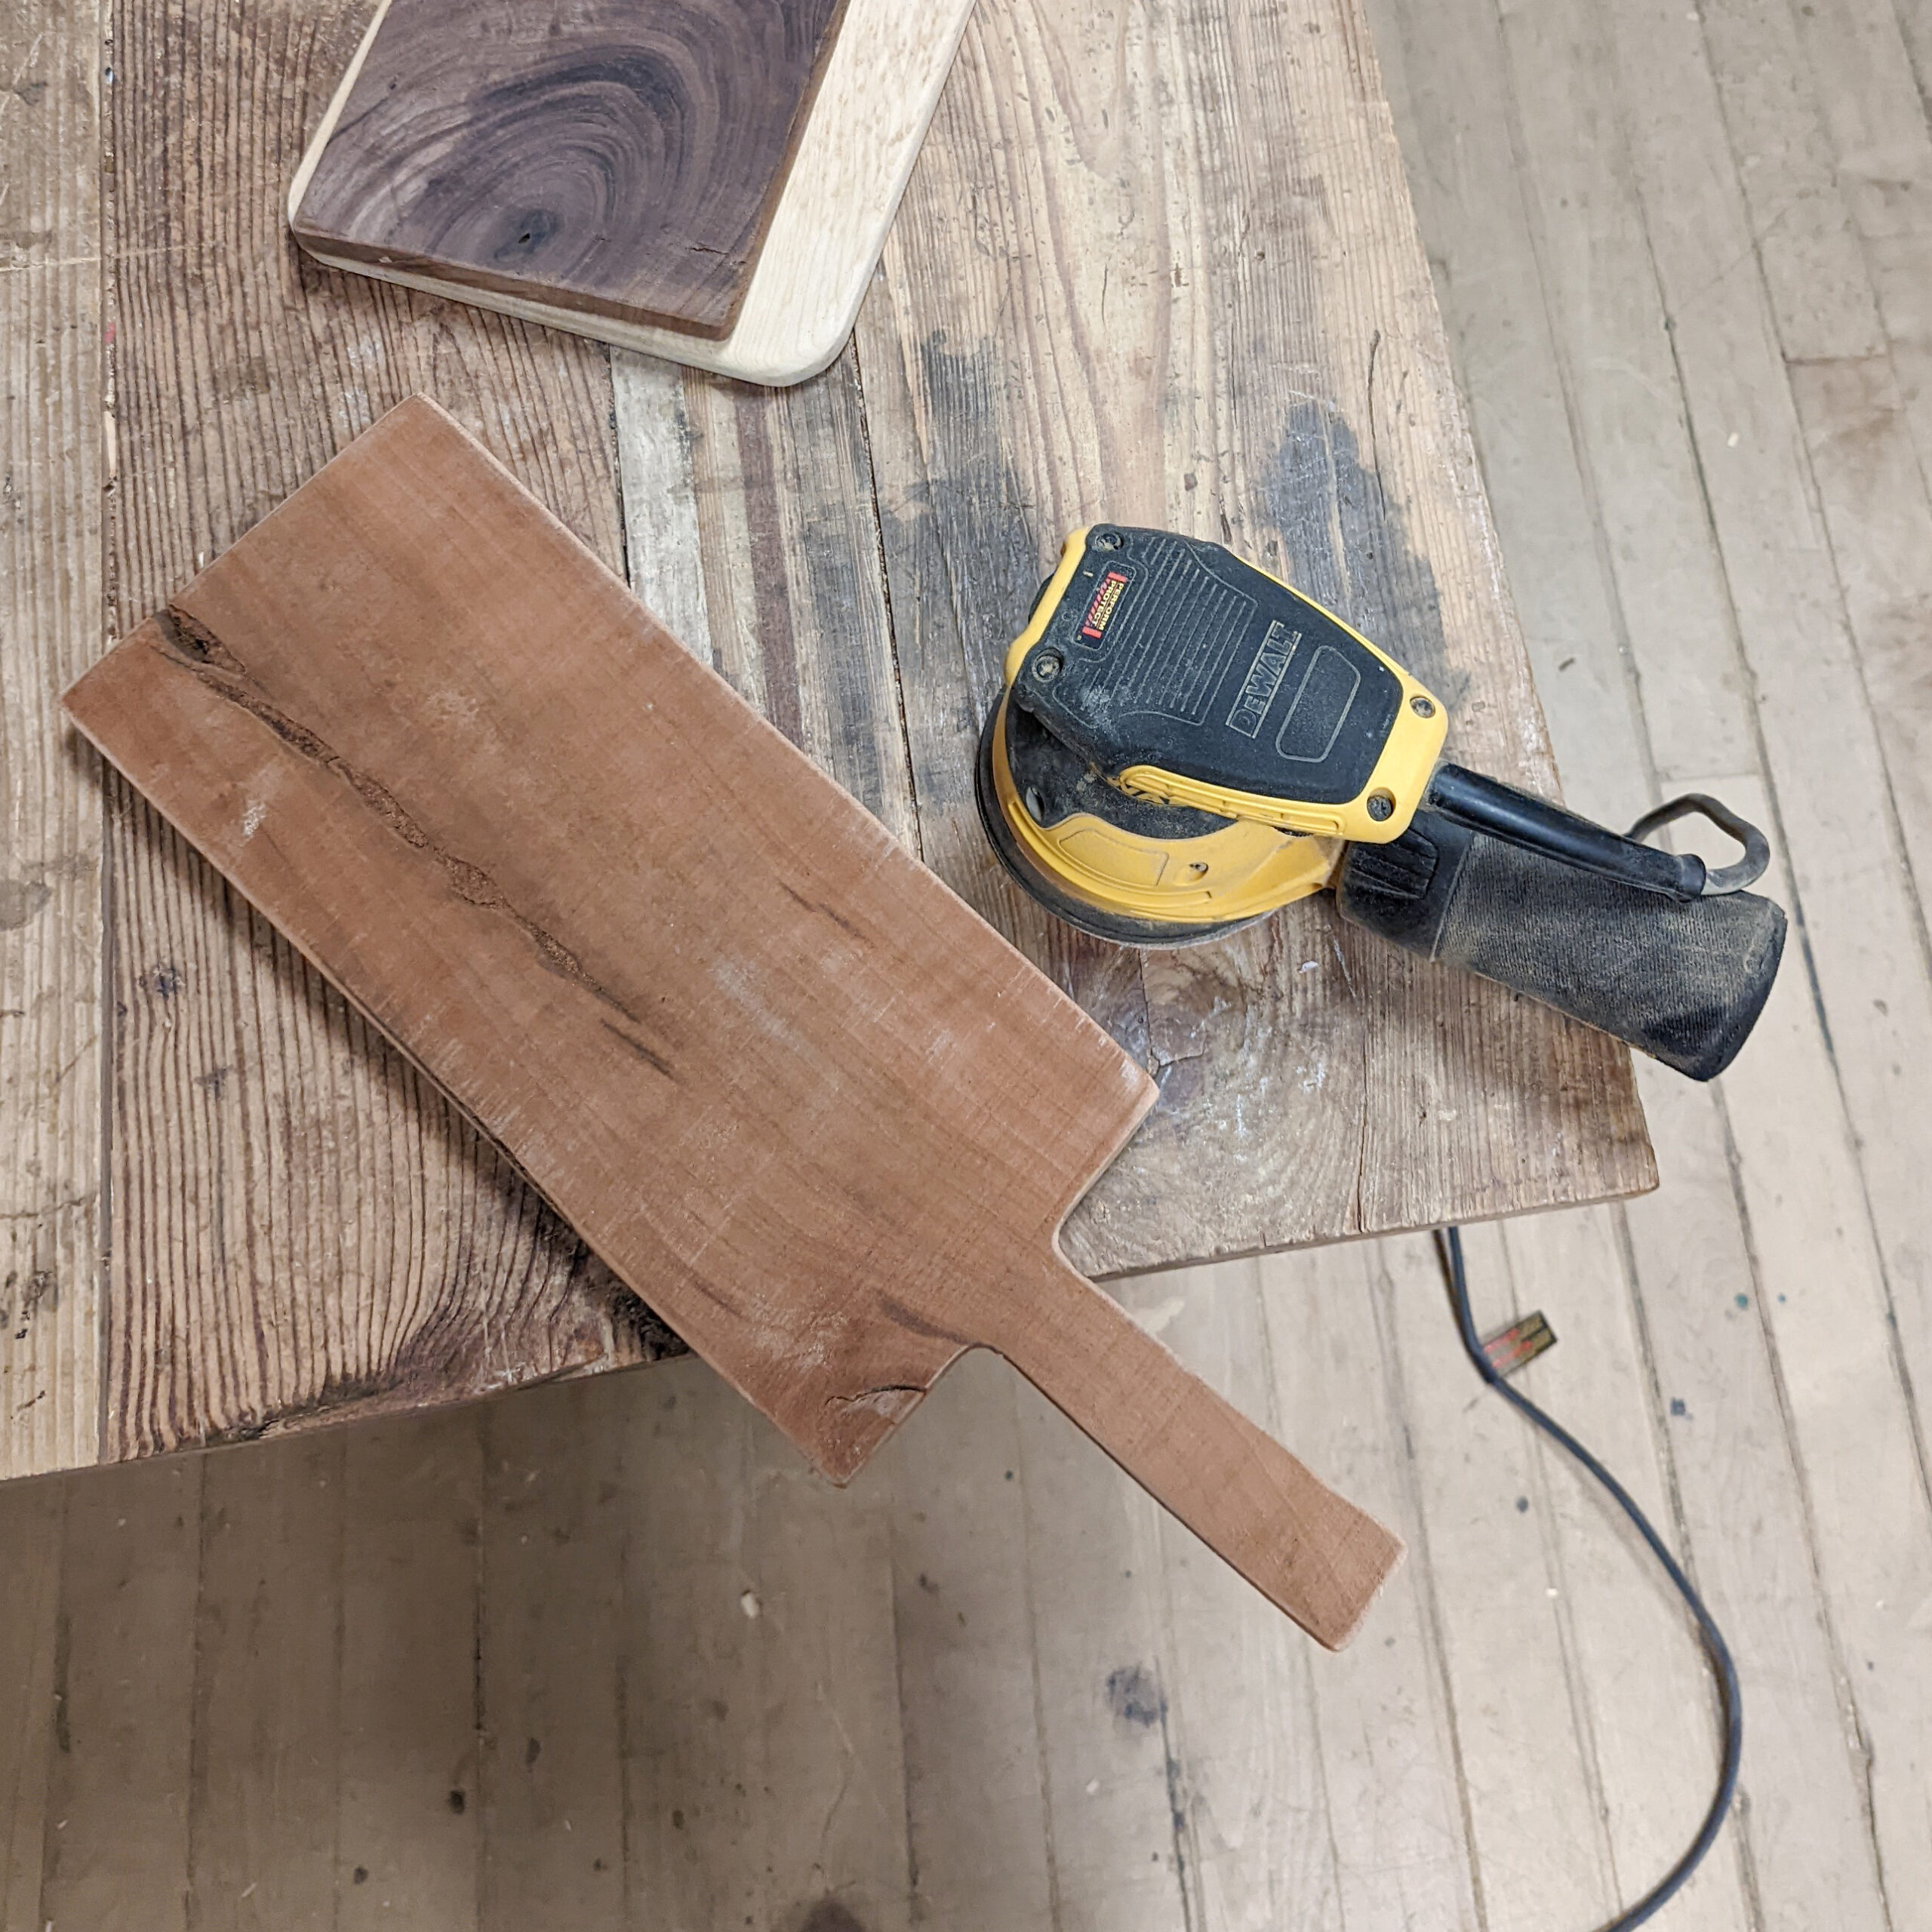
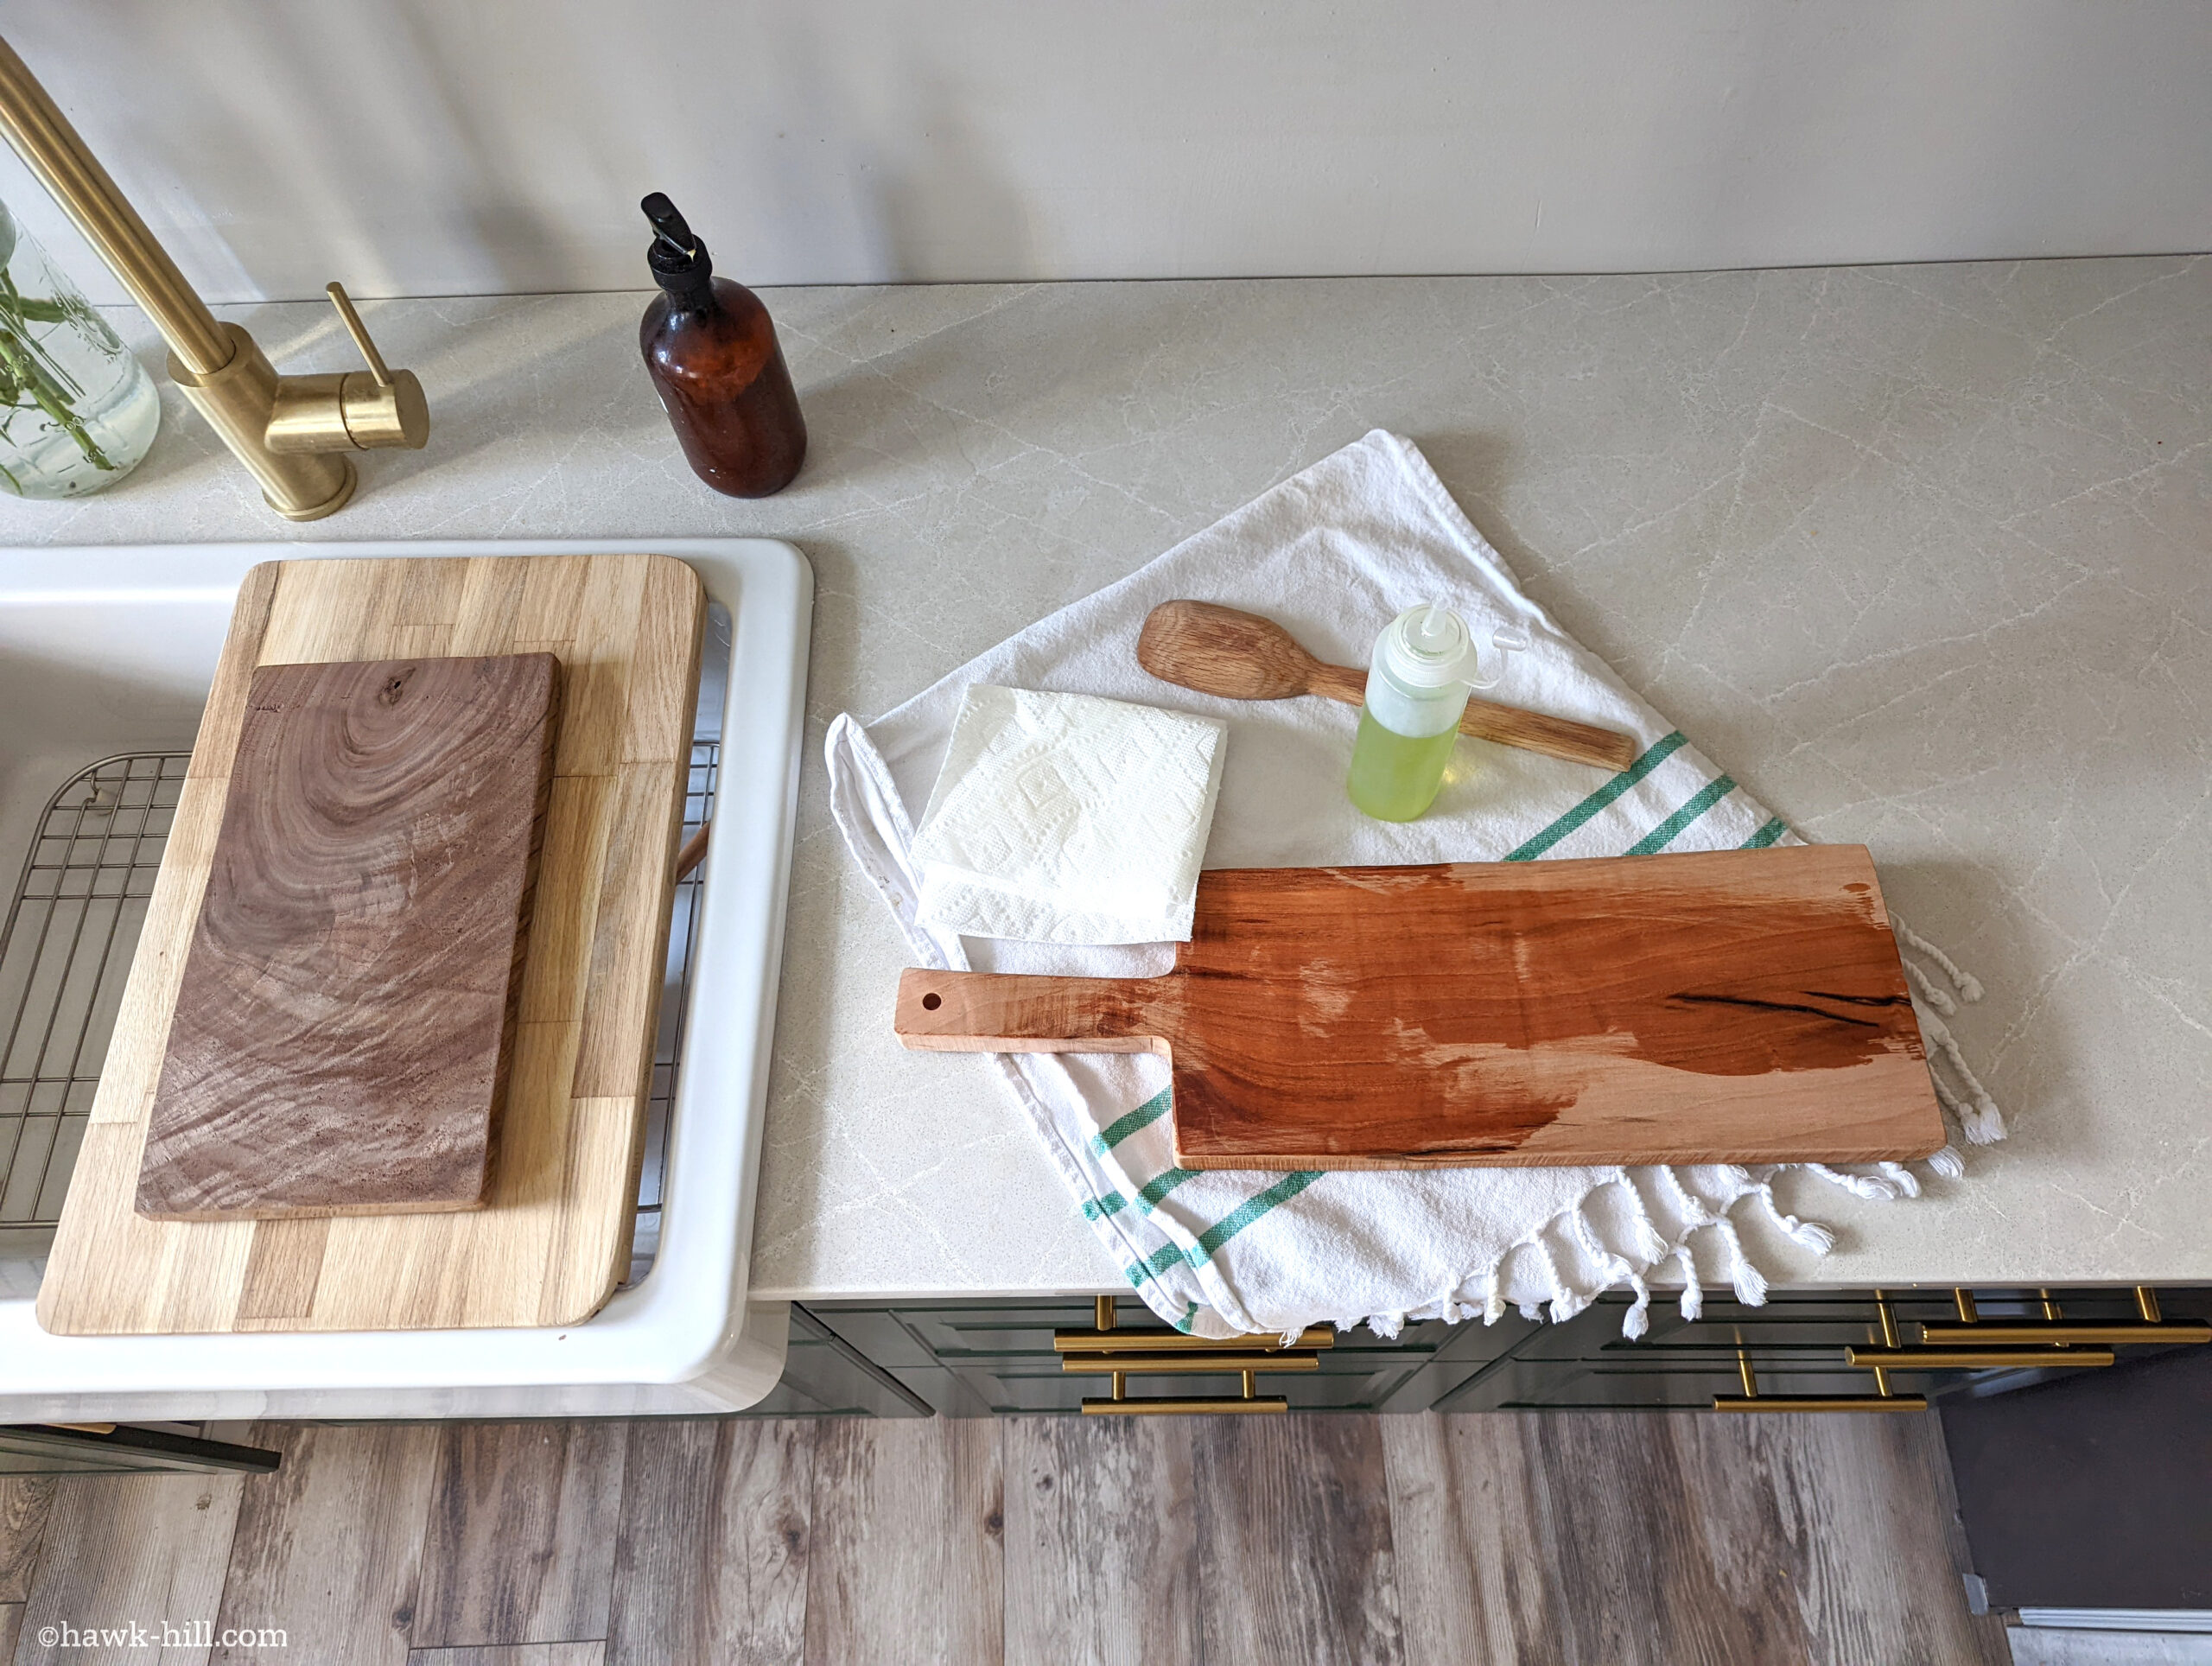
In the photos below you can see the materials I started with: a plain walnut square, a plank of cherry wood, and a light-colored wood cutting board rescued from a thrift store.
Using graphite pencil on the light wood and a white colored pencil on the darker wood, I roughly sketched the shape of my final cutting board and the dimensions of a handle, being sure to center the handle in the center of the plank.

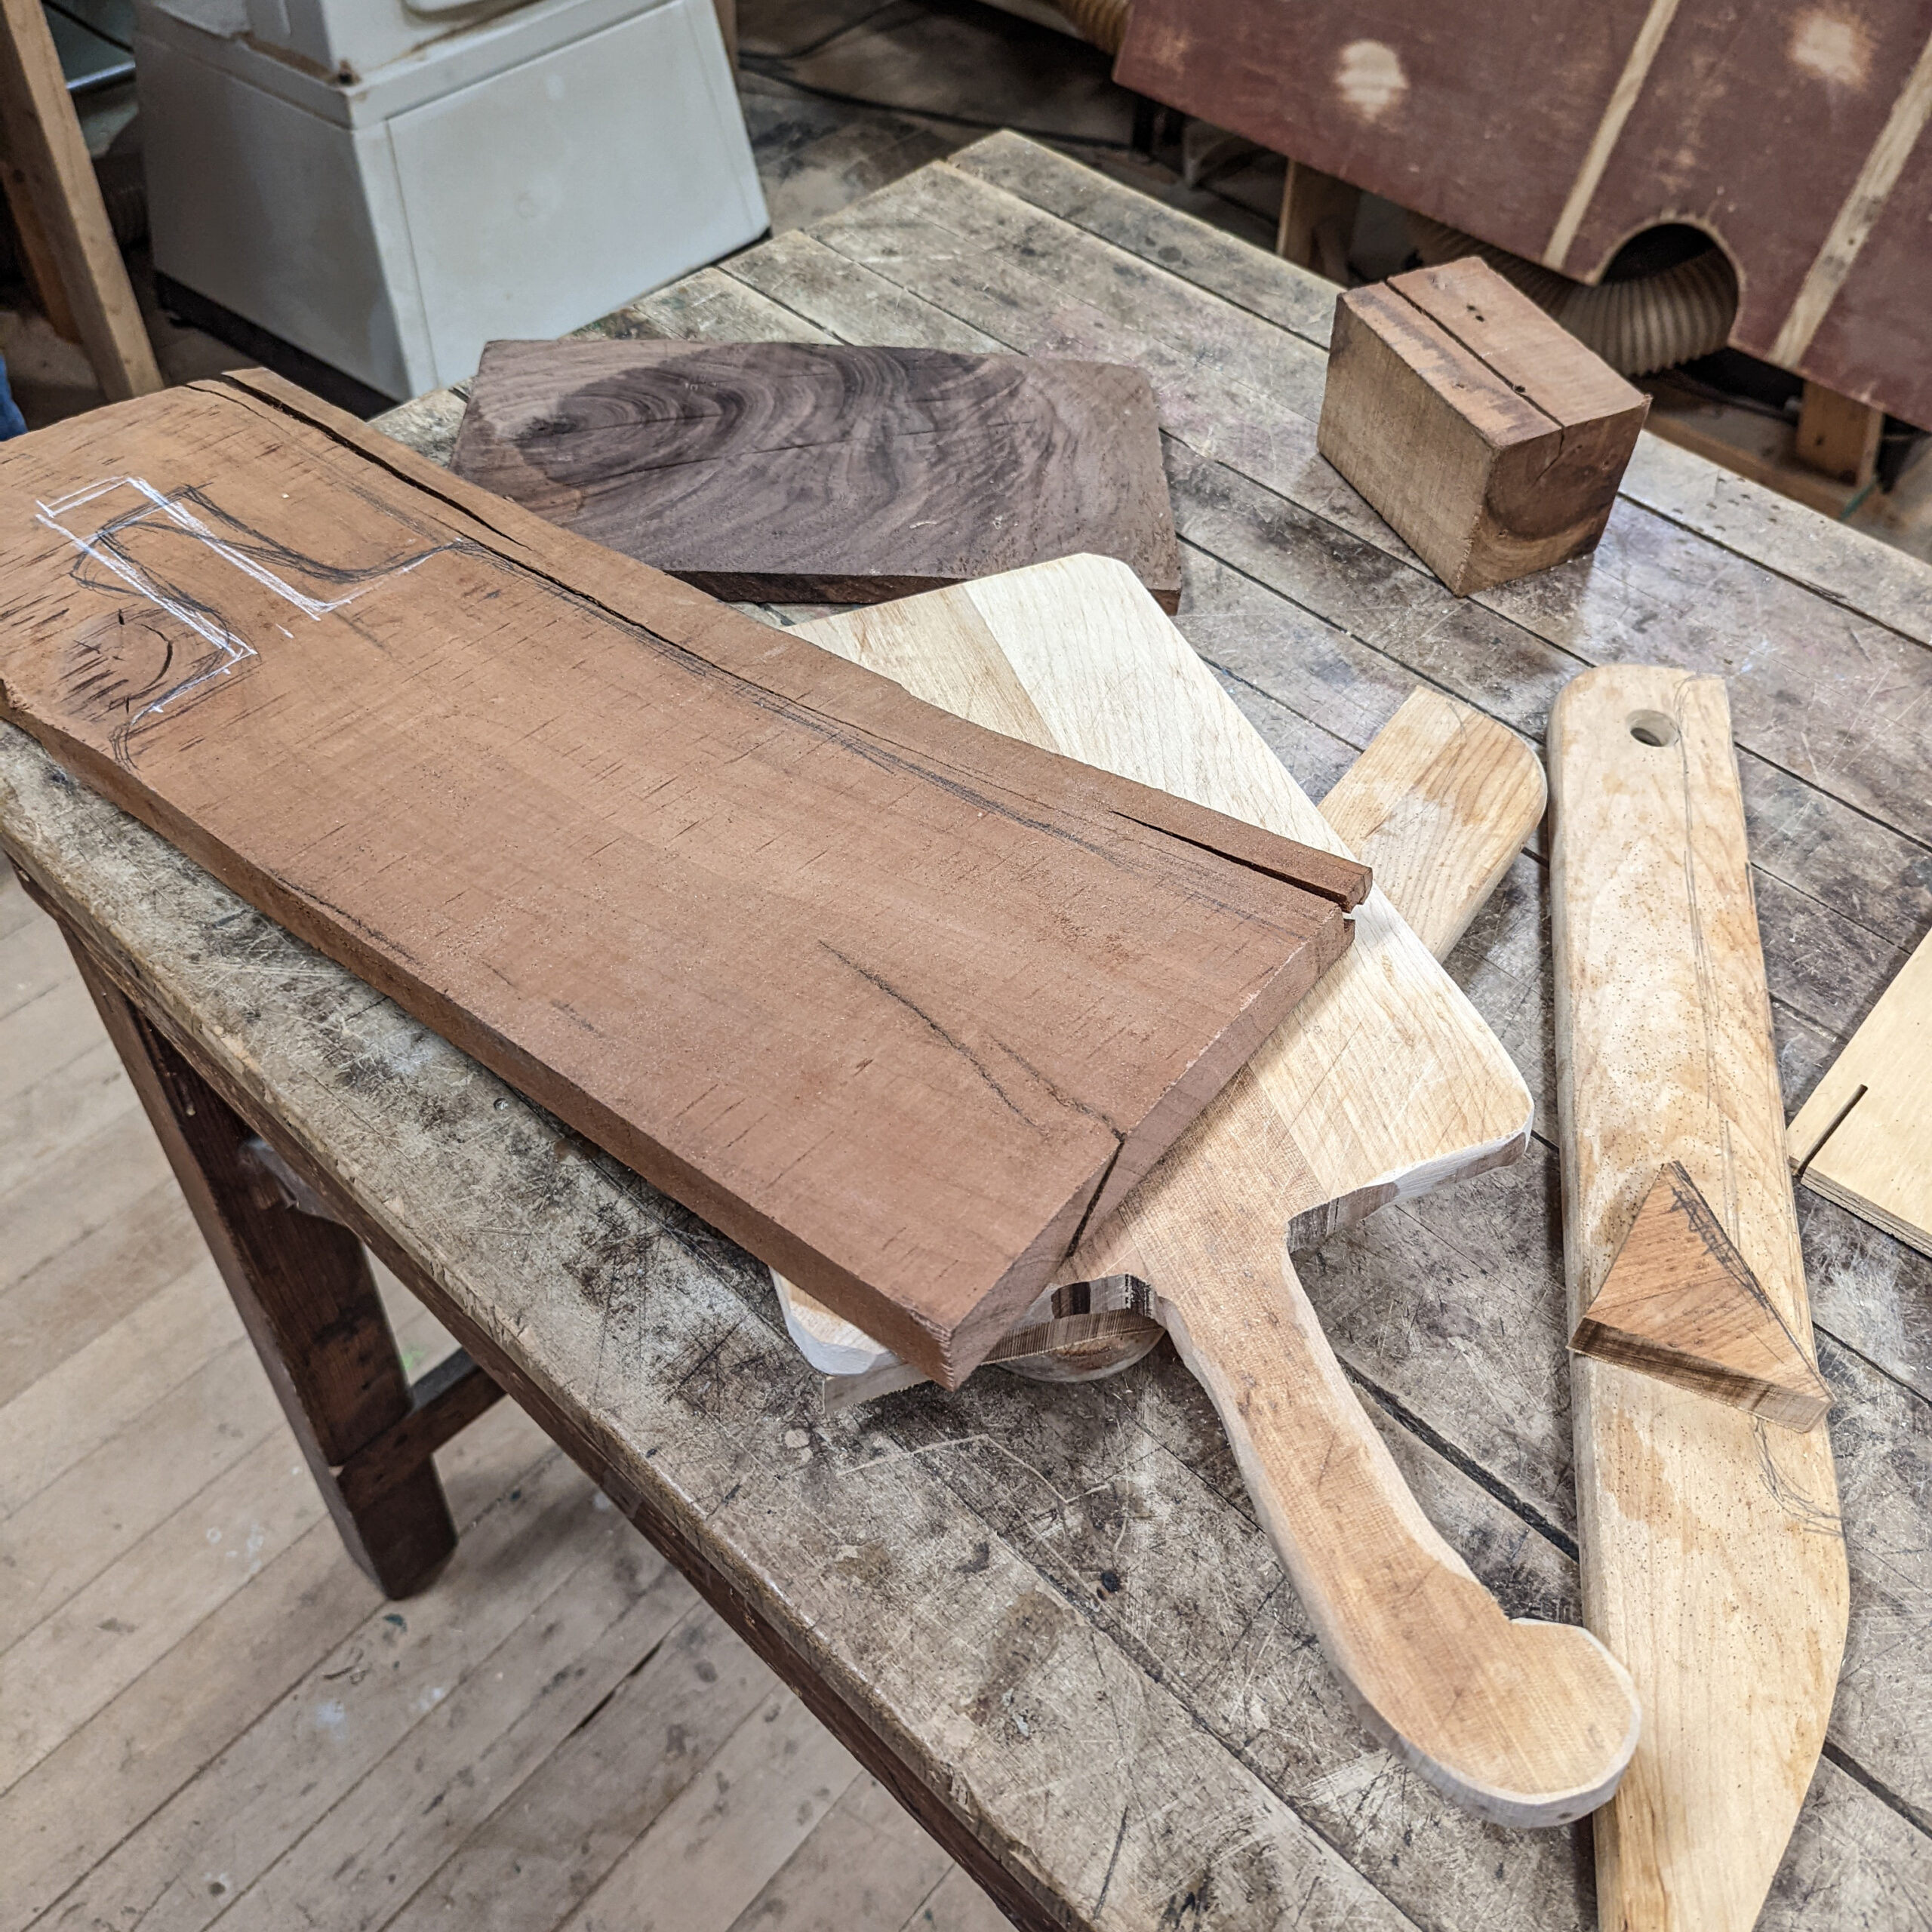
Step 2. Cut cutting board out of wood plank
Various saws could get this job done, but I opted to use the nicer tools at my local maker’s space. An industrial-grade bandsaw made it easy to cut my hardwoods to size in just a few minutes.
Step 3. Sand edges of board to soften
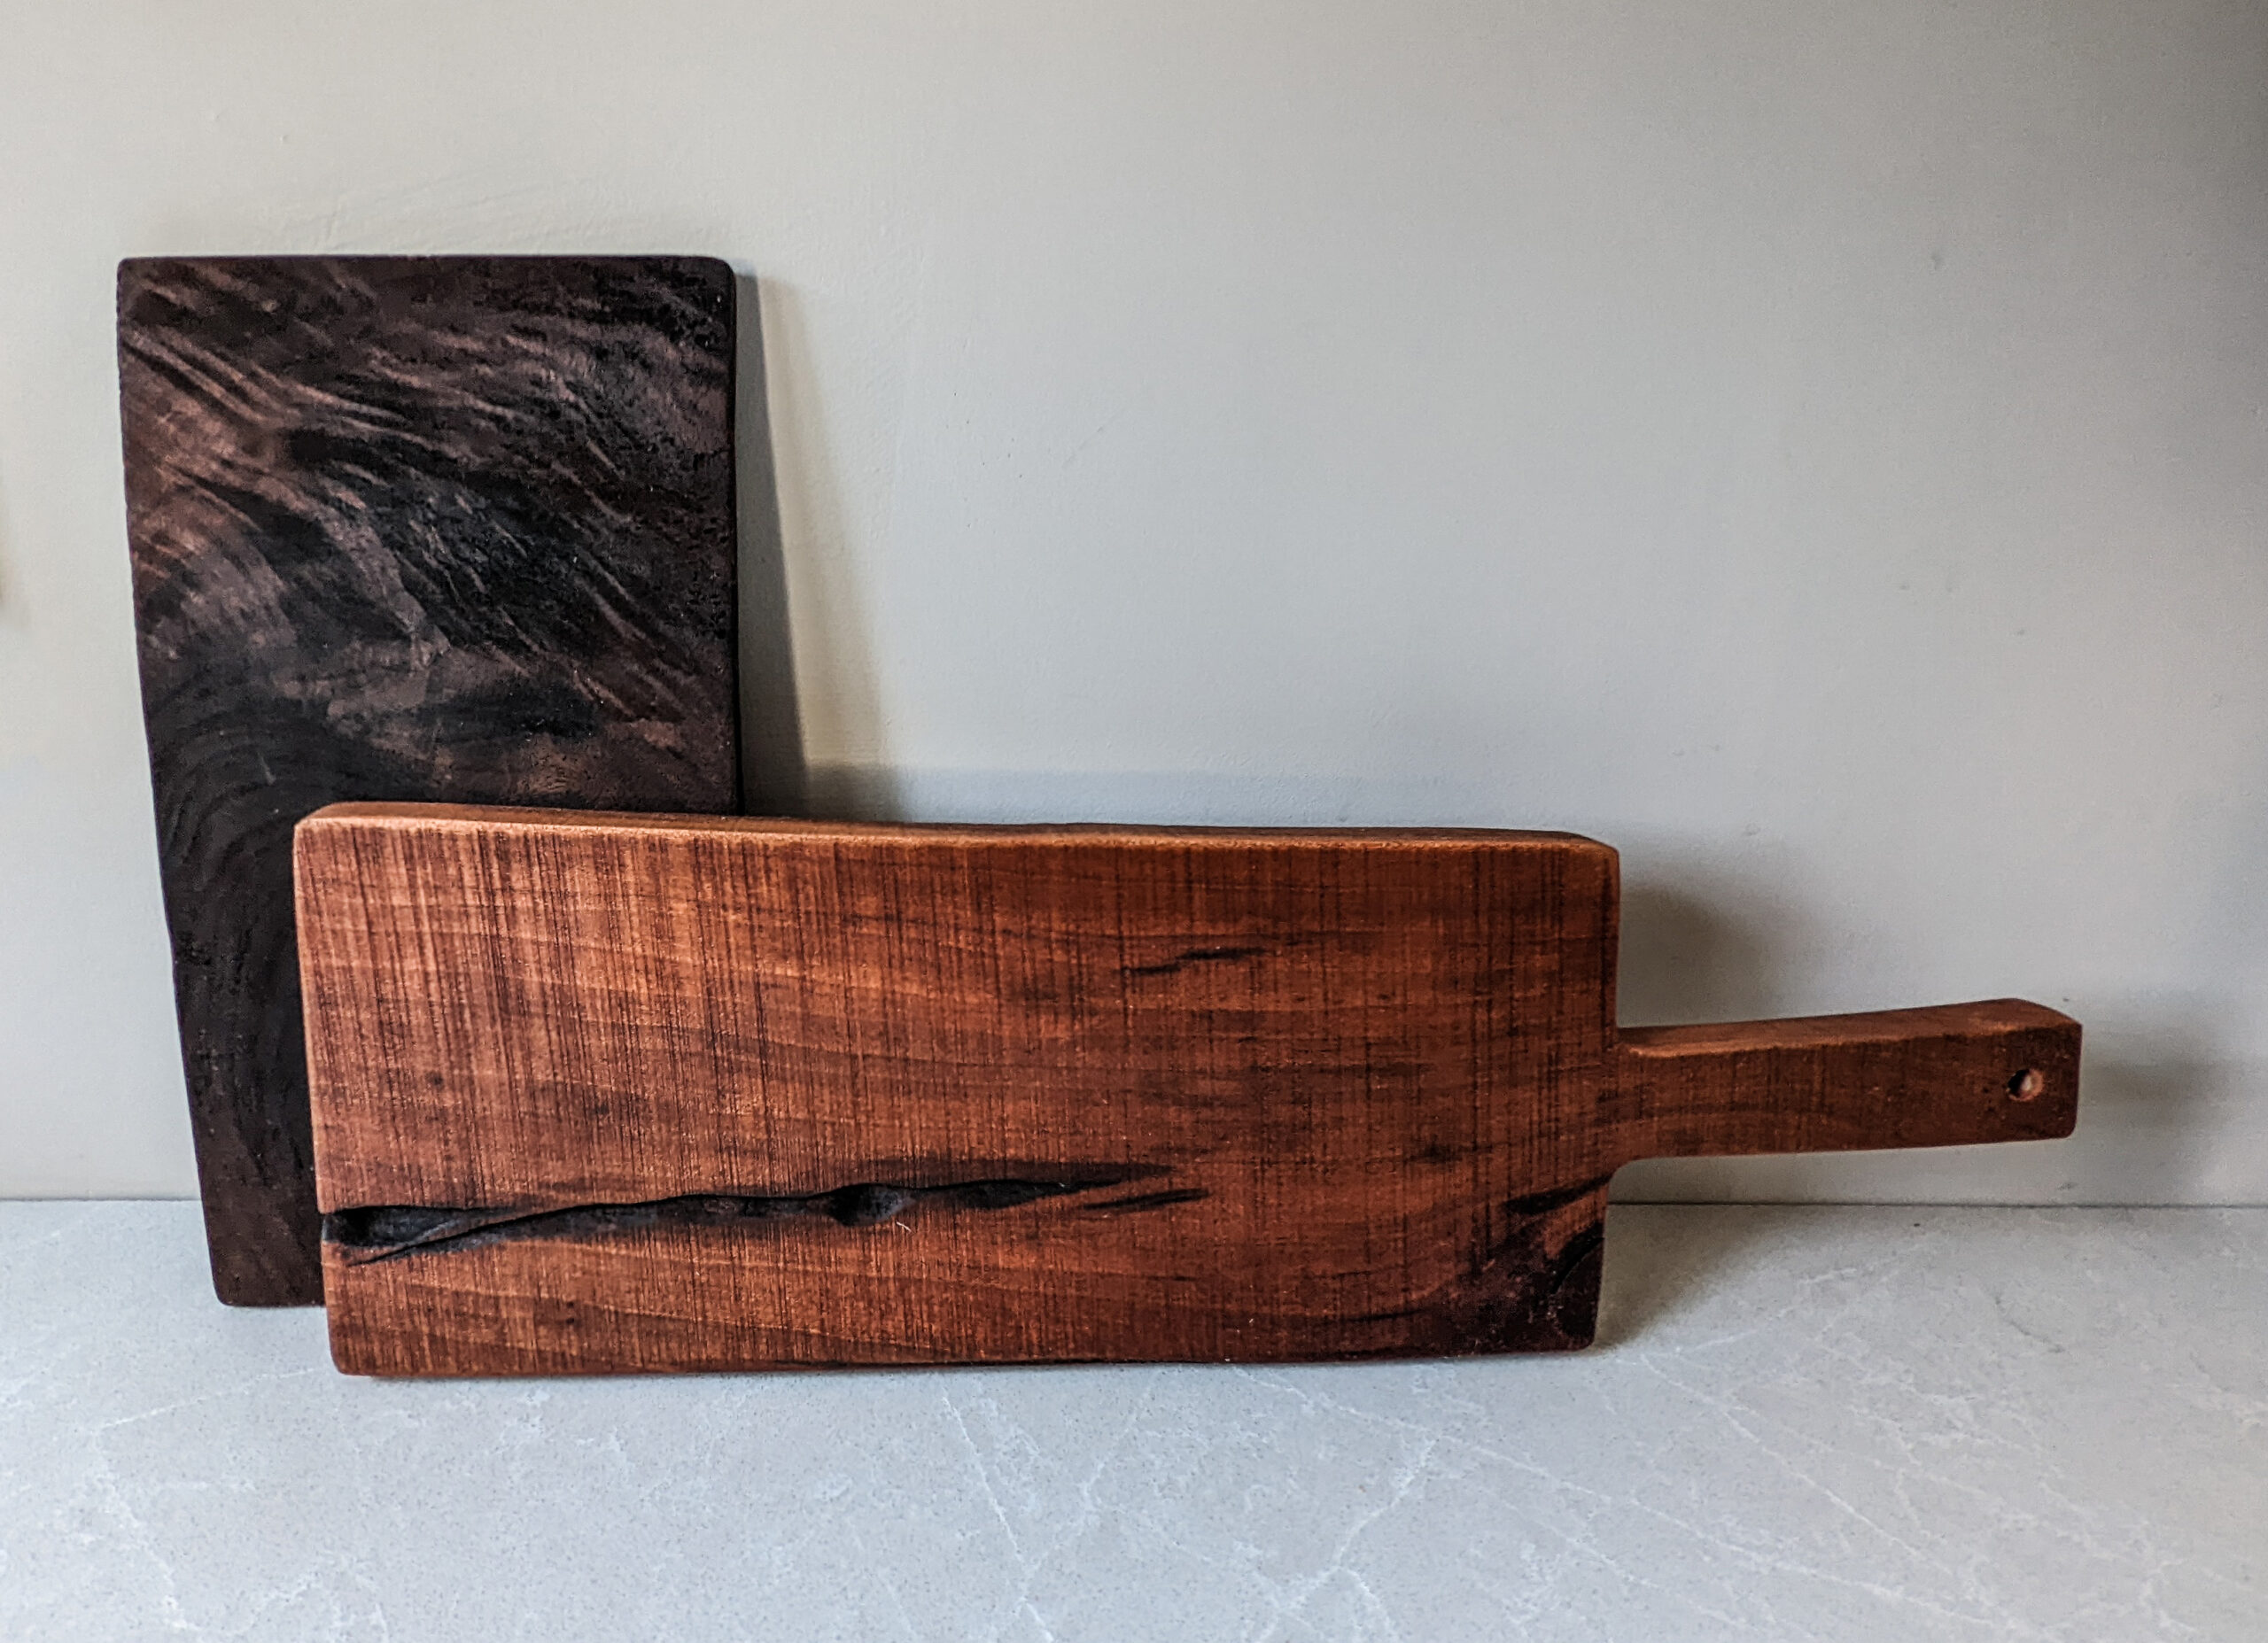
I knew that I wanted a rustic cutting board – as if it was a primitive kitchen tool rescued from some abandoned stash of antique cutting boards. Initially, on the blonde cutting board, I went after the board with a belt sander. While undeniably satisfying use a belt sander and see results instantly, the belt sander was a little too aggressive for creating a simple primitive-looking cutting board (or, like I had planned for the walnut board, cheese board). Instead, I found a palm sander to do a much better job of simply taking off the edges of the corners leaving a clean, right-angle edge without the rolled-edge look straight out of a 1980s kitchen.
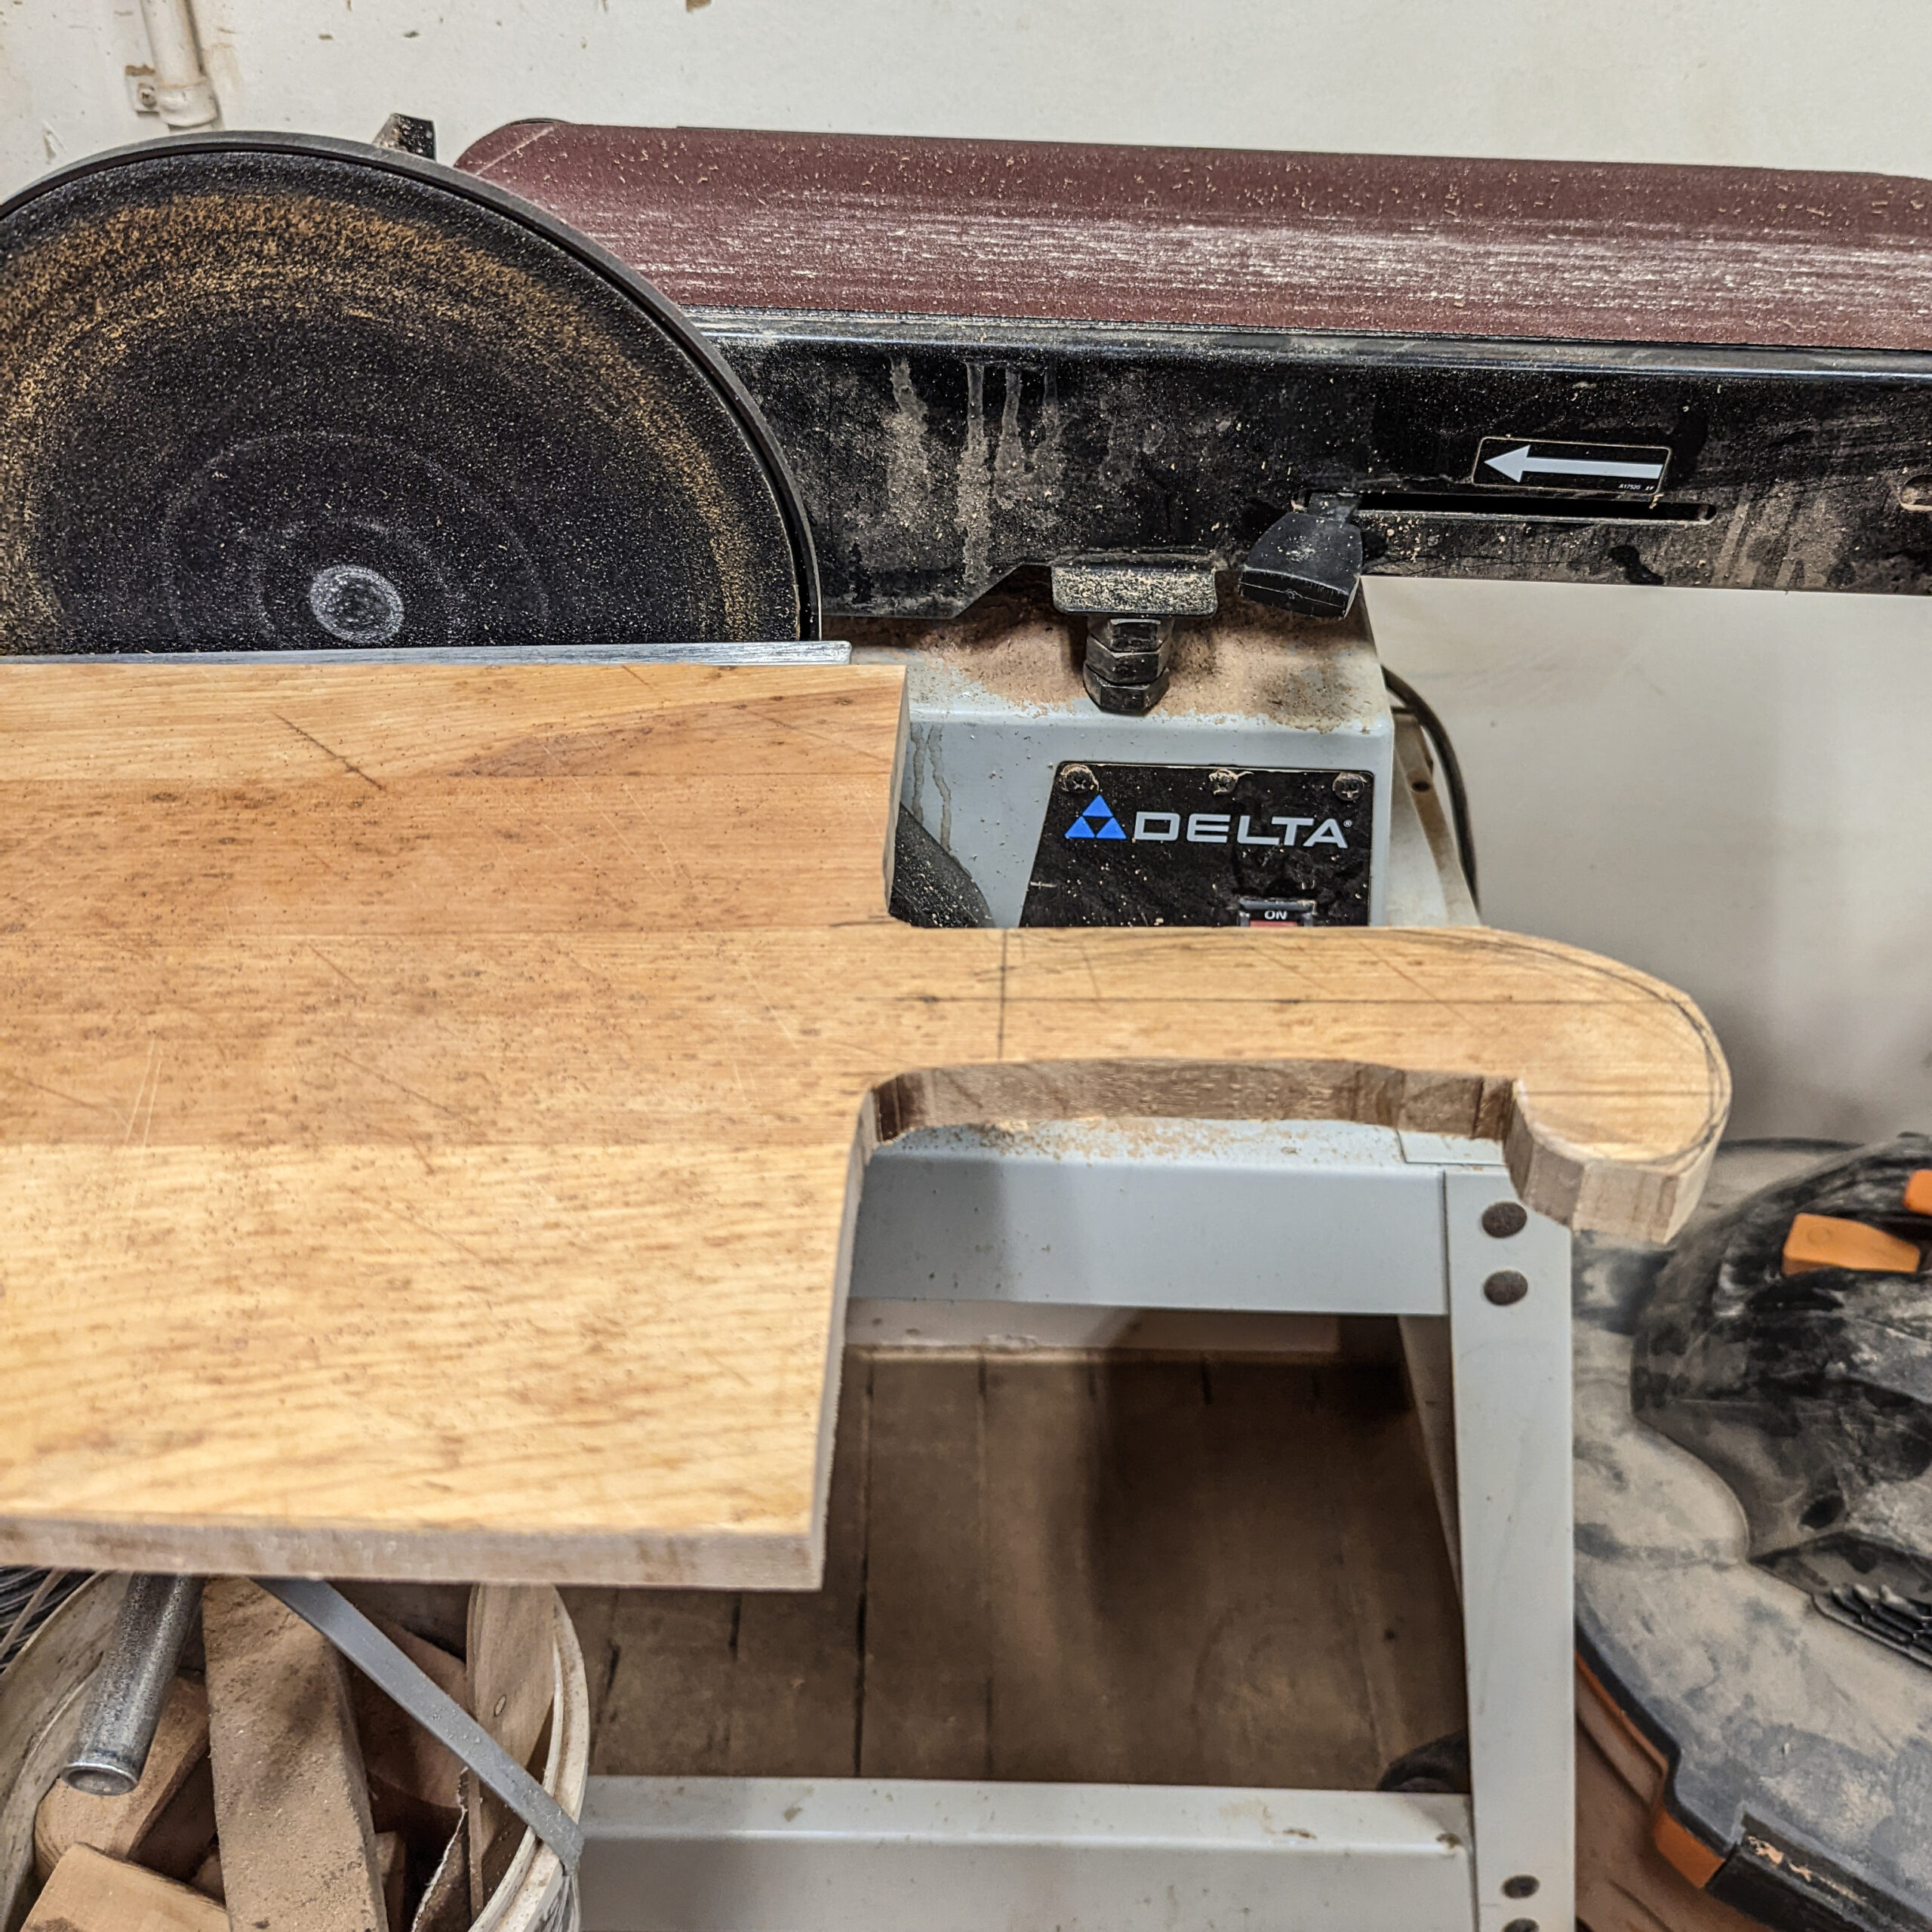
Go ahead and run the palm sander, using successively finer sandpaper, on both flat sides of your cutting board to create an extra-smooth surface
Pro tip: a bit of water wiped on the surface after the first sanding will cause the grain of the wood to rise slightly, and permit a smoother sanding. Get the cutting board damp, allow it to dry, and sand again for an extra-smooth finish.
Step 4. Oil the homemade wood cutting board
Once you sanded the sharp edges off your handmade cutting board, it’s time to oil the wood. Oiling a cutting board serves multiple purposes: it helps form a barrier that keeps the wood from drying out and splintering while also keeping stains from foods from penetrating into the wood. Most cutting boards take at least 2 to 3 coats with oil, and they’ll absorb it best if left to sit in a warm area for a few hours.
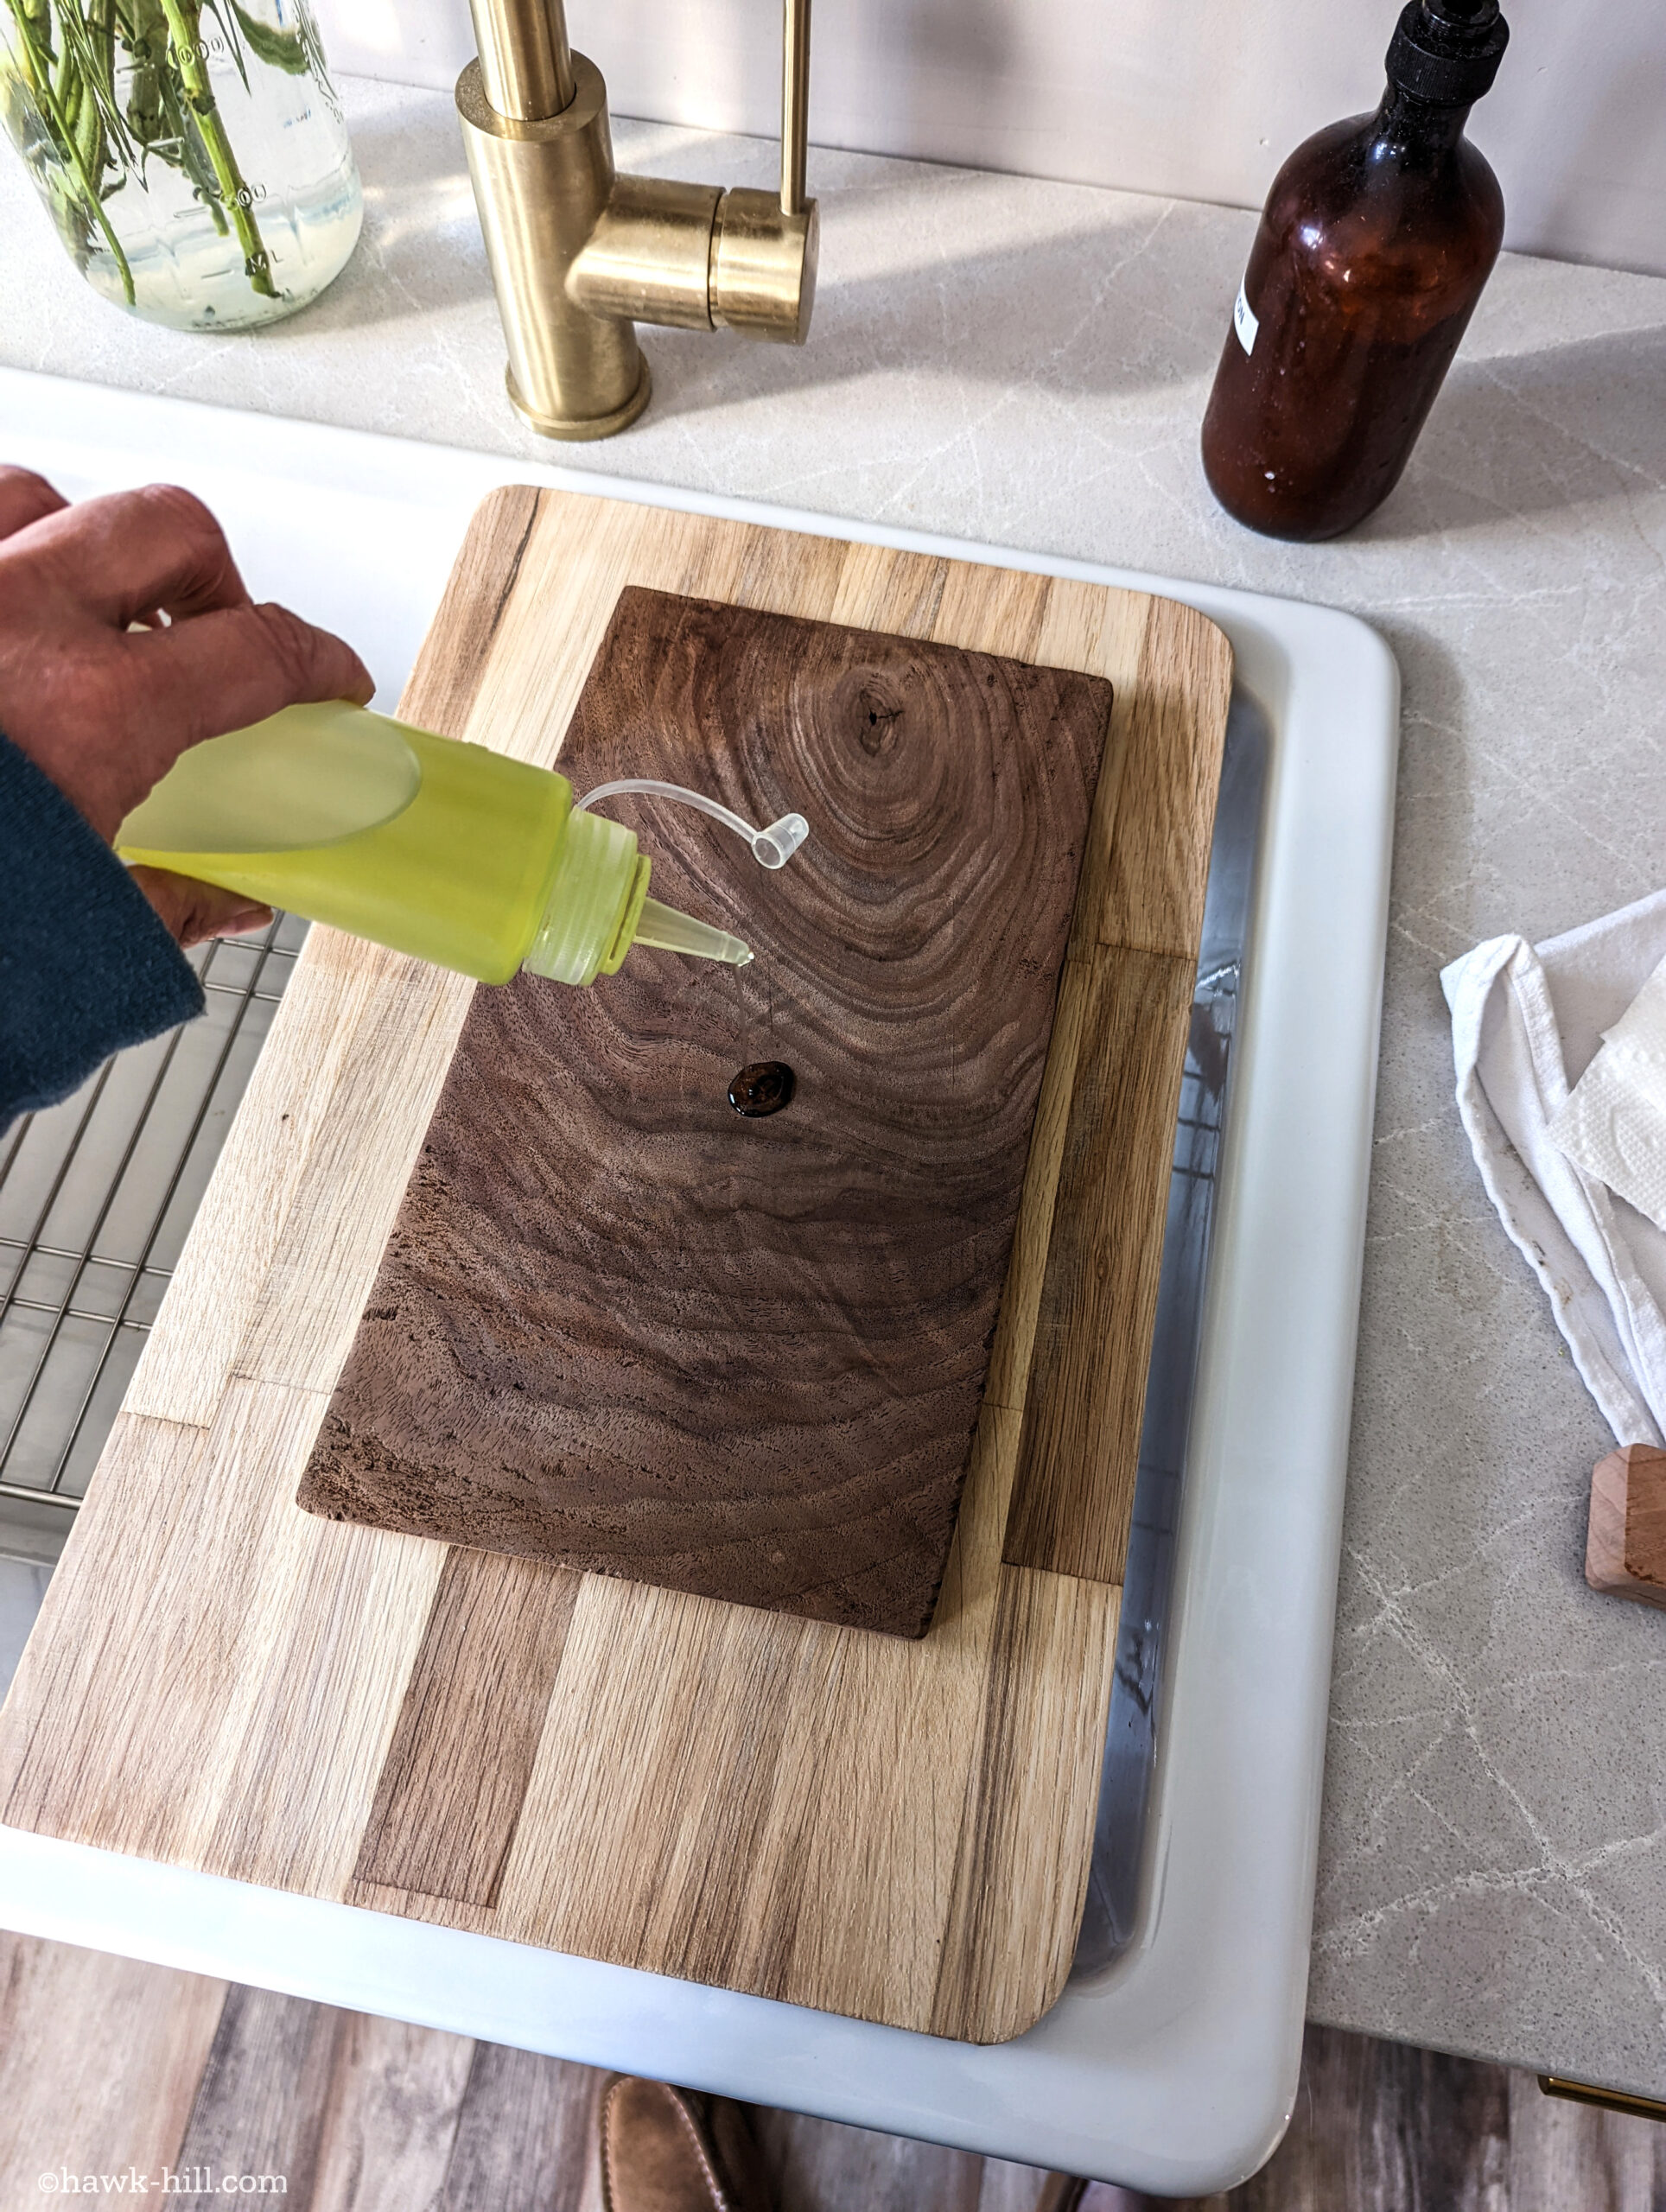
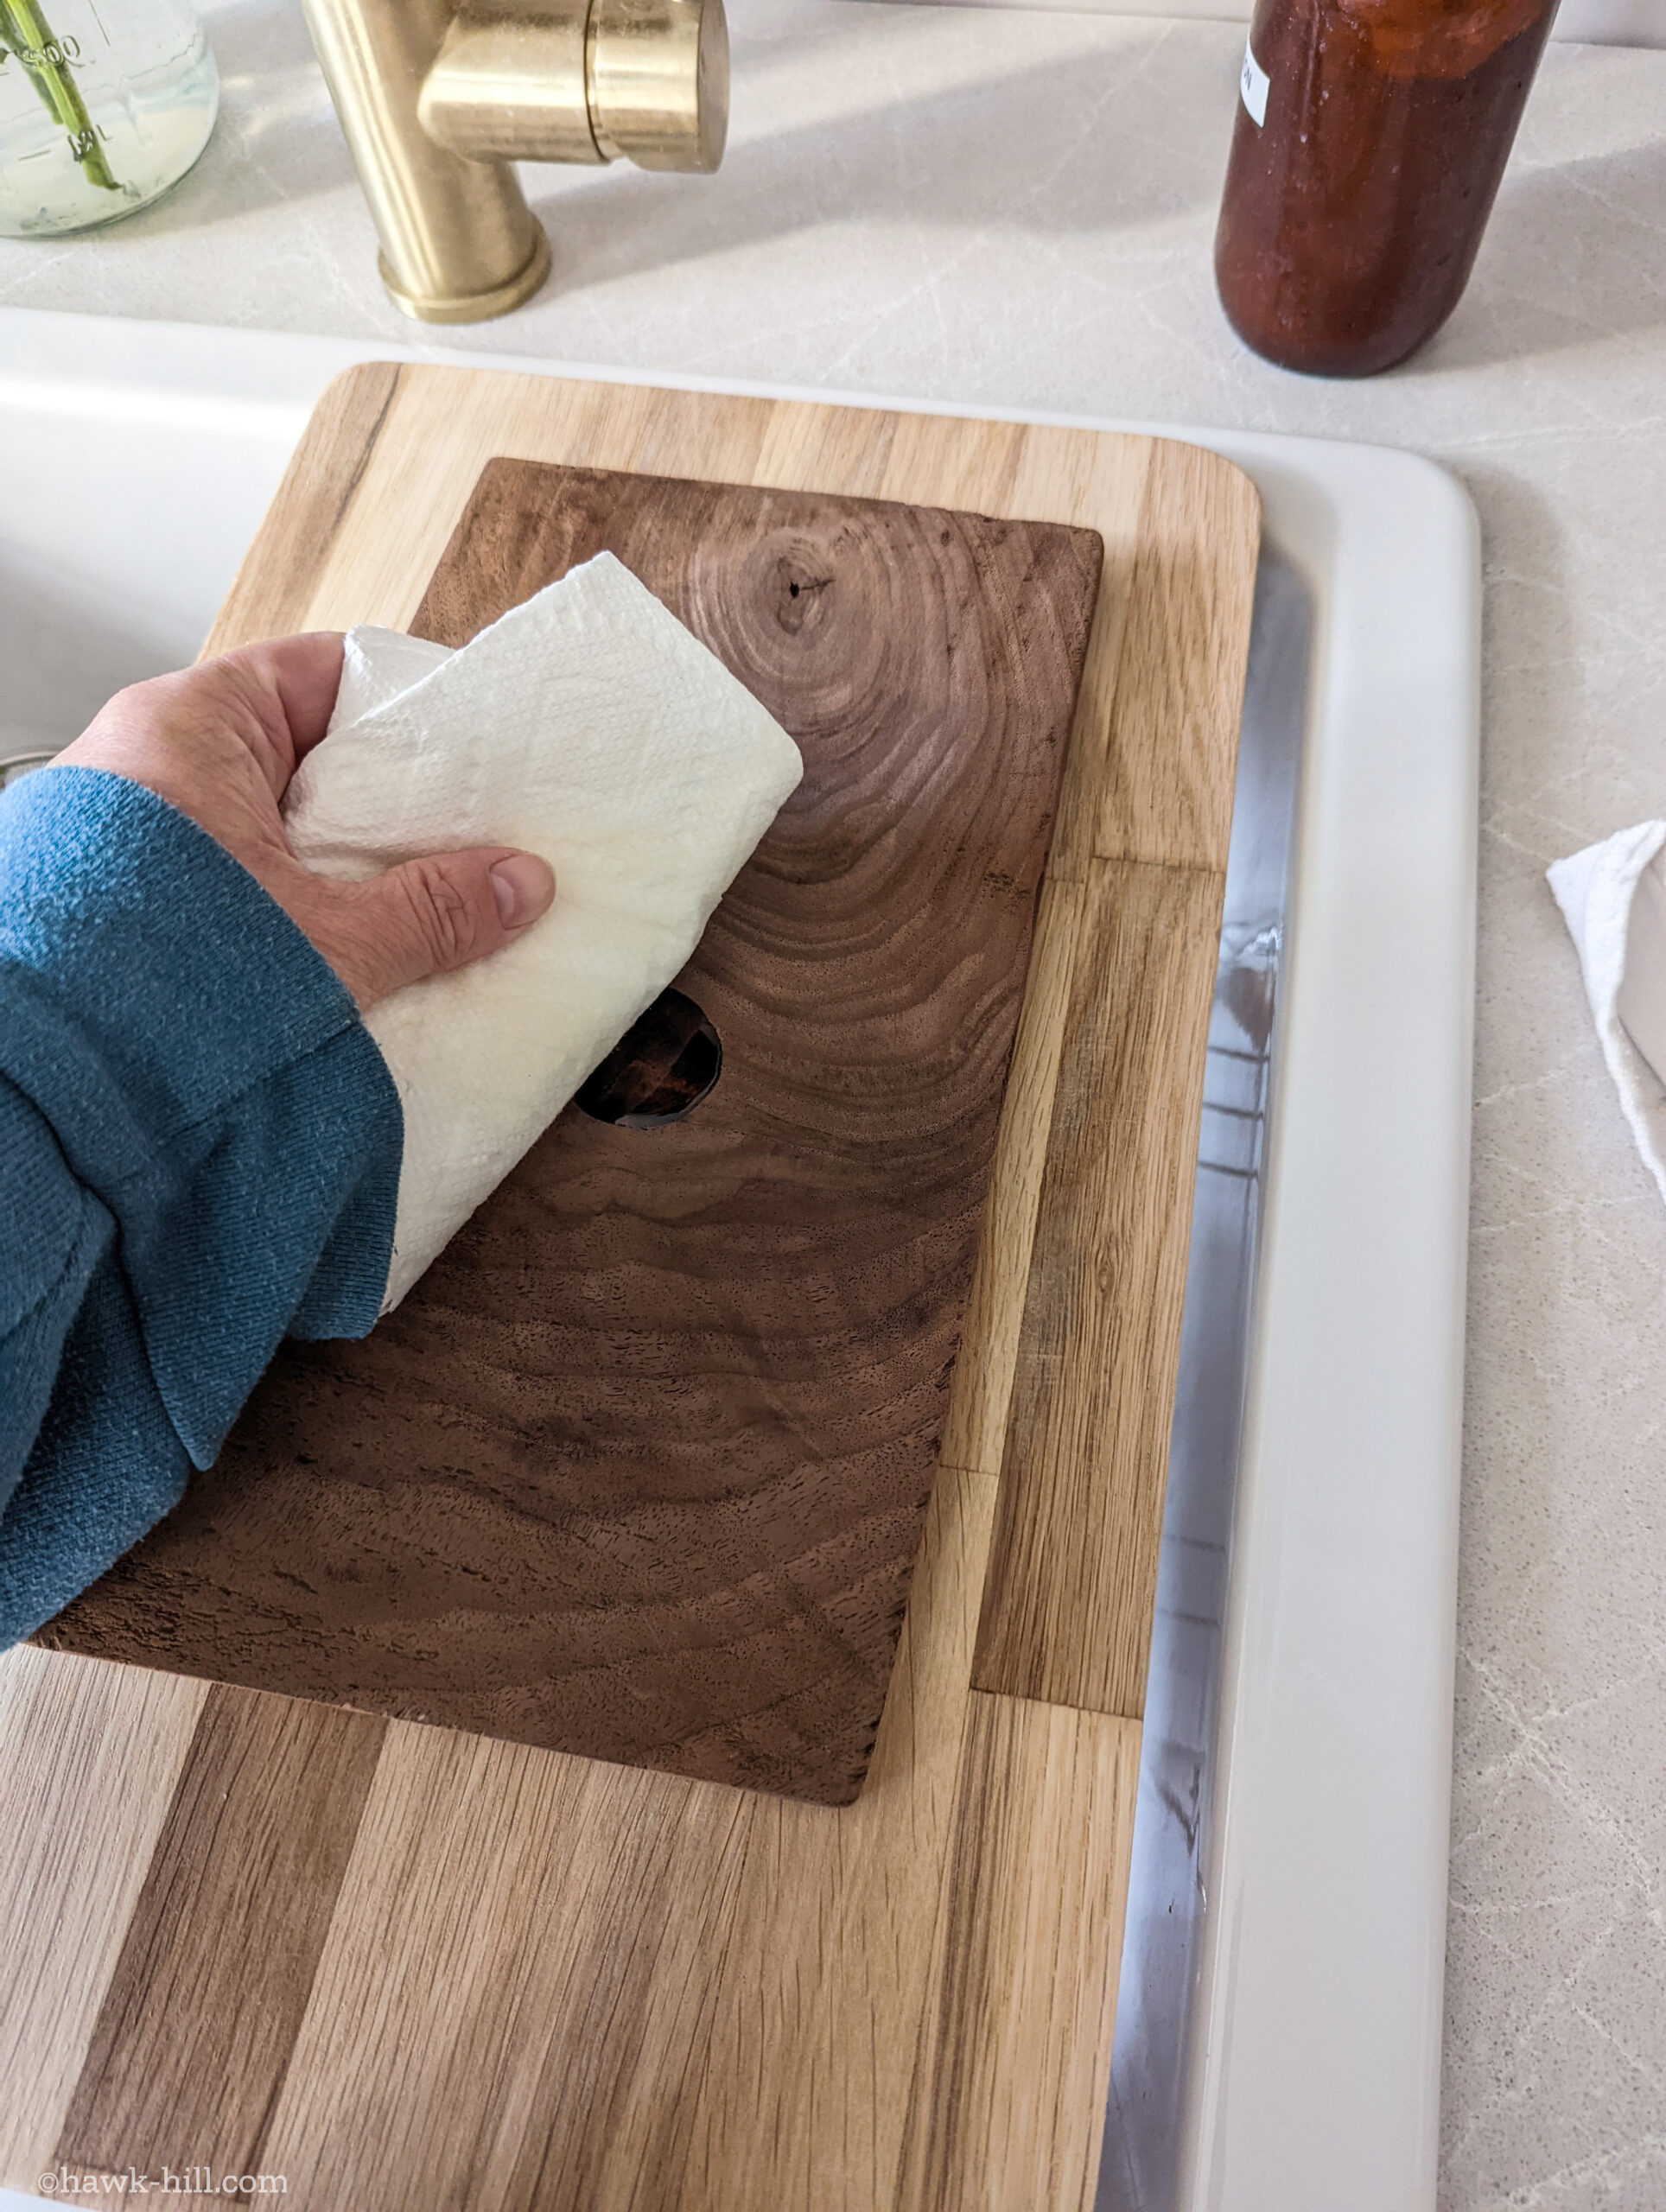
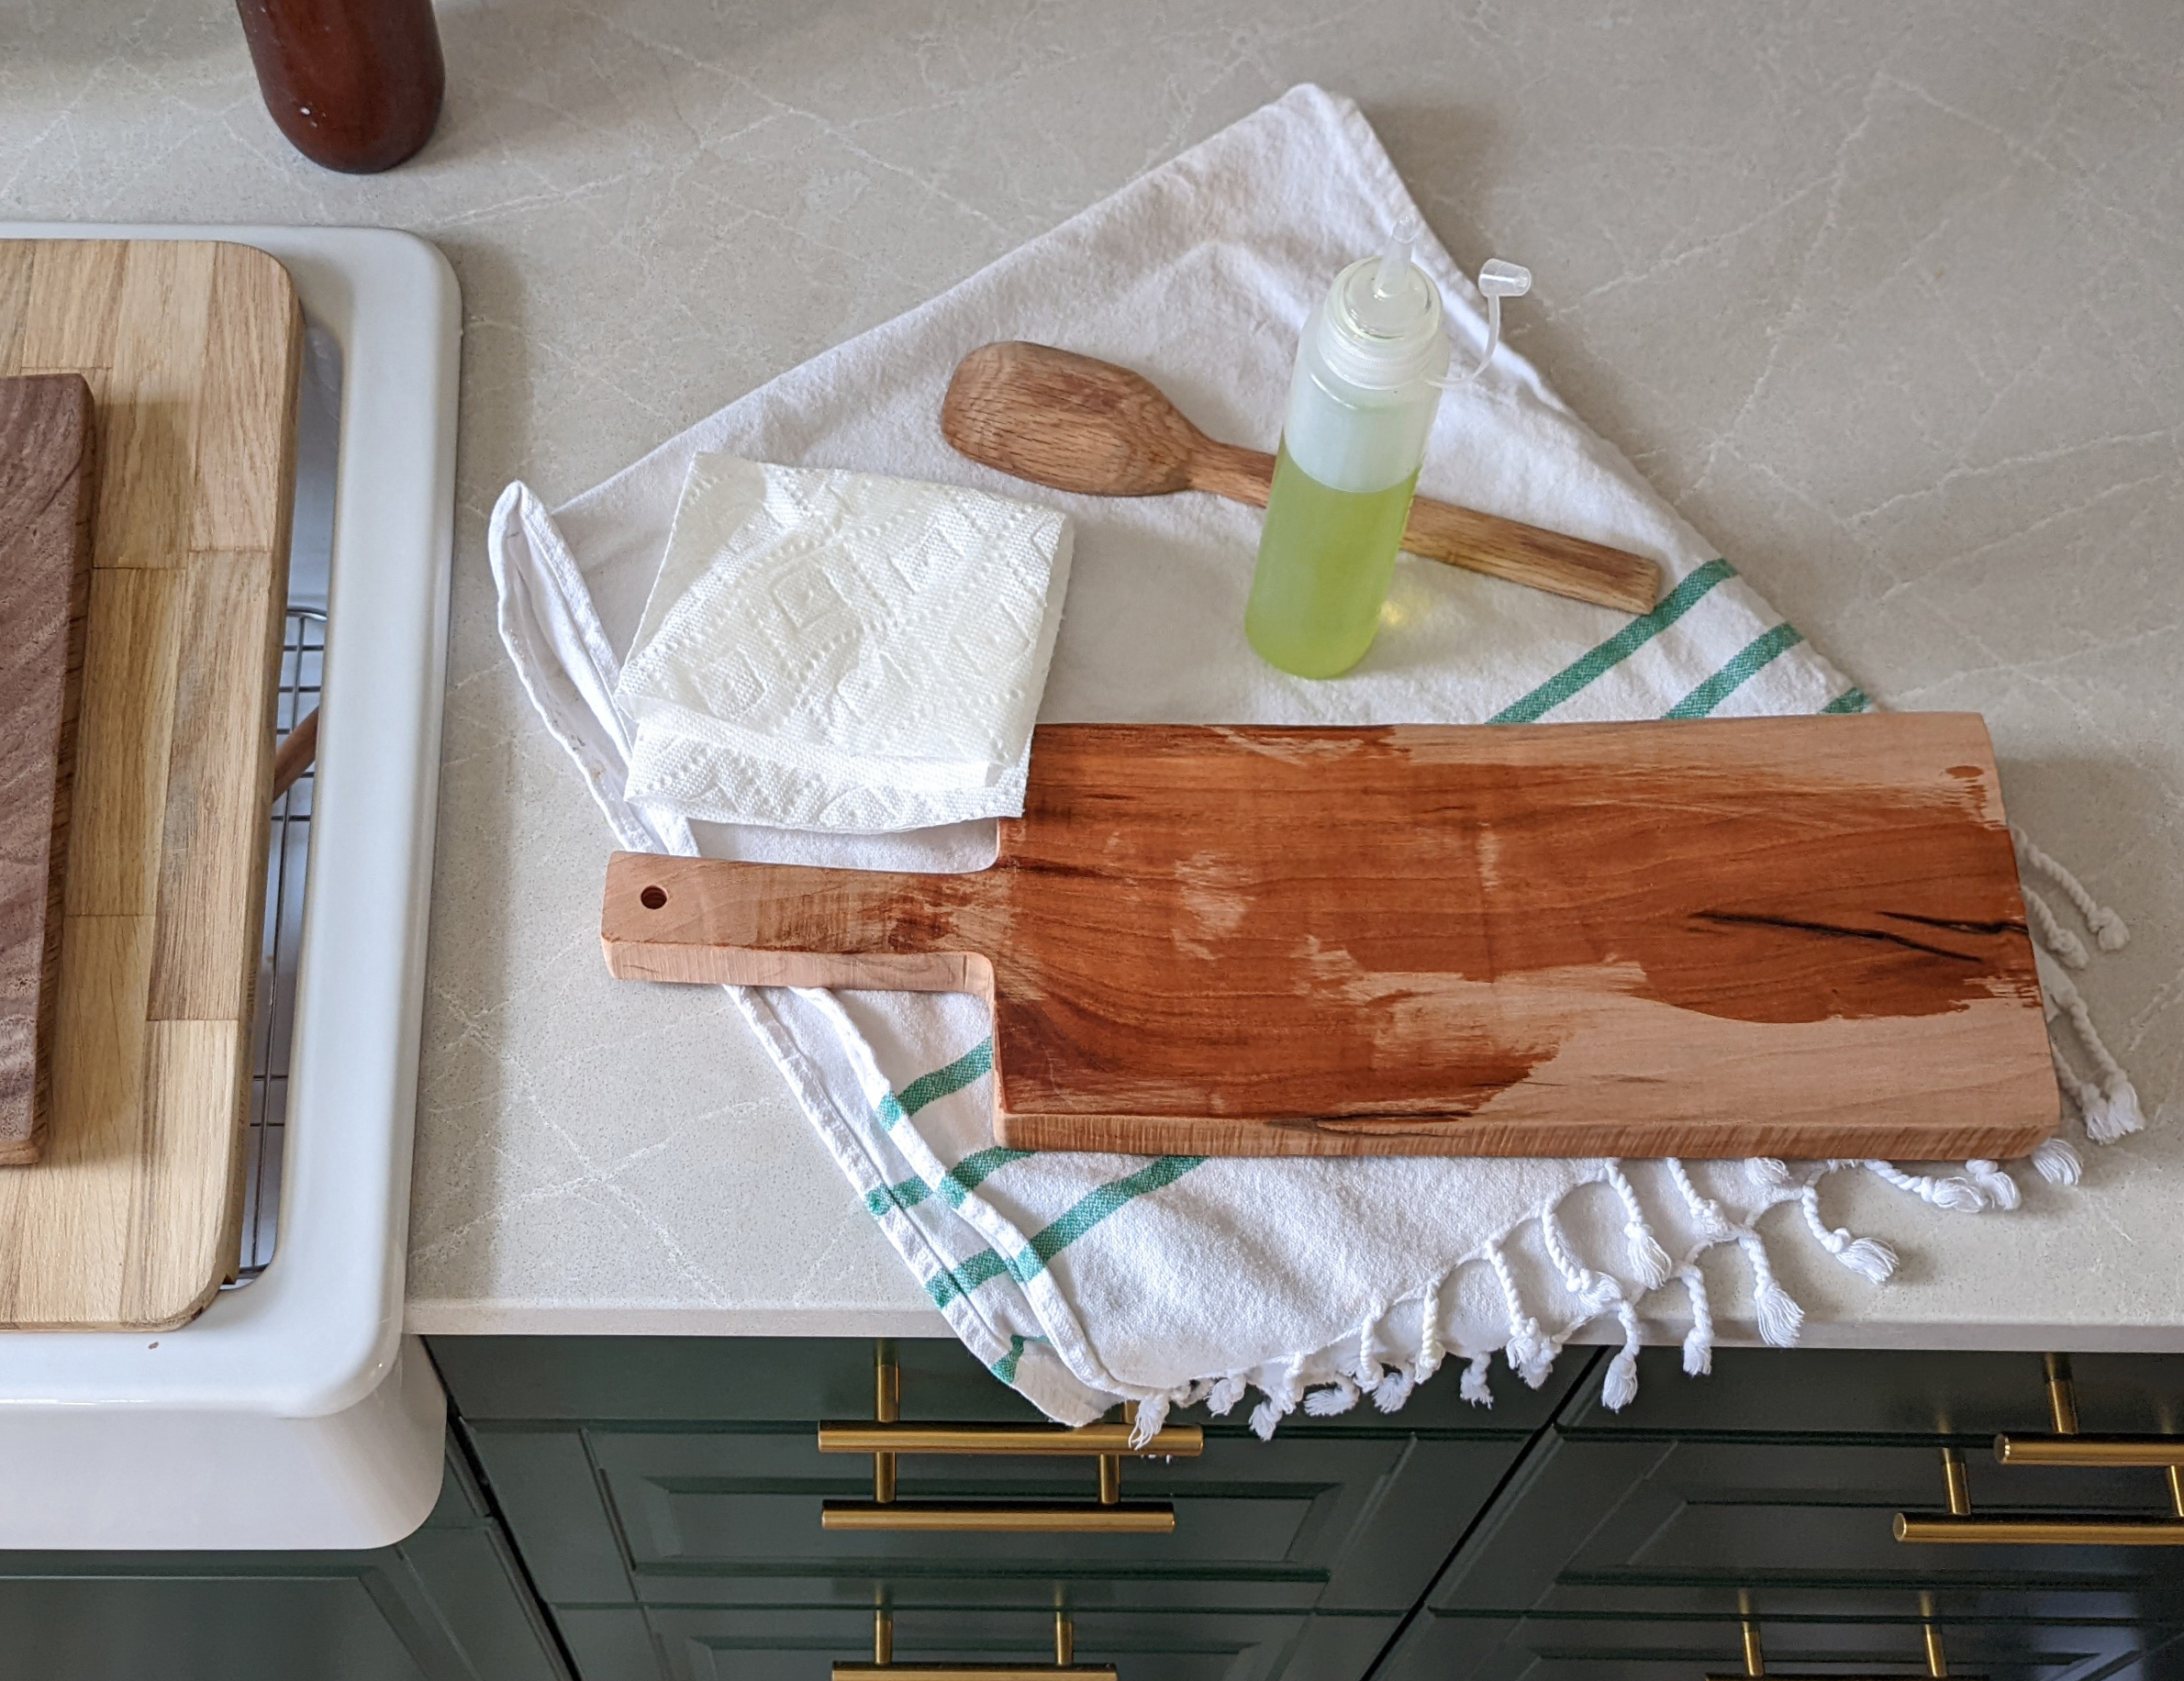
I’ve read that some cutting board craftsmen leave their new cutting boards in oil to soak, but overpenetration can cause a yucky (and potentially dangerous) biofilm to form on the surface- so it’s better to re-oil occasionally than to saturate the wood and have oil constantly sitting on the surface.
Step 5: enjoy!
Homemade cutting boards are a beginner-level DIY that results in a satisfying and usable final result. I found that doing a few at a time allowed me the opportunity to experiment with different styles – I love my primitive-looking long board cutting board, and plan to repeat style again when I find a suitable plank, so I can add another cutting board to my collection.
This DIY saved me at least $100 compared to the faux primitive cutting boards I was eyeing on Etsy prior to plucking up the courage to take on this homemade cutting board project, all in a satisfying half-afternoon project.
How to care for homemade cutting boards
Care for homemade cutting boards and handmade wooden cheese boards is functionally the same as care for commercially manufactured wooden cutting boards, but the truth is that most of us were never taught how to care for wooden cutting boards at all!
I can’t tell you how many times I’ve found perfectly nice cutting boards that were discarded to thrift store donation bins simply because they’d gotten dry and splintery or a little discolored. Five minutes of care for these boards generally restores them to like-new condition!
To care for homemade cutting board:
- To clean, use water and a scrub brush with a little bit of soap if necessary. Set the board up on an edge to dry. Never let a wood cutting board sit in water.
- If the wood of your cutting board seems to be growing a bit dry, apply a thin coat of a wood friendly long lasting food-safe oil such as grapeseed oil or mineral oil.
- When your cutting board needs a deep cleaning (or if you notice the wood cutting board getting splintery) it’s time to sand the surface. Sanding a cutting board can remove gouges, stains, discolorations, and raised grain. I recommend a palm sander with a high grit number sandpaper pad attached, but you can also sand cutting boards by hand. After sanding, wipe with a damp cloth to remove dust and then oil with the instructions above.
