My furniture shopping pet peeve is that the price tag rarely reflects quality- more often the price reflects the cost of shipping the piece from a manufacturing plant overseas. When I began shopping for a sawhorse table last year, it was obvious that the prices weren’t relative to quality. I quickly made up my mind to create my own- and am thrilled with the unique solid wood piece that now resides in my studio.
The following section may contain affiliate links. As an Amazon Associate, we earn from qualifying purchases.
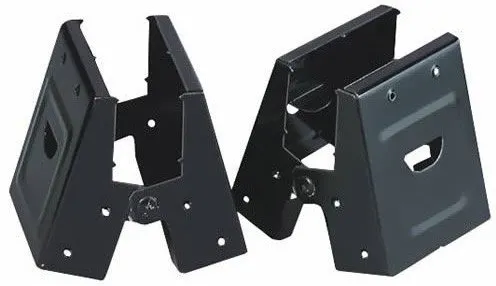
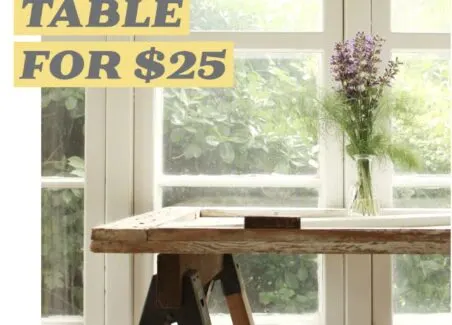
While a sawhorse table in a similar size would cost upward of $300, I was able to construct and finish my table for a total cost of $25. Sawhorse Brackets cost about $4/pair at your local hardware store (or you can check the price at Amazon). Lumber for this counter-top height table came in under $15.
This project was the perfect opportunity to use the large barn door that had been left in one of Hawk Hill’s barns when I bought the property, but if you don’t have a door handy, check your local Habitat for Humanity ReStore (this thrift-store style lumberyard/hardware store always has a large selection of doors on hand, ranging from cheap hollow core doors to solid antique doors)
Instructions for Building a Sawhorse Table:
Supply List:
- 2 sets of Sawhorse Brackets
- Spray paint for brackets (I used Rustoleum’s Oil Rubbed Bronze)
- 5 2×4 Studs (will vary according to how tall and how wide your crossbeam is.)
- Table Top (You can use anything sturdy and flat: a door, a salvaged tabletop, a concrete tabletop made with DIY countertop instructions, etc)
Tools Needed:
- A saw capable of cutting 2×4’s (preferably a miter saw that can cut 2×4’s on an angle, so the bottoms of the legs will sit square on the floor)
- Hammer & Nails
- Sandpaper or palm sander
Step 1. Paint Sawhorse Brackets
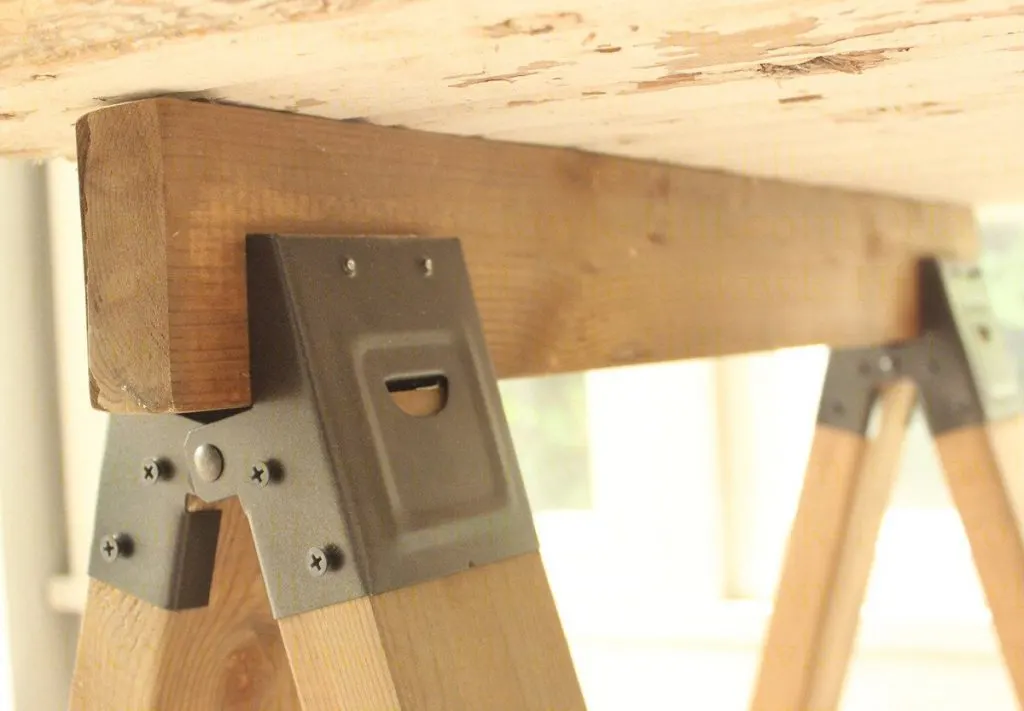
To create a polished finish on the final product, pause here and paint the sawhorse brackets. The black coating isn’t terrible, but for indoor use I think a premium finish adds a look of quality. A coat of oil-rubbed bronze spray paint elevated these basic shop-grade brackets into something more appropriate for interior use.
Step 2. Cut Sawhorse Legs and Cross Boards
The next step to making a DIY sawhorse table is to cut 2×4’s to form the legs and crossbeams.
Honestly, the math for cutting the legs was the hardest part of this project! Measuring and cutting I’m great at- but measuring, cutting, calculating the height of a board set at an angle, and calculating the angle of the bottom surface was more than a little challenging for this art-oriented brain! Eventually, with the help of some long-forgotten high school geometry, I figured it out. Here are the measurements I used:
Measuring and Cutting Your Boards:
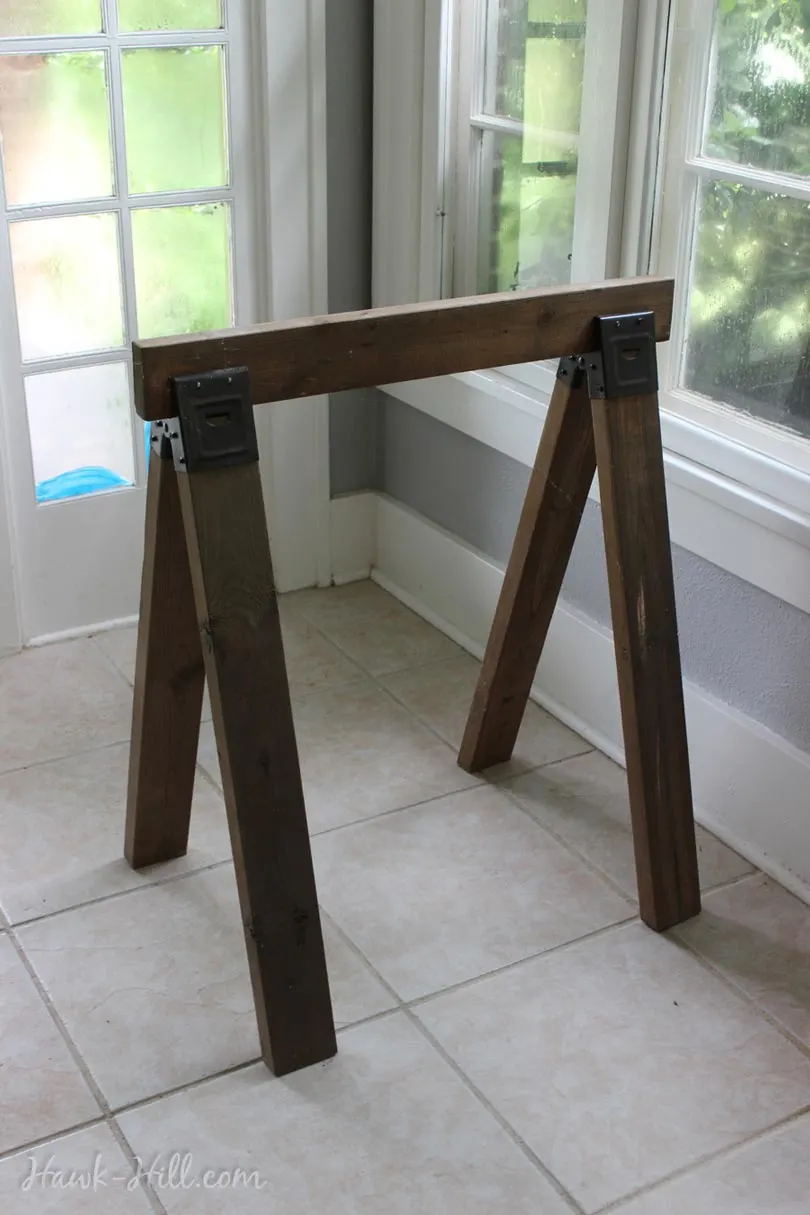
To create a counter-top height tabletop, each of the 4 sawhorse legs need to be 32 inches long.
For Stability: If you have access to a miter saw, cut one end of each leg at a 55° angle. An angled edge creates a bit more stability and adds a finished look.
For a secure surface, cut the cross boards for the top of the sawhorse to a length that is equal to 80-85% of the depth measurement of your tabletop.
Step 3. Sand and Prep Legs and Crossbeam
After cutting the lumber but before constructing the saw horses, sand and then stain or paint your cut lumber.
Begin by sanding any rough edges, lumber-yard stamps, and dings from sawmill machinery. Once sanded clean (5 minutes, with a palm sander– one of my best tool purchases ever!). Wipe the dust away with a damp cloth and then paint or stain the wood.
To stain my sawhorses, I used a homemade stain made with vinegar, steel wool, and earl grey tea (Earl Grey tea, it turns out, adds a blackish-grey tone to homemade wood stains. You can get the recipe on Instructables).
Linseed Oil painted on the lumber after the stain is dried and set (About 12-24 hours) can add richness to the grain, but since I did this project in the dead of winter and was desperately ready to move the wood out of my freezing workshop and into the house, I skipped the oil, and hit it later with some beeswax furniture polish.
Step 4. Assemble Sawhorses
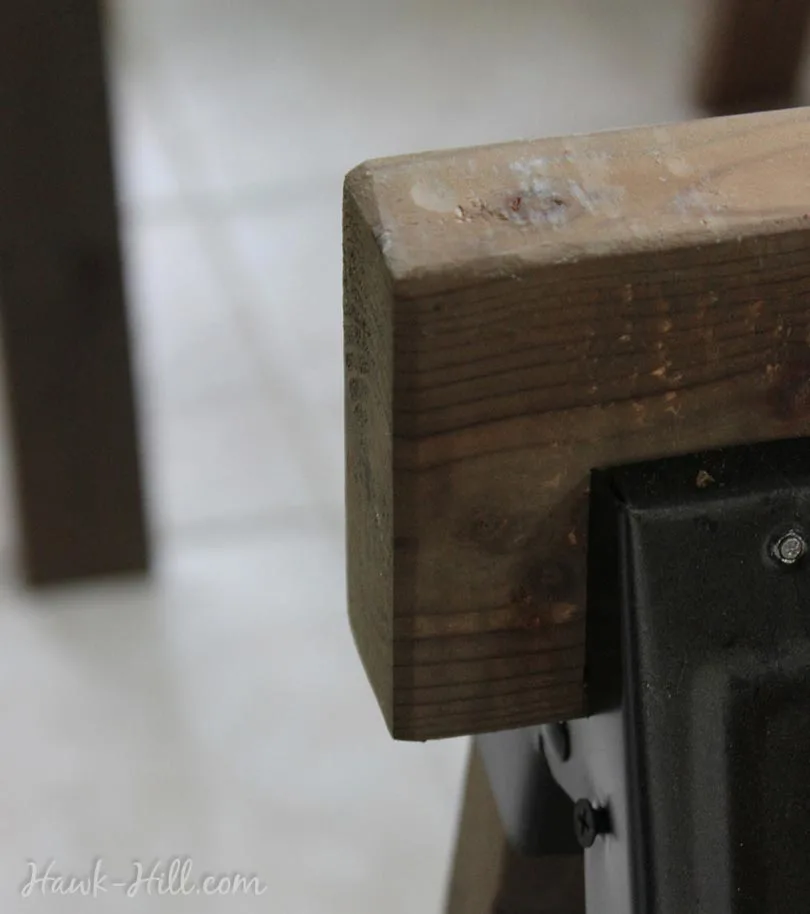
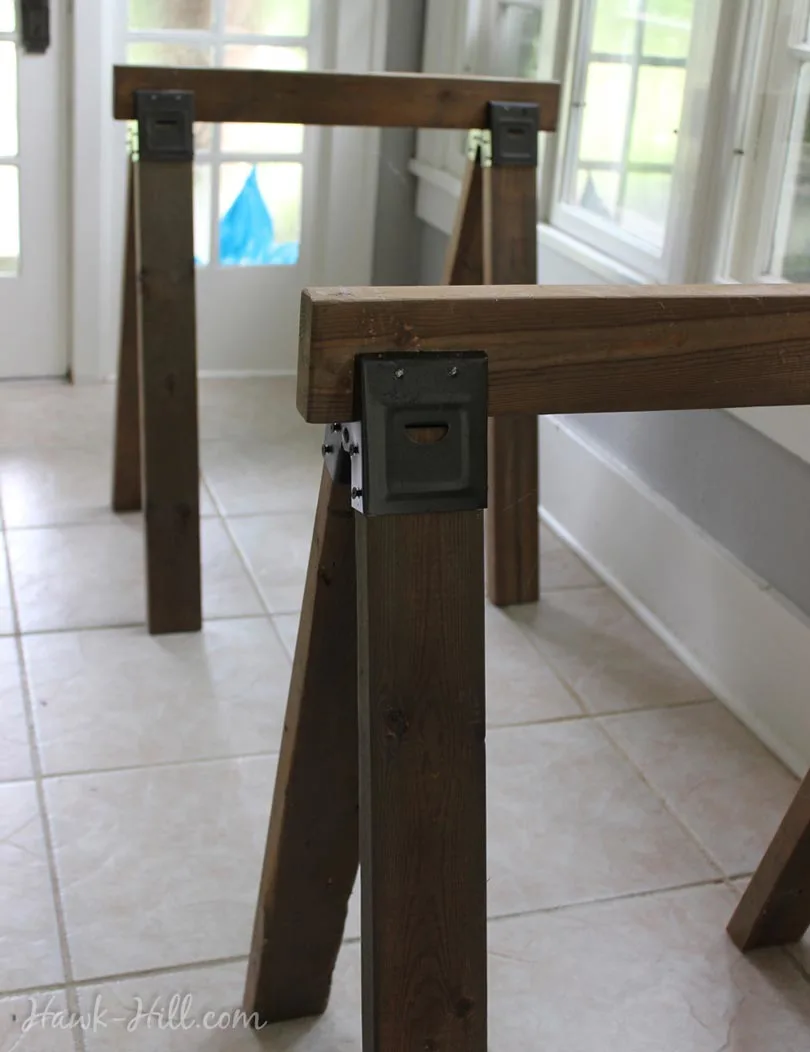
Following the instructions on the package of the brackets, assemble your sawhorses. Hammer nails (Learn from my mistake: Nails, not screws! Drywall screws left heads extending not-quite-flush) into each of the pre-punched nail holes in the brackets.
If you cut the legs with an angled bottom, double-check that the 90% angle end is inserted into the bracket before adding the nails. I’m not proud to admit it, but I had to unscrew screws and flip boards so that the angles were flush with the floor!
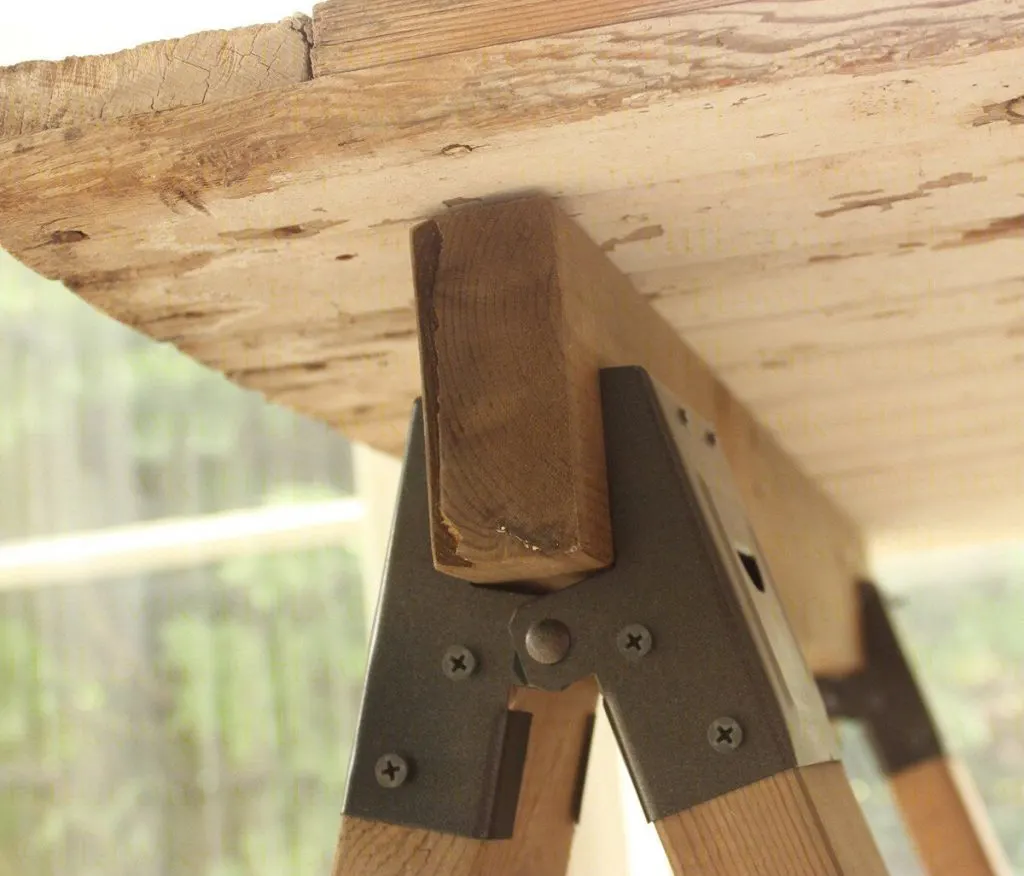
Once your sawhorses are assembled, you can place your tabletop across the top. Although some people may choose, if the tabletop is heavy and the DIY sawhorses are sufficiently wide, to not permanently attach the tabletop to the sawhorses, I absolutely advise adding a few screws to secure the tabletop to the sawhorses, and a wall anchoring kit to ensure the table never flips over and injures someone. These quick and inexpensive safety upgrades are an easy way to have peace of mind that your homemade saw horse table will be a safe addition to your home.
This is a fun project that anyone can do! Even if you don’t have access to a saw, you can just have the lumberyard staff cut the 4 or 5 2×4’s into the 10 boards needed for this project. (Tip: some of the big box stores are charging per-cut for board cutting now. Save money by asking the clerk to stack boards, so they can cut four legs with one cut.)
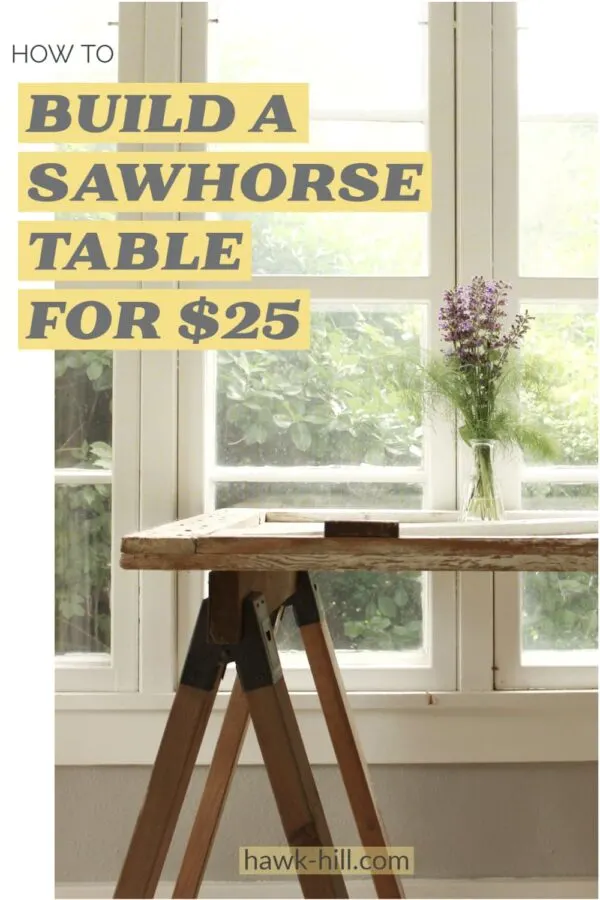
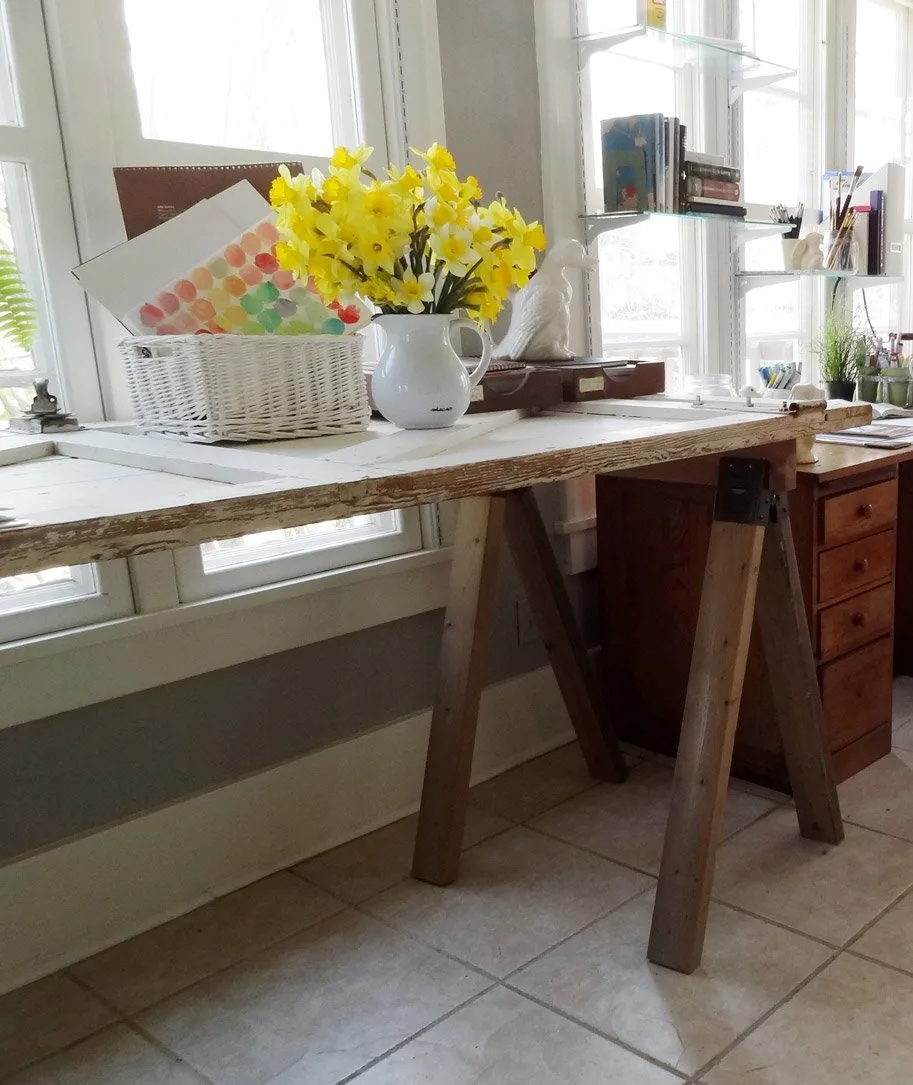
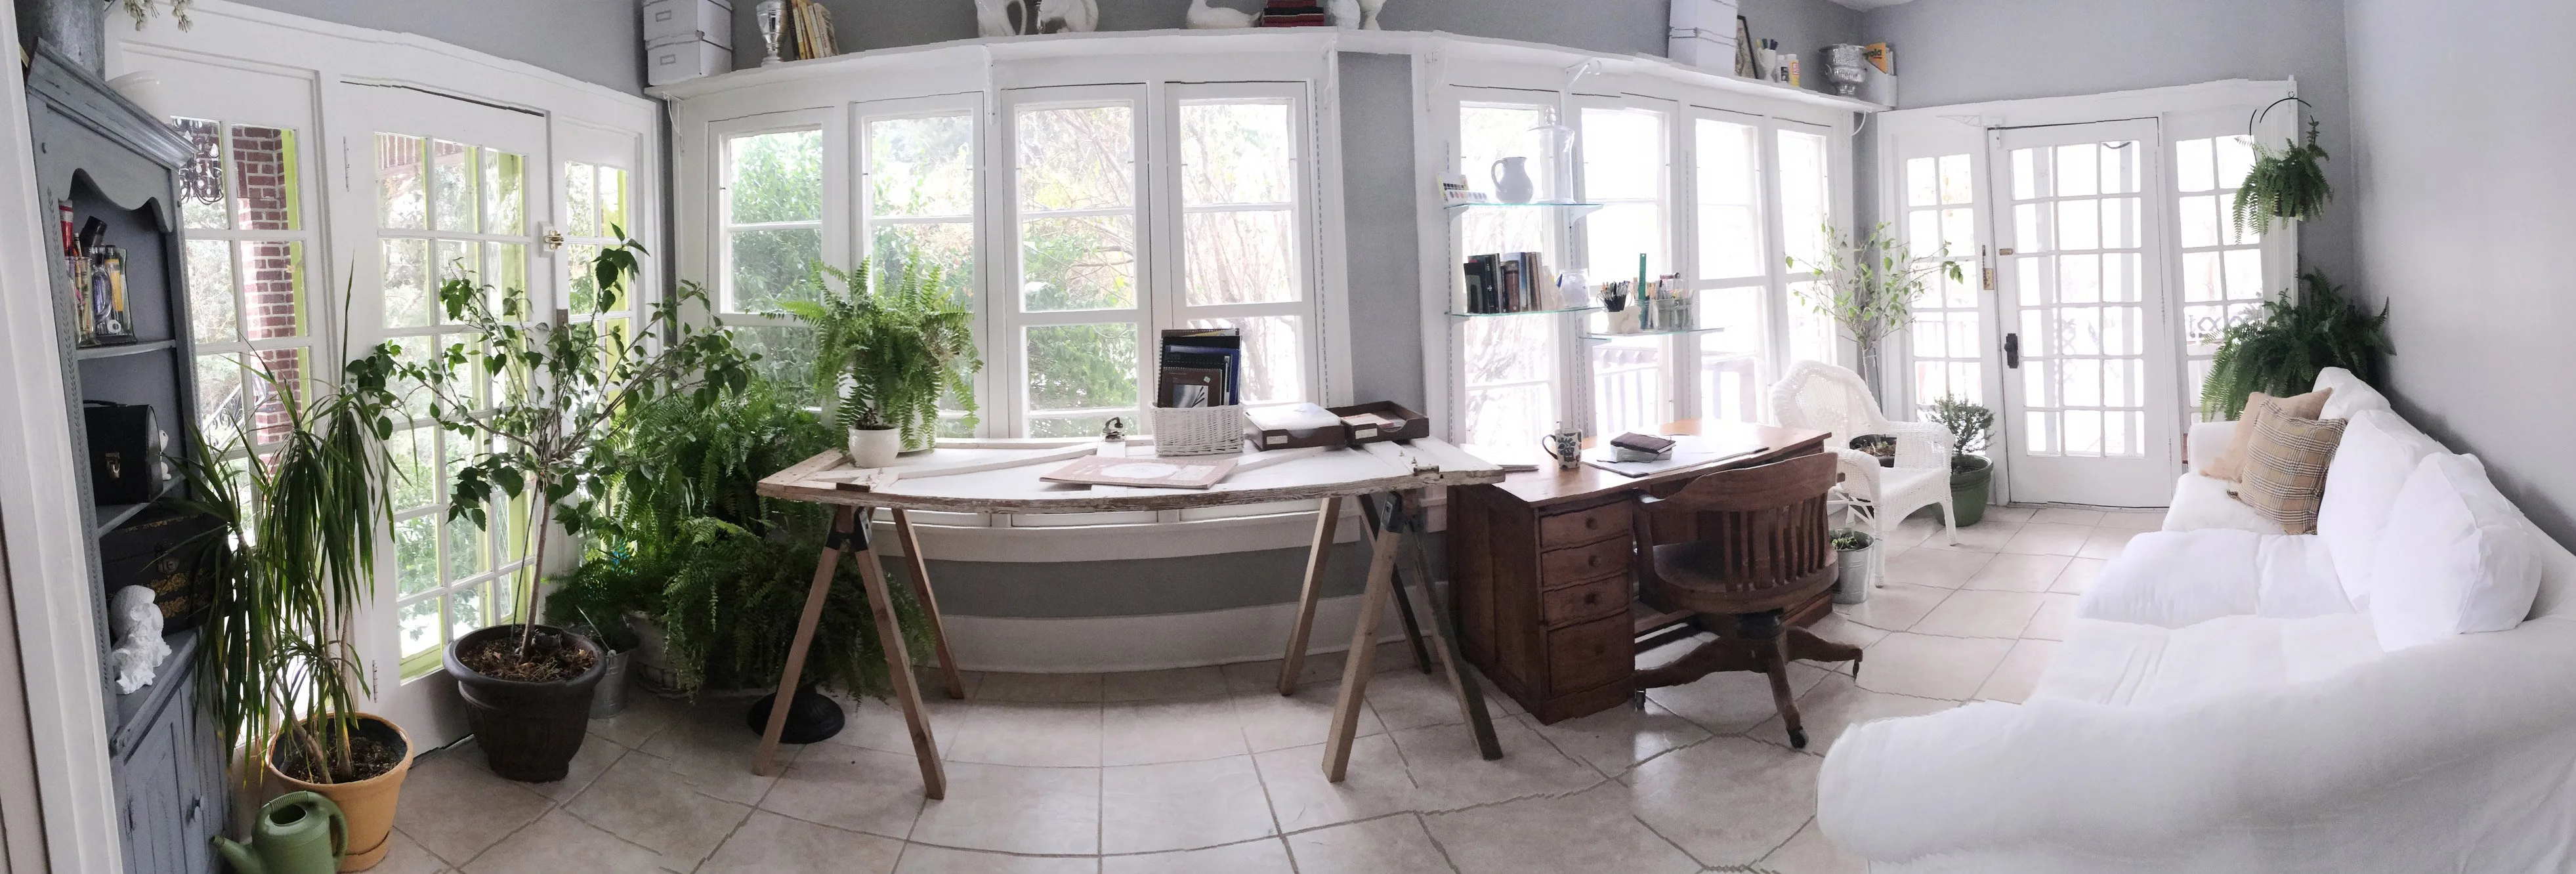
January 2022 Update: I am still in love with this table! I love having a very large countertop height table in my studio and often use it as a standing desk. The light is perfect and the heavy tabletop plus sturdy sawhorses result in a table that can easily be moved in a pinch, but never moves or shifts as I’m working. The photo below is the view from the entryway of my studio.
This sawhorse table is visible from many rooms of the house, so I often use it to display bouquets of flowers (and increasingly, bouquets of weeds and herbs, like the sage blossom/fennel arrangement shown below.)
Making a table with sawhorse legs is an easy DIY that just about anybody can accomplish! It’s a great project for new homeowners to try out DIY home improvements, and even works for rental apartment owners who may not have access to tools or space for big project- getting the sawhorse legs precut makes this project easier than assembling basic IKEA furniture!
Sawhorse Table FAQ’s
How long should my sawhorse legs be?
What do you use for a sawhorse tabletop?
Does the uneven surface of a barn door table top cause a problem when using it as a work surface?
Thanks for Reading!!!
I hope you can tell that I love DIY, researching the best affordable solutions for every-day problems opportunities and documenting / sharing solutions!🙌 Hawk-Hill.com is reader-supported.
☕ Hawk-Hill.com is reader-supported. If this article saved you time or money, please consider donating $1 to help me cover the cost of hosting this website OR If you appreciate this information and want to throw a “Thanks!” my way by buying me a coffee – I would Of Course appreciate it! :]
Reader Questions and Recommendations
Readers, do you have any favorite topics / posts? What would you like to read more about in the future? As I hope you can tell from this and other articles on my site, I really enjoy DIY / a good challenge, and I’m not afraid to roll up my sleeves to figure out a great, and hopefully simple 😁 solution. So please feel free to let me know in the comments below (or reach out via social media)!
Ok Really – I’ll try to wrap this up now😂
Finally, if you’d like to continue to learn about interesting DIY options as well as how YOU can tackle creative new projects consider checking out the latest and most popular articles listed on the Hawk-Hill Home Page. I’m always trying to enjoy and write about the creative side of life so please don’t be a stranger – check back often!😍
If you enjoyed this post you may also enjoy reading / perusing / devouring😊 one or all of these articles as well!


Donna
Sunday 22nd of May 2022
Hi... its me again. Ok....yeah... I'm totally math illiterate. Hoping you can help me... You used 32" legs for a countertop height table. As the legs are at an angle... the height (at that angle) will be shorter than 32". Then you used a 3.75" deep cross board.. with a 2" thick door. As the finished product, can you tell me the complete height of your table? That will help me to guesstimate how long my table legs should be if wanting it to be Table-height. (I dont know how much difference in height there is when the leg is straight up & down.. as opposed to angled when in that sawhorse clamp and fully opened. Any assistance with that would be greatly appreciated. Thanks!
Donna
Sunday 22nd of May 2022
@Donna, I should add... your cross board is probably thinner than mine. The one I intend to use is 3.75" wide. Which will make my top a bit higher than yours.
Donna
Saturday 12th of March 2022
OMG.. You are a genius!! I was scouring the internet trying to find clear & easy directions on how to make a table using an old door and sawhorses... I'm so happy to have come across your site! This is EXACTLY what I'm looking for and will be perfect to use for an outdoor Low Country Boil! Thank you!
Christin
Thursday 7th of December 2017
This is awesome! So glad I found you!