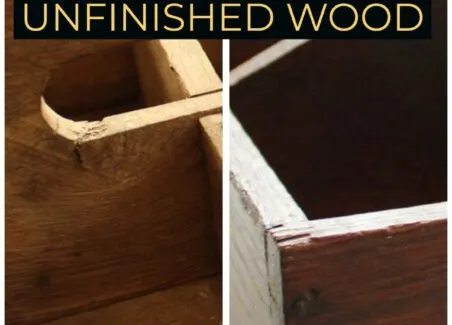
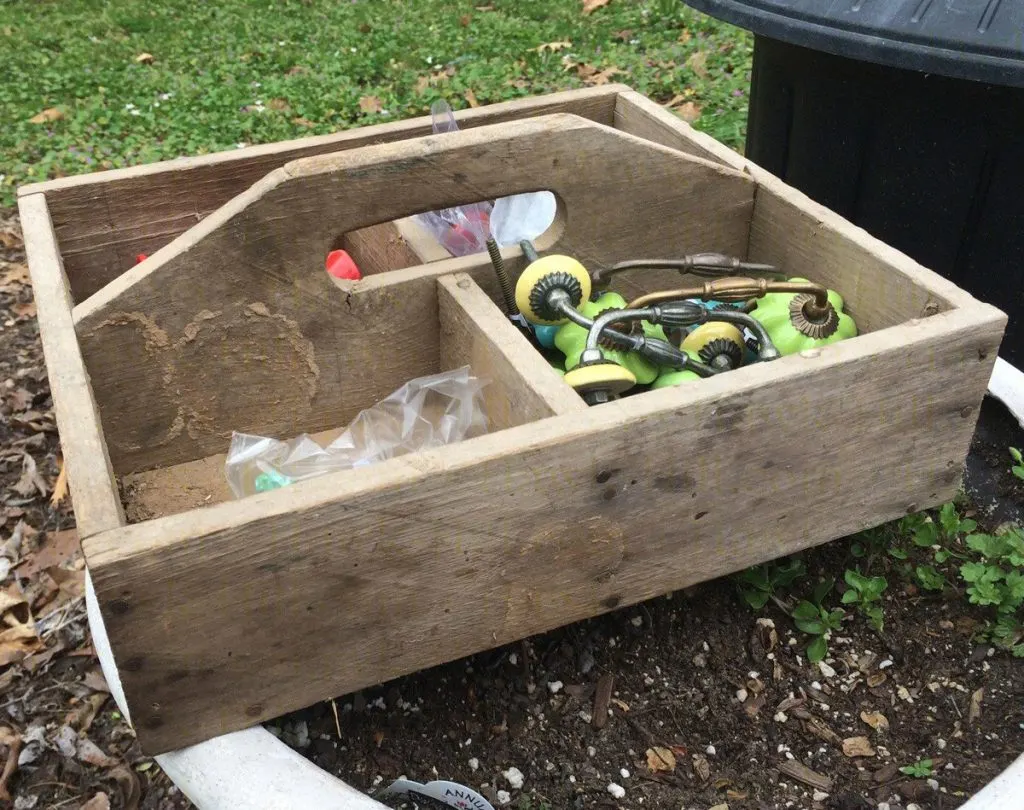
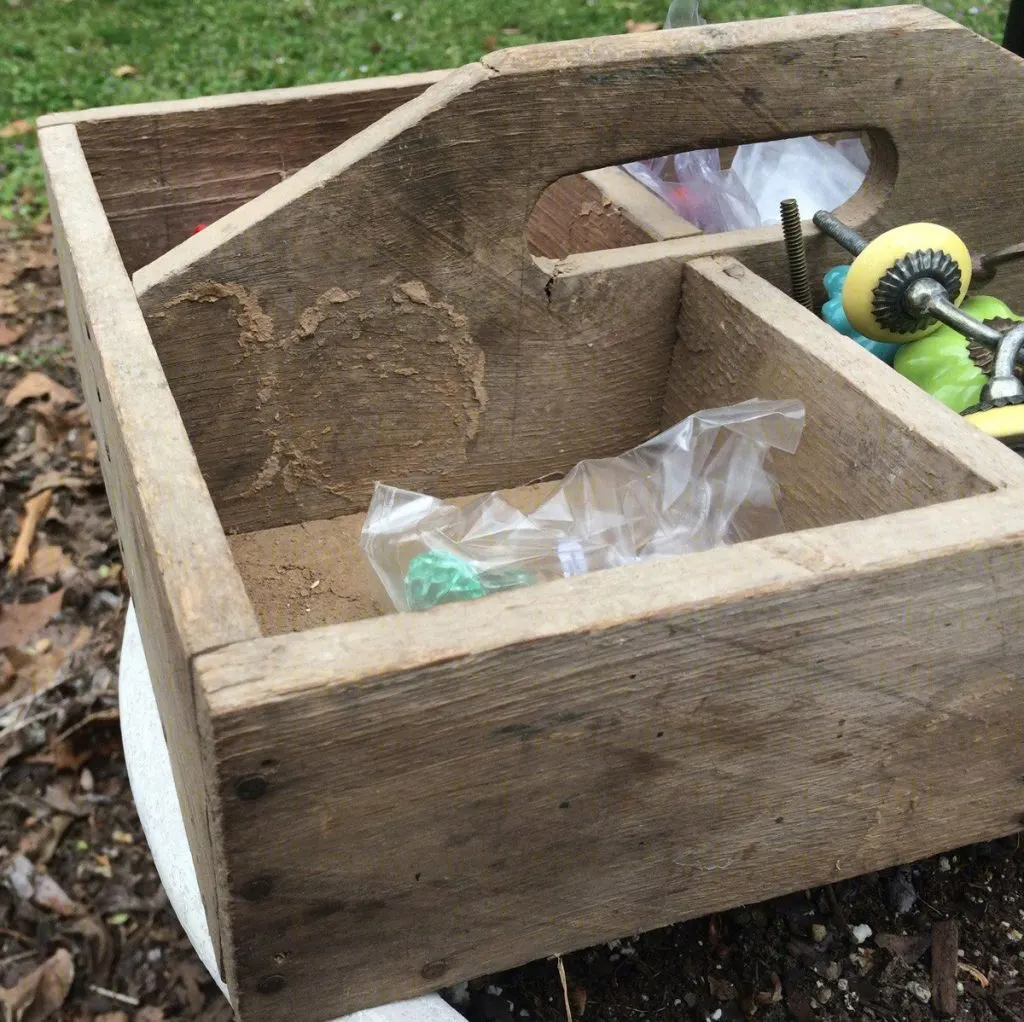
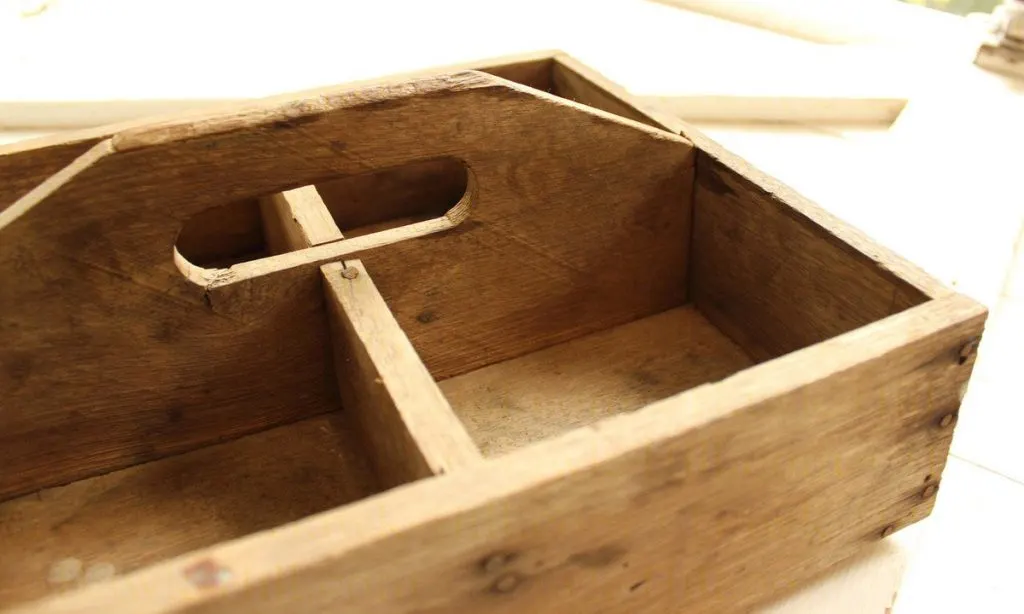
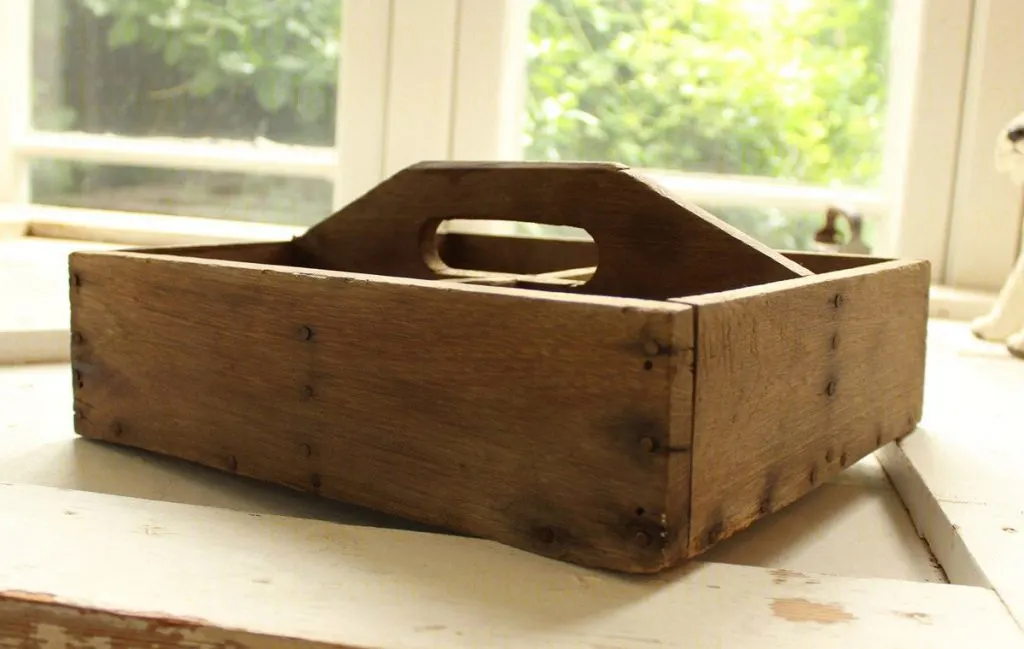
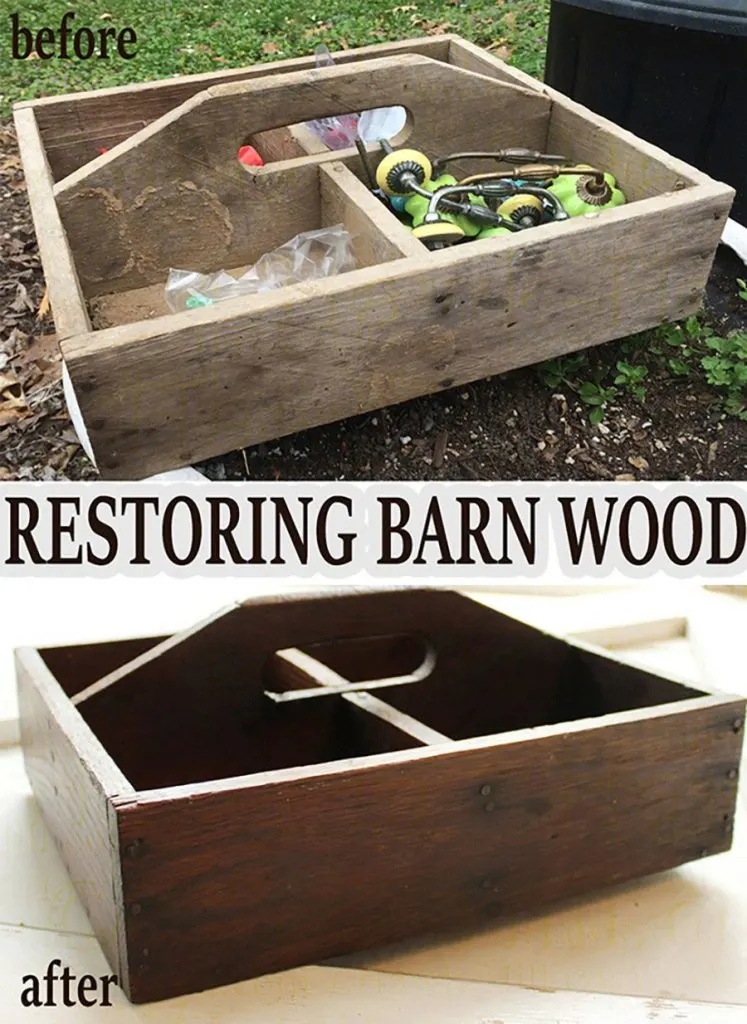
Have you ever come across a structurally interesting wood piece (such as an antique wooden toolbox) but layers and layers of ingrained dust or the chalky dry wood left behind made it seem a little too grungy or industrial looking for your home? I was given this vintage wood toolbox (find one like it in the vintage section on Etsy) recently by a friend cleaning out an abandoned barn, but no amount of wiping or even hosing it off could get the wood clean- so I took drastic measures:
In this article, I’ll walk you through the following:
- My, somewhat non-traditional, “drastic measure”, to clean the piece🤪
- Application of my wood restoration secret ingredient 🤫
- Final buffing stage of the vintage wood toolbox restoration🪥
- Warning: What NOT to do when restoring an antique wood item🙅♀️
- Finally – best and common uses for an antique wooden toolbox👌

As with many DIY projects, I find that with a little patience and know-how, these vintage wooden toolboxes can be restored to their former glory, becoming both a practical item and a cherished keepsake. In this article, we will take you through the steps of restoring a vintage wood toolbox and show you how to bring new life to this timeless treasure.
The following section may contain affiliate links. As an Amazon Associate, we earn from qualifying purchases.
Non-Traditional ‘Drastic Measure’ to CLEAN the ToolBox
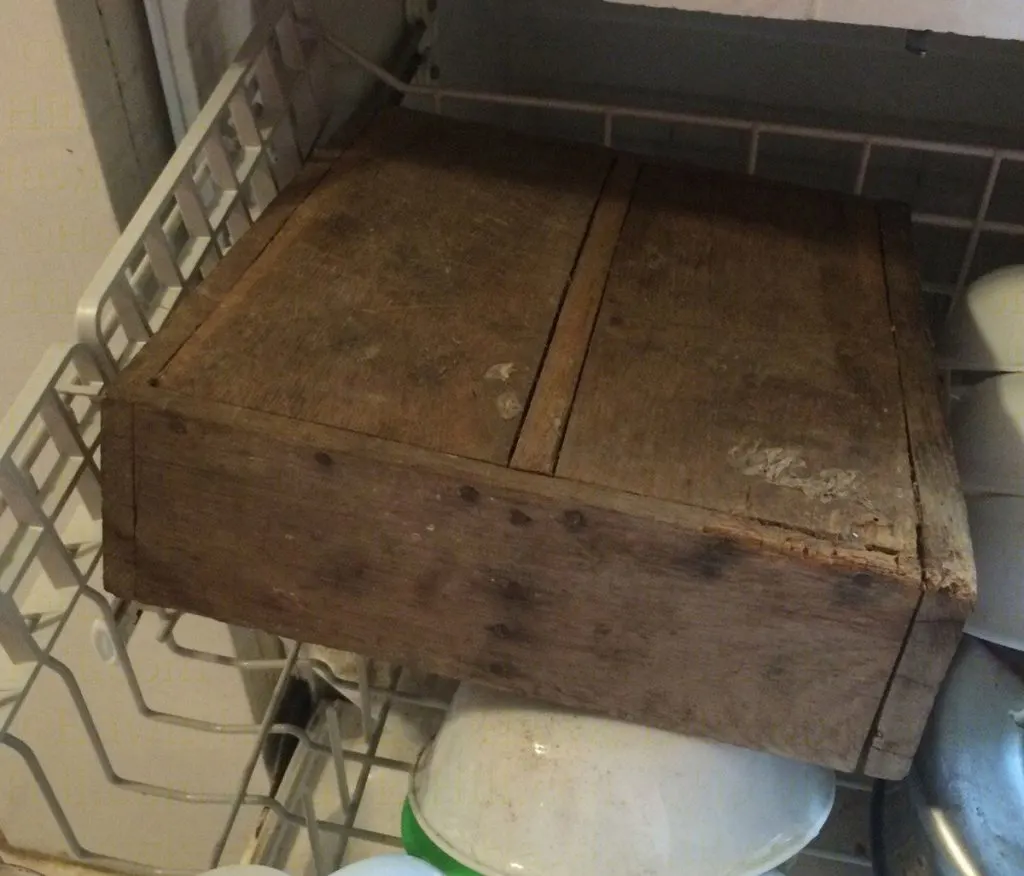
Before I could even begin to work on this piece, I knew it needed to be cleaned- Super cleaned. Like the kind of clean a machine does best. So in it went to the dishwasher with just a little borax and lots and lots of water. (Yes- the dish washer! Plenty of “not washable” materials do fine in the dishwasher as long as oils are replaced after the piece is totally dry)
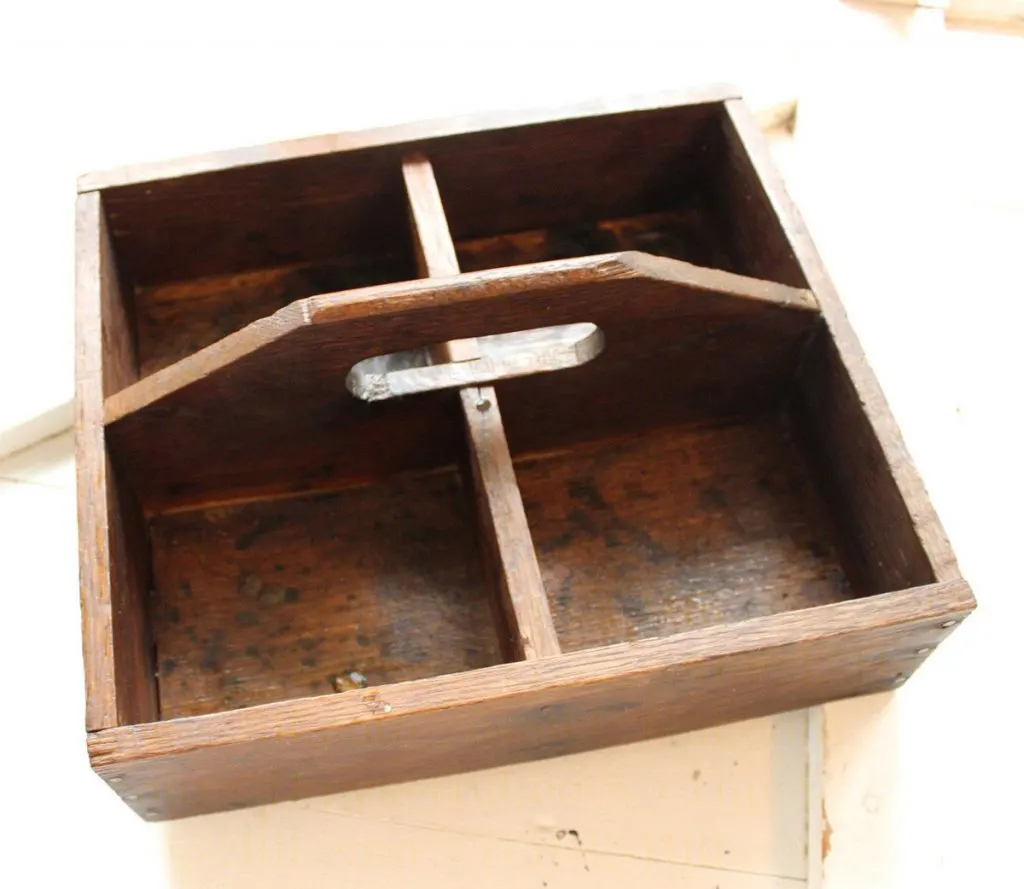
After the dishwasher, I let it dry fully on the porch. The dried result revealed that the dishwasher did a great job of removing both surface dirt and the dust embedded in the grain of the wood, as you can see below:
Applying the Wood Restoration Secret Ingredient
Applying wax to wood is an essential step in maintaining and restoring the natural beauty of wood surfaces. Wax acts as a protective barrier, helping to prevent moisture, dirt, and grime from penetrating the wood and causing damage. This protection is especially important for vintage or antique wooden items, as these are more susceptible to wear and tear over time.
In addition to protecting the wood, wax also helps to enhance its natural color and grain pattern, bringing out the unique beauty of the wood. Regular waxing can help to keep the wood looking vibrant and new, even after many years of use. And if the wood has become dull or discolored over time, a fresh coat of wax can help to restore its natural beauty and luster.
When selecting a wax for wood, it is important to choose one that is formulated specifically for wood. Some waxes contain ingredients that can harm wood, such as silicone or petroleum distillates, so be sure to read the label carefully. The best waxes for wood are those that are made from natural ingredients, such as beeswax or carnauba wax, which are safe and gentle on wood.
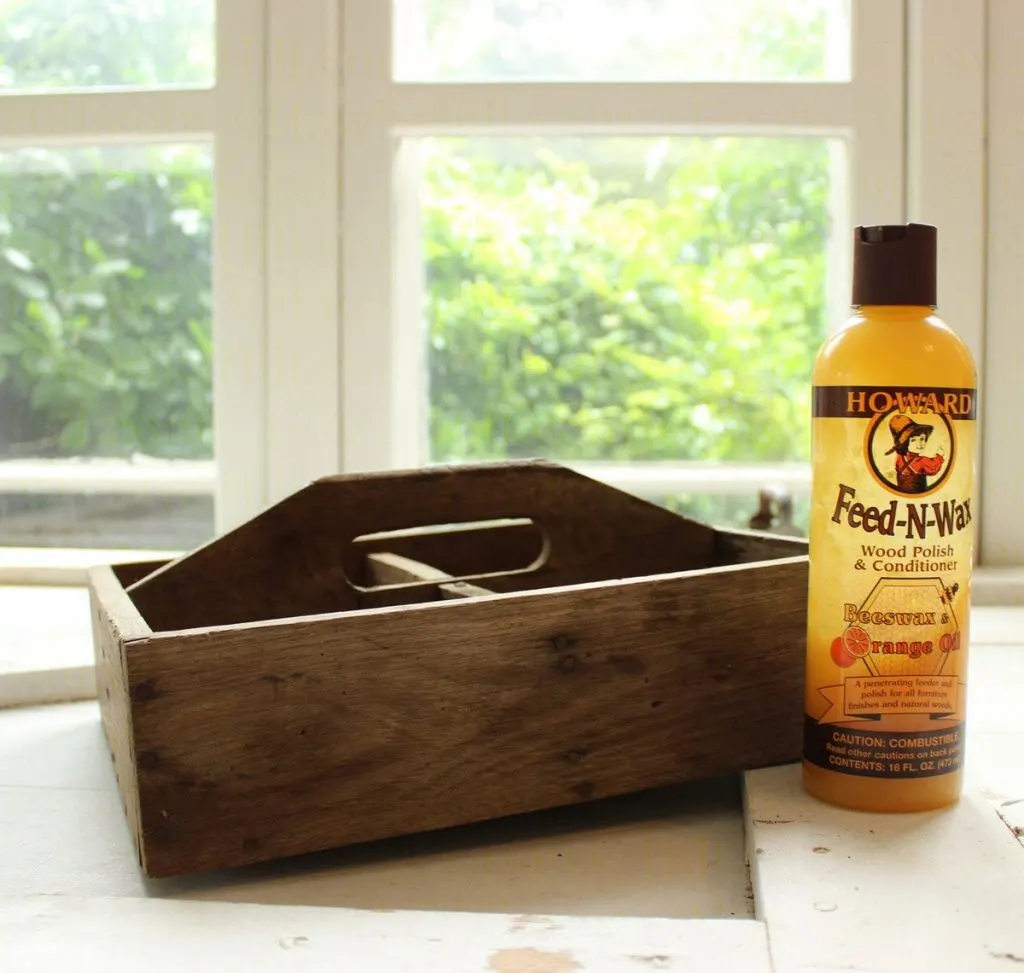
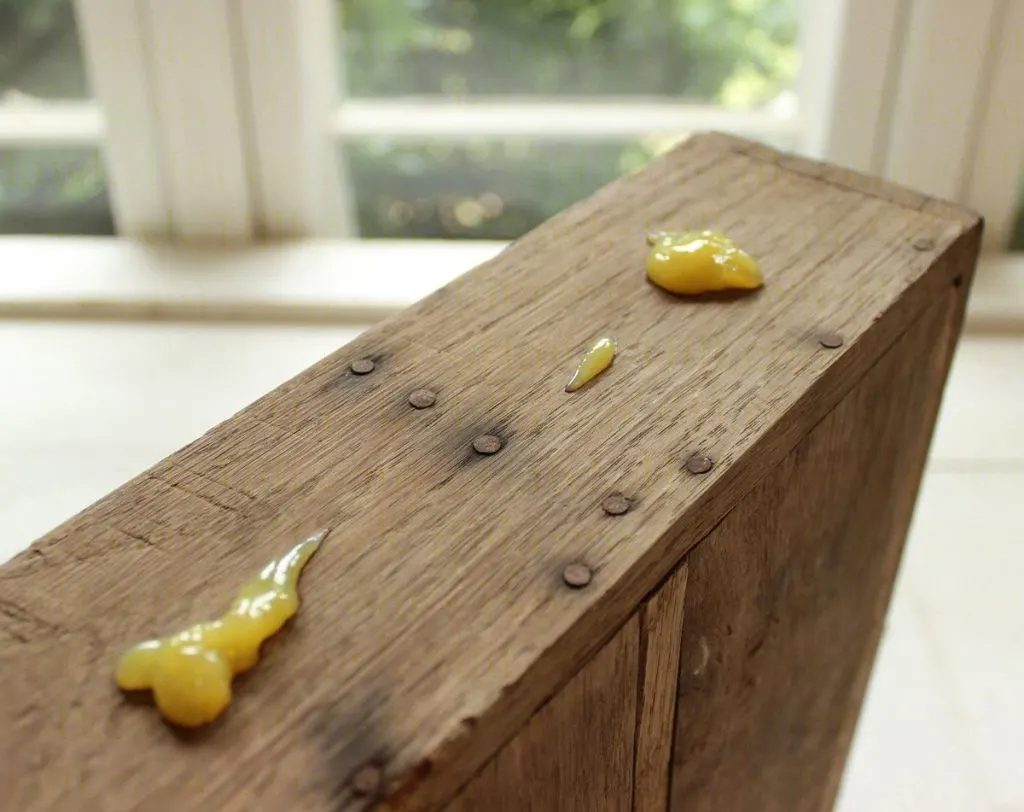
My secret ingredient for restoring pieces like this is a product called Feed N Wax. It’s a mix of beeswax and orange oil and, apparently, some extra magical ingredients that absolutely transforms old wood.
Buffering the Vintage Tool Box
Instructions on Feed and Wax say to apply to a rag and then massage into the grain, but for a piece needing deep conditioning, like this one, I apply directly to the wood.
Applying wax to wood is easy and can be done with a soft cloth or a brush. Simply apply the wax in a thin, even layer, working in the direction of the grain, and allow it to dry completely. Then, buff the wax to a shine with a soft cloth, and your wood will be looking beautiful and protected for years to come.
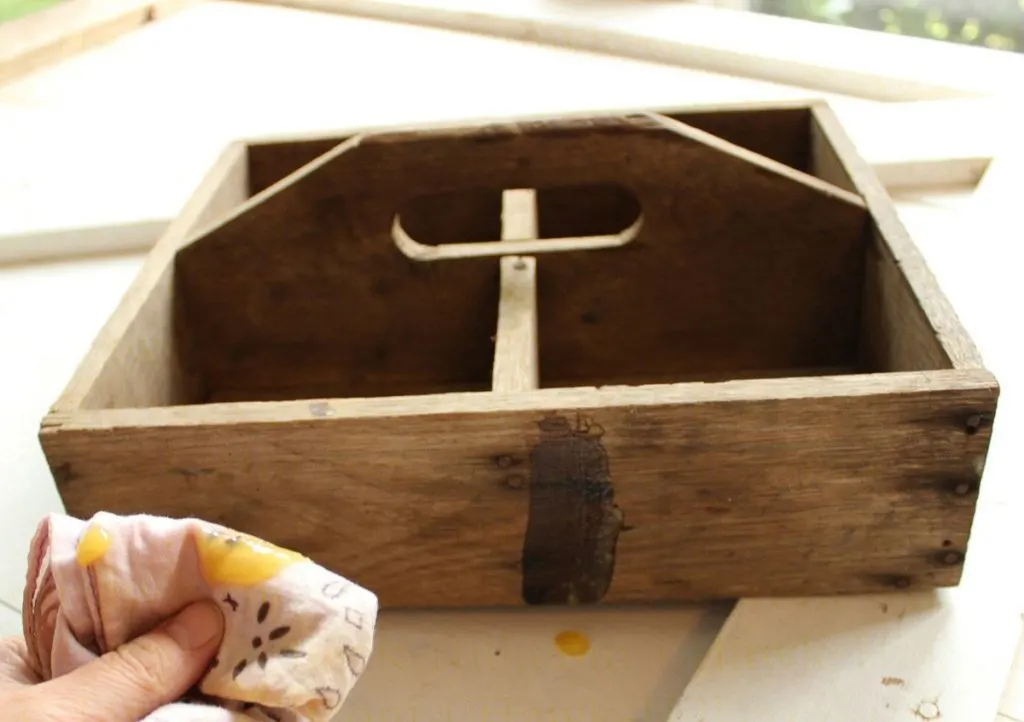
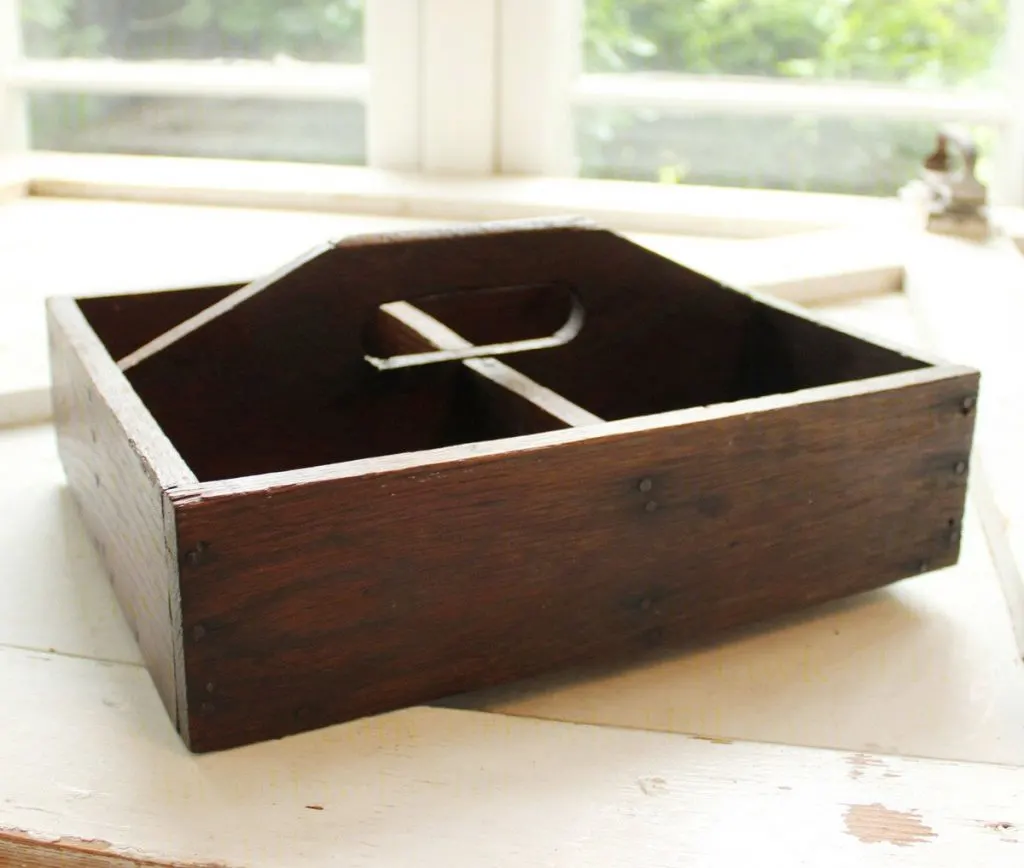
From the first smear, the color of the wood changes dramatically as the oil replaces the natural oils in the wood that were stripped by time and dust.
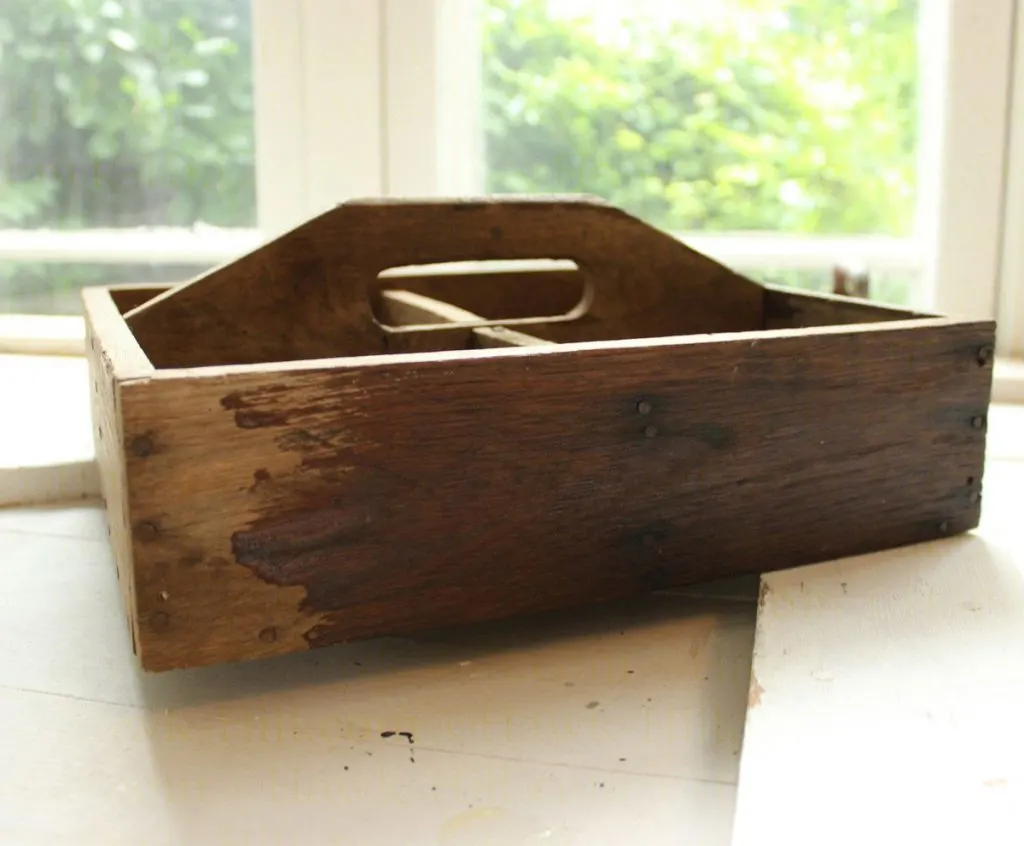
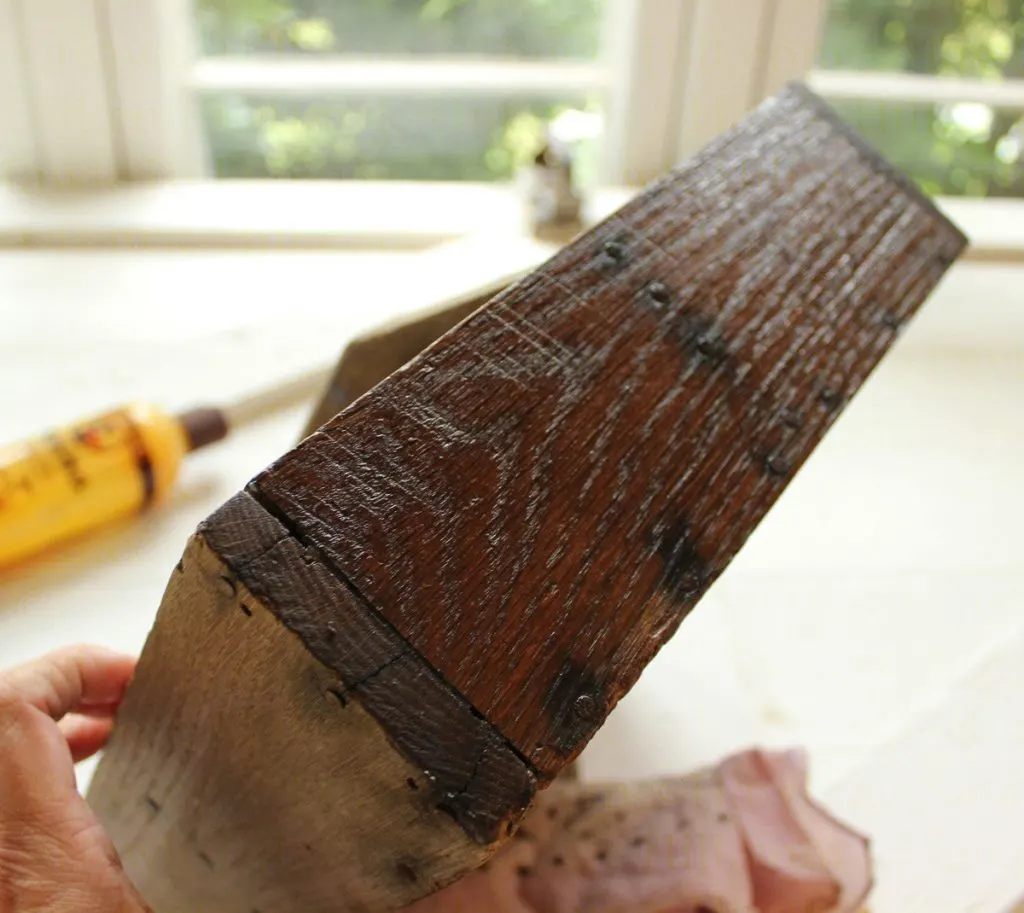 Once evenly applied, I use a rag and friction to slightly warm the surface of the wood- melting the tiny beads of beeswax and helping seal the oil in the grain of the wood.
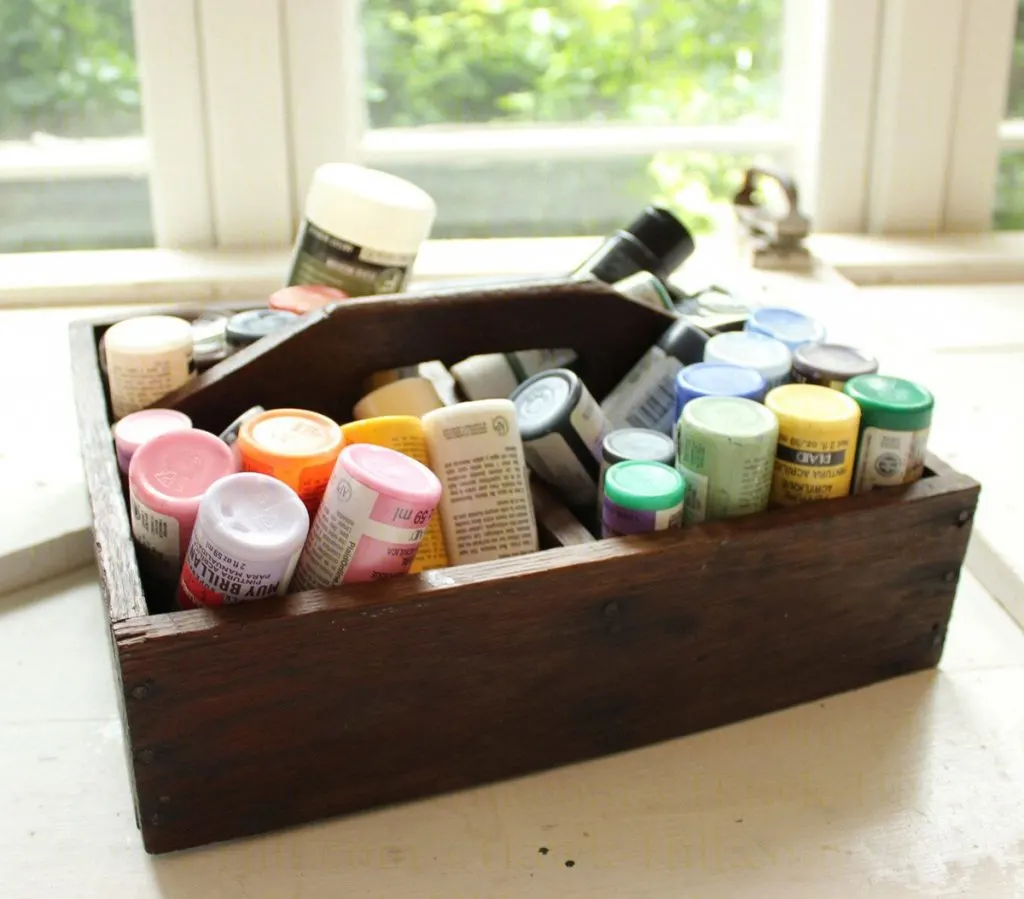
In less than five minutes invested in applying oild and buffing the caddy, my rough old toolbox was rejuvenated into a really nice, richly patinaed piece that looks great in my art studio holding paint:
Warning: What NOT to do when restoring an antique wood item🙅♀️
Many blogs will indicate that you should more or less just pressure wash, sandpaper with heavy-grit, then sandpaper with fine-grit, then stain an old wood item. BUT I’ll tell you, after restoring a lot of pieces like the item pictured in this post that the years I’ve spent working on wood projects will produce MUCH MUCH better results for an antique or vintage pieces. If you wanted a perfectly sanded and uniform wood toolbox you could just make or buy a new one, but the beauty of vintage or antique is the character that comes from decades of love and use. So avoid the coarse-grit sandpaper, wood conditioner, polyurethane, etc. and allow your vintage piece’s well earned beauty to shine through!
Best Uses for an Antique Wooden Toolbox👌
There are millions of uses for a great vintage wood tool box, but I’ll list a few of the best that I use regularly and have for literally dozens of years!
Storage Solution for Crafts and Hobbies:
As you can see below, a vintage tool box is not just for tools. Its spacious interior and sturdy construction make it an ideal storage solution for all sorts of crafting and hobby supplies, from paints and brushes to jewelry-making supplies.
Decorative Accent:
A beautifully restored vintage tool box can serve as a unique and eye-catching decorative piece in any room of your home. It can be displayed on a shelf, on a desk, or even hung on the wall. My uncle Preston has adorned his office in phenomenal vintage tools and accoutrements that really give his beautiful coastal home a sense of established character.
Portable Tool Kit:
This last item is obvious, but with its sturdy handle and compact size, a vintage tool box makes a great portable tool kit. You can take it with you wherever you go, whether you’re working on a home improvement project, or just need to make a quick repair.
This Project was QUICK! ⏩
This was a fun and FAST wood restoration project, made even faster by using a dishwasher to clean the wood and using a one-coat oil-based treatment instead of coats of stains and sealers. The piece may need waxed and oiled again in a few years, but for now, I’m loving the new look!
Thanks for Reading!!!
I hope you can tell that I love DIY, researching the best affordable solutions for every-day problems opportunities and documenting / sharing solutions!🙌 Hawk-Hill.com is reader-supported.
☕ Hawk-Hill.com is reader-supported. If this article saved you time or money, please consider donating $1 to help me cover the cost of hosting this website OR If you appreciate this information and want to throw a “Thanks!” my way by buying me a coffee – I would Of Course appreciate it! :]
Reader Questions and Recommendations
Readers, do you have any favorite topics / posts? What would you like to read more about in the future? As I hope you can tell from this and other articles on my site, I really enjoy DIY / a good challenge, and I’m not afraid to roll up my sleeves to figure out a great, and hopefully simple 😁 solution. So please feel free to let me know in the comments below (or reach out via social media)!
Ok Really – I’ll try to wrap this up now😂
Finally, if you’d like to continue to learn about interesting DIY options as well as how YOU can tackle creative new projects consider checking out the latest and most popular articles listed on the Hawk-Hill Home Page. I’m always trying to enjoy and write about the creative side of life so please don’t be a stranger – check back often!😍
If you enjoyed this post you may also enjoy reading / perusing / devouring😊 one or all of these articles as well!

