

Why bury treasure? Since childhood, I’ve always been captivated by stories of seafaring adventures and pirates. The craggy coast of the Puget Sound offers an abundant amount of material for this kind of fantast.
After binging The Curse of Oak Island during a summer in quarantine, I decided I would try to bury treasure of my own! This is a tutorial for two different methods to bury treasure, perfect for treasure earned or plundered in adventures on the high seas. This guide to how to bury your own treasure can be practical or playful: bury something secret or valuable deep so you won’t have to worry about it disappearing for decades- or just set the stage for an epic kid’s pirate-themed birthday party complete with a map to hidden treasure!
Method 1: How to Bury Treasure in a Treasure Chest

Materials to Bury Treasure in a Treasure Chest:
Supplies you’ll need:
- A wooden box
- Metal strapping (In the 18-22 gauge range; Can be found at your local hardware store or here at Amazon)
- Pine tar (Can be found at any tack and feed store; check out this post for further tutorials around re-purposing equestrian supplies)
- Paintbrush
- Gloves
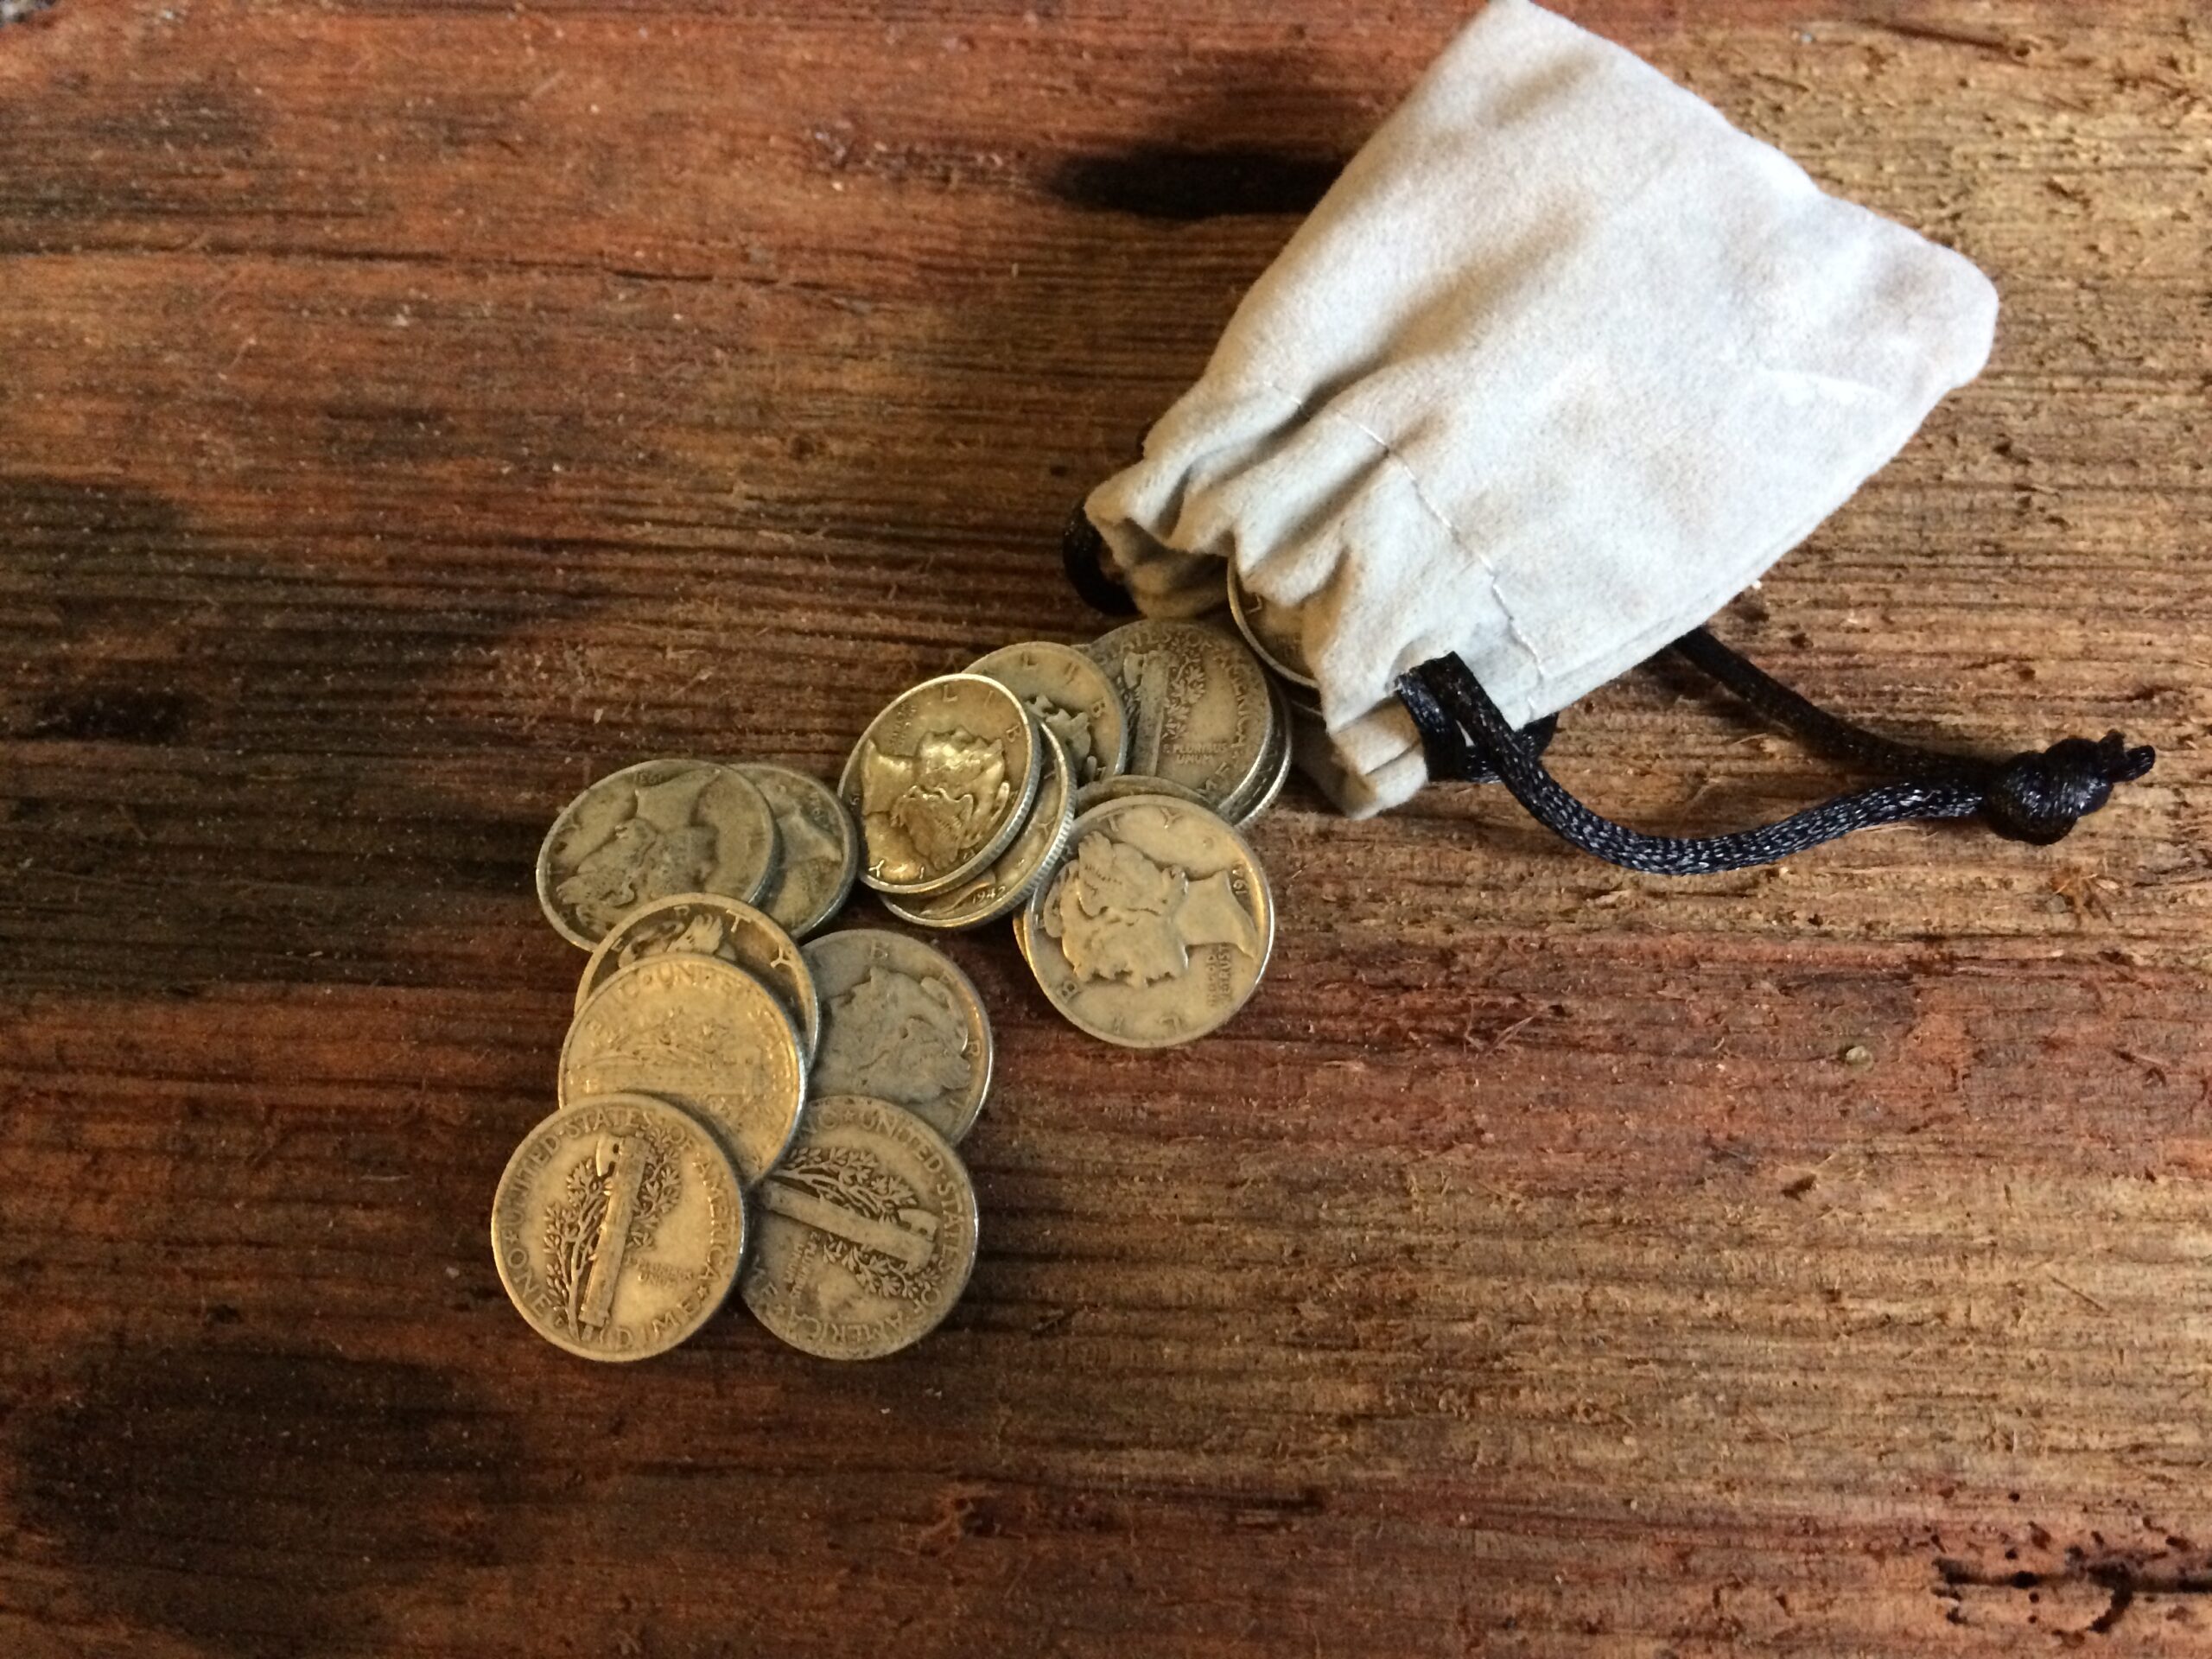
- Treasure! (This can be actual precious metals – even Amazon sells silver coins – and gems, items of sentimental value, a time capsule, secret coded messages… the creative possibilities are limitless!)
Step 1: Obtain or Build a Treasure Chest
For durability and weather-resistance when you bury treasure, you will want to use a box made out of hardwood. If you prefer not to go to the trouble of making your own treasure chest, you can easily find a suitable option at Amazon, such as this 10″x8″x5″ oak box. However, buying a pre-made treasure chest can be pricey. You might find one at a thrift store, if you know what kind of wood to look for.
If you’re willing to build your own treasure chest to bury treasure, you can buy a hardwood plank or hobby board at a local hardware store that will suit your needs for around $5-$10. I built a box using a 1/2″ thick piece of oak that was 3 1/2″ wide and 36″ long. I cut this into six pieces: 1–5.5″ long, 3–4.5″ long, and 2–4″ long, and used 9″ 20-gauge metal straps.

To assemble, lay a 4.5″ piece flat to serve as the base of the box, then stack the other 4.5″ pieces on top of the base, aligning the long edges of each side piece with the long edges of the base:

Next, arrange the 4″ pieces vertically and use them to cap the ends of the box. All four edges of the top should be flush, as the lid will rest on top:

Finally, place the lid on top:

To hold the box together, use panel board nails with ribbing; or, if your cuts are precise enough, you can simply use wood glue. Don’t nail the lid on just yet, though, as you will still need to add treasure and seal it into the box.

There are endless possibilities for customizing your treasure chest. You can stain or oil the wood to alter its color; and/or use an inexpensive wood burning kit to embellish designs (or warnings to your enemies!) on the wood surface and interior. If you decide to use leather or wood in any capacity, check out this post for tips on caring for these materials.
 Step 2: Weather-Proof the Treasure Chest
If you decide to apply pine tar to the inside of the box, have a plastic bag on hand to protect the treasure when you place it in the box. If you’re feeling particularly hard core, you can coat the inside of the box with paraffin wax, and perhaps even encase the treasure entirely. Once you’re ready to seal it up, use the metal strapping to lock down the lid and reinforce the box. Then, add another coat of pine tar.
Step 3: Go Bury Treasure!
Where you decide to bury treasure is just as important as how. You should choose a location with distinct features so that you remember where you left it, and can either retrieve it yourself or send someone on a hunt to find it! Use landmarks such as trees, geological features, or buildings as markers of the location of the treasure. Consider mapping the GPS location and save the coordinates for later use.

You can bury treasure in sand, dirt, gravel, or any other material that can be moved with a shovel. How deep to bury treasure is up to you. The deeper you hide it, the less likely it is to be disturbed by weather, humans, or geological events. Consider burying a “tell” (a marker of wood, stone, or shells) halfway between the ground and the treasure chest, as a marker of its location. It’s possible that your treasure could be located by metal detectors. If that’s something you want to avoid, bury pennies, or scrap metal in the surrounding area to distract and deter a search by this method.
Method 2: How to Bury Treasure in a Mason Jar

For those who don’t want to bother with the messiness of pine tar and need an easier option to bury treasure in a water-proof container, consider using a mason jar. A mason jar is a great way to bury treasure that might include porous materials, such as paper or cloth. The mason jar is a romantic option for hiding diary pages, love notes, or a time capsule.
(Check out these posts for more crafty uses of mason jars.)
Materials for Using a Mason Jar to Bury Treasure:
- Mason jar with lid
- Paraffin wax (available at Amazon, or most grocery stores)
- Treasure!

Step 1: Add Treasure to the Mason Jar
This can be coins, trinkets, scrolls, secret coded messages, keys to a treasure chest. You can also add a couple of packets of desiccant, which you can purchase online, or save them the next time you buy a new pair of shoes. Screw the lid on tightly once your treasures are assembled inside.

Step 2: Make a Wax Cap/Seal
Melt 2-4 oz of paraffin wax in a stainless steel pan. Hold the bottom of the mason jar and dip the top of the jar into the melted wax to coat the entire metal cap and glass lip below the threads. Remove the jar and allow the wax to cool and harden. Then repeat, until you have a thick layer of wax covering the entire head of the jar. To speed up this process, you can alternate dipping the jar in hot wax and an ice bath, to help each layer cool and harden faster.

Step 3: Bury Treasure!
Once you have your jar sealed and ready, it’s time to bury your mason jar treasure! Take into consideration the effects of pressure and changing temperatures when burying a glass jar underground. While this method is more waterproof than the wooden box/treasure chest, it can also be more fragile. There is greater likelihood of damaging the glass jar when you dig it up again, so take extra attention to detail when recording the jar’s location and depth in the ground.

One great place to hide mason jar treasure is in hollowed out trees. This setup is great for actual treasure hunts, and for exchanging secret messages with a lover or co-conspirator… Just be careful that your treasure isn’t accidentally discovered by someone you didn’t intend to share it with!
For further reading on hiding treasure: If you have some accumulated wealth in the form of precious metals, and you would prefer to hide it in the ground rather than a bank, check out this tutorial for creating a PVC pipe cache.
I have just recently stumbled upon your page. Love everything so far! Thanks for sharing!