
As an artist, I love to curate my plants in settings that are in line with my natural, foraged materials aesthetic. One of my favorite things to grow in low-light, limited-space situations are marimo moss balls. What is a moss ball? These are collections of algae that gather in clusters and have an intense green, furry appearance. What follows is a simple tutorial for how to make a moss ball terrarium–a piece of living art–on a budget.
Materials
Hawk-Hill.com is a participant in the Amazon Services LLC Associates Program, an affiliate advertising program designed to provide a means for website owners to earn advertising fees by advertising and linking to Amazon.com and any other website that may be affiliated with Amazon Service LLC Associates Program
What You’ll Need for Your Marimo Moss Ball Terrarium:
- Marimo moss ball (Where to buy a moss ball: Marimo can be found at many plant stores or nurseries, or some online vendors)
- Jar, bottle, or vase (cleaned and sterilized)
- Lid or stopper for the jar (Amazon has a wide assortment of corks in various sizes)
- Non-porous objects to adorn the terrarium (rocks, shells, sand, etc)
- Distilled water
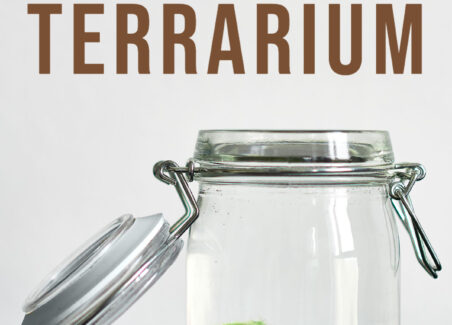
STEP 1: Choose a Container
Choose a clear, non-porous container that can hold at least one quart of water or more, depending on the size of your moss ball. I’ve found that the local thrift store offers the best options for a variety of sizes and shapes. I recommend a vessel without texture or any cloudiness to the glass, so that you can better display what’s inside the terrarium.
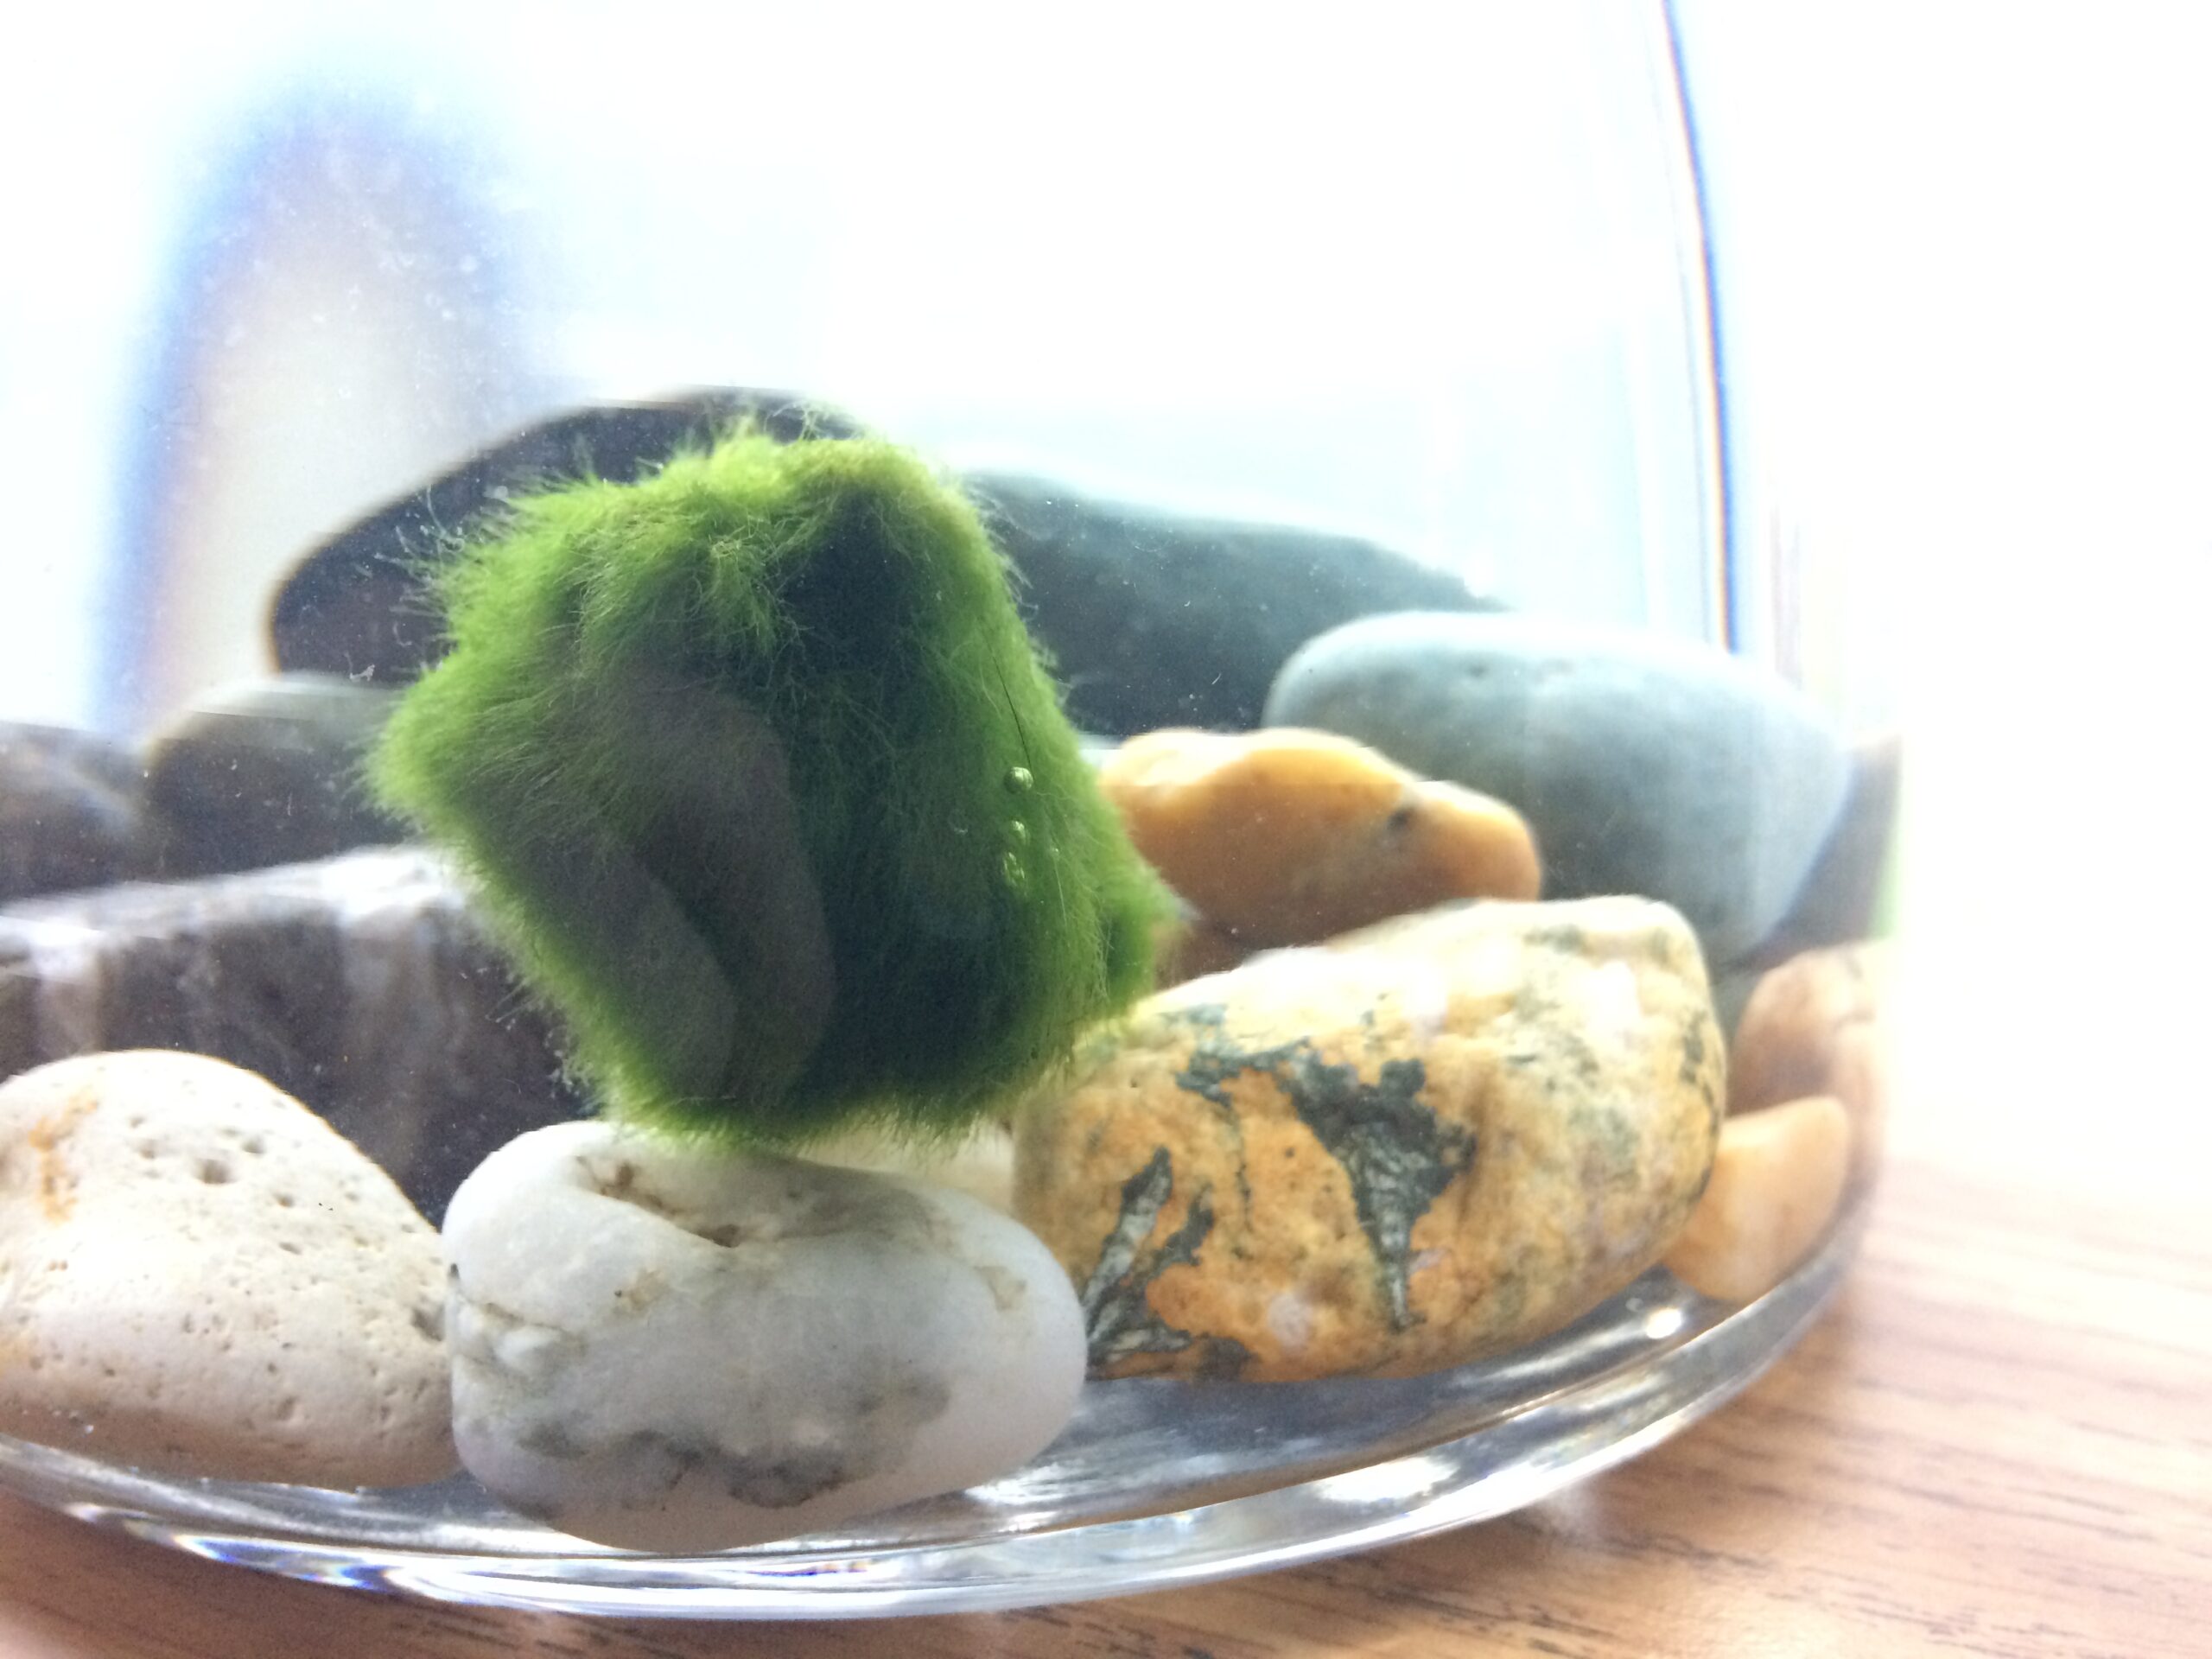
STEP 2: Decorate the Moss Ball Terrarium

As a frequent beachcomber, I often come home with my pockets full of amazing rocks that I discovered on the beaches of the Puget Sound. For this project, I chose to display these rocks in their best setting, which is underwater. Foraging your own rocks, shells, or sand is a great way to save money and add the perfect, personalized artistic touch to your moss ball terrarium.

Be sure to wash any materials that you forage prior to use in your terrarium. I typically rinse my rocks in hot water with a little bleach and dish soap to remove dirt and kill microbes that could be harmful to the moss ball. Be sure that there isn’t any residue of cleaning supplies on the rocks in your container prior to use.

Take whatever artistic liberties you would like to highlight the moss ball’s bright green color and spherical shape. Add shells, sticks, glass beads, or other non-porous objects to create your masterpiece. I’d tried cleaned driftwood with mixed results.
STEP 3: Assemble the Moss Ball Terrarium

First, very carefully add the materials to create the floor of your moss ball terrarium. I recommend that you gently slide rocks along the side of the jar or vase to slow their momentum and reduce the risk of cracking the bottom of your glass vessel.
Next, add distilled water. You can also use tap water- to reduce the chlorine content in tap water, just fill a bowl or pot with water from the tap and let it sit in sunlight for a few hours. Over just a few hours, UV light will break down chlorine and create a safer environment for your moss ball environment. Alternately, you can make your own distilled water using an Instant Pot with these instructions from Mother Earth News. Fill the terrarium or jar mostly full, but leave a couple of inches between the top of the jar and the waterline.

Finally, add the moss ball. Moss balls are squishy and malleable, and can be compressed to fit into a tight space when you add them to their new home. Don’t squeeze them too tight though, as you will need to be able to remove the marimo moss ball occasionally for care and cleaning of your terrarium.
I recommend using a lid or stopper for your moss ball terrarium, to minimize the potential for dust or other particles to contaminate your terrarium. An open concept is an option as well, particularly if you add companion plants or animals (such as betta fish or aquarium snails) to your terrarium. In this case, the water will need to be changed more frequently and the terrarium monitored for unwanted algae or bacterial growth.
To create a more robust ecosystem within your terrarium, marimo can live with fish such as bettas as well as other companion plants.
Step 4: Care for Your Marimo Moss Ball Terrarium
Marimos require very little maintenance. They are incredibly hardy and can survive in most lighting situations–even the fluorescent lights of an office space. They thrive in cold water in low-light areas, such as a bathroom counter or a bookshelf that isn’t near a window. However, your marimo can die if not properly cared for.

You should change the water in your terrarium about once every two weeks. Carefully empty the water from the terrarium container. Remove the marimo, if possible, gently squeeze out the old water, and rinse with fresh distilled water. Rinse the materials in the container with distilled water as well, replace the moss ball in its home, and refill the terrarium with water.
If your marimo starts turning brown, something in its environment needs altered. It might need to have its water changed, or it might need some salt therapy. In this case, you can add a quarter teaspoon of aquarium salt to your moss ball terrarium for a couple of days to help your marimo detox and get back to health. Be sure to replace the water before and after the use of the aquarium salt.
Your plant/pet might entertain you with their changes in density during photosynthesis, and your moss ball will float and sink depending on its current “mood”. In a terrarium, your moss ball will grow about 1/8″ per year and can reach over 4 inches in diameter!

For more ideas around decorating your home with natural materials, check out this tutorial to learn how to use tree branches to add ambiance to a space.