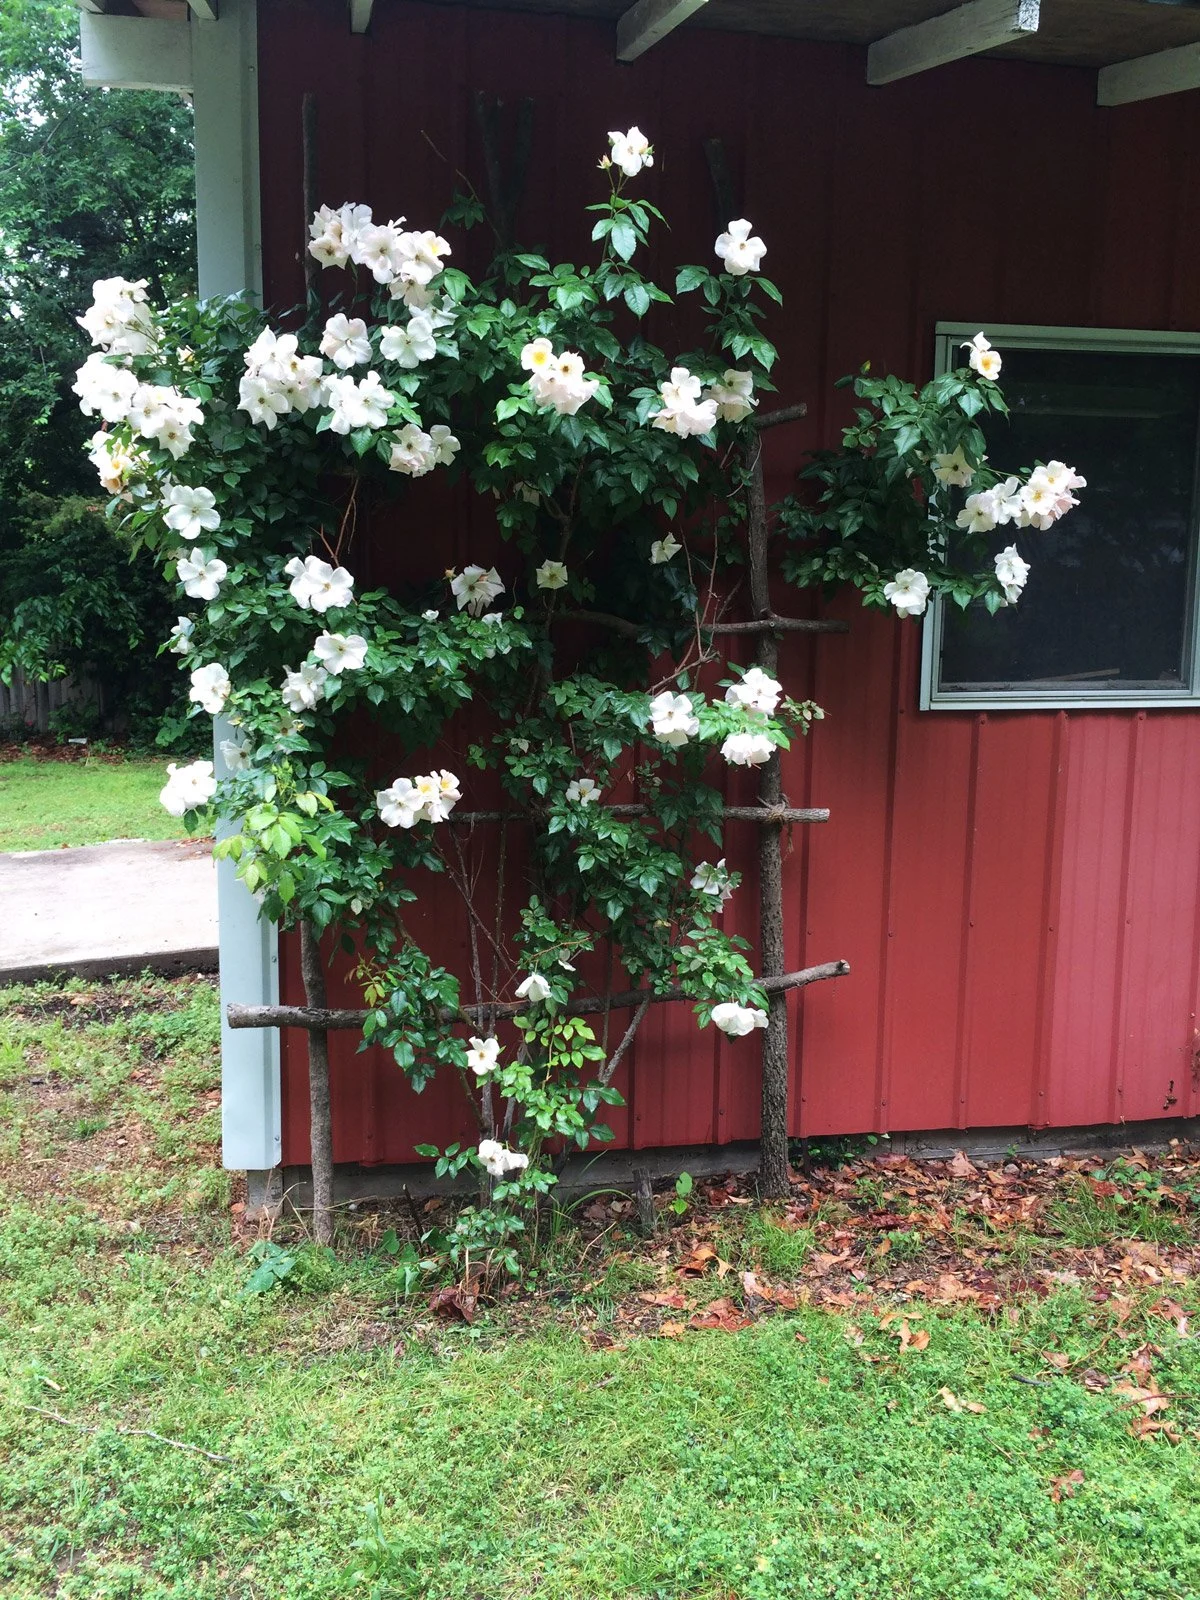
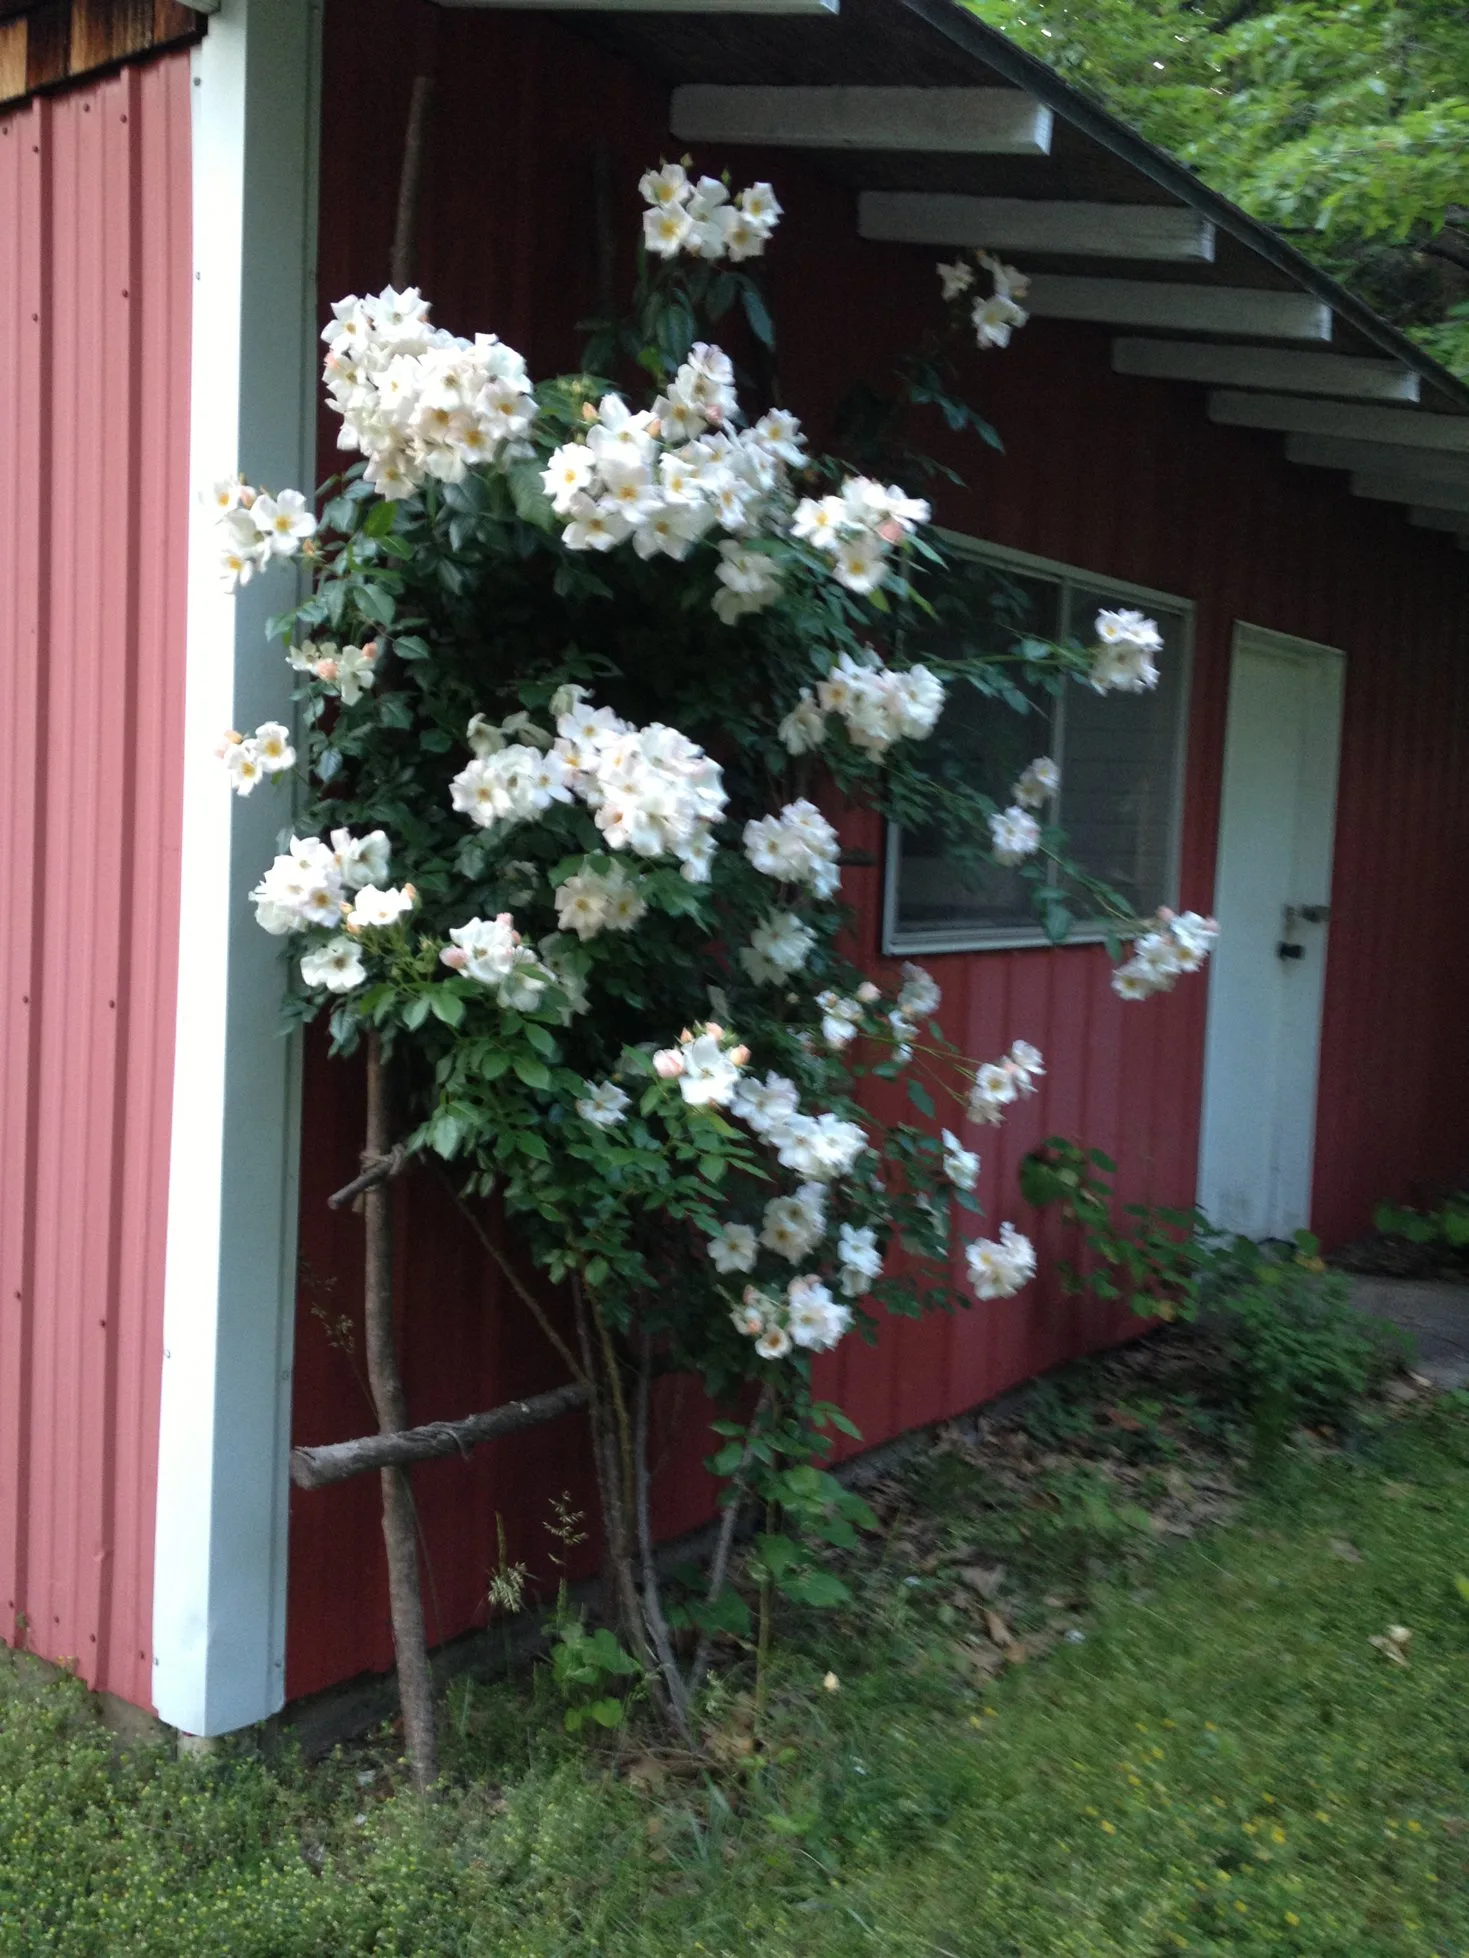
When I purchased hawk hill back in 2010, the pitiful little garden trellis pictured below was charged with the huge responsibility of holding up this boisterous and rather unkempt climbing rose.
Although I searched garden centers for large rose trellises, few of the trellises were large enough for my giant climbing tea rose, and none seemed to fit the aesthetic of my whimsical garden.
Exhausted in my search, I decided that building a great big DIY rose trellis would be one of my first outdoor DIY projects at Hawk Hill. I quickly begin to imagine how I could build my own rustic and whimsical trellis that could support this rose and all its heavy blooms!

I had a vision of creating a trellis out of raw lumber cut from young trees and lashed together with a natural-looking rope.
With this vision in mind, I hiked around the wooded perimeter of the farm and used tape to mark a dozen or so straight, roughly 2-3 inch circumference, young trees for my landscaper to cut during his next visit. Thankfully the hedgerow held many volunteer trees growing straight up towards splotches of sun in the shaded canopy, so finding these long straight trunks without too many offshoots was easy.
Step 1, Measuring my rose
I began by measuring the height of my building and the width of the rose’s natural fan.
The height of my building, under the eaves, became the length to which I cut my upright trees, and I cut my crossbeams at approximately 90% of the width of the roses widest point of its natural fan.
Step 2, Laying Trellis Poles in a Grid & Connecting
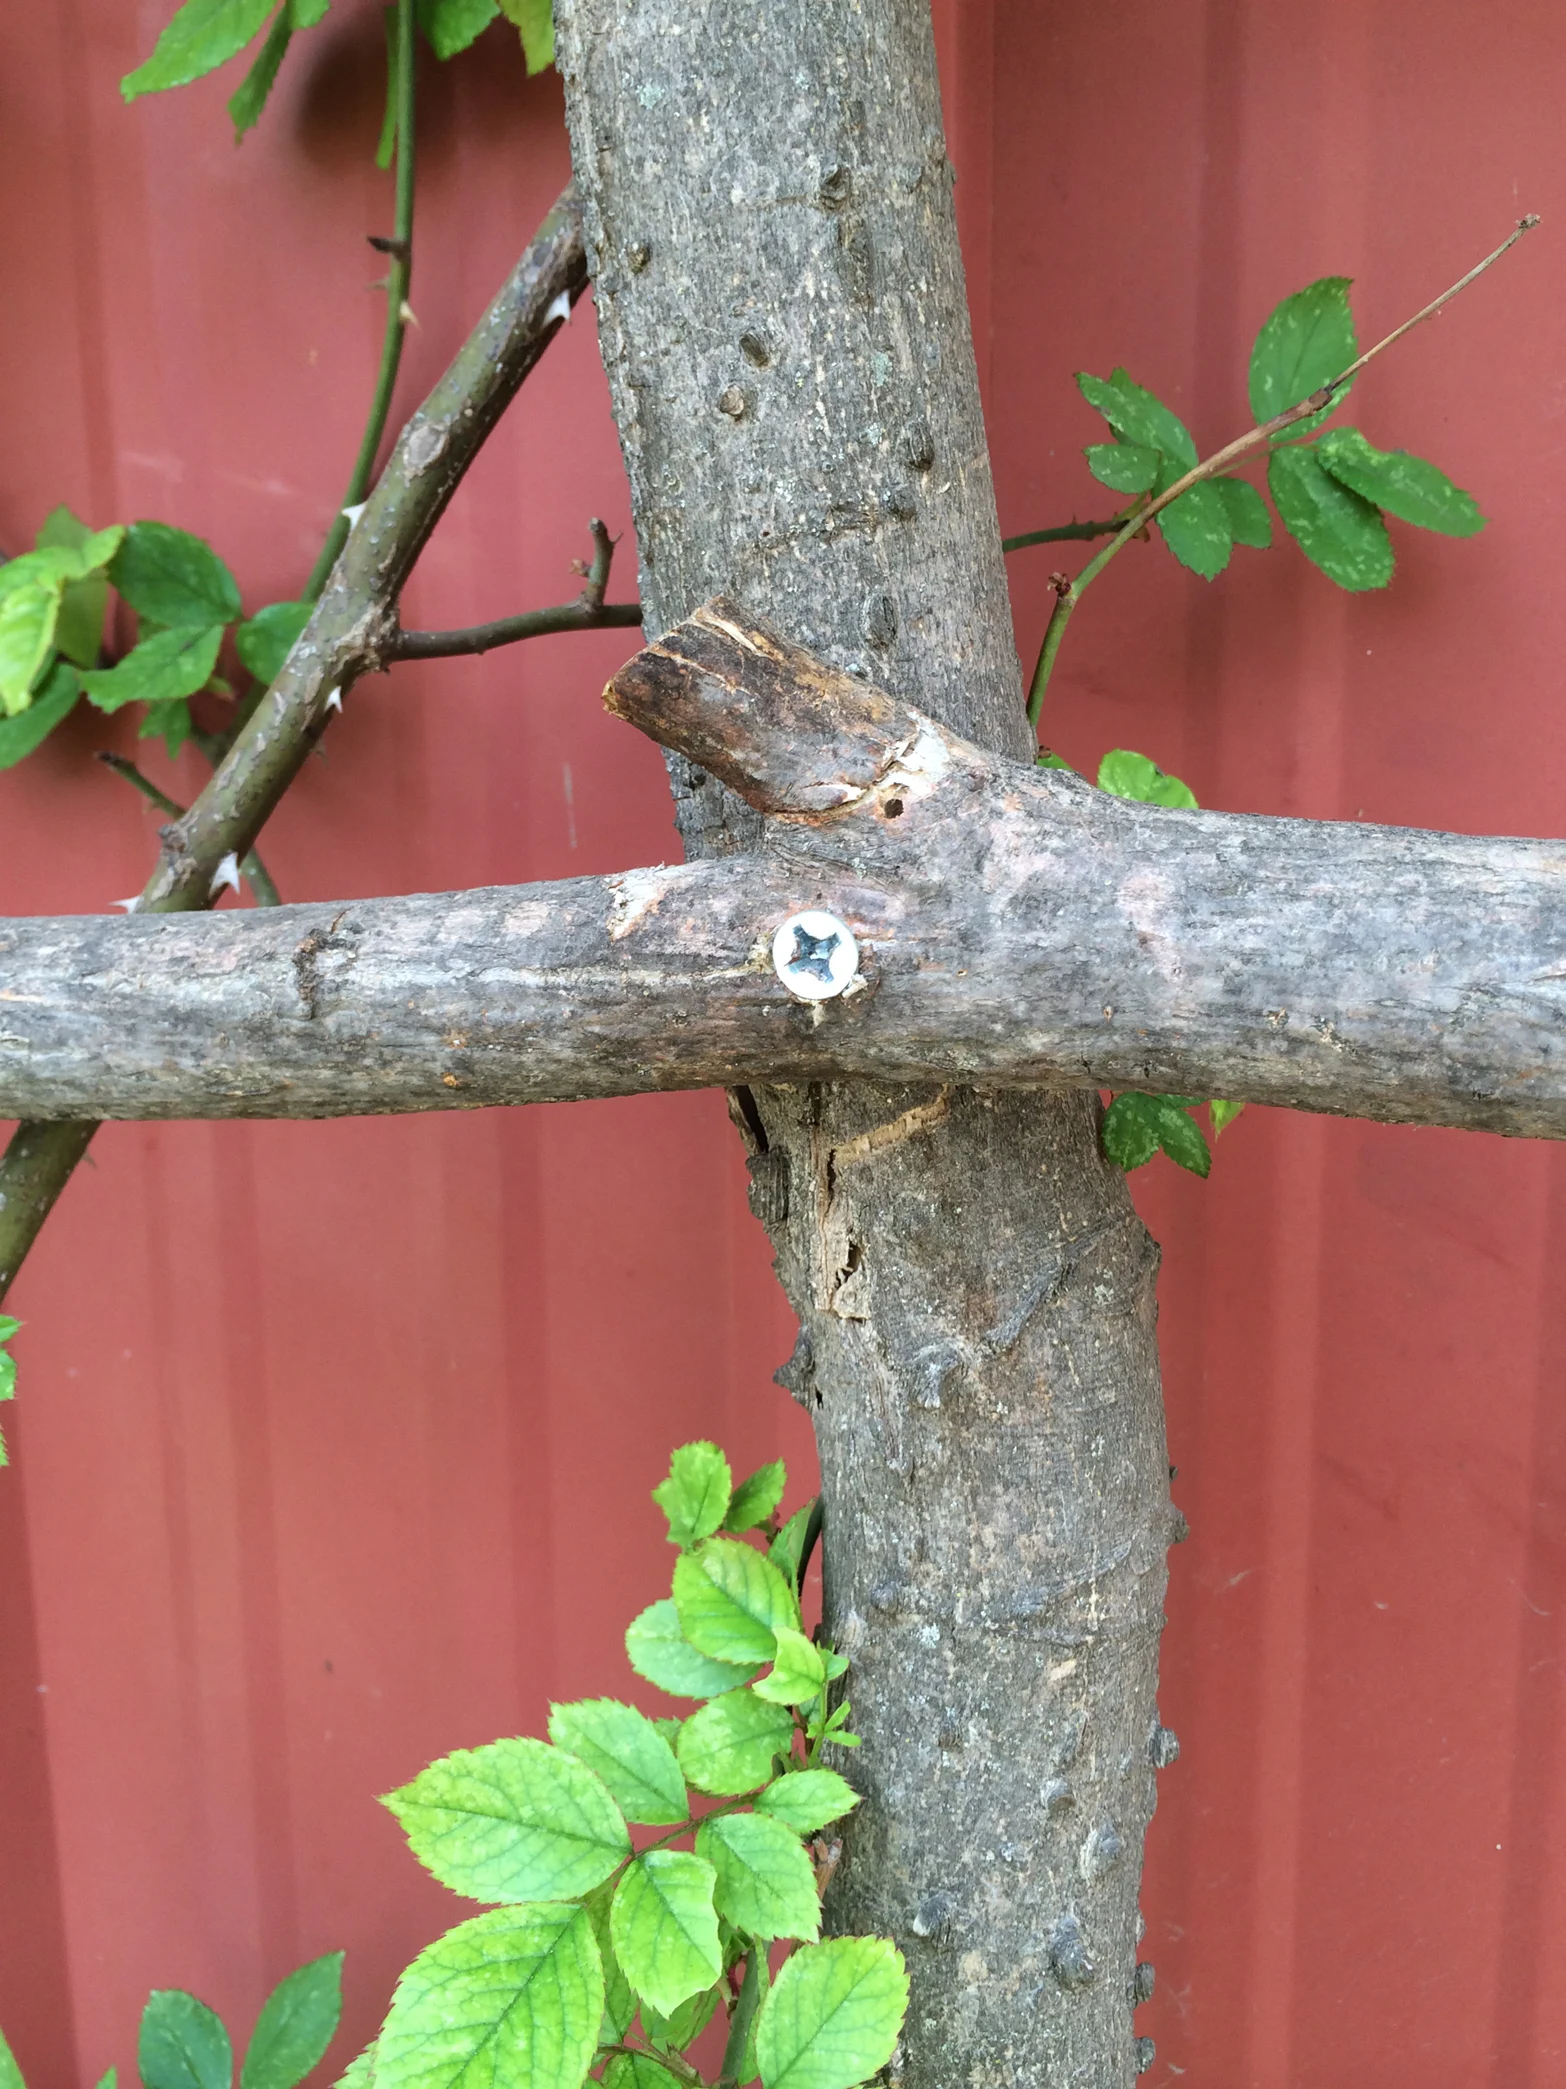
Next, I laid my logs out on the ground, visualizing the final trellis project.
Using a wood drill bit, I predrilled holes for screws in the logs at the intersections. (Pre-drilling the holes helps prevent splitting during construction)
Next, I used 3-inch rustproof deck screws to join the horizontal trellis beams to the vertical supports using the holes I have predrilled. While lag screws would have been needed if my cut wood was any thicker, the deck screws were more than sufficient to support the weight of the small logs and rose canes.
Step 3, Weatherproofing the DIY Rose Trellis
Where I’m from in Kansas, it’s not unusual to see metal flashing laid atop wood fence posts. Farmers know that while certain types of wood can last for years outdoors, protecting the cute ends from rainwater prolongs the life of fenceposts.
In the same way, a tiny bit of weatherproofing can help this trellis last for a decade or more. For quick weatherproofing, just spray the cut ends of wood and the entry and exit points for the screws with a water sealant. For more durable weatherproofing, you can paint the entire rose trellis- bark and all –with a polyurethane sealant like those used to finish outdoor decks and patios.
Step 4, Finishing the joints of the rose trellis
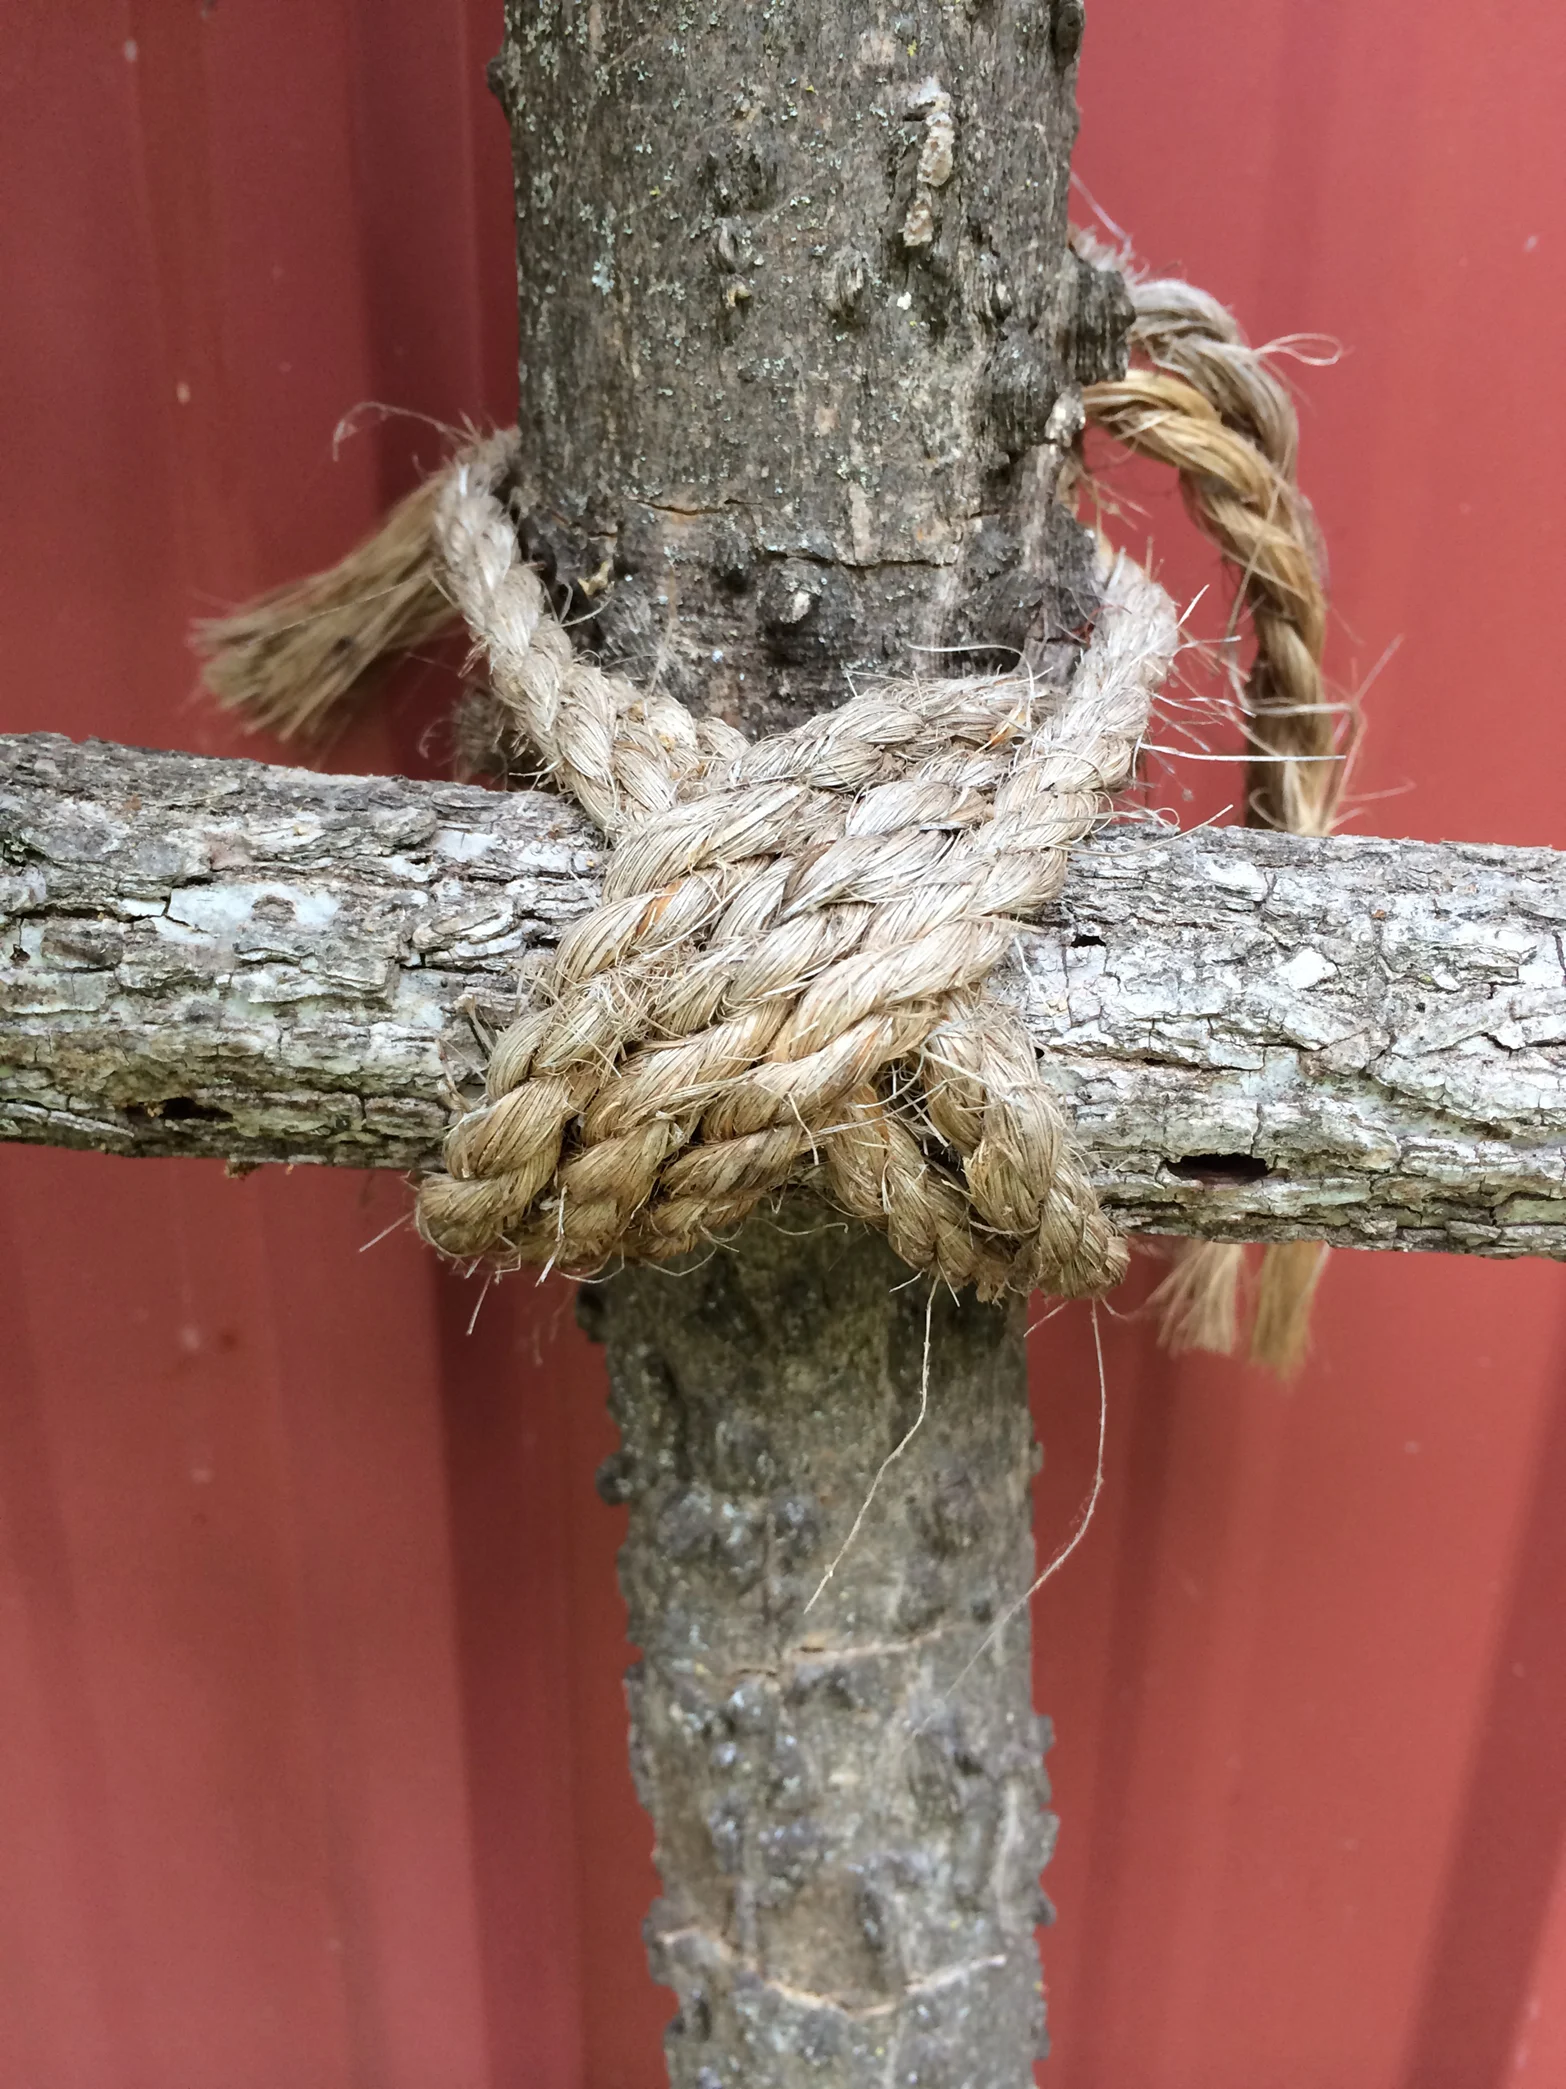
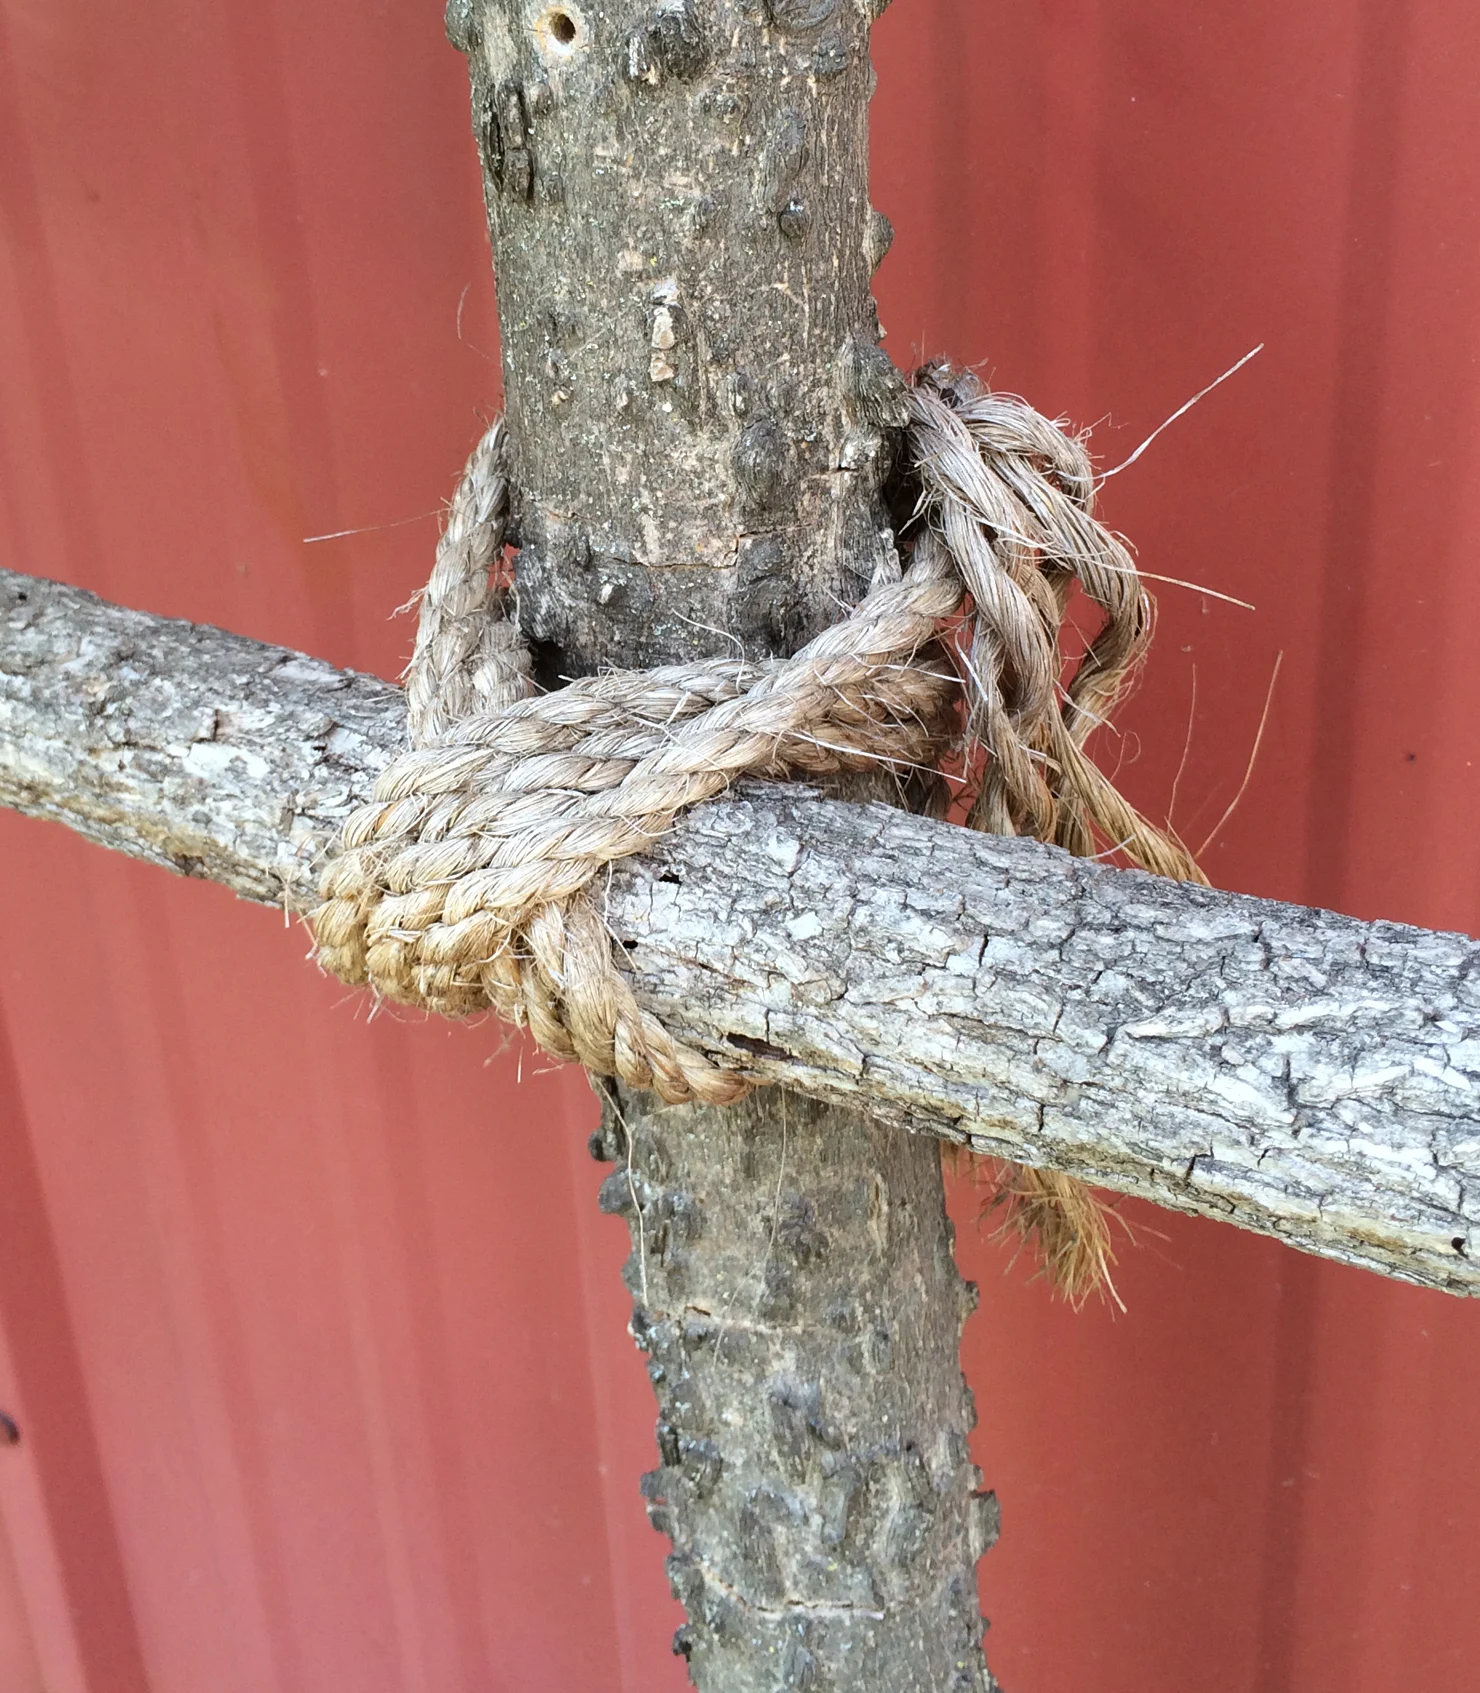
I felt like my trellis looked a little bit raw when it was just cut wood. To cover the unsightly screws and create a more natural look, I took a roll of jute twine and wrapped each joint of the trellis where horizontal beams met and were secured to the vertical supports.
To secure the thin rope, I simply tied knots behind the joint. However, the rope has frayed over seasons and years, so when I repeat this project I will use large hammer and fence stapes to secure the ends of the rope permanently to the backside of the rose trellis I built.
Here’s a photo of the joints with and without the decorative rope covered joints:
Step 5. Finish and Install
If you didn’t build your trellis in place, now is the time to move your trellis to its permanent home. If connected to an existing structure, you can simply dig-in the base and use heavy gauge wire to secure the trellis to the existing structure, like I did. If freestanding, you’ll need to install 2-3 fenceposts securely into the ground to hold the trellis securely upright and then permanently connect your trellis to those supports. Don’t cheat on this part- see below for important cautions about the dangers of unsecured trellises.
Finished DIY Rose Trellis
Initially, I thought my tree-trunk DIY rose trellis might not last as long as a brand-new aluminum trellis would have, but it’s been sturdily supporting my beloved tea rose for over 5 years now with no signs of serious decay. My trellis dwarfs the size of any trellis available in local garden centers and allowed my climbing rose to reach new heights.
This is a great fall/winter project! I finished my XXL rose trellis in the spring, but decided to opt-out of wrestling the thorny summer rose growth, instead deciding to wait until pruning season. That winder, after a harsh pruning, the trellis was easy to install on my nearly-sleeping climbing rose.
And here’s my roses in bloom that next spring! With a large trellis to support this climbing rose, it’s grown huge and still looks supported and only a bit wild!
Rose trellis tip: when you are your roses in the fall or winter, wind existing canes back and forth through the beams of the natural wood trellis. To keep roses in place, I cut up old sweaters or stockings from thrift stores (My grandmother taught me to garden with panty-hose strips, but I like using a more organic material). The stretch of knit material (as opposed to twist ties) means the roses can move with the wind and are less likely to break, while the durable material means that they will be securely bound for a few seasons before the material degrades.
Although this trellis appears to be leaned up against a building, it is actually set several inches into the ground at the base and is wired in multiple places at the top with heavy gauge wire.


