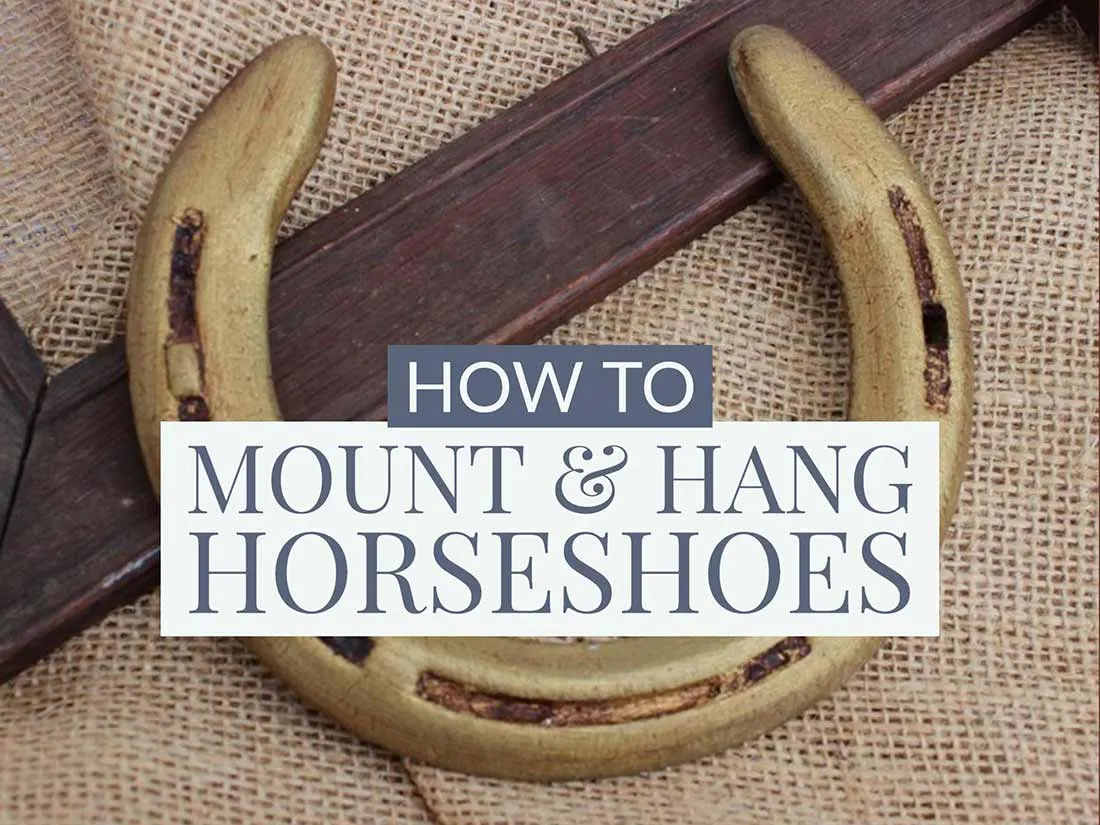
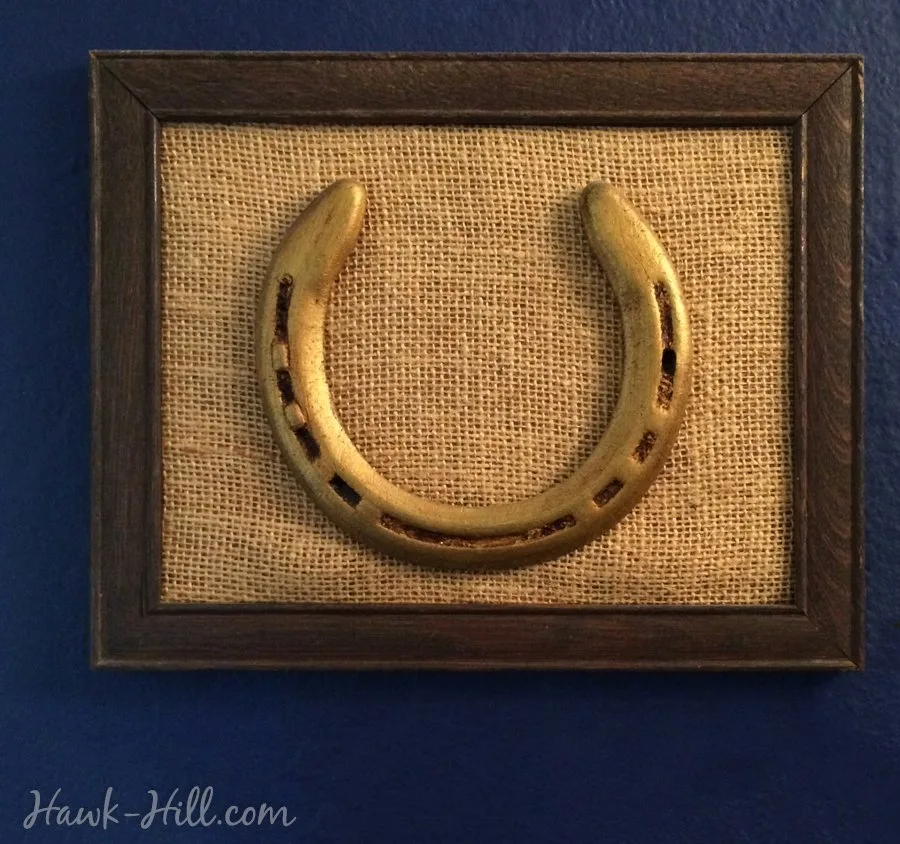
This framed horse shoe is one of my dearest possessions, but taking it from the rusty mess I found in my horses’ pasture to this elegantly framed piece took several steps and a bit of creativity.
I realized I’ve written a few posts outlining individual steps to take cool-looking rusty metal objects like equestrian bits or horseshoes from unusable condition to display as art, but I’ve never outlined the process start to finish.
Because I have photographs of this horse shoe at almost every step, I’m going to walk you through these individual steps I took to turn this horse shoe from my first horse from a trash-bound rust-covered piece into a sentimental treasure. This is a brief rundown, for expanded and detailed instructions I’ll include links to the individual tutorials for each step. Lets figure out how to hang horseshoes 👍
1. Remove Rust & Restore Original Condition
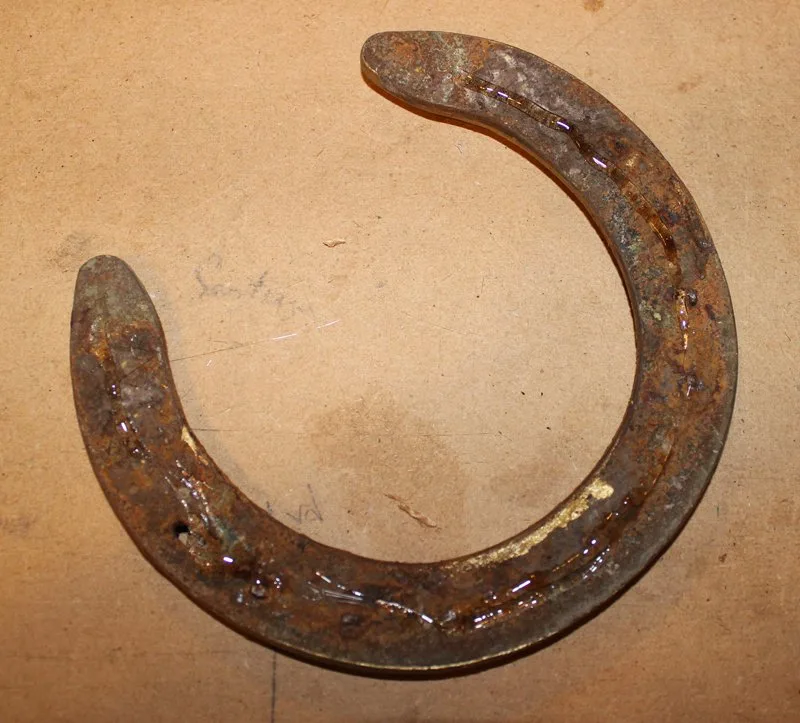
This was what my horse shoe looked like when I discovered it in the field. Pulled off his hoof one day when my horse was at play, the elements had caused it to rust pretty fully, as you can see in the photo. However I’d recently been experimenting with using citric acid to remove rust from metal, so used my citric acid method which you can read about in detail here to take the rust off the steel horse shoe.
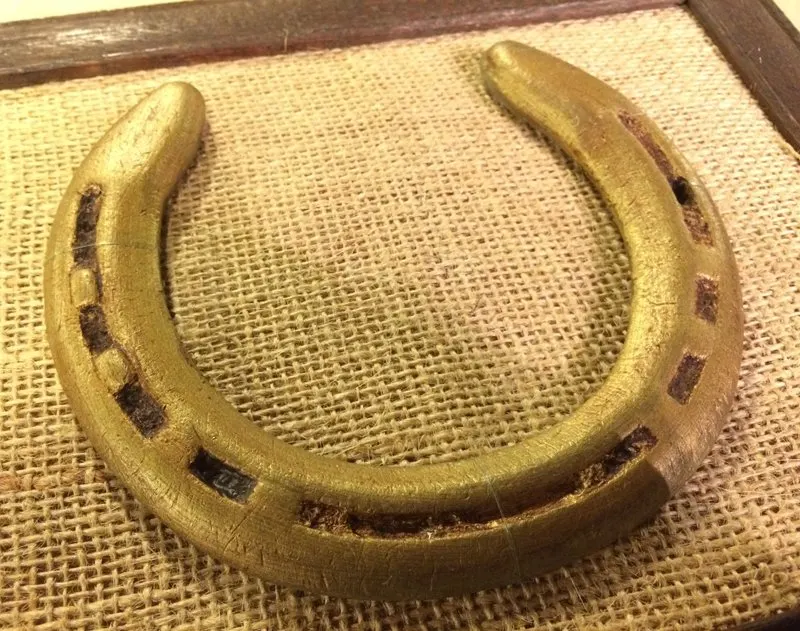
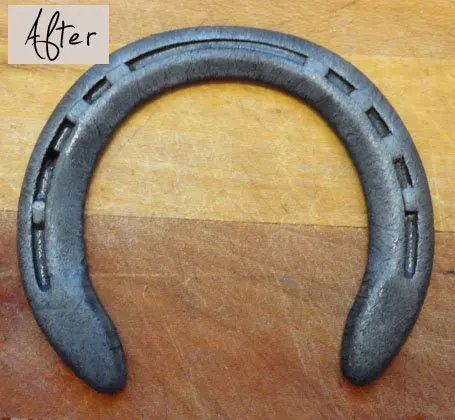
After the rust removing treatment, my horse shoe was left with a raw steel finish- messy and likely to rust immediately, it needed a finish coat. Clear lacquer would have been a find choice for displaying in a more industrial/schoolhouse style home, but my whimsical decor used antique gold elements throughout the house, so to tie my horse shoe in to the decor, I went gold.
The following section may contain affiliate links. As an Amazon Associate, we earn from qualifying purchases.
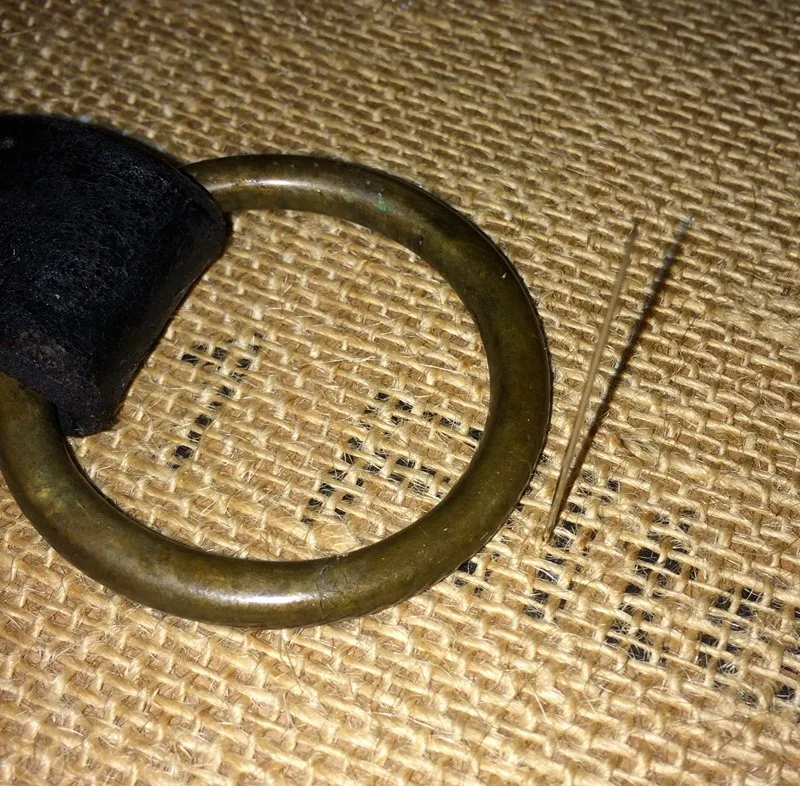
2. Prevent (re)Rusting with Paint & Finish
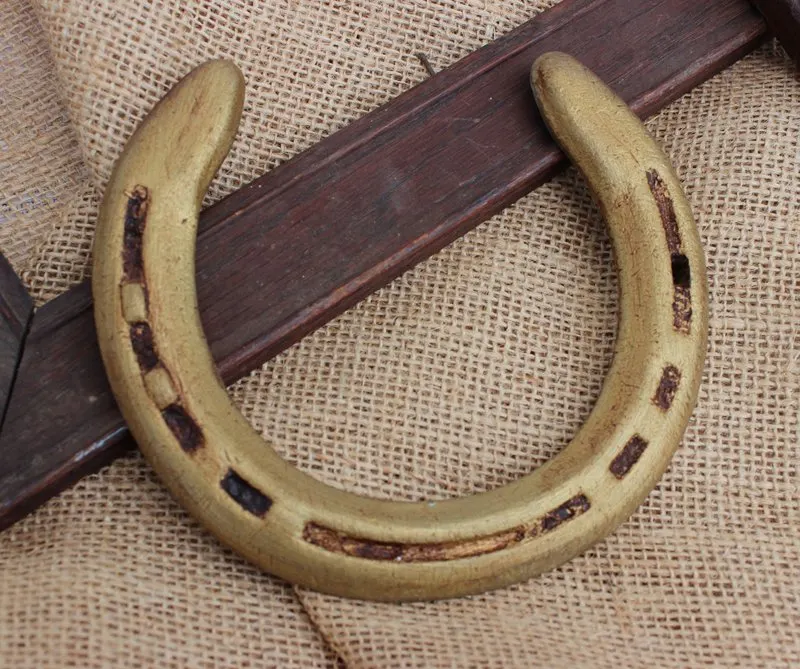
I don’t have a photo of the process of painting and antiquing my steel horse shoe, but the process was almost identical to my tutorial on creating antique gold frames from cheap thrift store frames. The primary difference was that instead of spraying the horse shoe with a gold foil spraypaint, I used Metallic Gold Acrylic Paint and a paintbrush to paint the gold into the tight crevices of the horse shoe.
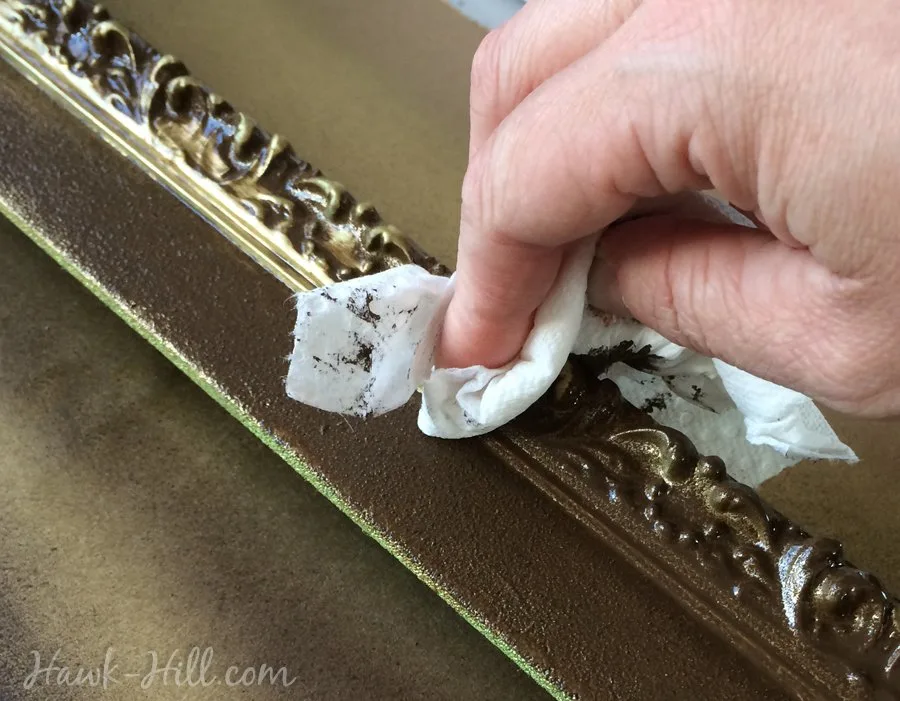
After the gold paint dried, I used my antiquing method of applying thick Liquitex burnt umber acrylic paint. The Liquitex works better than craft paint because it is thick (as viscose as toothpaste but smoother) and highly pigmented. Both the thickness and pigment help it leave a significant amount of color behind when it is wiped off with a clean paper towel. I like this method because it not only leaves antiquing in the recesses but also just a tad in the highlights. On a used horse shoe with many scrapes and pits, this creates a really interesting effect.
3. Mount & Frame Horseshoe for Display
After your horse shoe is painted and, in the process of painting, preserved against future rusting, you can mount it using a frame, some cardboard, and some backdrop fabric. The full tutorial for DIY horse shoe framing can be found here.
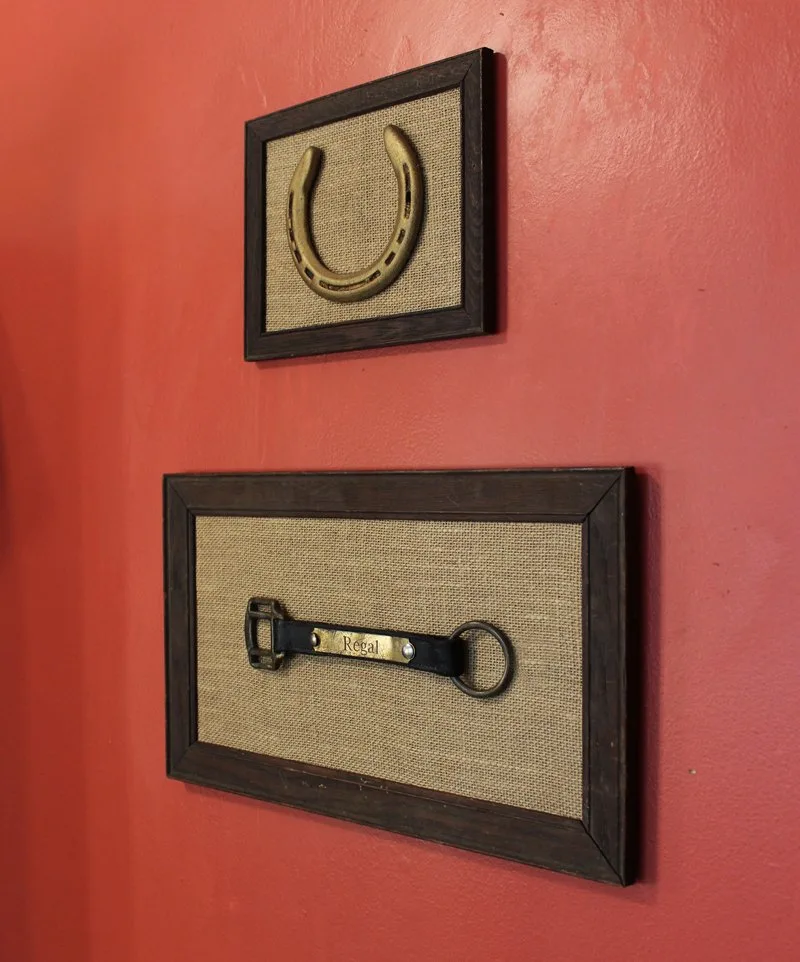
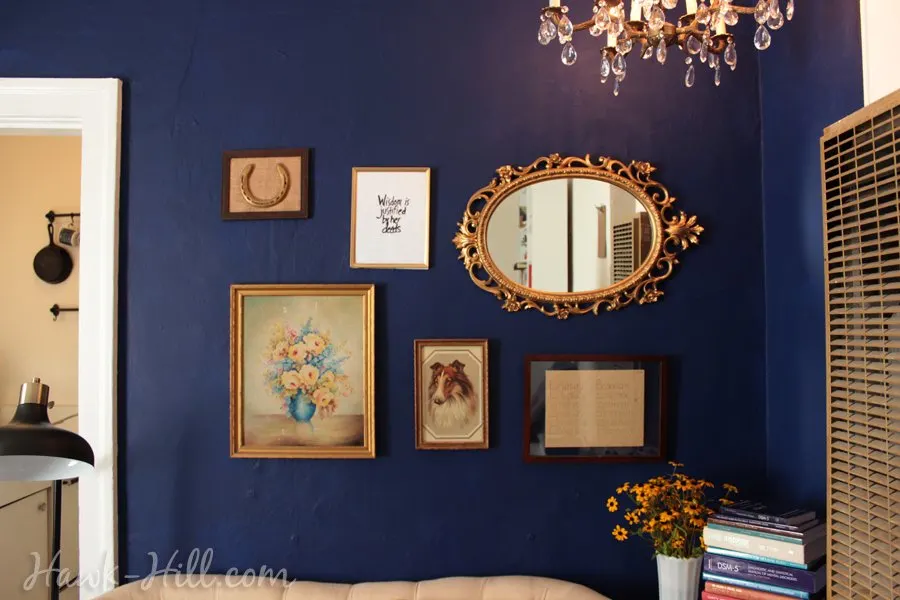
When you’ve completed framing, you have a classy keepsake that’s beautiful and sentimental. Horseshoes preserved and framed in this method make amazing gifts for the horse owners in your life. And I particularly love how they look placed on a gallery wall with other equestrian elements.
Mounting Horseshoes
When I was a child my daydreams were filled with visions of riding and showing a big grey horse. When I was 23, fresh out of college and making a steady income for the first time, I had the opportunity to make that dream a reality and I spent most of my free time in the next few years adventuring with a big grey horse named Regal and the friends I’d made through riding and competing in horse shows. When my life entered a time of transition in 2012, with many tears, I sold Regal to another rider.
Now that I live in downtown Seattle my horse show days are long past, but even in my Seattle apartment Regal’s reminder is present in the form of a framed horse shoe. He was wearing that shoe during one of the best rides we shared: cantering around an arena with a packed audience at a huge demo event at the Kentucky Horse Park in 2009.
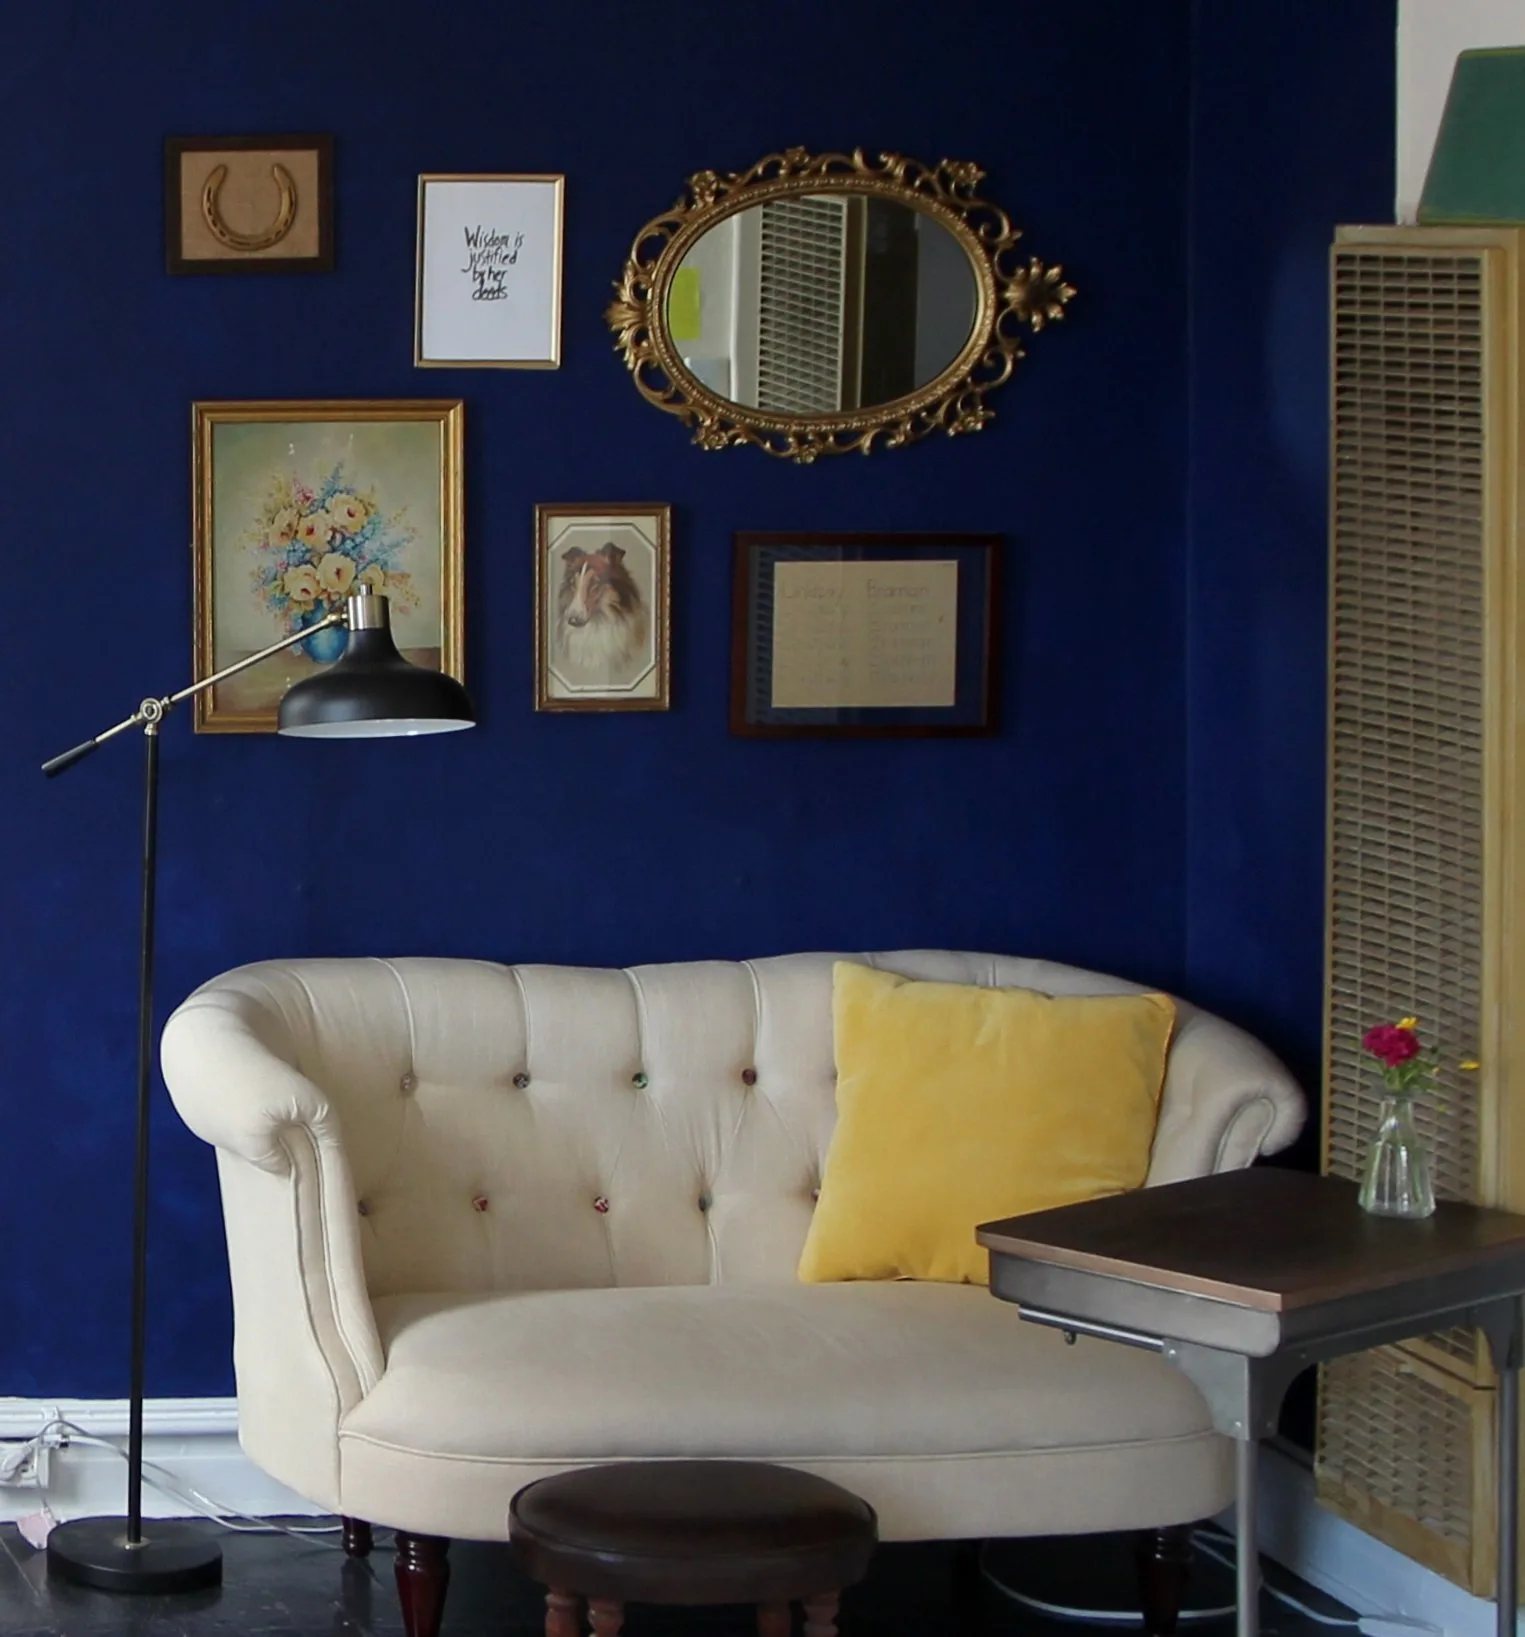
The framed reminder of his horse shoe reminds me that the dreams I have can be more than dreams. With hard work and persistence I pursued that dream and discovered, in the pursuit, there was not just the reward I wanted waiting for me- but growth and learning there waiting to launch me into the next adventure. Even though I no longer ride horses or am engaged in the culture of equestrians, I’m thankful for what Regal and that season of life taught me and the skills he helped develop in me that have helped me be a stronger, kinder person.
Today I’m going to walk you through a simple DIY on how to make your own framed horse shoe, halter piece, or other “artifact”. This project could work equally well with an old dog collar, sports equipment, or keys from your first home:
What you’ll need:
1 frame
2. plain, sturdy cardboard and a knife to cut to size
3. burlap or other background fabric
4. a hot glue gun
5. a framing gun OR framing nails and hammer OR a staple gun
6. Large sewing needle with large eye (called a darning needle)
7. Clear fishing line
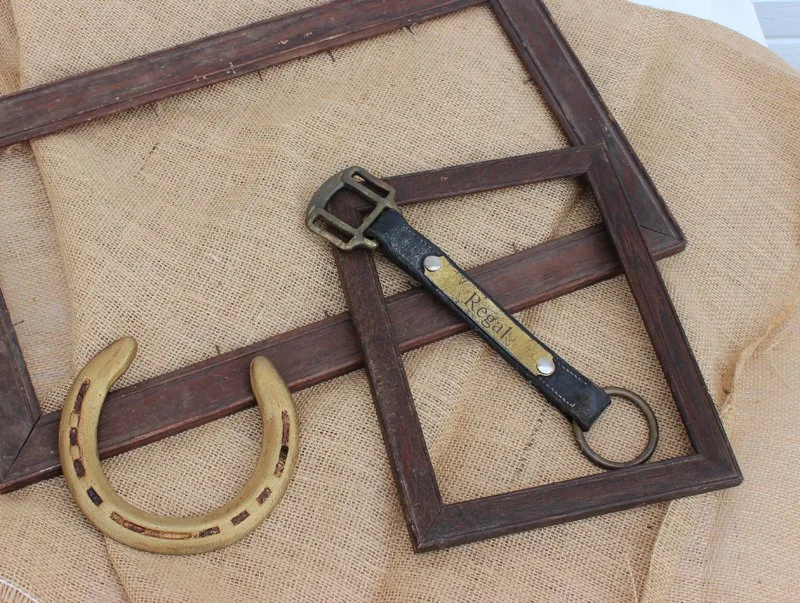
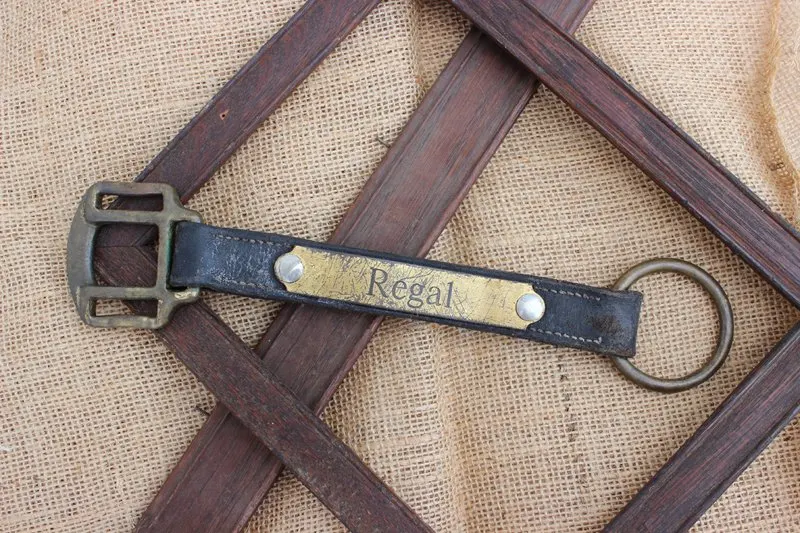
8. Item to frame (I used an engraved halter cheek piece and a horse shoe that I’d painted gold and then antiqued with brown acrylic paint. (Click here for detailed instructions for stripping rust, preserving, and my method for adding this antiqued gold finish)- this also protects the exposed steel from rusting and changes the color to be warmer and more decorative)
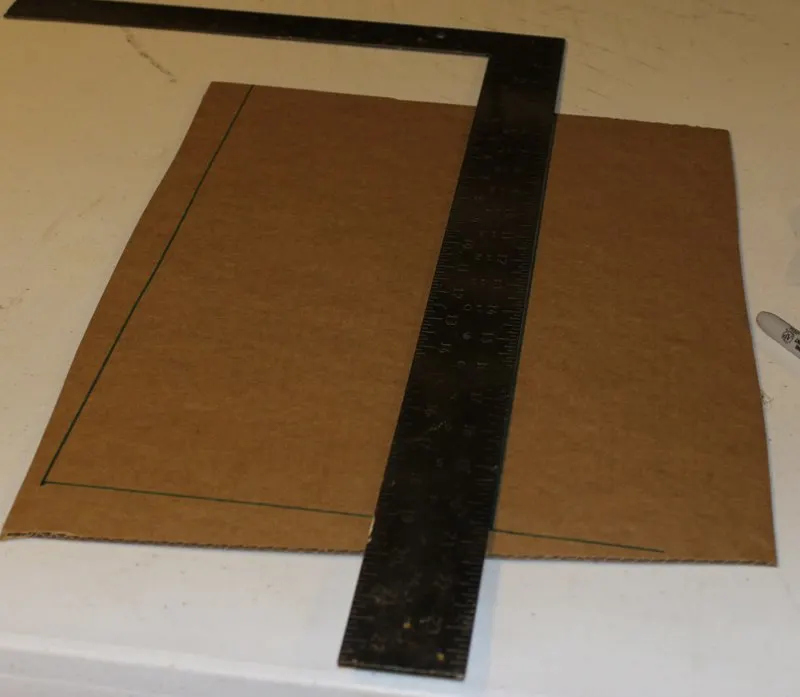
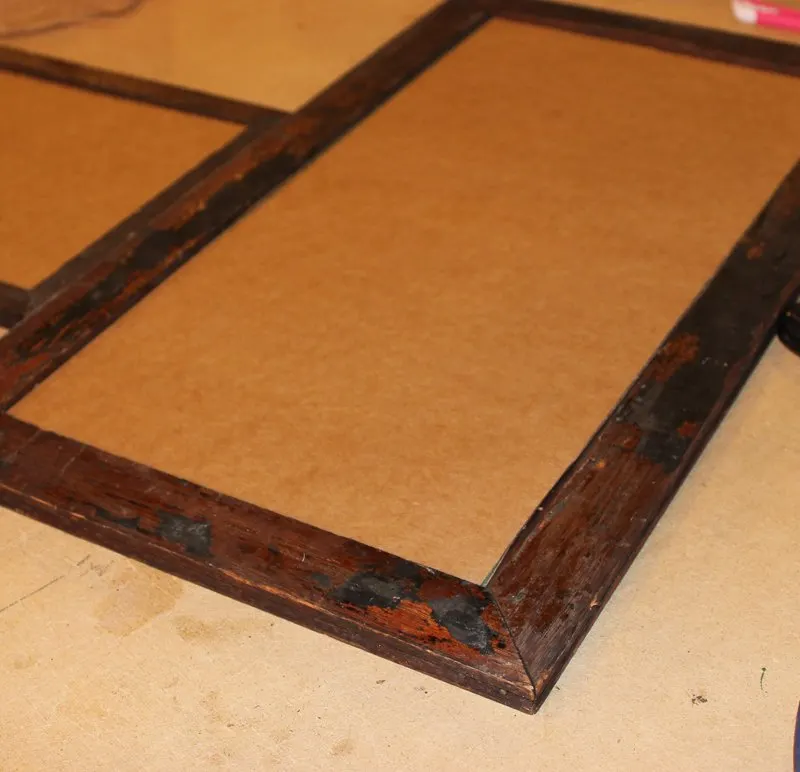
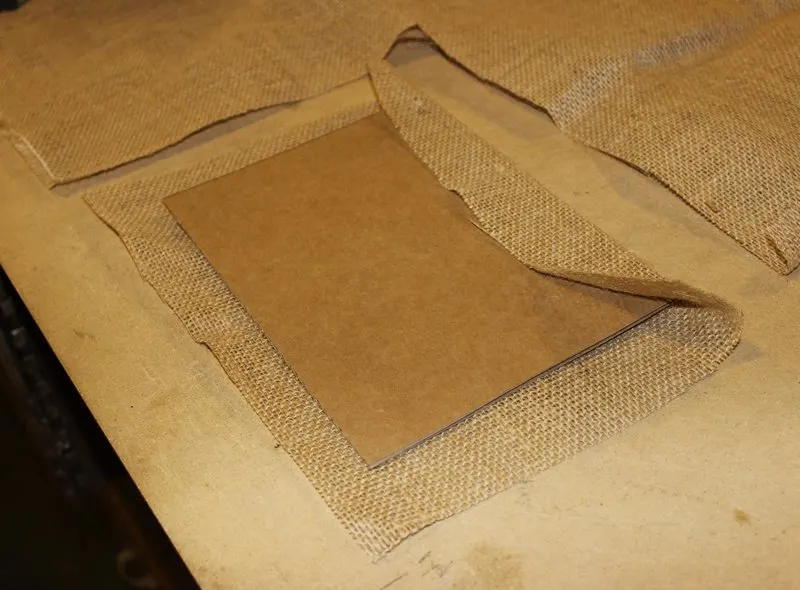
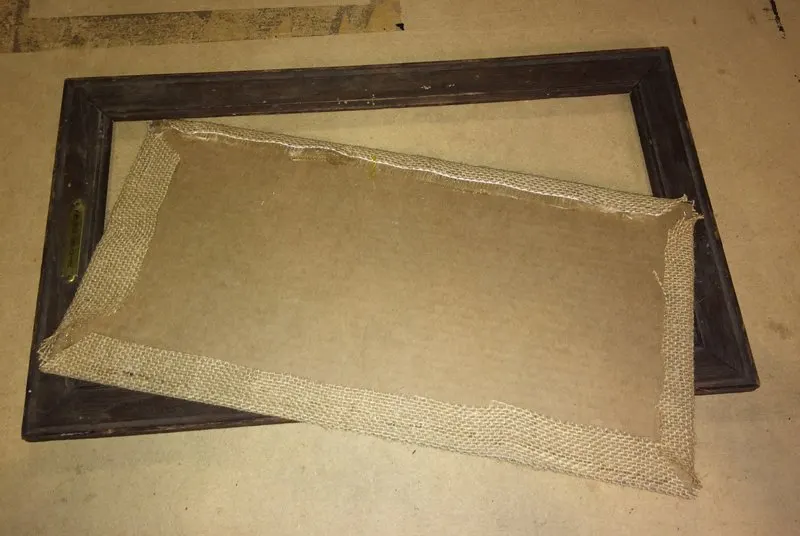
1. Cut your cardboard to dimensions to fit in your frame (cut slightly smaller, as wrapped fabric will add to the dimensions). OR skip this step by picking up a pre-made burlap-back shadow box.
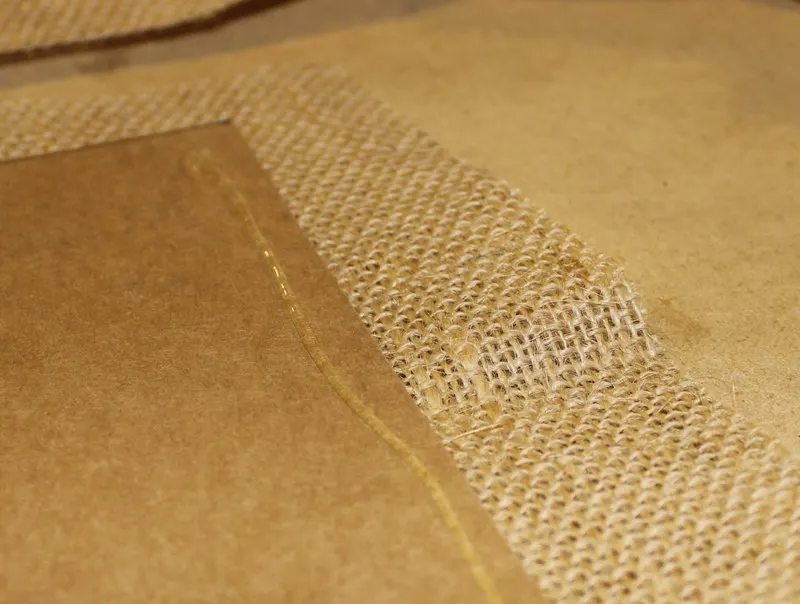
2. CAREFULLY using hot glue, glue burlap over and around the cardboard. Note that hot glue easily oozes through burlap, so you’ll want to use thick rubber gloves or a popsicle stick to hold the fabric until the glue cools in place.
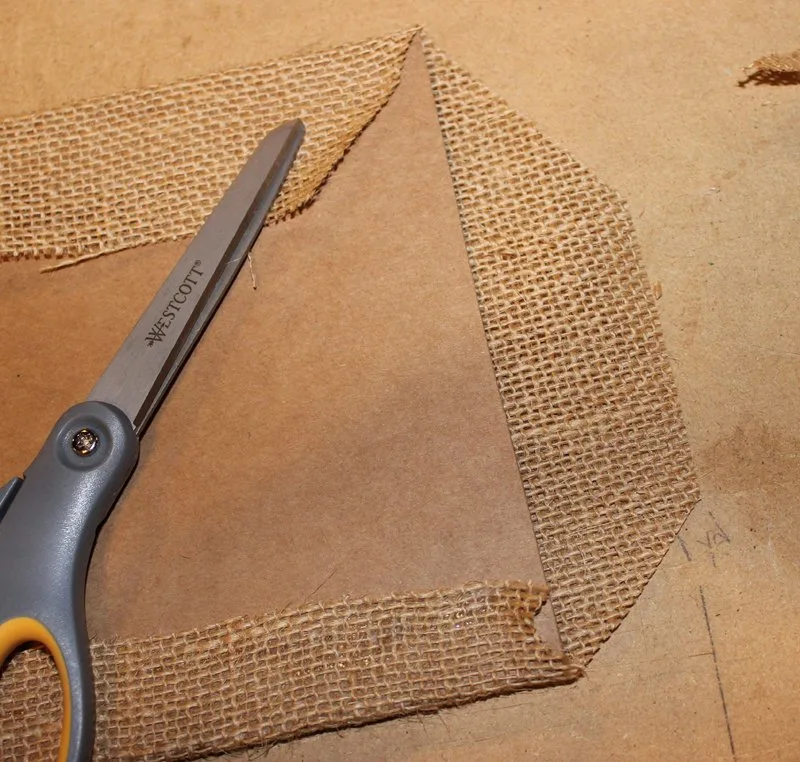
3. Trim the corners of the burlap to help the fabric lay flatter. (there will be a lot of unraveling at this point but don’t panic! Handle carefully and continue. Once framed the unraveled edges will be secured.
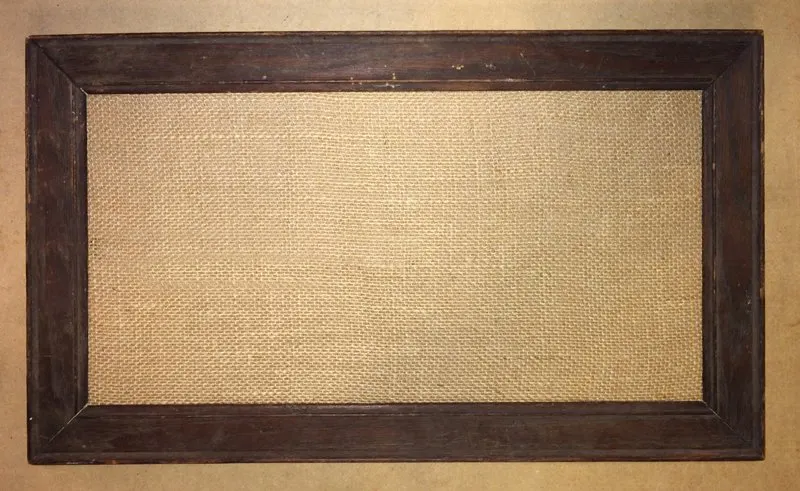
4. Place the cardboard in the frame and secure using staples or framing nails.
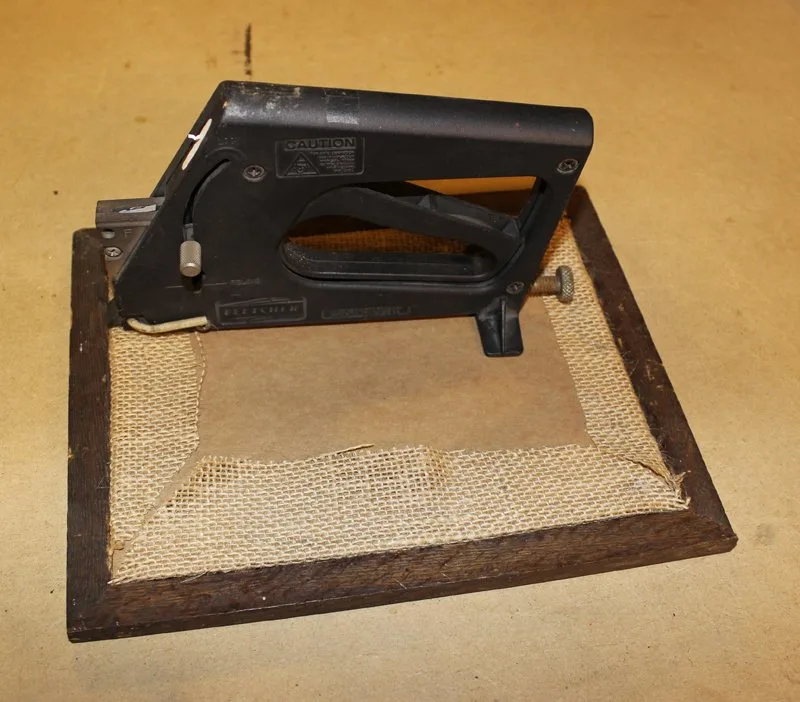
You should have a framed plain piece of cardboard covered burlap at this point:
5. Whether horse shoe or halter cheek, flip the item over to the backside and apply hot glue. Apply enough to adhere, but careful to avoid over-gluing and ending up with glue oozing out from edges.
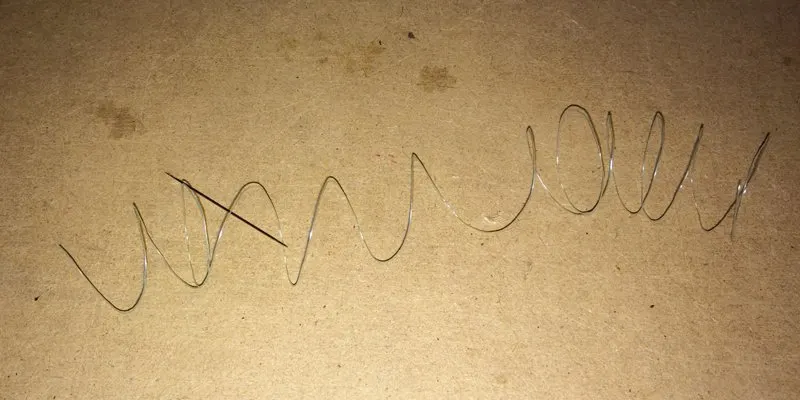
6. Both horseshoes and halter cheeks are heavy items that might pull away from the burlap and cardboard over time. For safety, and to avoid doing this project twice, you’ll want to secure the item using clear fishing line.
7. Thread the darning needle with clear fishing line and poke your needle up through the cardboard, around the horse shoe or halter hardware, and back through the cardboard. On the backside, tie a snug square knot, double tie, and then snip loose ends. Repeat until the item is equally secured on each side. (I used two ties for the engraved halter piece and three for the horse shoe)
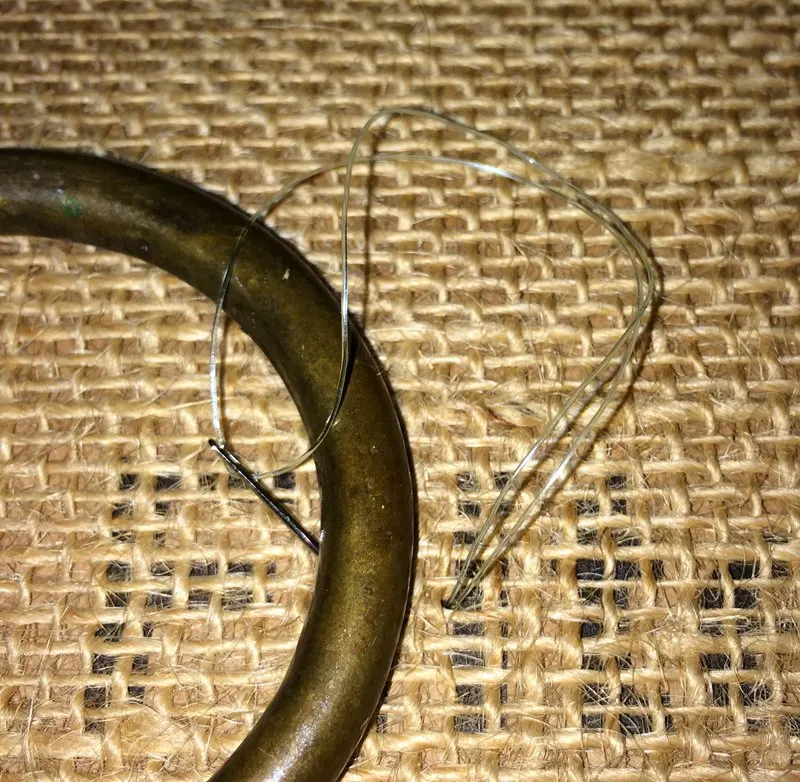

That’s it! Once doubly secured, your framed keepsakes are ready to hang. I like hanging multiple items with like-backgrounds to create a set, but single items hung as part of a gallery wall or stand-alone art work well too.
Thanks for Reading!!!
I hope you can tell that I love DIY, researching the best affordable solutions for every-day problems opportunities and documenting / sharing solutions!🙌 Hawk-Hill.com is reader-supported.
☕ Hawk-Hill.com is reader-supported. If this article saved you time or money, please consider donating $1 to help me cover the cost of hosting this website OR If you appreciate this information and want to throw a “Thanks!” my way by buying me a coffee – I would Of Course appreciate it! :]
Reader Questions and Recommendations
Readers, do you have any favorite topics / posts? What would you like to read more about in the future? As I hope you can tell from this and other articles on my site, I really enjoy DIY / a good challenge, and I’m not afraid to roll up my sleeves to figure out a great, and hopefully simple 😁 solution. So please feel free to let me know in the comments below (or reach out via social media)!
Ok Really – I’ll try to wrap this up now😂
Finally, if you’d like to continue to learn about interesting DIY options as well as how YOU can tackle creative new projects consider checking out the latest and most popular articles listed on the Hawk-Hill Home Page. I’m always trying to enjoy and write about the creative side of life so please don’t be a stranger – check back often!😍
If you enjoyed this post you may also enjoy reading / perusing / devouring😊 one or all of these articles as well!



huntfishcook
Saturday 14th of September 2019
Great tips! Looking for ideas to help my daughter clean/ mount some horse shoes. Thanks!
LynetteandLarry Jennings
Thursday 8th of September 2016
I'm going to do this my horseshoes I've held onto since childhood and hopefully my Grandmothers' horseshoes that she saved and have been held onto by my cousin... we both just need to find them!