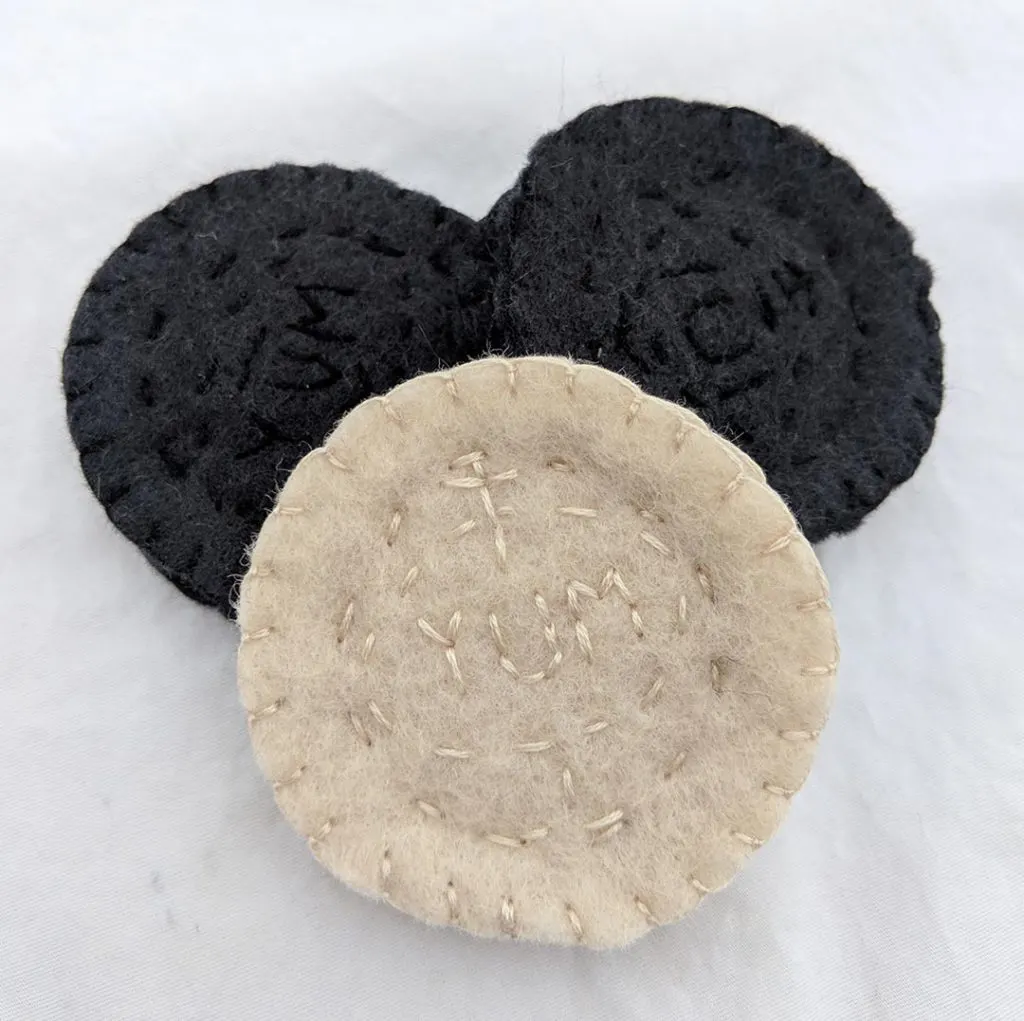
Today’s tutorial is a quick walk-through on how to make these adorable chocolate sandwich cookie toys. They look like iconic Oreos, but I wanted to make a fun generic version of the chocolate sandwich cookie rather than a specific brand.
Our pattern makes cookies that are just about 25% larger than a standard Oreo cookie, these are a little easier for small hands to play with and are much easier for big hands to make!

WHAT YOU’LL NEED:
These cookies are made even easier to make by using 100% wool felt. 100% wool felt is thicker than hobby-store felt by almost triple – meaning that I didn’t need to do any extra work to make the wafer sections of the cookie. I just cut circles out of a black wool felt 5″ x 5″ sheet and was ready to begin constructing the cookie. You only need 5″x5″ sheet of wool felt and a tiny strip of white felt (wool blend or eco-craft felt) for each cookie.
For vanilla cookies, use 100% wool in Oatmeal and for Chocolate Cookies with an oreo-type coloring, I used Wool Felt in Vintage Black.
DOWNLOAD A FREE PATTERN PDF:
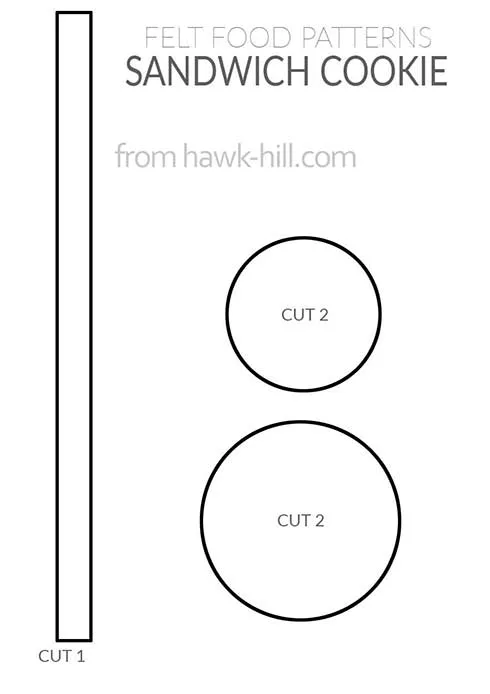
CUT FELT:
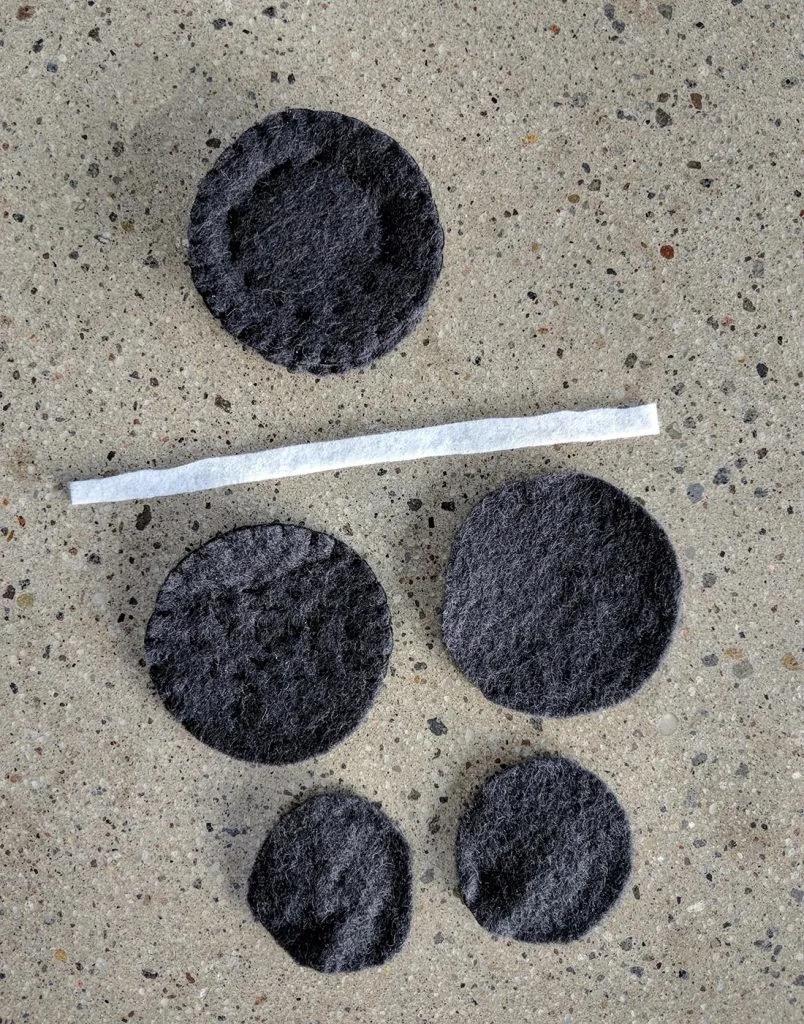
To start, just use our free printable template to cut out two of the big circles and two of the small circles, and one strip of white felt in the dimensions shown on the downloadable pattern.
To avoid black stitching showing up on the white, or white stitching showing up on the black, we’ll actually build the structure of the cookie by stitching together the sturdy black wool felt and then add the white strip with glue at the end.
EMBROIDER COOKIE TOP AND BOTTOM:
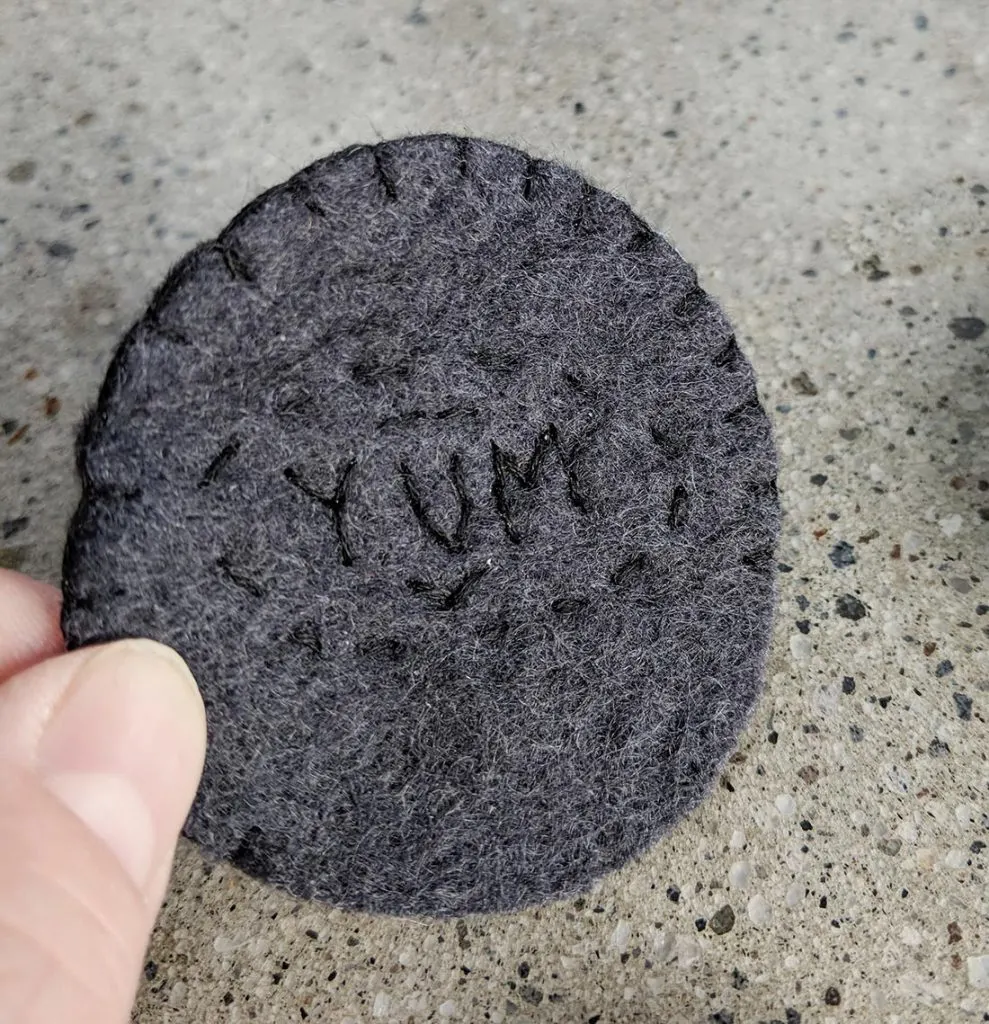
Begin by selling a blanket stitch around the circumference of each of the large circles. If you want to copy the pattern of an Oreo cookie, continue by stitching a small oval in the center of each cookie with a running stitch. You can add a word like, I stitched in “YUM,” or leave them blank. It’s really up to you how much time you want to spend. These little crafts are something I make to keep my hands busy while watching my favorite Netflix series, so I tend to really get into the details. If you are in a hurry or just don’t want to spend the time, these turn out great without the extra detailing.
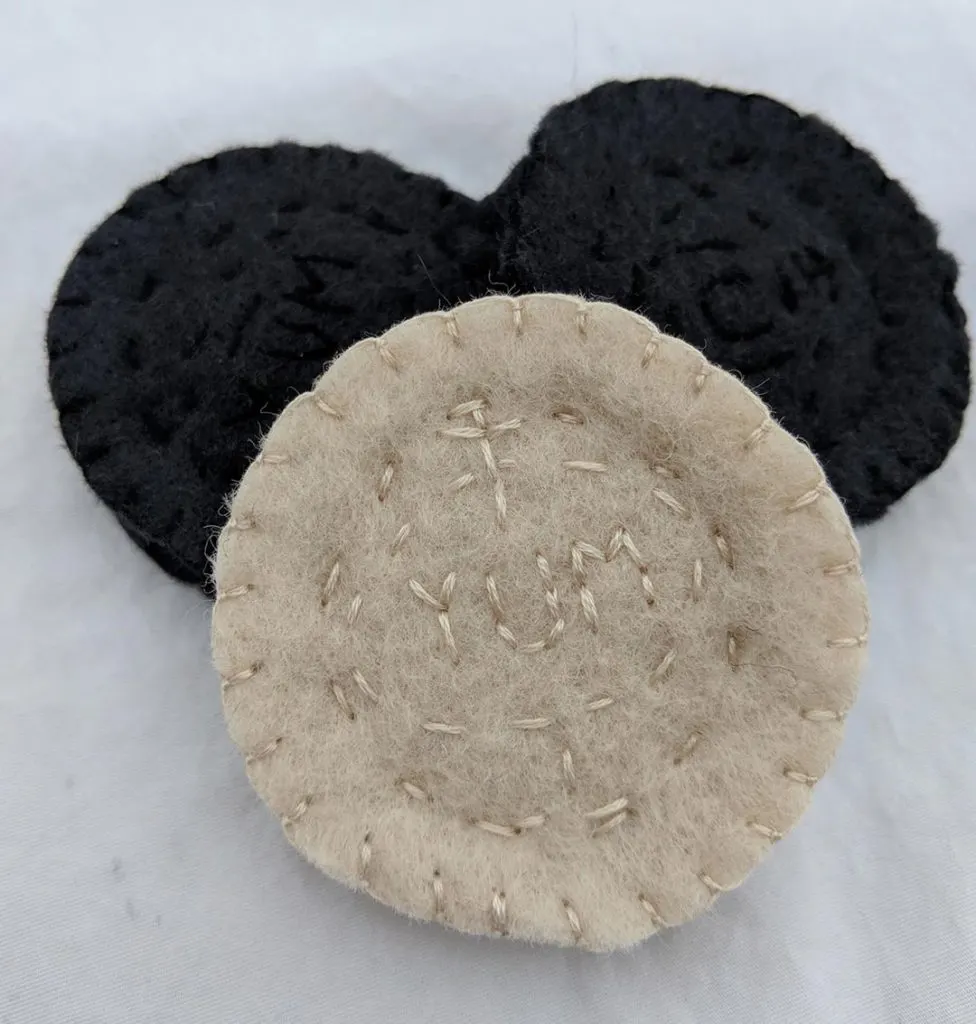
A few days after making these chocolate cookie versions, I realized I had all the “ingredients” to whip up a batch of vanilla sandwich cookie counterparts. These make a cute set, paired with the chocolate versions made from “vintage black” merino wool felt, and the brighter color makes it easier to show you the embroidery and details.
STACK AND STITCH COOKIE:
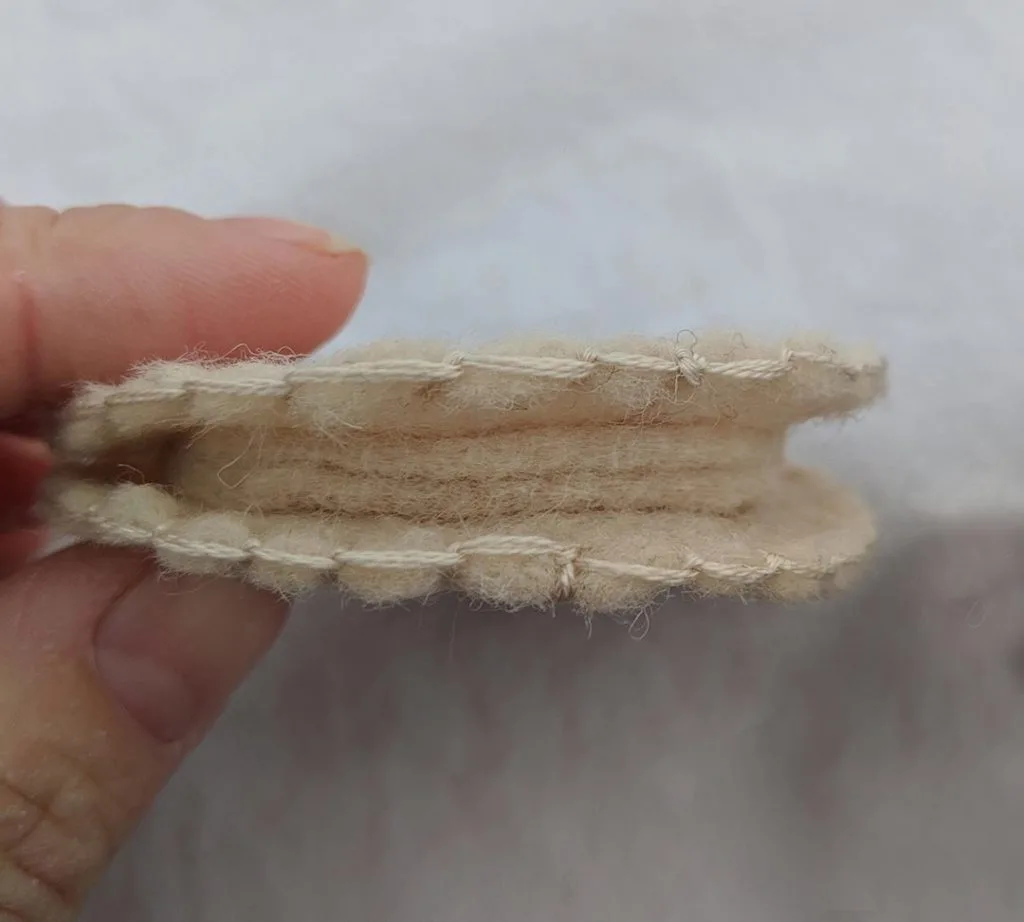
Once your outer rim is blanket stitched around the edge, and any extra embroidery you desire is added to the center of the wafer, it’s time to build the structure of the cookie.
Just stack the two small circles between the two big circles, center, and use a running stitch to make a circle of stitches holding the whole thing together. Tie this stitch off and the cookie is almost done.
ADD COOKIE “FILLING”:
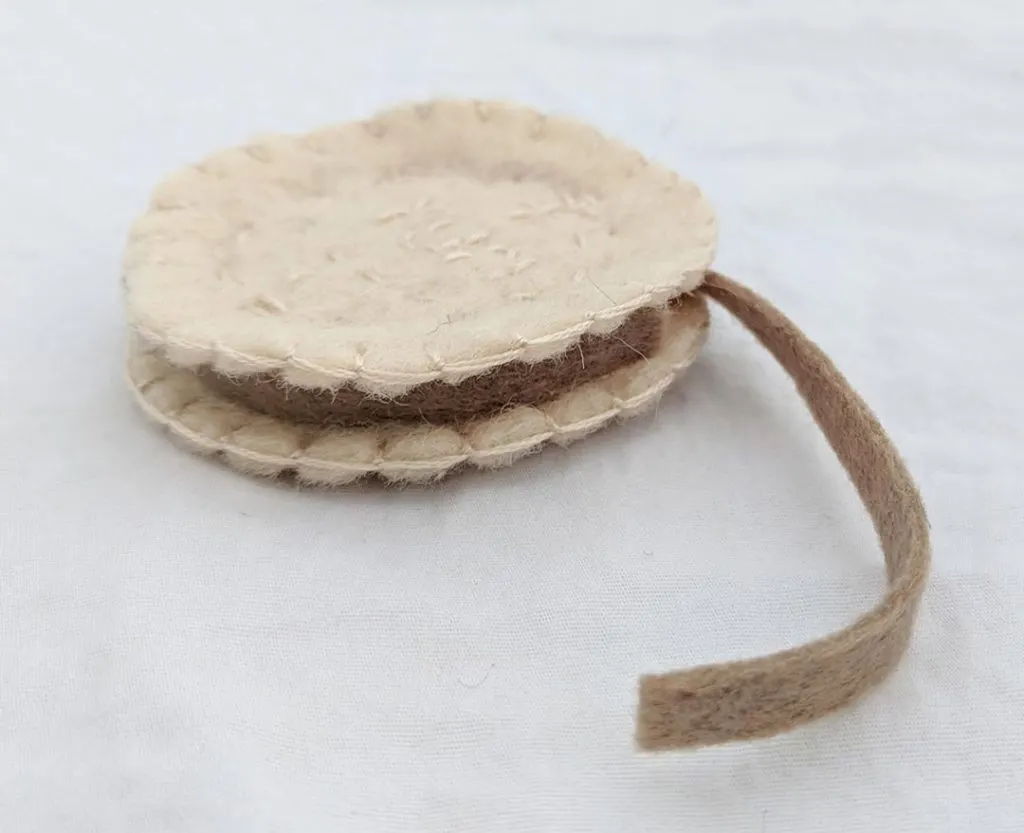
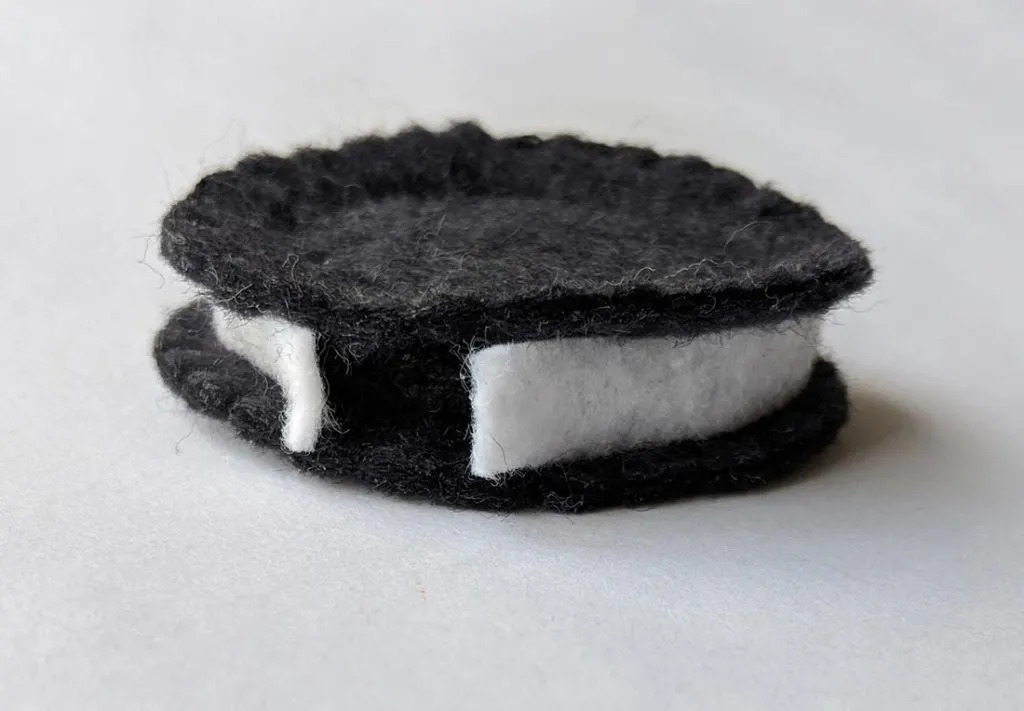
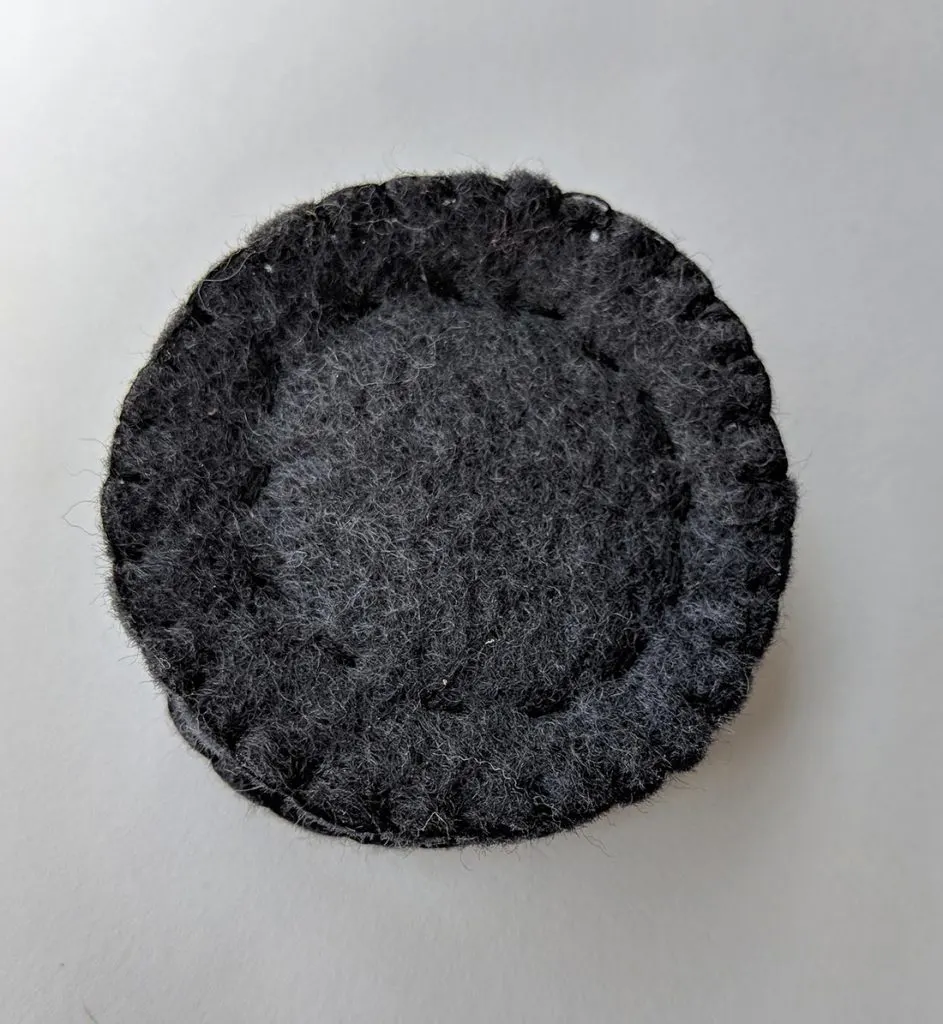
As the finishing touch, wrap the strip of white felt around the midsection of the sandwich cookie, add a bit of fabric glue to hold it in place, and, if desired, use white thread to stitch the filling so that the black core doesn’t show through at the seam.

FINAL THOUGHTS:
That’s it! These chocolate sandwich cookies are super easy to make using our free printable pattern and a small scrap of black 100% wool. These cookies can also be made with craft felt or a wool blend felt, which is thinner, but you might need to add extra layers to get the structure of the cookie to be the right thickness.
TIP: You can use scrap felt in any color to make the center of this coookie, just DON’T use stuffing to make it into a plush toy- or you’ll quickly find your Oreo turned into a ravioli! Always use full-size pieces of scrap felt to stuff items that need to remain flat. This tip is just one from my pro-tips on felt food crafting techniques.
