
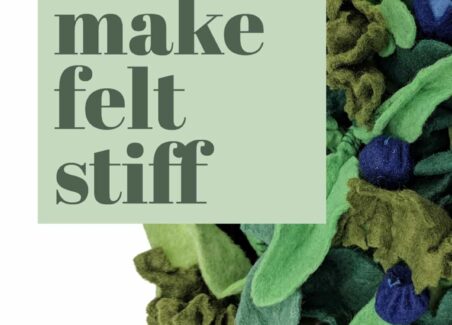
Stiffening felt is a simple and satisfying DIY project with dramatic results! In this article, I demonstrate how to stiffen felt using supplies you probably already have in your kitchen!
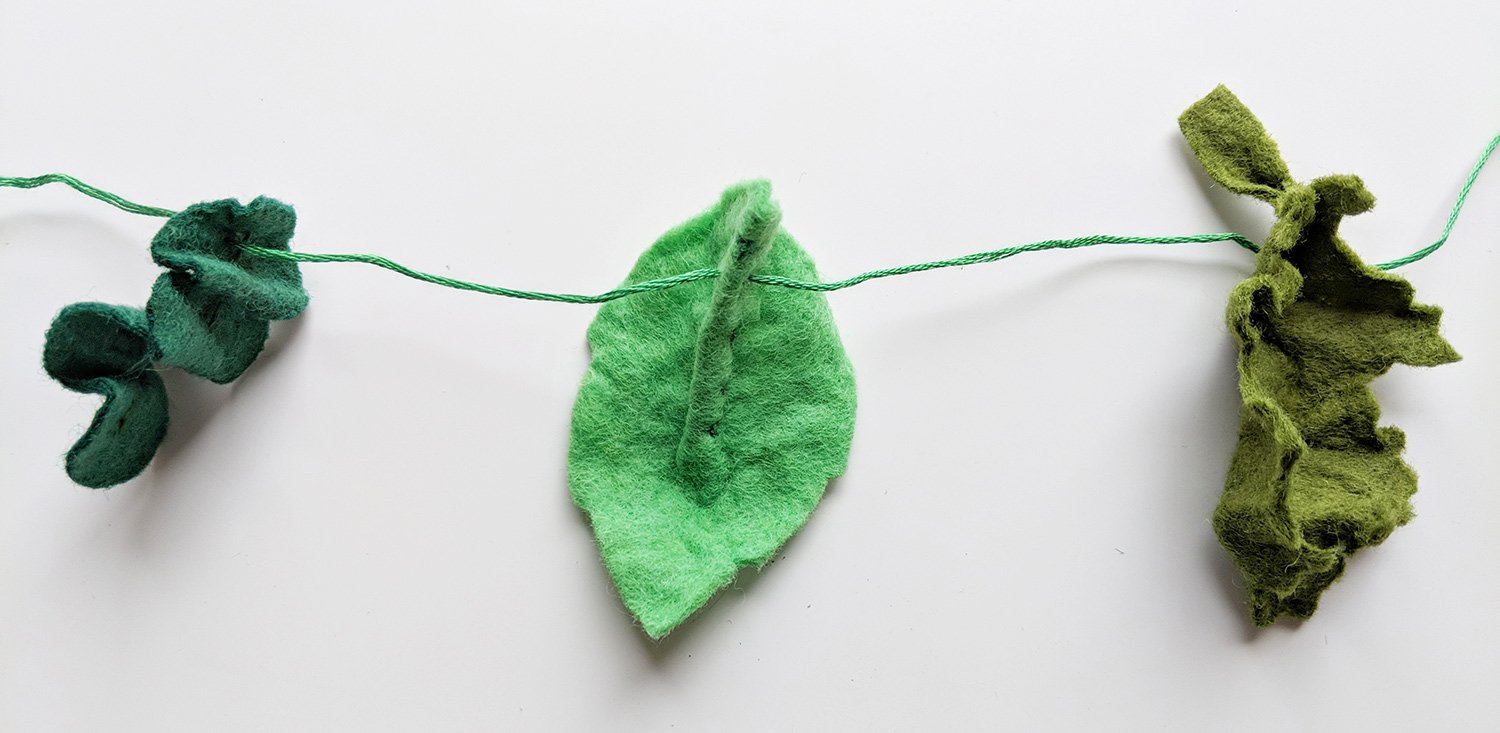
You can stiffen felt just a little (to add just a little more body) or a lot (to make it stiff enough to take on rigid shapes and forms in three-dimensional fiber art). In this tutorial, I outline 4 methods for stiffening felt and walk you step by step through my favorite method to stiffen felt. In this detailed how-to, I stiffen felt by dunking it in a solution of water and cooked cornstarch and then wringing it out.
Hawk-Hill.com is a participant in the Amazon Services LLC Associates Program, an affiliate advertising program designed to provide a means for website owners to earn advertising fees by advertising and linking to Amazon.com and any other website that may be affiliated with Amazon Service LLC Associates Program
Four Ways to Stiffen Felt:
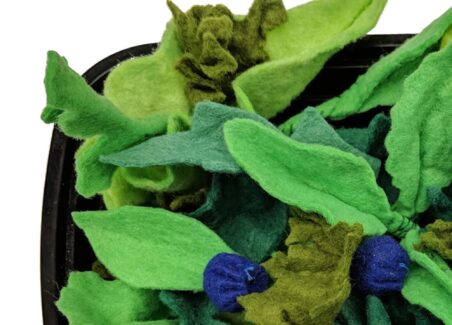
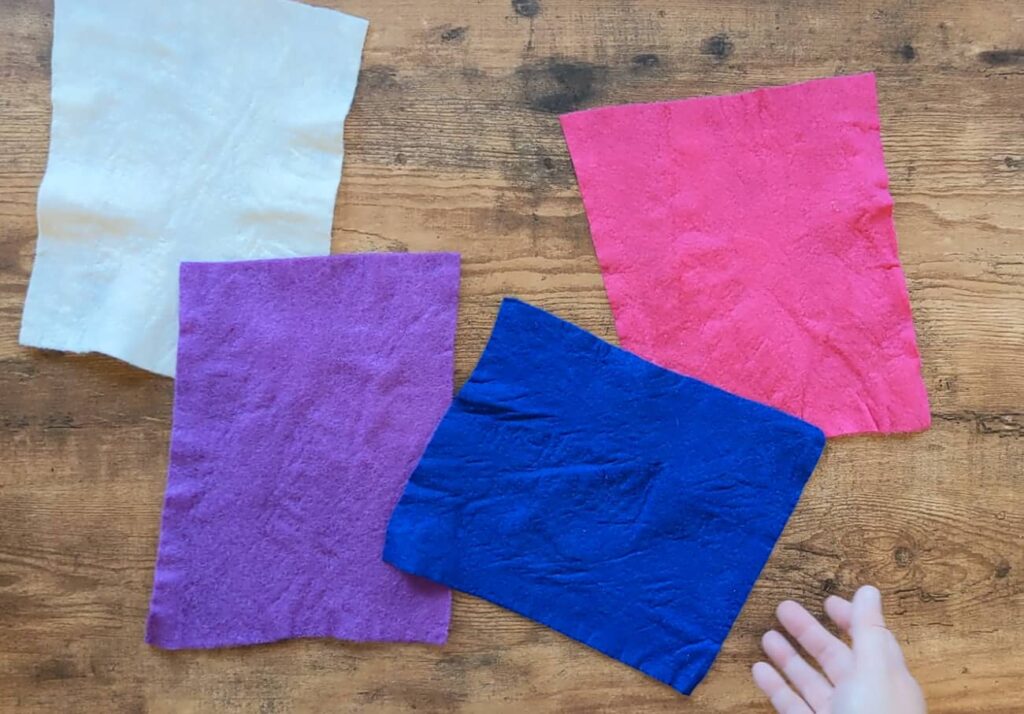
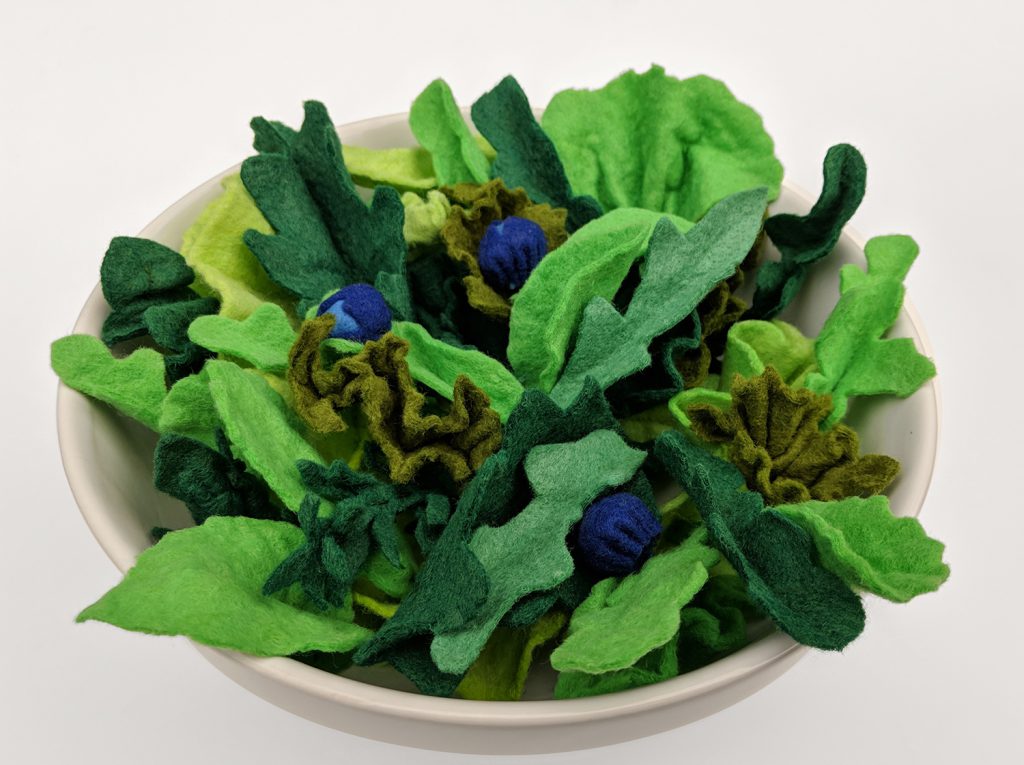
Most of my felt food patterns and tutorials use felt in its natural state, but a few tutorials (like those for felt lettuce or “crispy” felt taco shells) call for the felt to first be treated so it’s a little stiffer.
Quick Overview of methods (Detailed instructions below):
Cornstarch* (BEST)
pros: inexpensive, chemical-free, range of stiffness
cons: messy, not machine washable, too much can leave residue
Laundry Starch
The same spray-on stiffener used for ironing can be used to stiffen felt
pros: easy to apply, great for a quick fix, offers a range of stiffness
cons: may contain toxic chemicals, relatively expensive, special-order, not machine washable
Glue or Glazing Media (EASIEST)
pros: machine washable, range of stiffness
cons: messy, somewhat expensive
Boiling (WOOL ONLY)
pros: historically accurate for historical projects, natural, chemical-free
cons: can change thickness/texture in unpredictable ways, only works on wool felt
Clothes Dryer (CHANGES TEXTURE)
pros: natural, chemical-free, create interesting texture
cons: can change thickness/texture, only works on wool blend felt
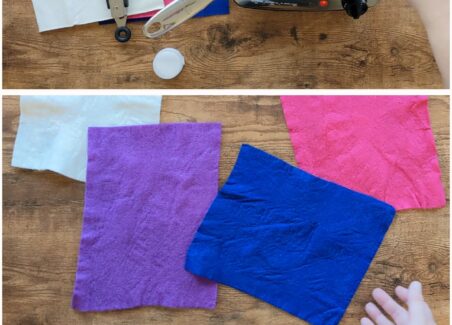
Supplies Recommended:
How to Stiffen Felt with Cornstarch:
An inexpensive and food-based option, cornstarch* is a classic stiffener that’s natural, durable, and safe to use on felt projects that might end up gummed by a young toddler. Activating the stiffening properties of cornstarch requires a few steps, but the stiffening power is dramatic. Depending on how concentrated you make the solution, the final effect can range from just a bit of extra body to cardboard-stiff felt with enough rigidity to create shaped, sculpted, or free-standing dimensional felt crafts.
Warning This project requires handling boiling water. Always treat hot surfaces and solutions with caution. Never handle or apply this stiffening solution while hot- let cool to 100°-110° F before handling.
For durability, avoid washing the fabric after this stiffener is applied. Cornstarch-stiffened felt may become less stiff over time with play. If starched felt is vigorously washed, the felt will become less rigid. The method below will stiffen about 5 12×18″ wool felt sheets, to stiffen more sheets of felt double the recipe.
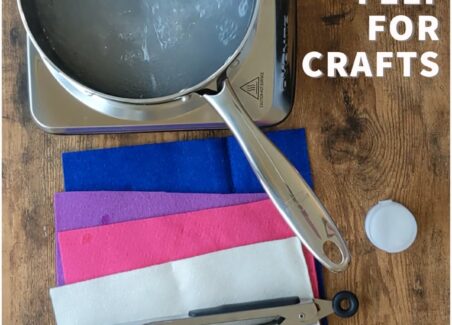
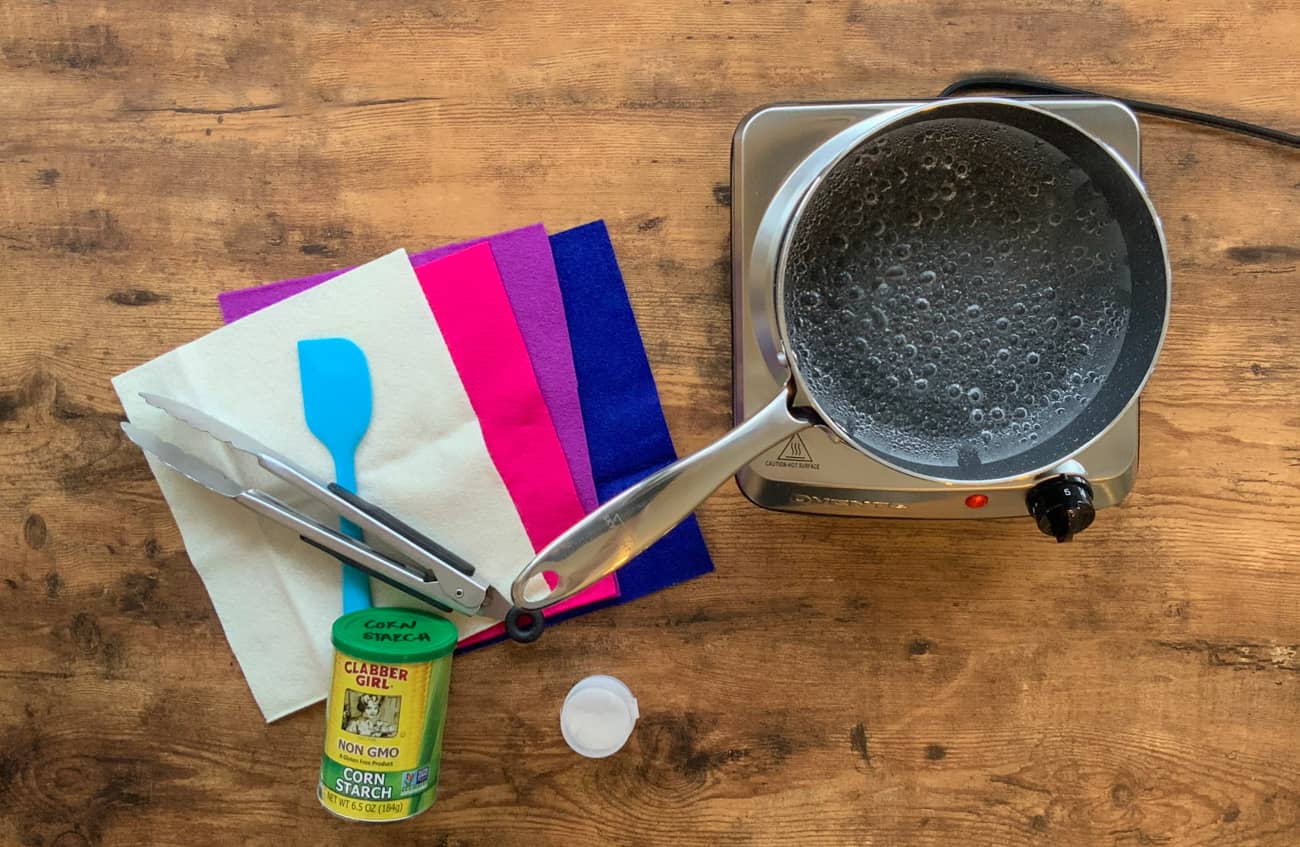
Supplies Needed:
- Cornstarch*
- Stove/pan/large spoon
- Cool water and a small mixing bowl
- (+ for large batches or professional fiber artists: a hand wringer*)
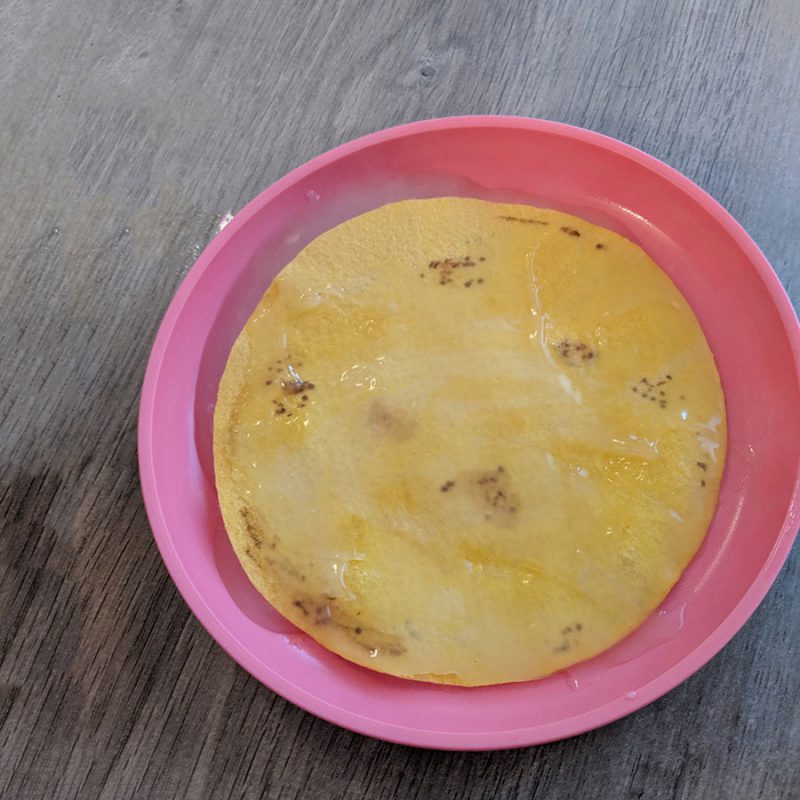
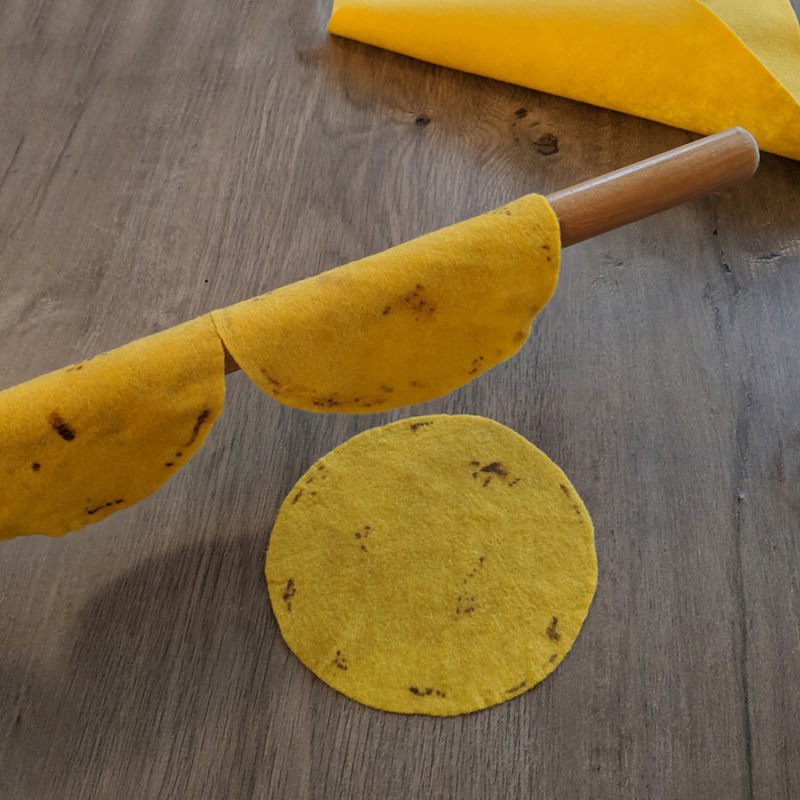
I’ll be demonstrating this method as used on my Felt Corn Taco Shell Play Food Tutorial. For a pattern and instructions for creating the corn-tortilla coloring, check out the full tutorial.

How to Stiffen Felt with Cornstarch
Total Time: 10 minutes
Boil Water
Bring 2 cups of water to boil in saucepan on stovetop
Mix Cold Water and
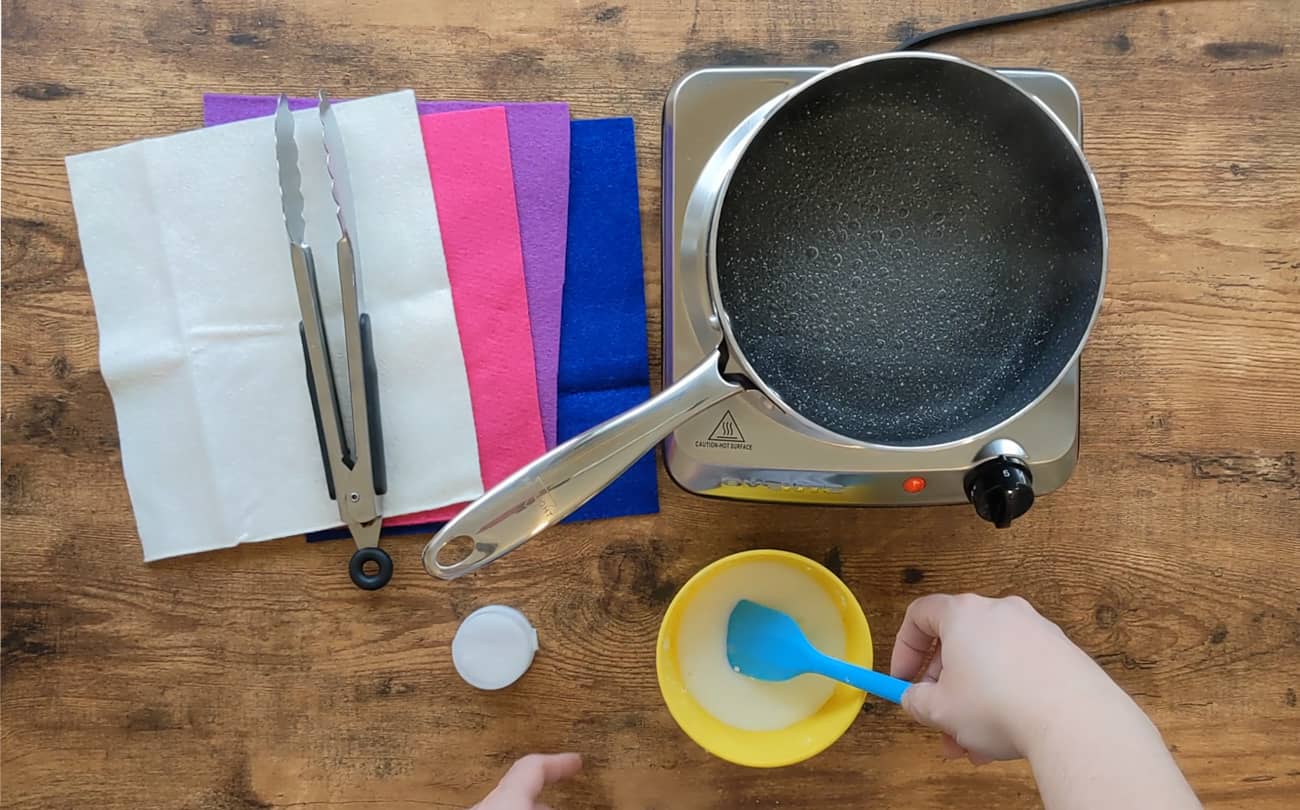
While waiting for water to boil, mix 2-3 Tablespoons of cornstarch with 1/2 cup of cold water in a jar or mixing bowl. Mix until the solution is smooth and milky.
Combine
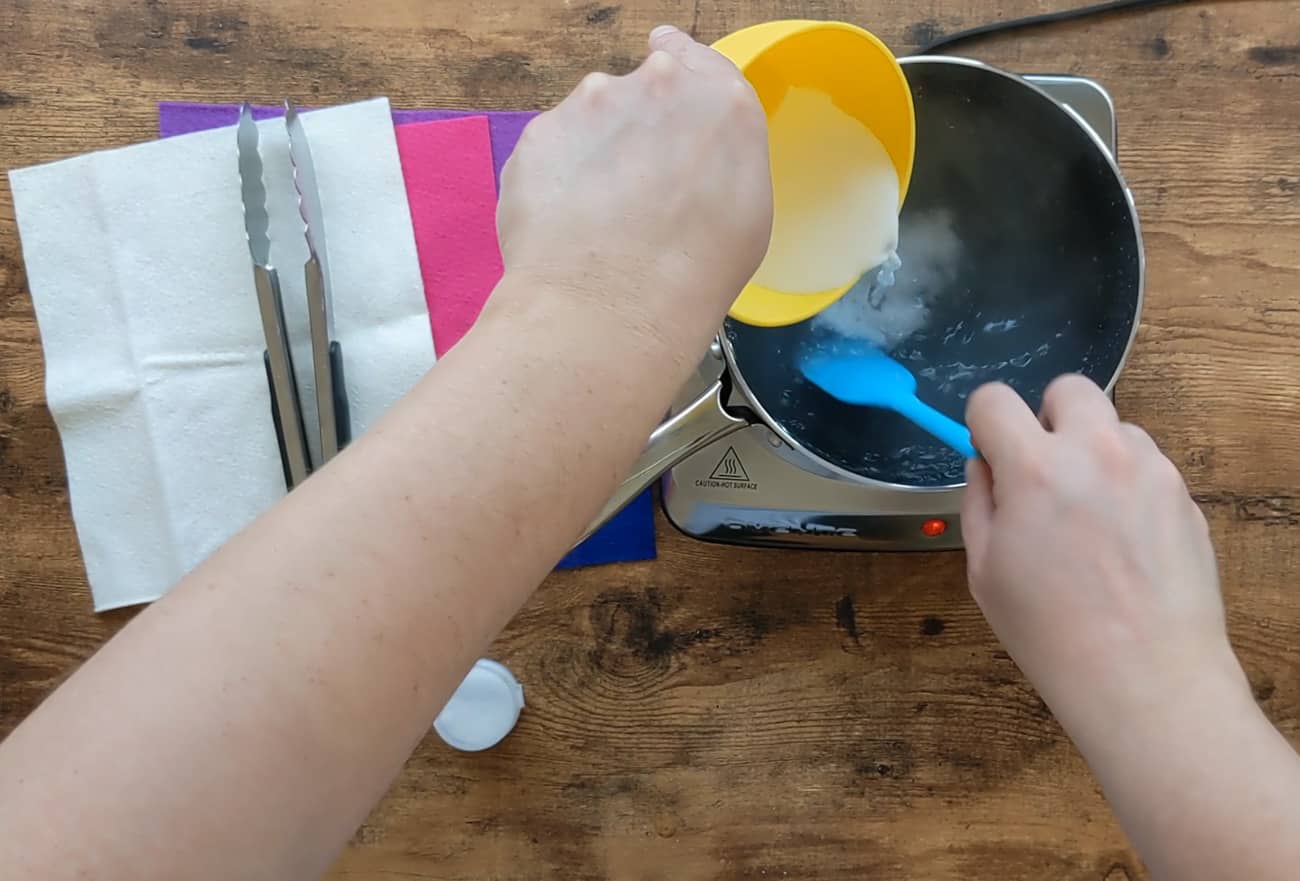
When the water in the saucepan boils, Pour the cold cornstarch water into the boiling water slowly while stirring constantly.
Stir and Cook Stiffening Solution
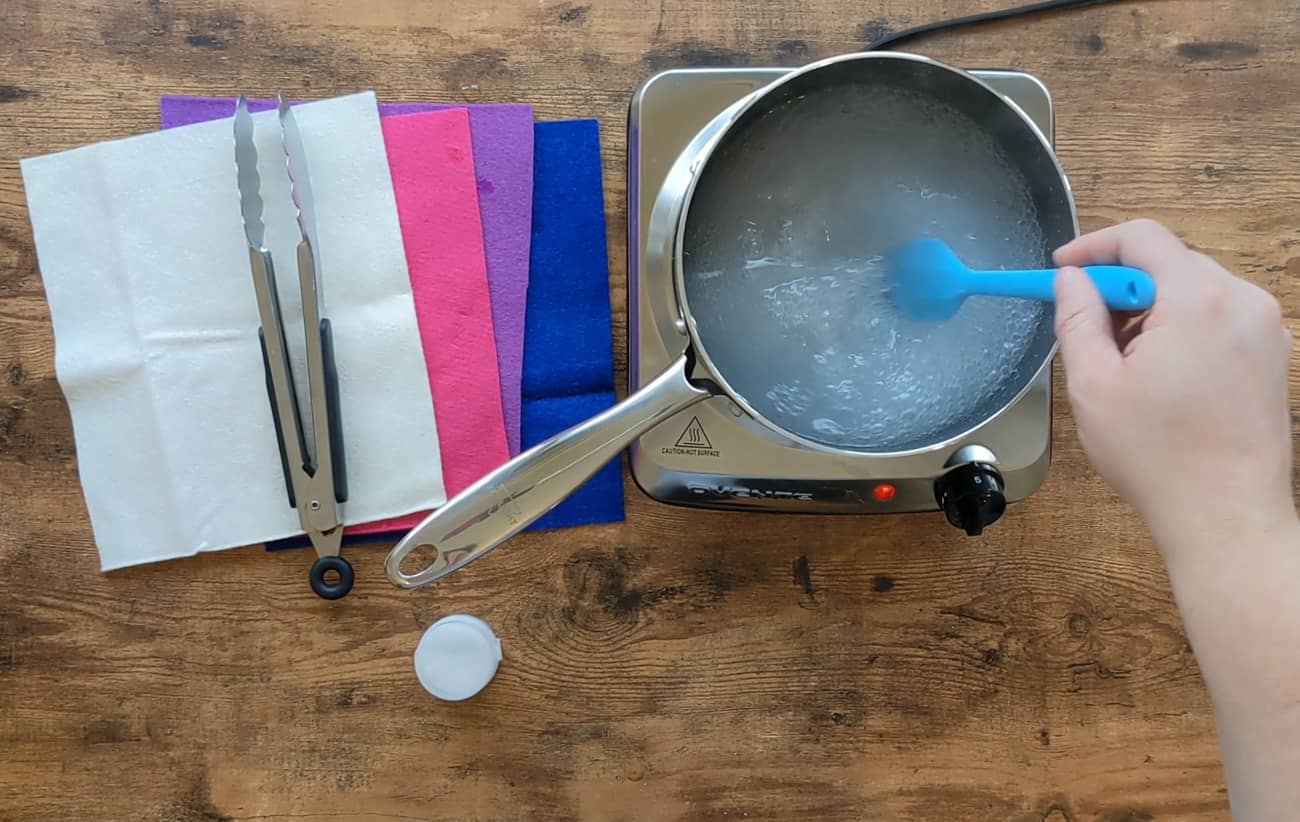
Continue stirring and maintain at a low boil for about 2 minutes. When the mixture changes from opaque (white) to translucent-clear and has a thick gravy-like consistency, it’s ready to be removed from the heat.
Cool Solution to 110°
Remove from heat and cool to about 110° degrees (hot to the touch, but not burning hot.) Use a meat thermometer to test the temperature.
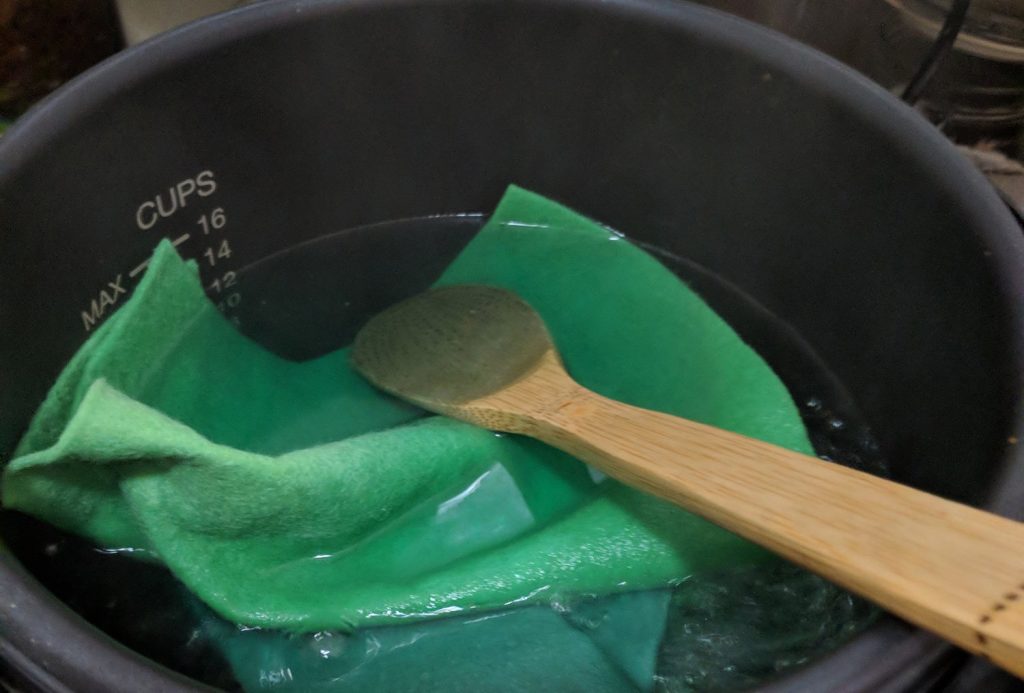
Coat felt in Solution
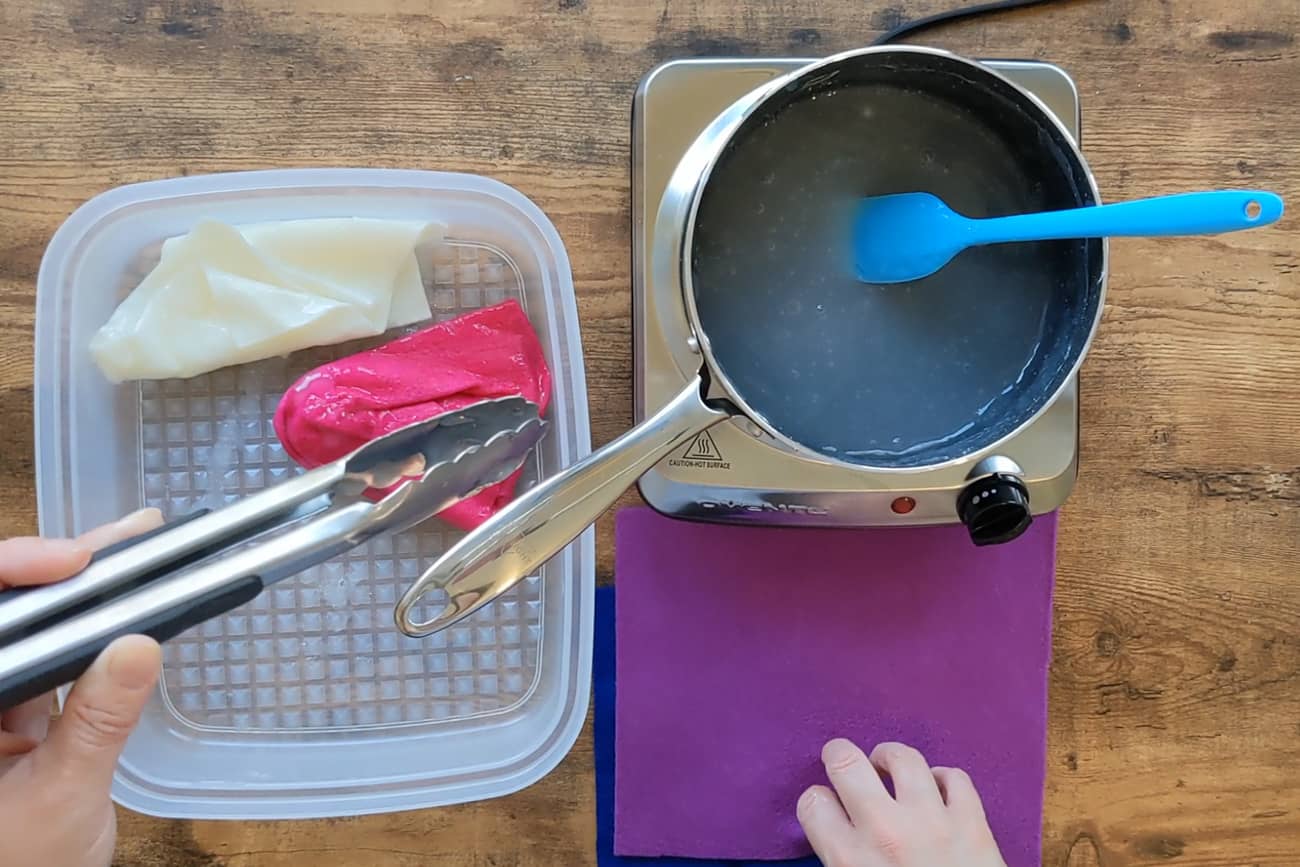
Working first with light colored felt, then dark, smother each felt piece into the solution and submerge/massage until fully saturated.
6. Lift felt from the cornstarch solution, gently squeezing excess liquid but being careful not to “wring” the fabric. Pressing felt between paper towels or using a hand wringer* works best. (Do not dry without removing excess liquid, or a cloudy film will form on the surface of the felt)
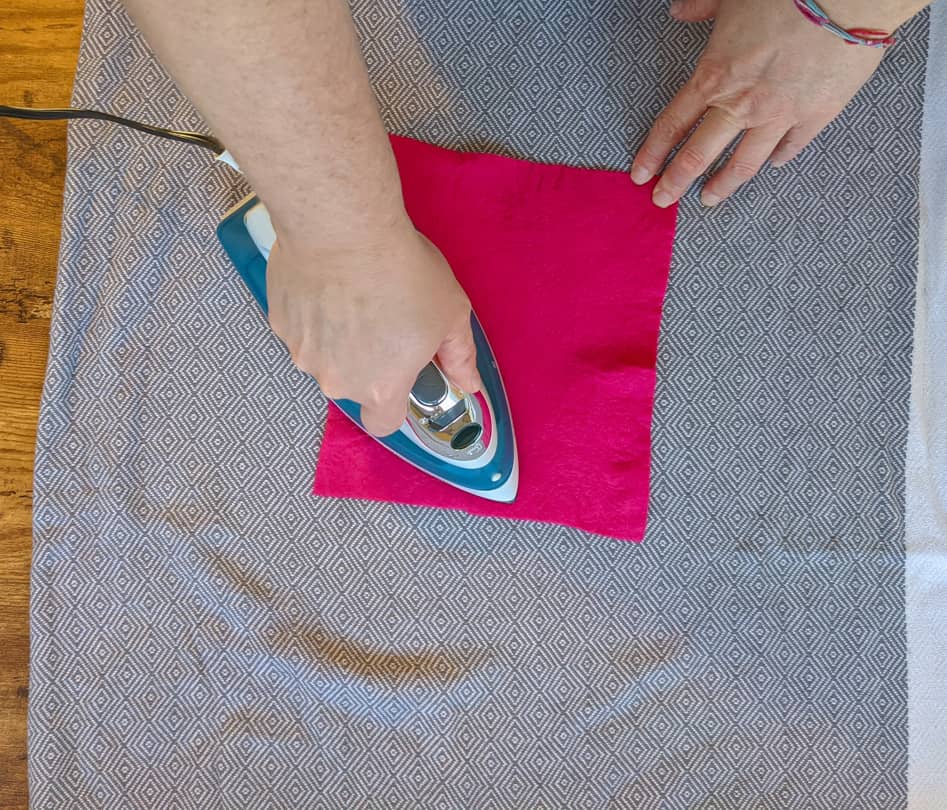
6. Lay flat to dry, for a stiff-flat texture, or allow the felt to dry over forms or under compression to create dramatic shapes. Iron for a professional-looking flat, stiff surface.
How to Stiffen Felt with Glazing Media:
Glazing media*- available at any craft store, is my go-to for quickly adding stiffness to felt when I’m in a hurry or only need a small piece stiffened. It’s versatile, washable, and works with wool felt or craft felt. Read on to find out two ways I use this media to stiffen.
Glazing media comes in several forms (gel, liquid, etc) and finishes (gloss, semi-gloss, matte, etc) but my go-to for stiffening felt is the Liquitex Matte Glazing Media*. It’s similar to an artist’s grade decoupage paste, I like this brand because it doesn’t discolor or turn milky when applied heavily.
There are two ways to use glazing medium to stiffen felt. Immersion or brush application:
Brush Application of Glazing Media to Stiffen Felt:
This is the perfect technique for finishing touches like creating a sturdy stem for felt fruit or adding a bit of “crunch” to the bacon in your play breakfast food set.
1. Place the felt to be stiffened on a piece of scrap paper or cardboard.
2. Place a small pool of glazing media on your cardboard
3. Dip a stiff brush (like a stencil brush*) into the glazing media and then apply to the felt in a blotting or stabbing motion. Applying a bit aggressively helps the stiffening media sink into the fibers of the felt instead of remaining on the surface and potentially adding an unnatural finish to the felt.
4. Repeat until a section is covered, then use a paper towel to blot away any excess. Keep blotting until there’s not an obvious opaque white coating on the felt.
5. Dry in the position desired (i.e. for a fruit stem dry straight or slightly curved, for bacon arrange the strip with ruffles).
Glazing Media Immersion Application to Stiffen Felt:
1. Place 1-2 cups of cool water in a bowl.
2. Add 3-4 Tablespoons of glazing media (more for a very stiff final product) and whisk until the mixture is uniformly liquid and opaque.
3. Add felt to the bowl one piece at a time, allowing the solution to fully saturate the fabric.
5. Very gently squeeze out excess solution. Roll felt between layers of an old towel and wring to speed drying (NOTE: immediately machine wash any towels used to prevent permanent stiffening of towels used to absorb stiffening solution)
6. Smooth into desired shape and allow to dry thoroughly.
Boiling (wool or wool blends only):
Felt is produced through a process of interlocking loose fibers together until they form a single matted unit, which is flattened and cut to size. The interlocking process is achieved through a combination of agitation and using heat to relax fibers that then lock more snugly together when cooled.
At the mill, this process is stopped when the material is felted “enough” but if you need a felt that is denser you can repeat a similar process, outlined below, in order to process your felt a second or even third time.
PRO: works best when you need to produce a stiffer felt that is still very soft and very flexible. This method holds up the best to being handled and machine washed.
CON: requires real wool felt, this process may melt or deteriorate craft-felt.
1. Bring a large pot of water to boil
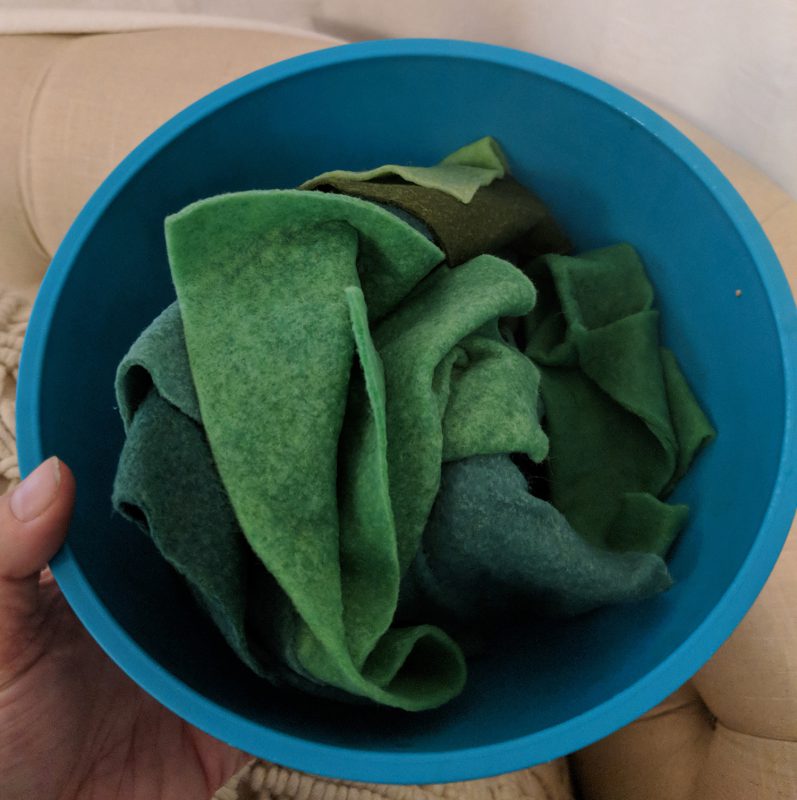
2. Cut felt into squares or strips no longer than 10″ on the longest side. (Do not overfill pot, work in batches from lightest-color to darkest color felt)
3. While gently stirring constantly, place the strips into the pot of boiling water and let boil for 4-5 minutes.
4. Using tongs, carefully remove the felt to an empty bowl and let cool (be careful not to let dark-dyed felt touch pale colors during this phase)
5. Once cool, very gently squeeze out excess water. Roll felt between layers of an old towel and wring to speed drying.
6. Smooth flat and allow to dry thoroughly.
There are actually many methods to stiffen felt for craft and art use. The Internet is awash in tutorials for stiffening fabrics using mod podge, spray starch (a more expensive version of the cornstarch method depicted in this tutorial), spray fabric stiffener (usually, also, cornstarch-based with chemical additives) and even hairspray.
These spray based stiffening methods tend to be much faster and easier, but higher cost and less effective at creating a dense, rigid final result. Spray allied to the outer layer of fabric stiffens only the outer edge of the fabric, while starch and stiffeners applied via a soak give stiffen all layers of the fabric and add core strength.
If you just need a piece of felt to stand up long enough to get a project through a kid’s science fair, these spray methods are probably your best bet, but for small-scale makers, crafters, and artists it’s worth the investment in time to create more professional results at a lower cost. Learn more about felt food making techniques in my Introduction to Felt Food Making.
Can you make your own cornstarch from scratch?
According to Chemist Ester Peterson’s research for the USDA in 1929, making your own cornstarch is much more difficult than making your own potato starch. Making cornstarch from scratch in Ester’s lab reportedly required these steps, which would be difficult to replicate in a home kitchen:
The corn was ground to a coarse power, washed for several hours in a special washing machine, and then drained. The drained wash water was allowed to settle into a milky substance, which was then placed in a centrifuge, strained through silk, scraped, then purified, and washed in alcohol before chemicals were added to break down the proteins and produce pure cornstarch (USDA, 1929).
Can you make your own potato starch?
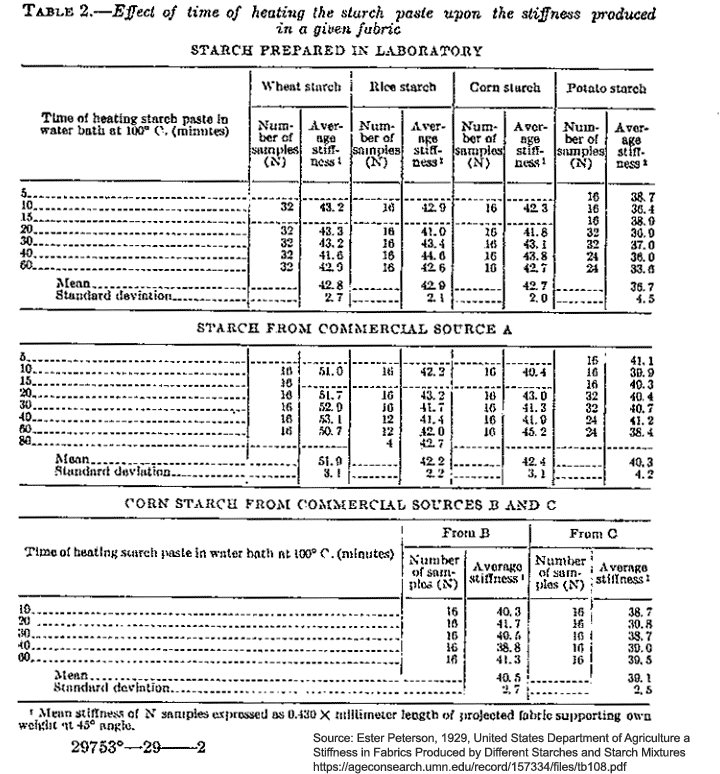
Ester Peterson, a chemist who, in 1929, worked for the United States Department of Agriculture and published a paper called Stiffness in Fabrics Produced by Different Starches and Starch Mixtures outlined how she made potato starch from raw potatoes. To make potato starch in her lab, she reports following these steps:
- The potatoes were scrubbed and finely ground.
- The potato pulp was placed in sieves over a bucket and washed thoroughly in distilled water until the collected rinse water ran clear.
- The collected Rinse waters containing the freed starch were left to settle overnight.
- Next, the water was siphoned off from the starch, which formed a layer of starch on the bottom.
- The thin layer of darkened impurities on the top was scraped off and the starch again mixed in distilled water and allowed to settle.
- This process was continued until there was no sign of a grayish layer on top of the cake of starch.
- The product was then washed with alcohol, air-dried, and put through a fine 70-mesh sieve
Cornstarch and Borax as a Stiffener
I love reviewing the practical home and craft tips from previous generations. The 1929 USDA resource referenced above is a great example. Towards the end of that paper, the author discussed findings in her lab that borax could boost the stiffening power of cornstarch.
“From 1 to 4 grams of borax were added successively to the standard paste made with commercial cornstarch. The fabric increased in
stiffness from 4.2.2 to 46.5 with the addition of the borax up’ to 3
grams, beyond which the further addition of borax produced a less
stiff fabric.” Peterson proposed that the the alkaline action of the borax helped the cornstach mixture permeate deeper into fabrics and deposit more starch, which too much borax may have caused the solution to fail to deposit the starch in the fabric, resulting in less stiffness. She further explained that, in her lab, “salt, beeswax, paraffin, and hydrogenated vegetable oil up to 4 grams per 15 grams of starch had no appreciable effect on the stiffness produced by cornstarch paste.”
I have not yet repeated this felt stiffening project with borax, but the next time I do, I’ll be sure to record the process and my results to demonstrated how to stiffen felt with cornstach and borax.
Thanks for Reading!!!
I hope you can tell that I love DIY, researching the best affordable solutions for every-day problems opportunities and documenting / sharing solutions!🙌 Hawk-Hill.com is reader-supported.
☕ Hawk-Hill.com is reader-supported. If this article saved you time or money, please consider donating $1 to help me cover the cost of hosting this website OR If you appreciate this information and want to throw a “Thanks!” my way by buying me a coffee – I would Of Course appreciate it! :]
Reader Questions and Recommendations
Readers, do you have any favorite topics / posts? What would you like to read more about in the future? As I hope you can tell from this and other articles on my site, I really enjoy DIY / a good challenge, and I’m not afraid to roll up my sleeves to figure out a great, and hopefully simple 😁 solution. So please feel free to let me know in the comments below (or reach out via social media)!
Ok Really – I’ll try to wrap this up now😂
Finally, if you’d like to continue to learn about interesting DIY options as well as how YOU can tackle creative new projects consider checking out the latest and most popular articles listed on the Hawk-Hill Home Page. I’m always trying to enjoy and write about the creative side of life so please don’t be a stranger – check back often!😍
Also chech our Pinteres account https://www.pinterest.com/curlylindsay/
If you enjoyed this post you may also enjoy reading / perusing / devouring😊 one or all of these articles as well!
- 💡4 Easy Steps to Make Your Own Sea Glass 🌊
- ❤️Bedroom Decorating Ideas for Single Women’s Master Bedrooms 🛏️
- 🏡Ikea Kitchen Cost: What I Spent for a 9×12 Kitchen Remodel 💵
- 4 Easy Steps to Make Your Own Sea Glass
- Bedroom Decorating Ideas for Single Women’s Master Bedrooms
- DIY: My Method for Painting an Antique Gold Patina Finish on Frames
I have never tried using felt before but it looks like a lot of fun. I am going to try to make some Christmas decorations for my son’s family tree.
Thank you for explaining the instructions so very easy to understand.
I will let you know how my projects turn out. (Around Christmas time)
I’m planning on making a ‘Felt Christmas Tree’ for my two grandsons this year. The tree hangs on a wall & the kids get to hang felt ornaments on it (same idea as a felt board). I will be making the ornaments as well. The instructions for the tree suggests that it should be made out of 1mm to 3mm thick felt. I’m having difficulty finding felt in that thickness & if I do it is very expensive. Do you think that one of your methods above would work well for the tree. I think regular, everyday felt would be fine for the ornaments. Also what type of glue should I use when decorating the ornaments.
Thank you in advance for any help you can give.
Gillian
Hi! Thanks so much for the comment / question. I don’t know if I have the BEST answer for you, but what I can tell you is that if you have bigger ornaments the thicker mm felt is preferred…but for small ornaments I completely agree, you should be do fine with a thinner felt and save some $$$. I have used a number of glue / adhesives, but I actually prefer using a good old fashioned hot glue gun :] Your project sounds awesome – I’m sure your grandsons will love it!
I recently needed stiffer felt for rooster combs. I used “under wonder” to meld two pieces together. Easy peasey!