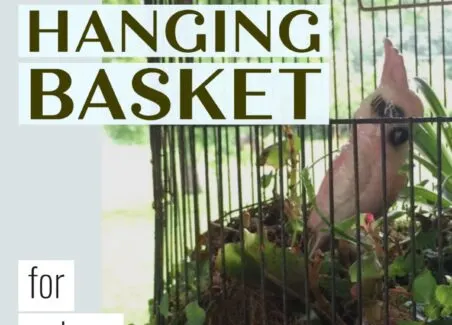
A vintage birdcage makes an eye catching and unusual hanging basket! Learn how to convert your own vintage birdcage into a planter featuring small shade-loving plants and – of course – a resident vintage bird figurine!
One element of creating a whimsical garden is using ordinary objects to add playful interest to your garden. (Last year’s post on creating a garden fountain using an old sink counts!) Birdcages can be a fun addition, but because of shallow bottoms they usually require being partially buried. In this post I’ll show how I converted a vintage birdcage into a shade-loving hanging basket that decorated my porch for three seasons last year.

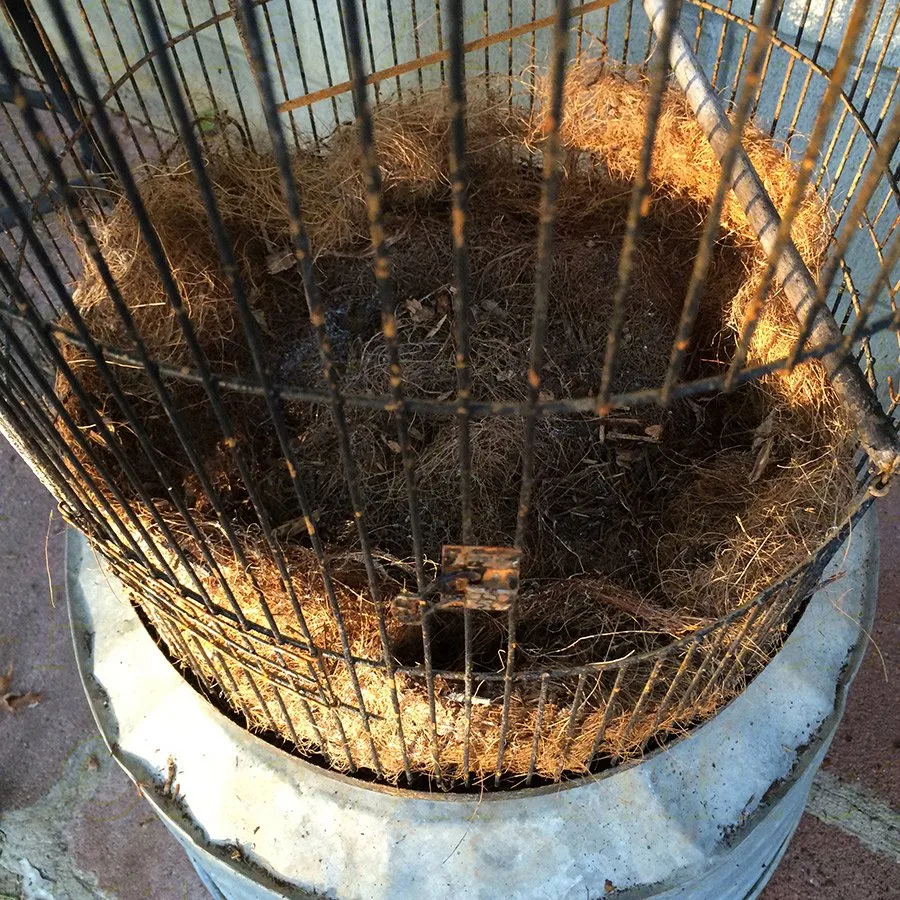
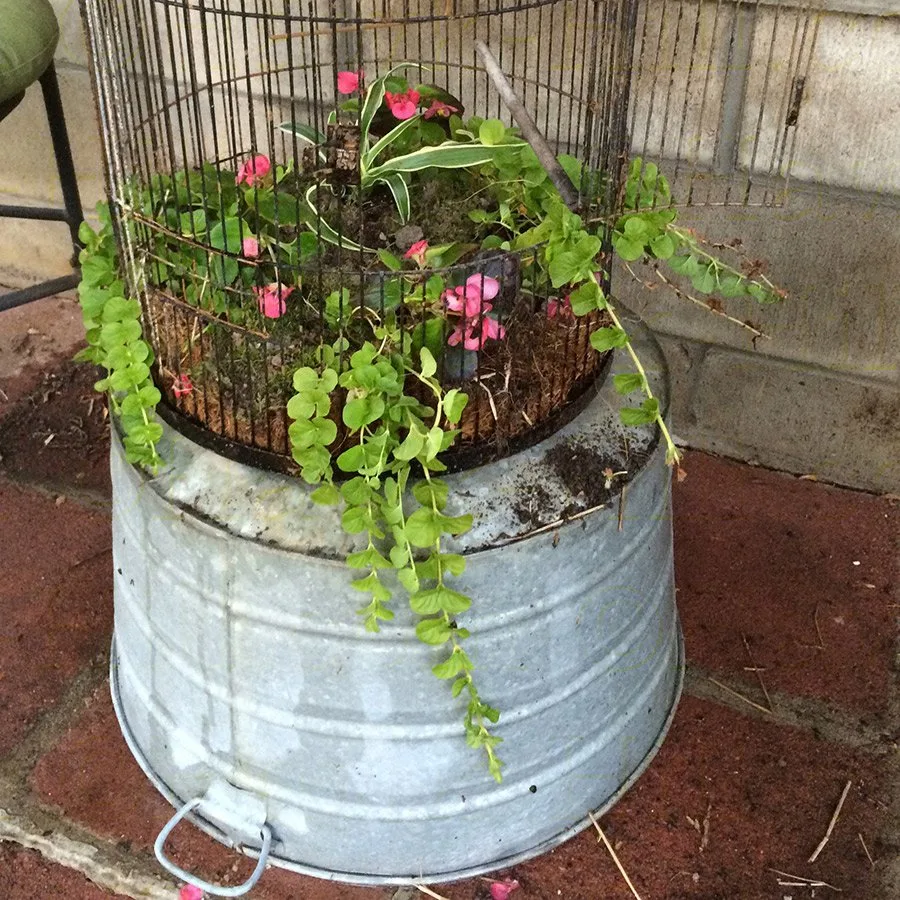
Positioned on an overturned galvanized washtub, you can see my main challenge in conversion to a hanging basket: a very small lip to hold dirt. This is common with some styles of birdcages, so I’ll demonstrate how I worked around this issue so that my birdcage could hold more dirt in the bottom for plants to root in.
The following section may contain affiliate links. As an Amazon Associate, we earn from qualifying purchases.
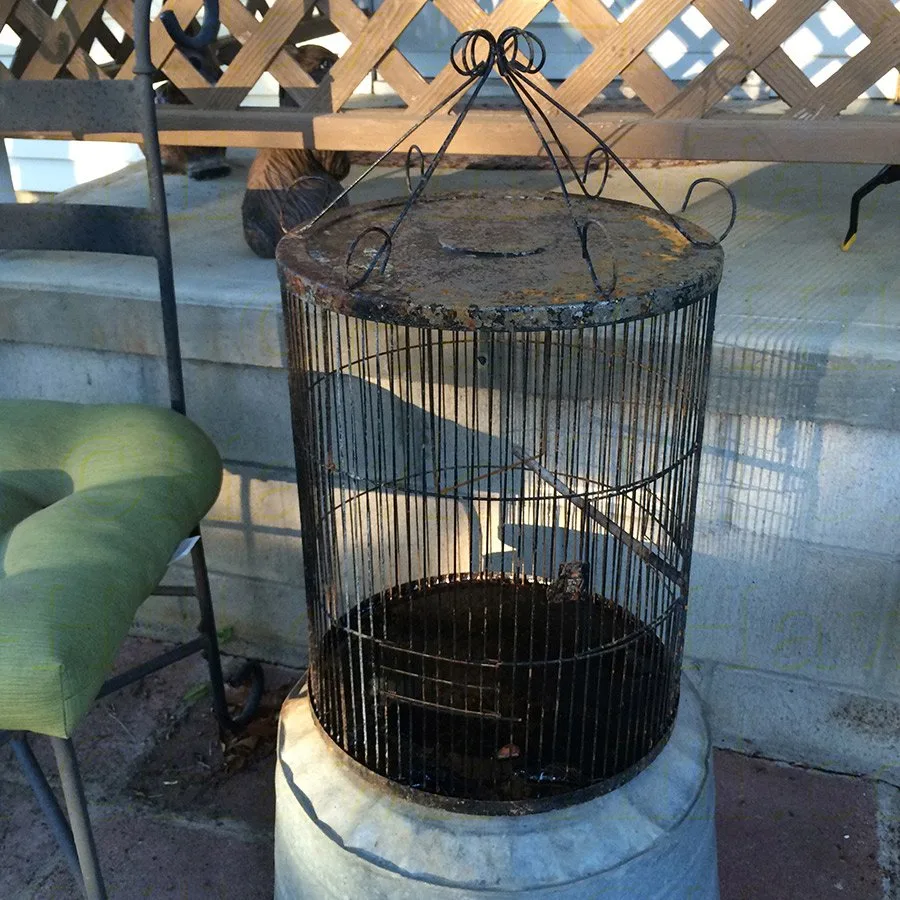
I happened to have the perfect birdcage hanging around for this project. If you don’t, you can find one in Etsy’s vintage birdcage section.
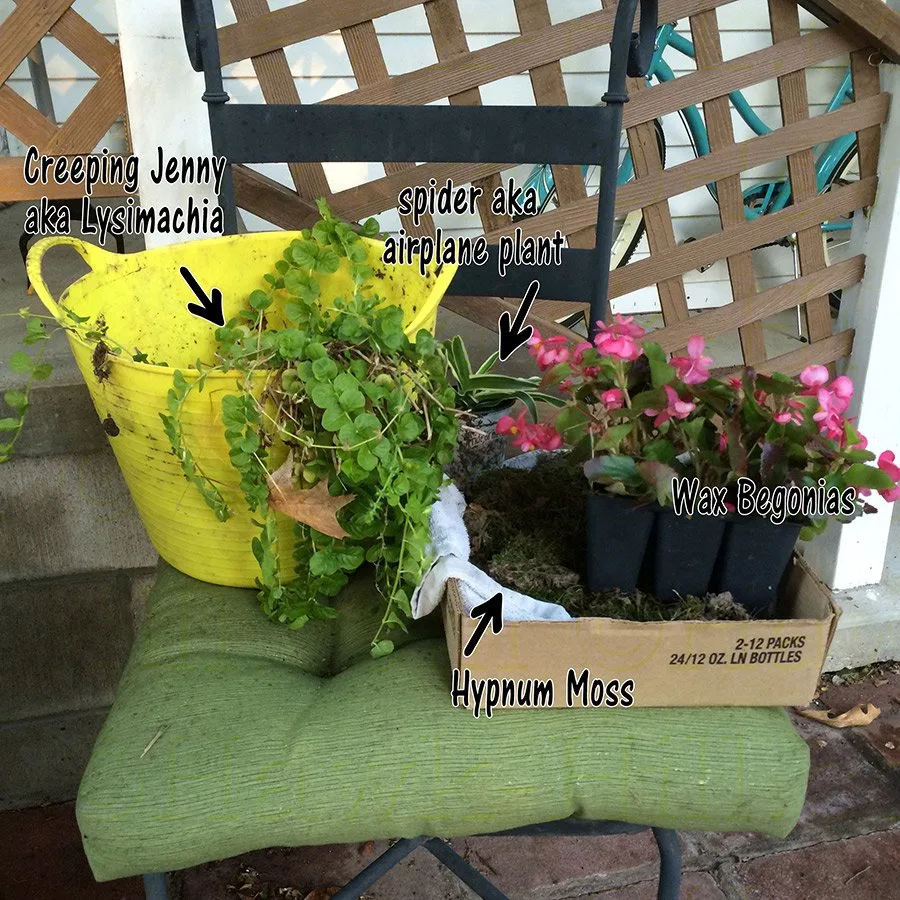
Next, from my own garden and a local greenhouse, I gathered supplies for my birdcage planter (not shown: water retaining polymers added to the soil, shown below) By foraging creeping jenny from the herb garden, moss from a shady spot in the yard I saved on this planter.
If you have houseplants attempting to reproduce and are creating your planter for a shady spot, consider using offshoots from your houseplants. (Many houseplants are originally from rainforest floors, and though it varies by zone, many thrive as outdoor plants in a shady spot in the summer) In this planter, I used a young spider plant purchased from a local greenhouse, but If I’d had one indoors I could have used an offshoot.
Next, I added a coconut liner (sold in home improvement stores as replacement liners for traditional hanging baskets) to line the inside bottom of the birdcage. This densely woven fiber serves two purposes: retaining water within the fiber and raising the lip of the edge so the birdcage can hold more soil without erosion when watered. (If my liner looks a bit worn it’s because it was already a season old when I salvaged it from another hanging basket I was throwing out)
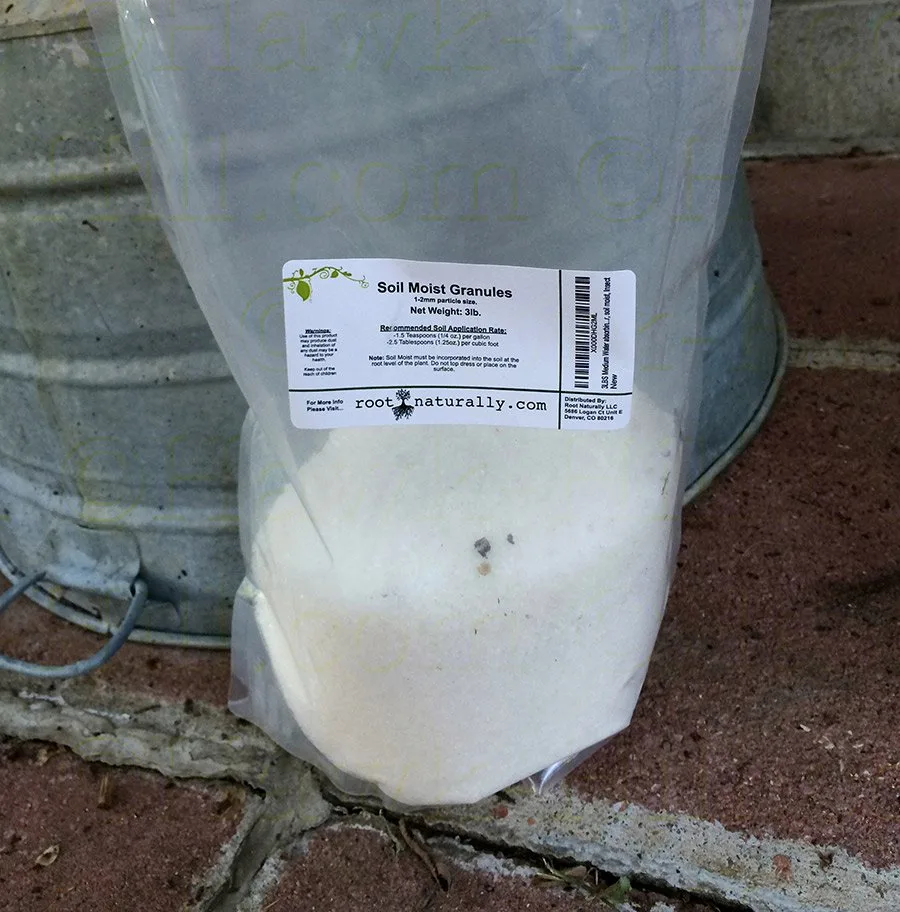
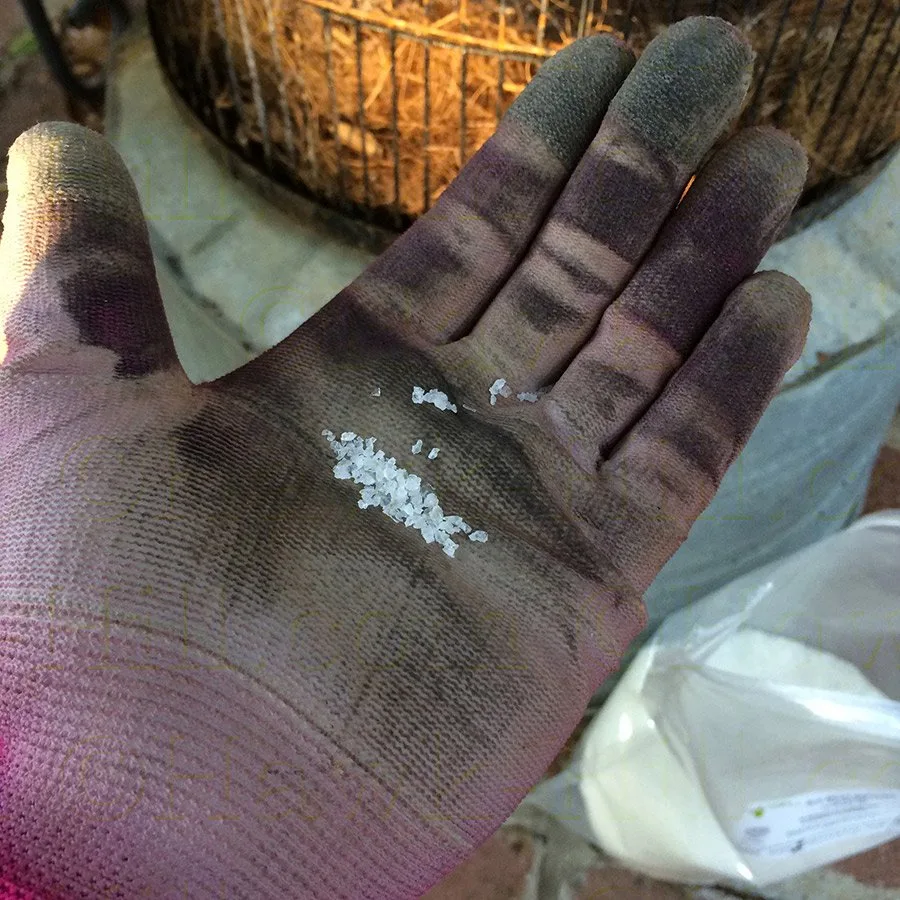
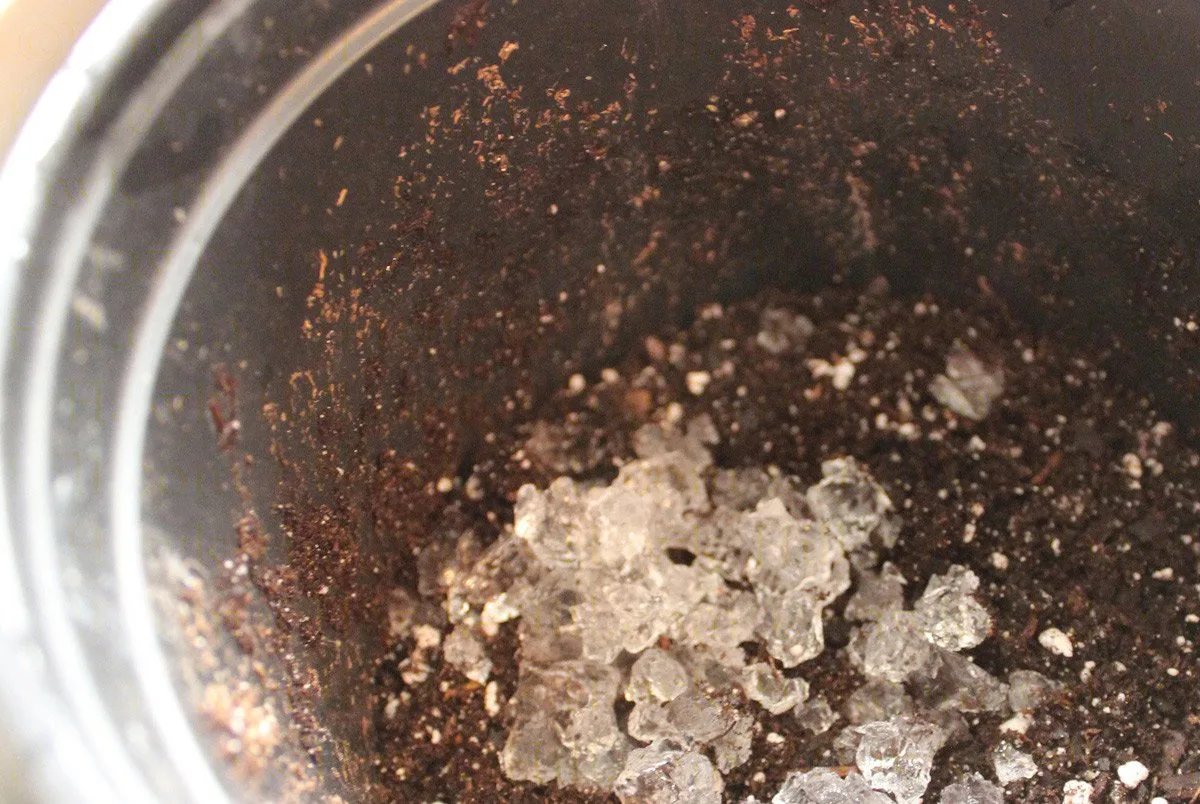
Because this planter, even after the edges are raised, will be super shallow and thus hard to keep the plants watered and happy, I added moisture holding crystals to my dirt.
These tiny crystals expand to hold many times their weight in water and then slowly release it back into the soil and roots nearby. Adding this to my planter will help the plants stay hydrated evenly between waterings.
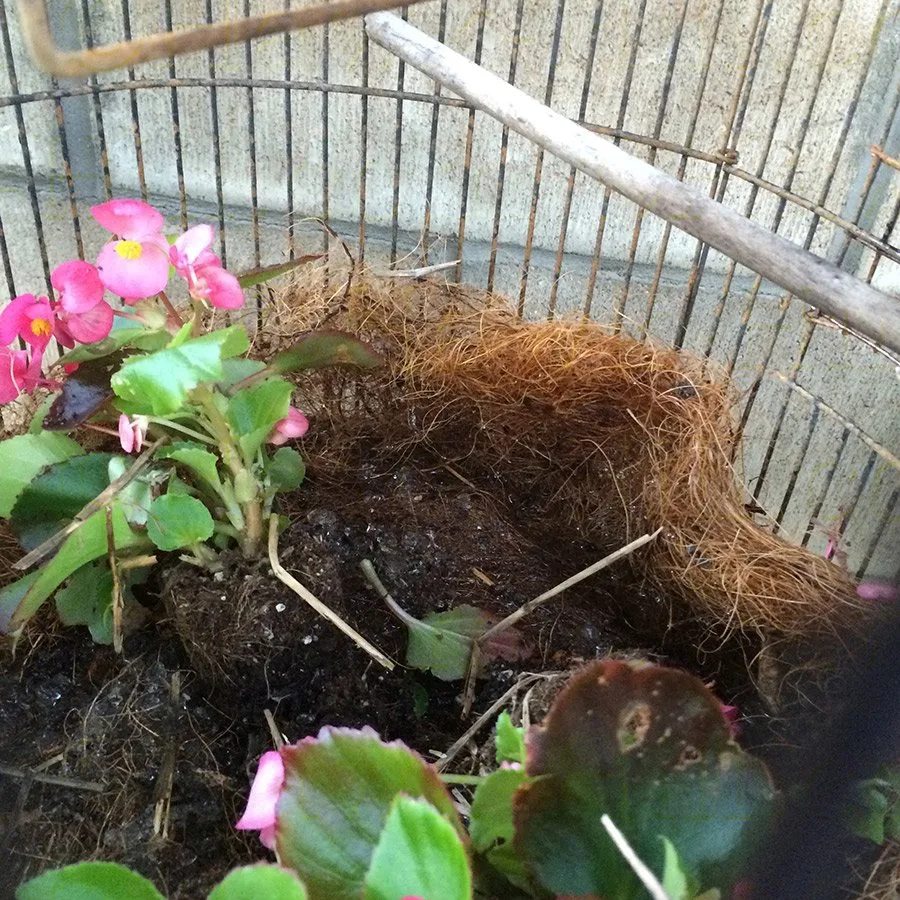
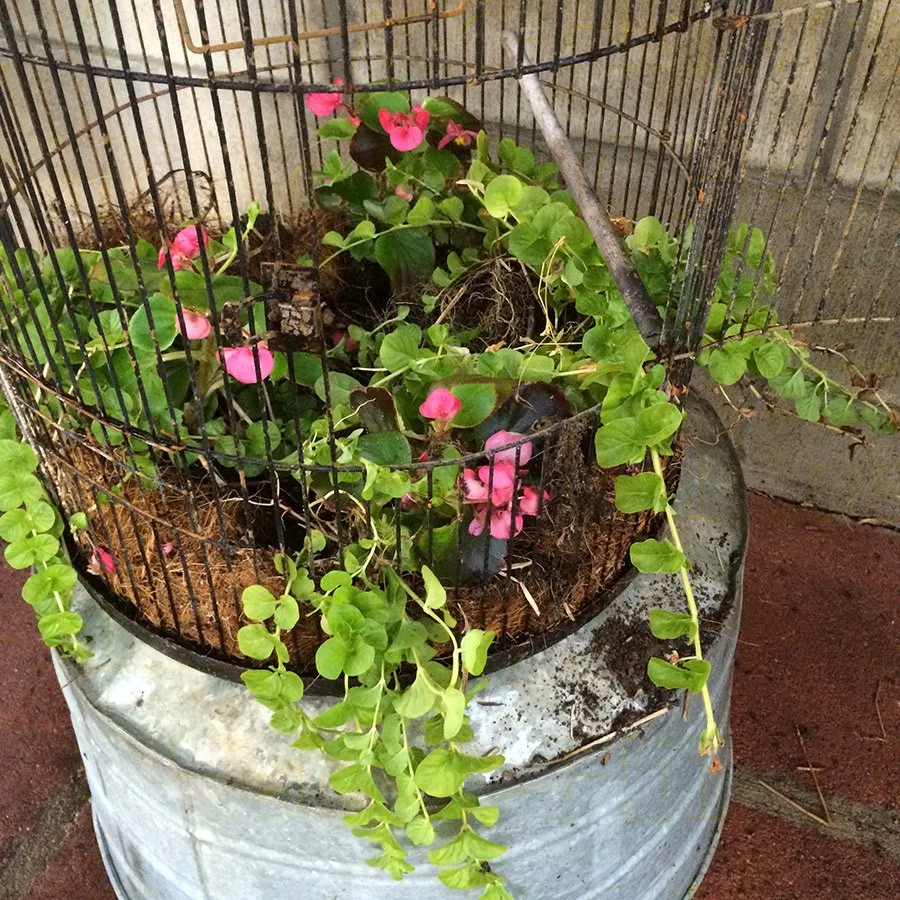
Once my liner, potting soil, and soil enrichment was added, I began to place my plants inside the birdcage- arranging them almost terrarium-like to create a nice balance. First begonias:
…then placing handfuls of creeping jenny between begonias.
Creeping Jenny (aka Lysimachia, moneywort, herb twopence, and twopenny thot) is technically an invasive species in some parts of the country, however I love this little plant! One patch in my herb garden, though I have to prune it back into submission once a year, provides free easy-to-start starters for the 20-30 planters I plant each spring. Creeping jenny pairs well with almost anything, its lime-green tentacles grow downward in soft flowing arms that look great with darker leaved plants extending vertically. It happily roots almost anywhere, making it a breeze to add to planters, and its tolerance of very very wet soils means I’ve even been able to use it in garden water features.
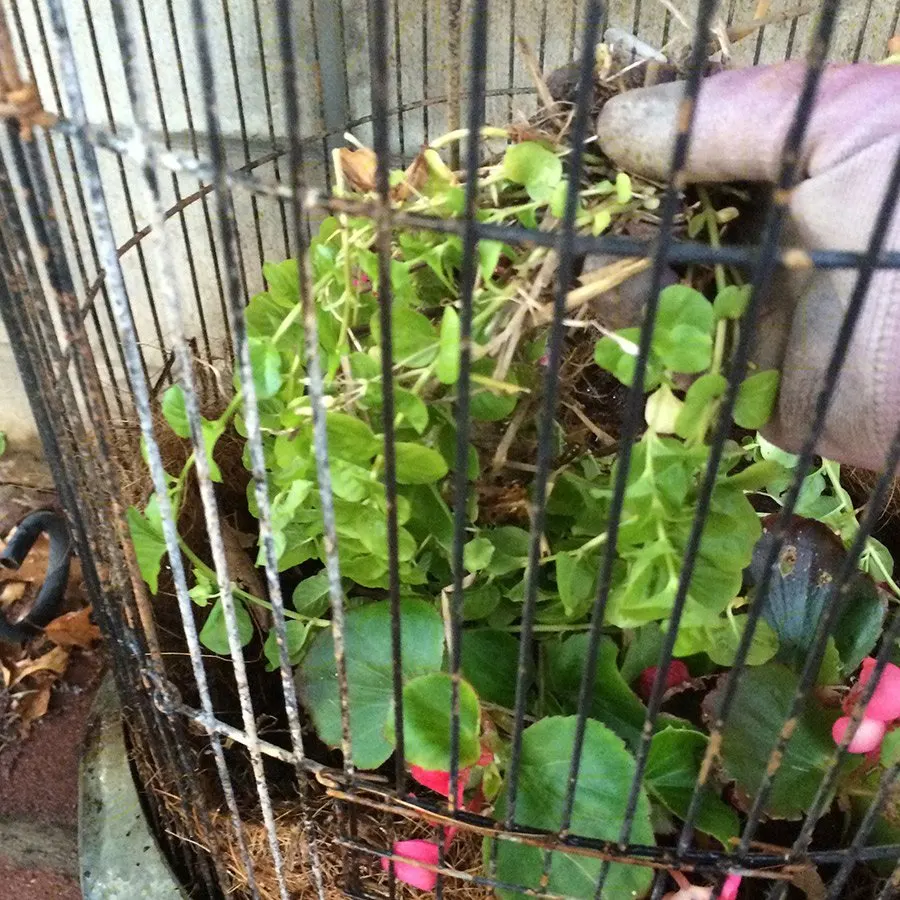
I picked Creeping Jenny for this project hoping it would grow through the bars of the birdcage. Carefully, I fed a few leaves through to get it started:
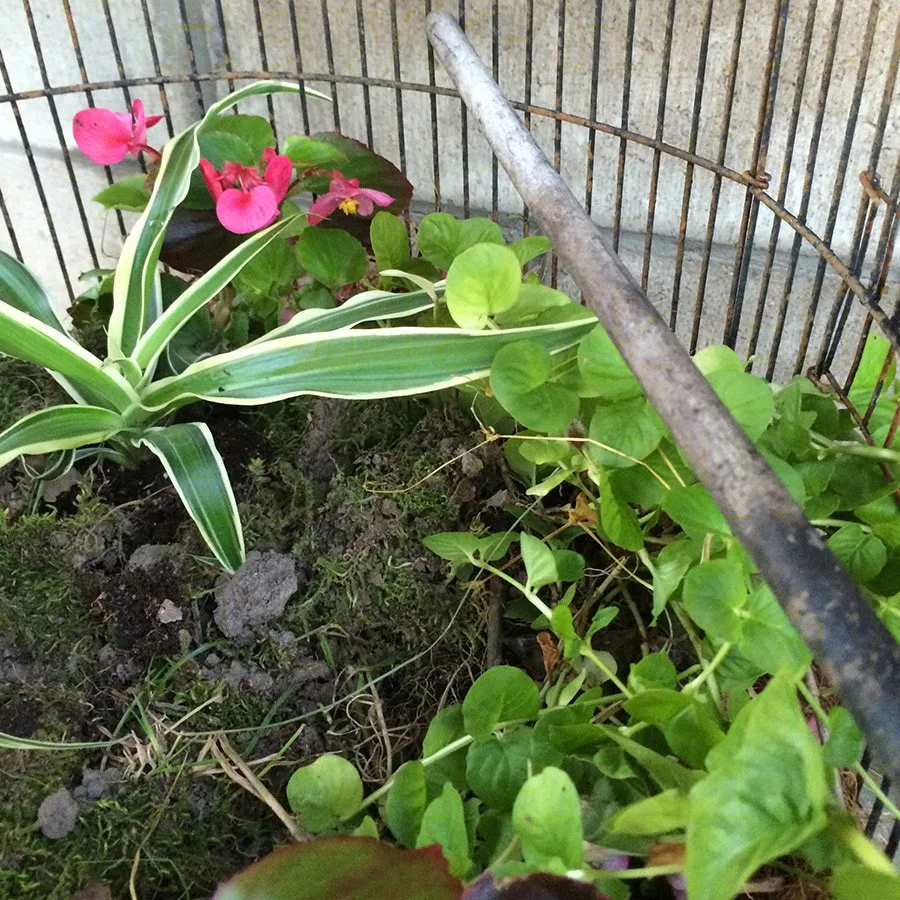
Then I carefully placed the airplane plant center stage and covered exposed soil with bits of moss salvaged from an earlier project in my yard:
And with that my birdcage planter was (almost) finished. It took 15-20 minutes to complete and minimal expense since I was able to use mostly existing plants from my garden and indoor planters. (I’m guessing $5-$6 cost, after picking up the birdcage for a steal at $5)
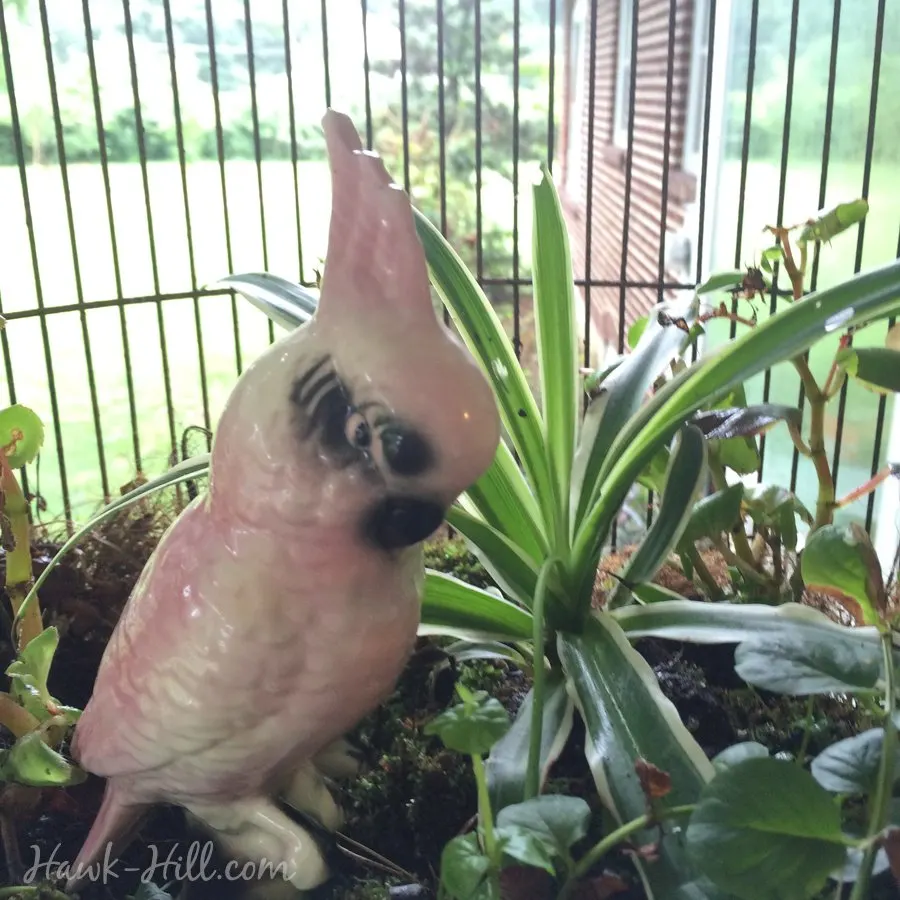
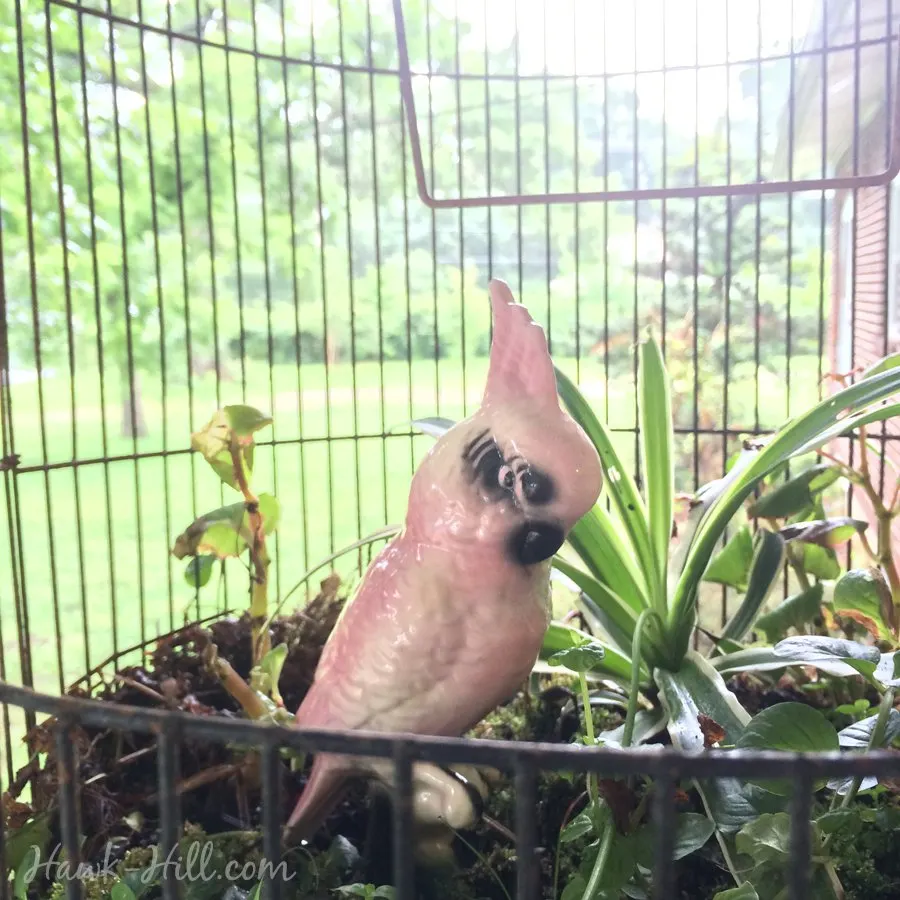
But the project wasn’t really done until I located a resident for the birdcage. It took a few months of scanning garage sales and thrift stores, but eventually, I found a perfect partner in this vintage pink ceramic bird tchotchkes (you can get one just like it on Etsy!).
This project was a fun way to play with unusual garden pieces! The planter, sitting on my main porch and then hanging from a hook in my studio when temperatures dropped, received a lot of comments! As you can see from these photos taken late summer, the creeping jenny and spider plant thrived, while the begonias and moss struggled in the warm, shallow soil.
The following section may contain affiliate links. As an Amazon Associate, we earn from qualifying purchases.

