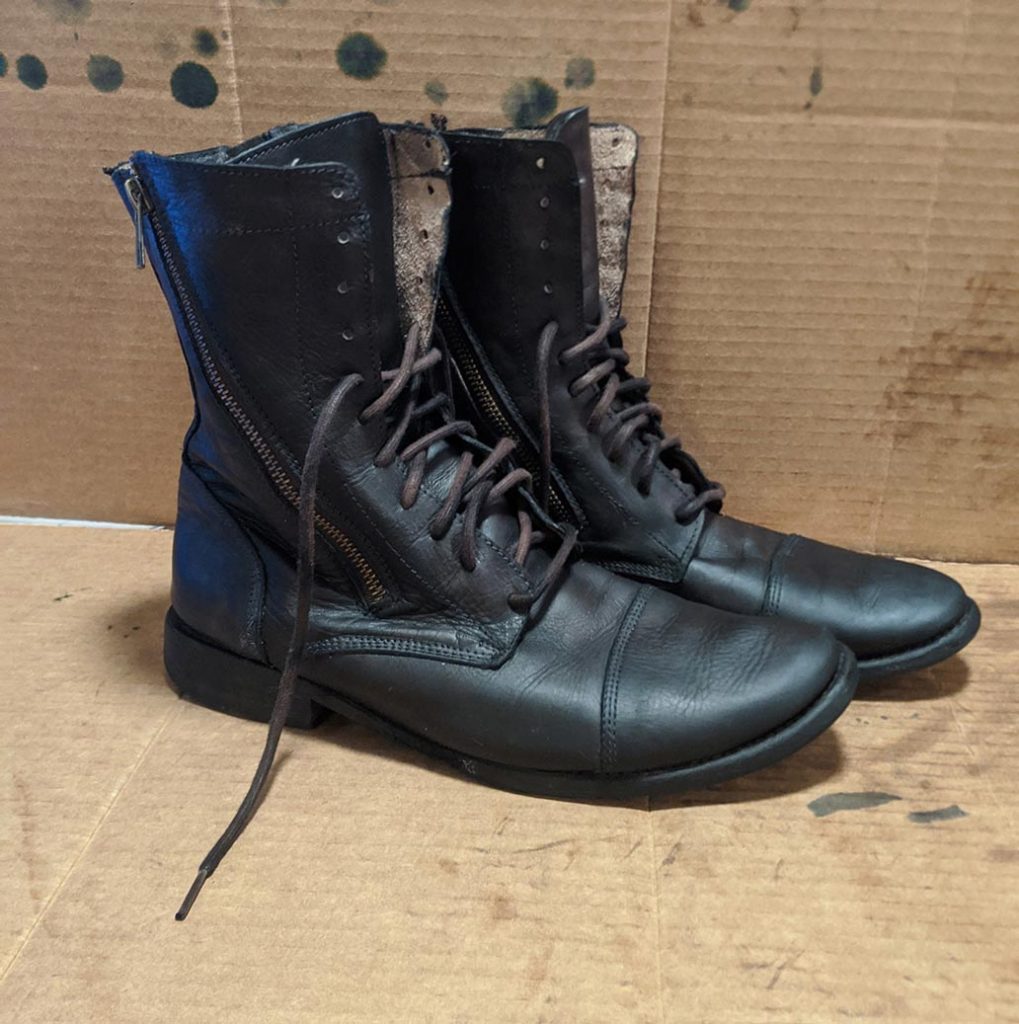
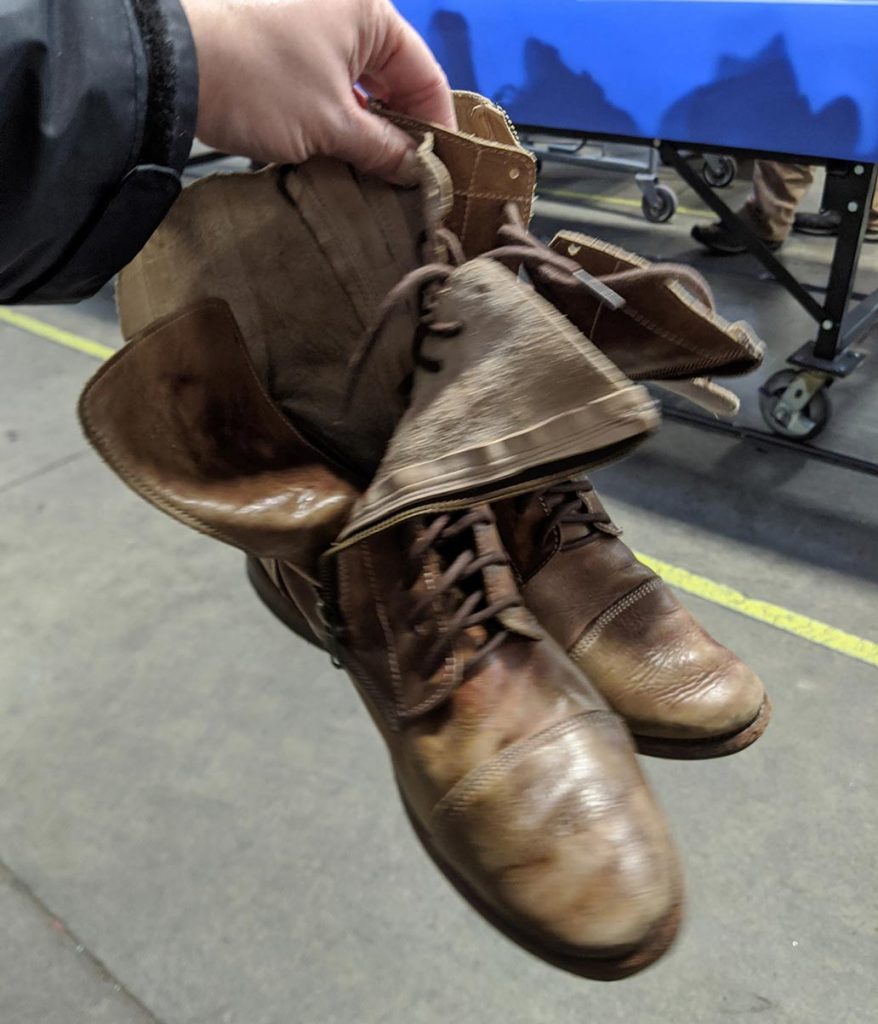
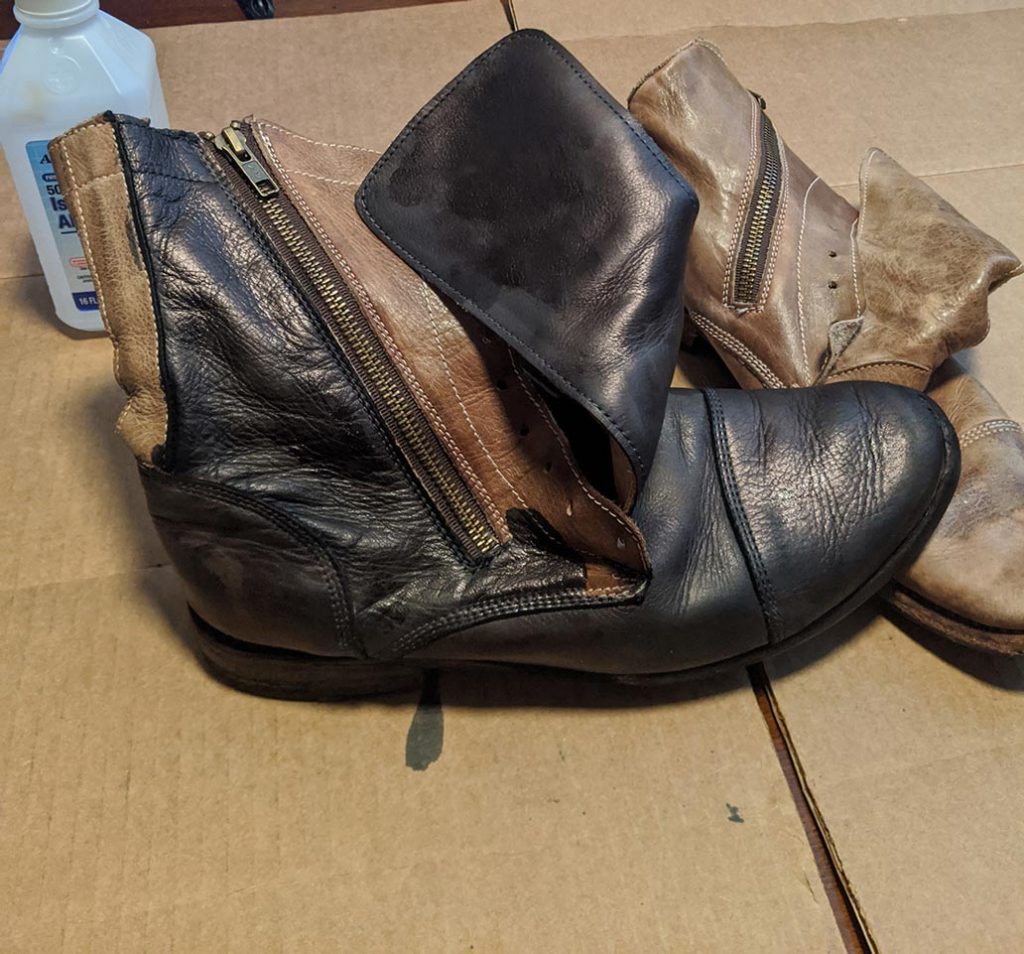
It would be fair to say that my timing for this project was less than ideal. Although I picked up these BED|STU boots up a few weeks ago at my favorite thrift store, I didn’t actually get around to re-dying them until Seattle was smack dab in the early stages of the coronavirus outbreak.
I checked two craft stores for black Fiebing’s dye- the go-to dye for most leather projects- but when both stores were out (and visiting even more stores during the outbreak seems like a not-great idea), I decided to query google whether my ink from my alcohol-based Copic marker collection could work as a stand-in for leather dye, which is also typically alcohol-based.
Unfortunately, Google didn’t really have the answers for me. Inquiries about whether I could dye my shoes with Copic ink led mostly to DIY blog posts about alcohol ink art on canvas shoes– not a flat-color dye on leather. I forged on ahead into this uncharted territory, determined to recolor these luxurious but discolored brown combat style boots into an edgier black leather look.
Deciding When to Re-Dye vs Recondition Boots
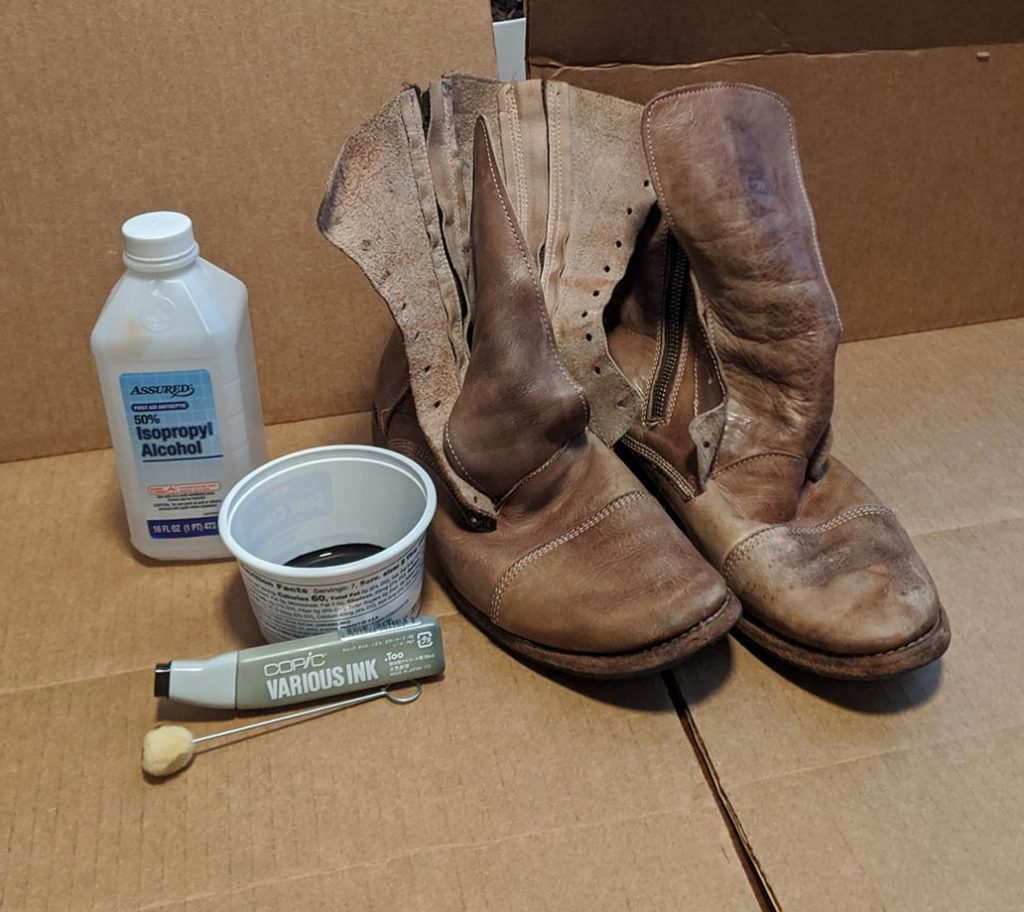
I’ve written a bit about my steps for reconditioning the leather boots in my Blundstone care and feeding post, but re-dying can be a way to bring shoes –or purses or belts -back to life when the leather has been scraped or gouged so deep that raw leather has been exposed or for cases like these shoes where there’s deep discoloration. Although in otherwise excellent condition, it appeared that some sort of solvent had been spilled on these shoes, damaging the finish beyond what reconditioning could repair. When attempts to mask the discoloration with conditioners, tinted polish, and mild solvents failed, I decided re-dying the leather was the only way to go.
Hawk-Hill.com is a participant in the Amazon Services LLC Associates Program, an affiliate advertising program designed to provide a means for website owners to earn advertising fees by advertising and linking to Amazon.com and any other website that may be affiliated with Amazon Service LLC Associates Program
Step 1: Stripping the leather
In order to make leather durable, a finish is typically added at the factory. This finish coats the leather so that it’s water-resistant and resists most stains. In order to evenly dye leather, you’ll need to remove that layer. You can buy specially formulated leather products that are made to strip layers of finish off leather, but undiluted acetone works as well as any specially formulated product.
Moisten paper towels or rags with acetone and wipe the surface of the leather boots. You’ll want to make sure that you have enough acetone on your rag to really get the surface of the leather wet. I usually wipe down the leather twice with pure acetone and then dispose of my rags immediately as they are very flammable! (see: how to dispose of flammable rags)
Step 2: Dilute Copic ink
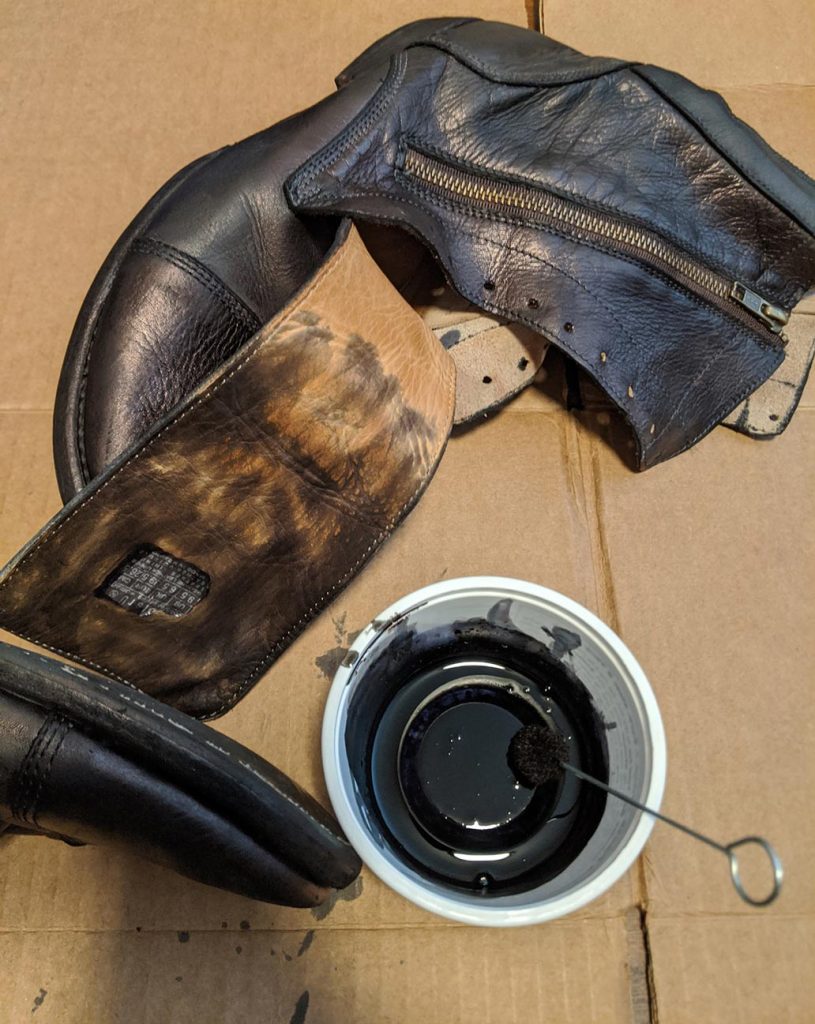
When I squirted the black copic ink into a clean paint mixing pot I noticed that the pigment in the black copic ink was significantly more concentrated than professional leather dye I’d used previously. With this information, I decided to “water down” the ink a bit to make a more dye-like concentration.
Because copic ink is alcohol-based and not water-based it has to be thinned with rubbing alcohol, not water. Despite Seattle stores being completely cleared out of rubbing alcohol (see above, re: coronavirus panic-buying), I had about a half cup left in my own medicine cabinet and took a chance using this now-precious liquid to improve the flow of my homemade copic ink based leather dye.
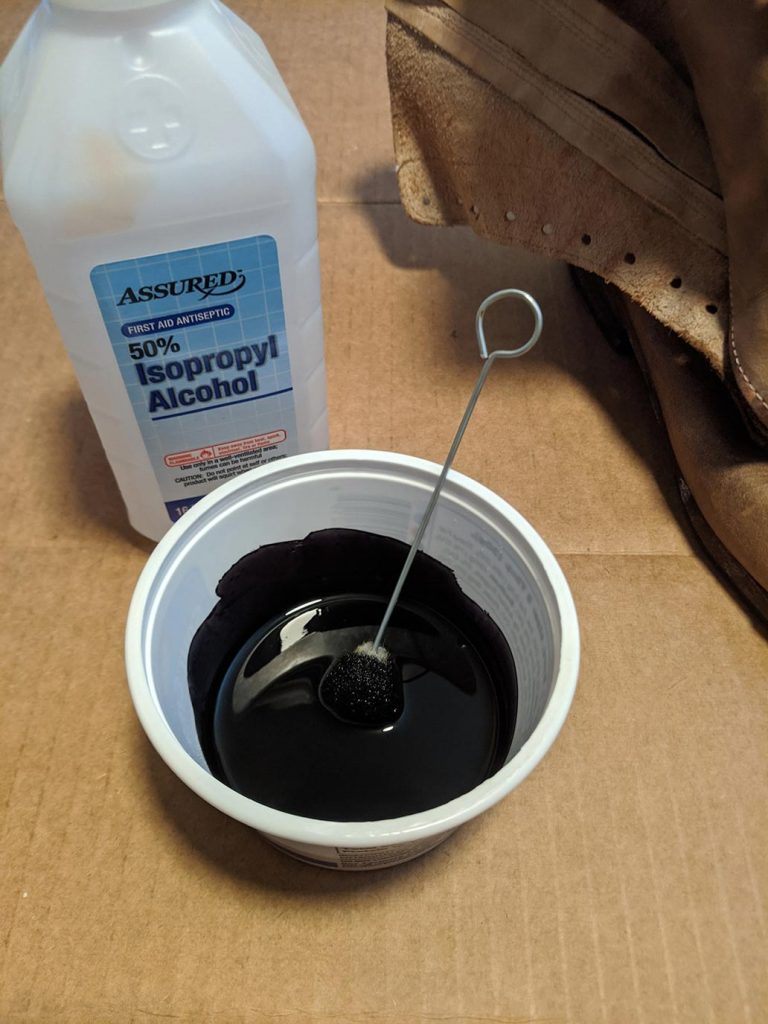
I mixed my ink with alcohol in a ratio of about two parts alcohol to one part ink, readied to my wool dauber (the best tool for dying leather, though a tuft of wool held in a rubber-gloved hand, a paintbrush, or even a paper towel can work in a pinch) and got to work:
Step 3: Dye Leather
Once the leather has completely dried from the acetone cleaning, you should notice a matte finish on your shoes. This indicates the leather pores are open and ready to receive the dye. With the Copic ink now diluted, and my surface protected with a layer of cardboard, I painted the ink onto the surface of the leather.
As you dye your leather, you’ll want to work one section at a time. Occasionally, there can be some unevenness – especially with the first coat with diluted dyes. You can minimize this unevenness by working in sections: doing the entire toe first, then moving to the heel, then moving to a side panel, etc.
Once you’ve done a coat across the entire surface, let the dye soak in, and then start from the beginning – coating every surface again with another layer of dye. Be sure to dye the top edges and the sides of the sole (if it’s a leather sole / good year welt), as well as any interior sections that may show when the boot is being worn.
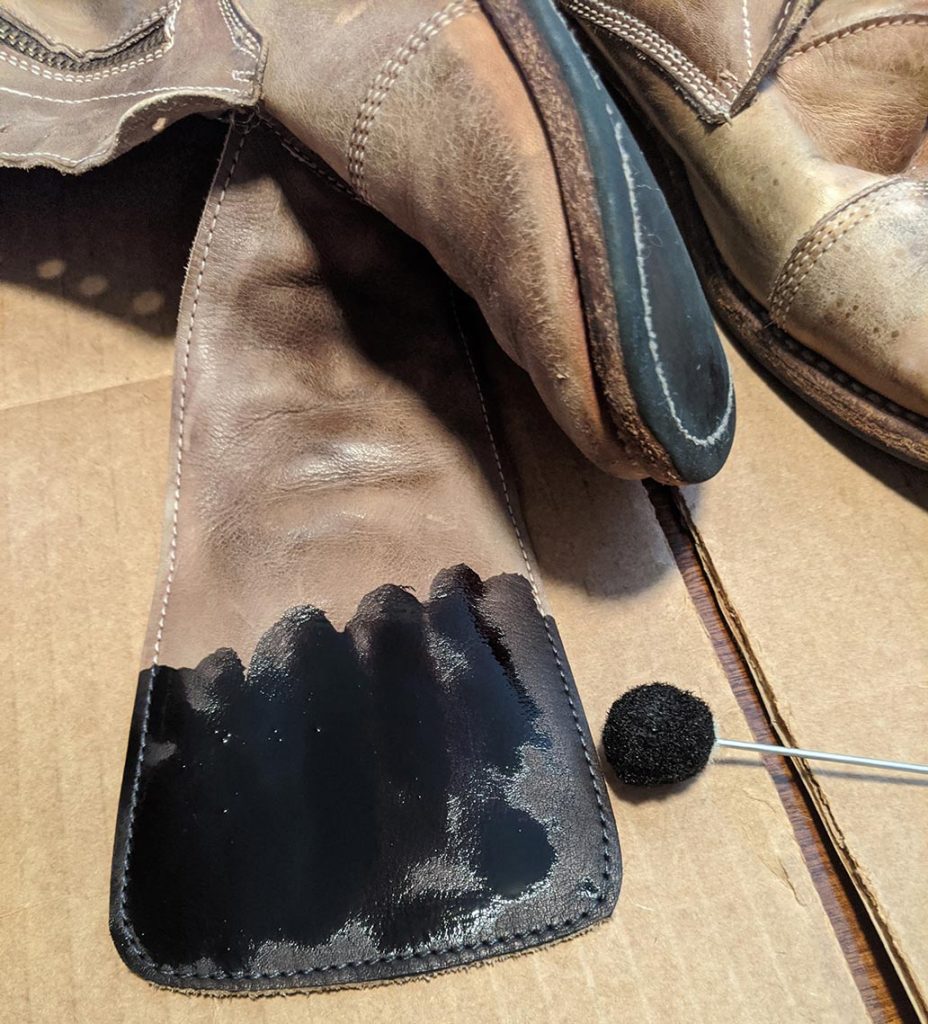
Below you can see the difference between acetone-prepared and unprepared leather. Initially, I hadn’t planned to dye the inside of the tongue, so I didn’t prep that surface. As I was finishing the project and had dye left I realize it might be a good idea to dye the interior of the tongue in case I want to wear these shoes half laced. With the leather’s original finish in place, you can see how the dye only partially colors the leather.
Step 4: Dry Overnight, Buff, and Condition
The shoes will appear to be dry very soon after being dyed with copic ink, and don’t be surprised if they seem unevenly pigmented – that’s normal even if you did everything right. Just as when I’ve dyed leather using traditional leather dye, I decided to let the shoes sit overnight to dry before conditioning.
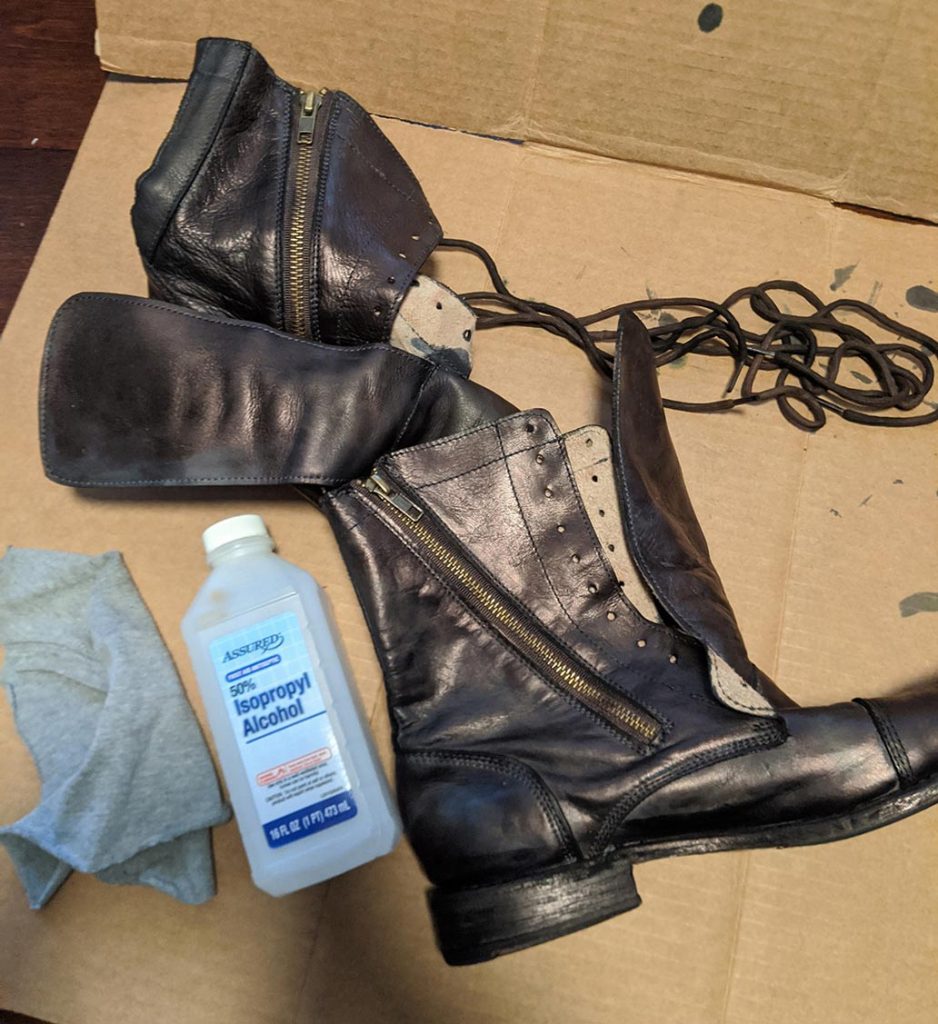
12 hours after dying, I took a rag slightly damp with rubbing alcohol and buffed the surface. This helps remove any excess dye that is just sitting on the surface and helps create a more even color.
DO NOT SKIP CONDITIONING!
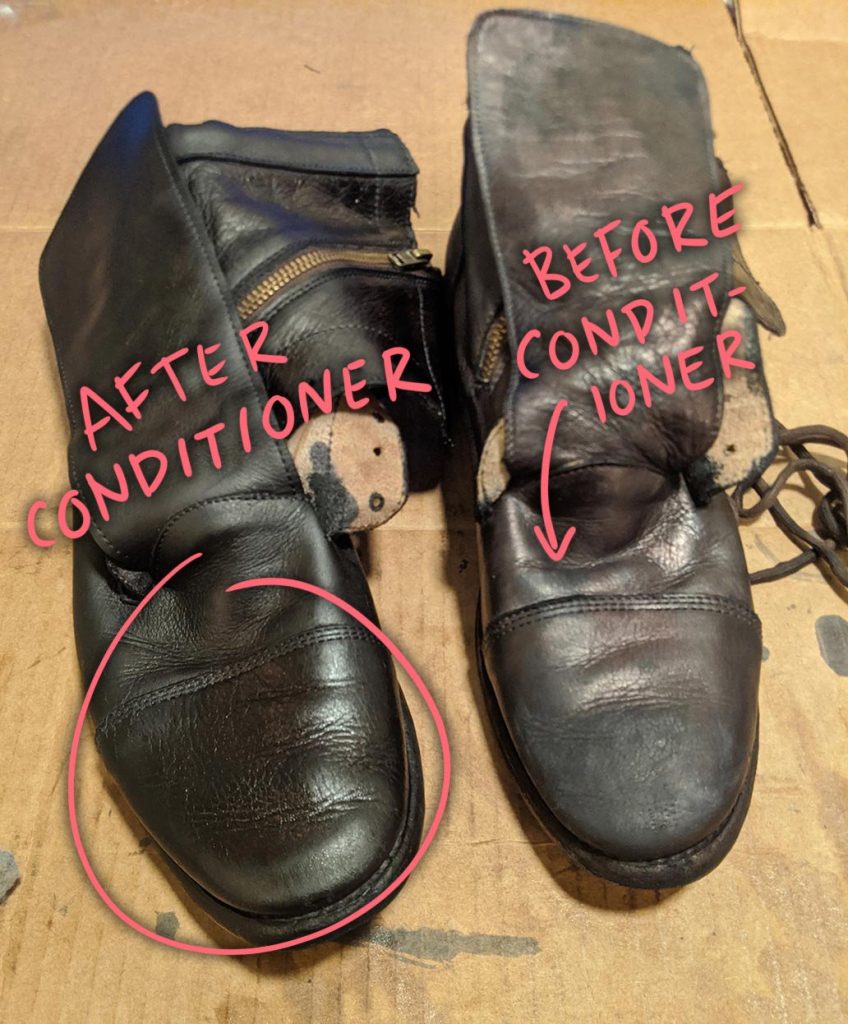
After the dye, dry, and buff, you’re likely to feel disappointed in how your project turned out, but don’t lose heart! Conditioning makes all the difference:
When the leather is dry from the alcohol rub, buff again with a clean dry cloth, and then apply a leather conditioner (I have good instructions for my conditioning method on my post on Blundstone care and feeding). As you can see below, conditioning makes a HUGE difference in making the color richer, deeper, and evener.
Conclusion
As you can see, these Copic Ink dyed combat boots turned out phenomenally. It turns out, the rich deep pigment of Copic ink suspended in leather-pore penetrating alcohol makes an excellent leather dye. Although I used black copic ink, the process and results should be similar for any of the hundreds of copic ink colors.