
Figuring out how to clean nonstick pans can be challenging, especially when the pan has burnt bits deeply embedded in the non-stick surface. In this tutorial, I will be showing you my method for cleaning my Scanpan Skillet. “Scanpan” is a high-end line of cooking cookware with a non-stick finish that has a lifetime guarantee, but these instructions should work for deep cleaning any mid-range or higher nonstick skillet.
After I downsized from a 3 bedroom home in Missouri to my tiny-house-style studio in downtown Seattle, I realized that I needed to trade in my full kitchen of pots and pans for just a few pieces of high-quality cookware. Luckily, living in the Pike Place neighborhood of Seattle means Sur La Table is in my backyard! After marching myself down there to drool over the $80 Skillet I had in mind, I decided to make the purchase.
Hawk-Hill.com is a participant in the Amazon Services LLC Associates Program, an affiliate advertising program designed to provide a means for website owners to earn advertising fees by advertising and linking to Amazon.com and any other website that may be affiliated with Amazon Service LLC Associates Program
I purchased a Scanpan because I was tired of buying a new $25-$30 skillet every year. Inevitably, I would buy the latest greatest skillet (in the cheap to midrange price category) and find a few weeks later that the surface was already beginning to become less non-stick. Cast iron skillets- though one did follow me in the big move to Seattle- were too difficult to clean and re-season in my tiny kitchen (which boasts floor space of just 3ft x 5ft!). The lightweight Scanpan came to the rescue, being easy to maneuver, a dream to clean, and light enough to hang on my pot rack.
Cooking with the Scanpan was a dream for the first 5 or 6 months. But after a while even though I only hand-washed my pan, I began to find that the non-stick surface was not working as well. A few weeks later, the pan became essentially useless unless well-greased and I was just about ready to march myself back to Sur La Table, receipt in hand, and ask some questions about this “lifetime nonstick warranty.”
Before attempting the return, I decided to try a deeper clean than the dish soap and sponge method I used for everyday cleanup.
The Scanpan website recommends this method for deep cleaning:
“Laundry soap for the skillet? Weird, but ok!” I thought. And I dutifully followed these factory instructions- and saw no significant improvement to the surface of my now very non-nonstick skillet.
When that didn’t work, I decided to experiment with alternate cleaning methods. The method that finally worked was a mash-up between the manufacturer’s instructions, old-fashioned cleaning tips, and one modern cleaning tool. Read on to learn more about how I restored the finish on my non-stick skillet.
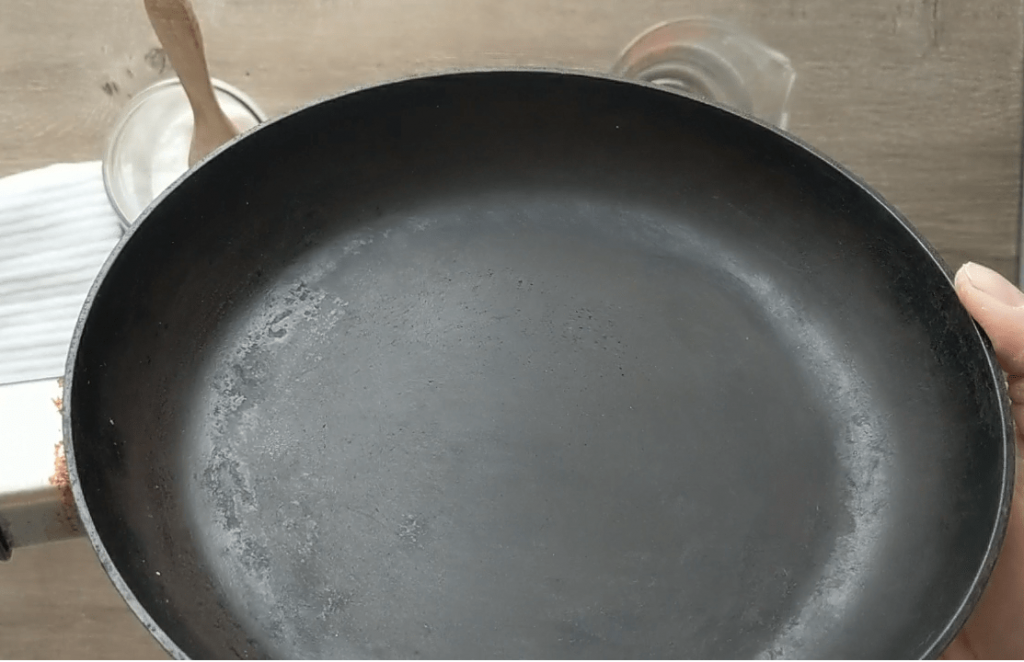
With a few secret weapons and a bit of elbow grease, I’ve been able to restore my scanpan to almost-new condition and the nonstick finish back to being able to cook, fold, and plate the perfect omelet with ease.
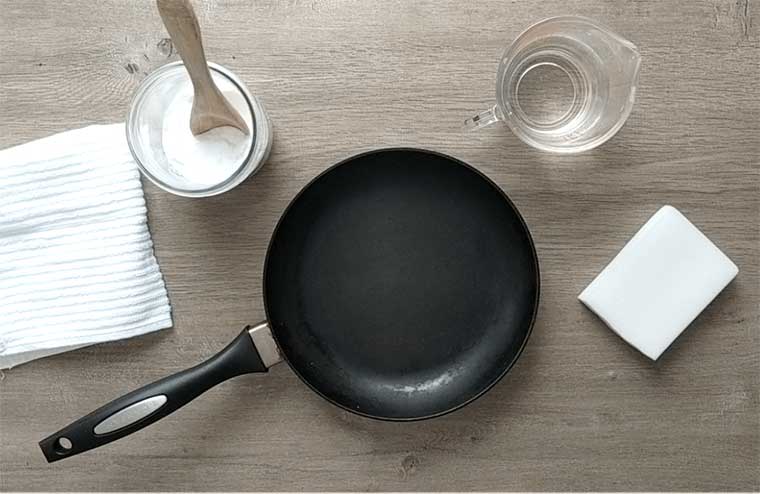
You’ll need:
- A pan in need, like my Scanpan
- Magic Eraser (or bulk melamine sponge which seems to work just as well for this purpose)
- Baking Soda
- Dish Soap
- Rubbber dish gloves (essential: you’ll be scrubbing with VERY HOT water!)
Step By Step Instructions:
Prefer a video to step by step instructions? View the entire process start to finish in this video (or just keep reading!)
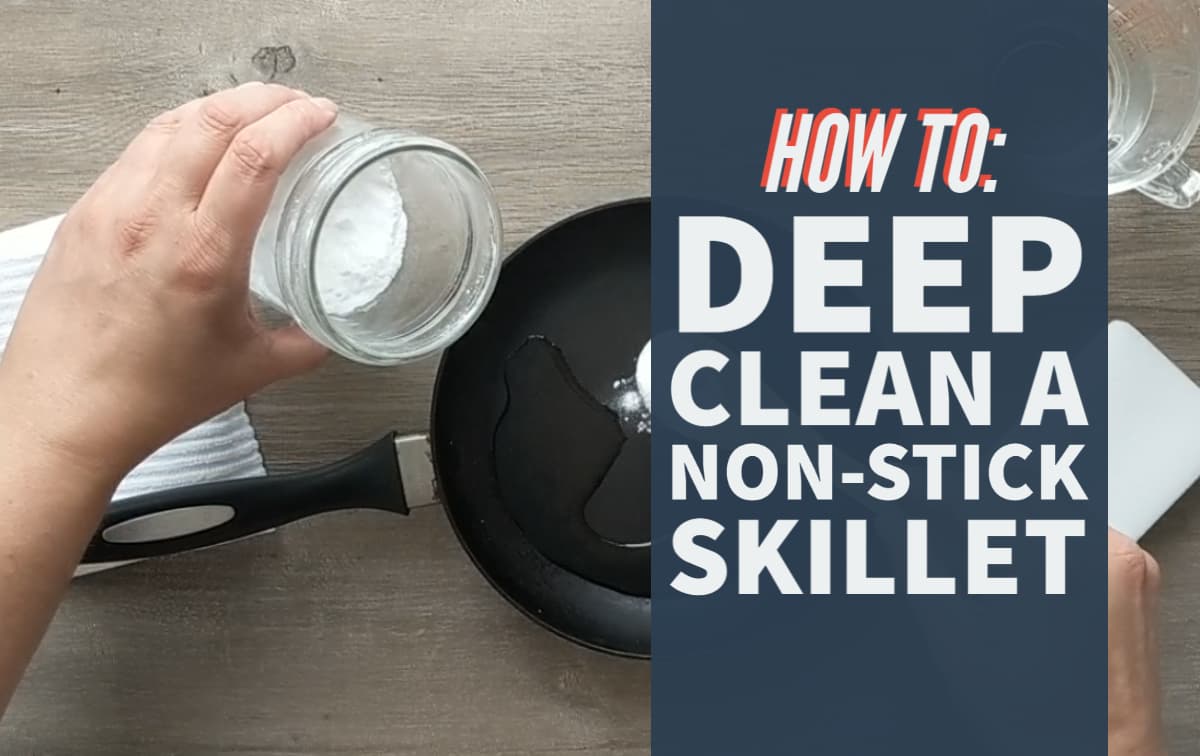
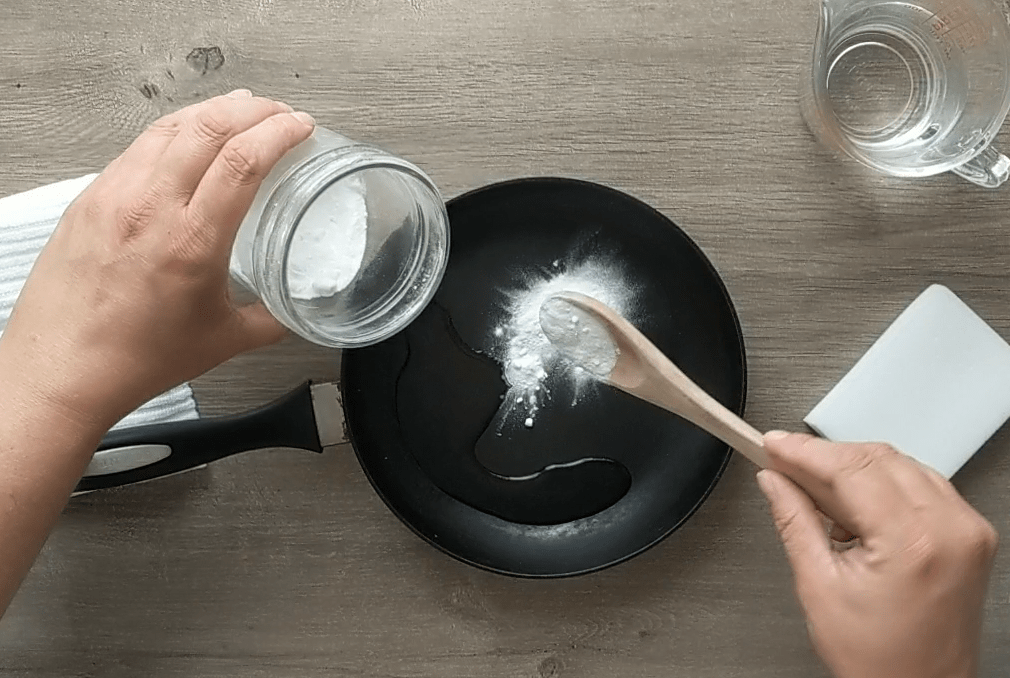
To clean the skillet, I place 4 to 6 tablespoons of water in the skillet and warm it to boiling on the stovetop. Once both the water and the pan are hot, I remove the skillet (being careful not to spill the water) to a stable surface away from the hot stove.
There, I place about 2 tablespoons of baking soda into the skillet. While in the video I’m working with room-temperature materials, this method works best when used HOT, so get yourself some thick rubber gloves to protect your hands from heat.
Using a Mr. Clean Magic Eraser, which offers mild abrasiveness – combine water baking soda into a paste and then vigorously scrub the paste all along the surface of the pan, focusing on areas that are visibly stained or crusted with burned food.
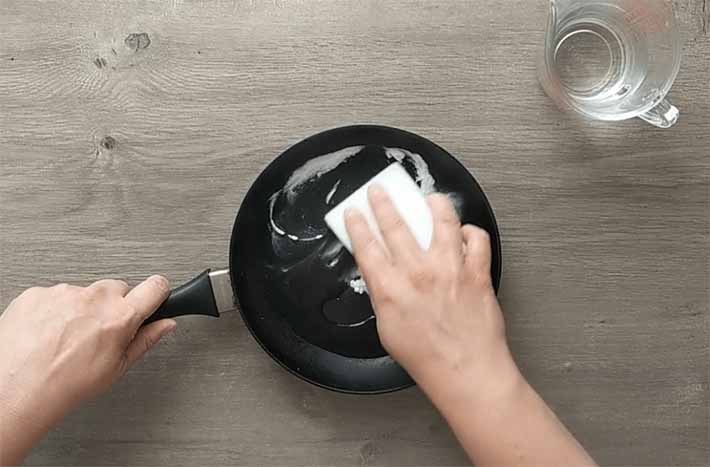
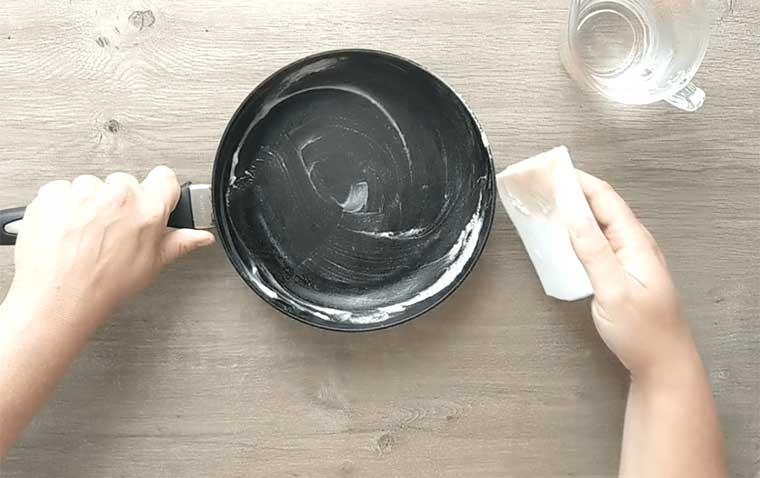
In the video still below, you can see the sponge begins to discolor as the pan is scrubbed, even though this skillet had already been well washed. When working with a warm skillet and hot water, this transfer happens much much faster, so you’ll need to stop, rinse the pan, rinse the sponge, and start the process all over again with a new batch of water heated on the stovetop. Repeat until a clean side of the Magic Eraser does not discolor when scrubbed against the surface.
When done regularly (every 2-3 months) this method can restore my non-stick skillet to a like-new finish in less than 5 minutes. If it’s been too long since the last deep clean, it can take 3-4 rounds of this treatment and some real elbow grease. – Time well spent to get a like-new nonstick finish on my well-loved and heavily used nonstick skillet.
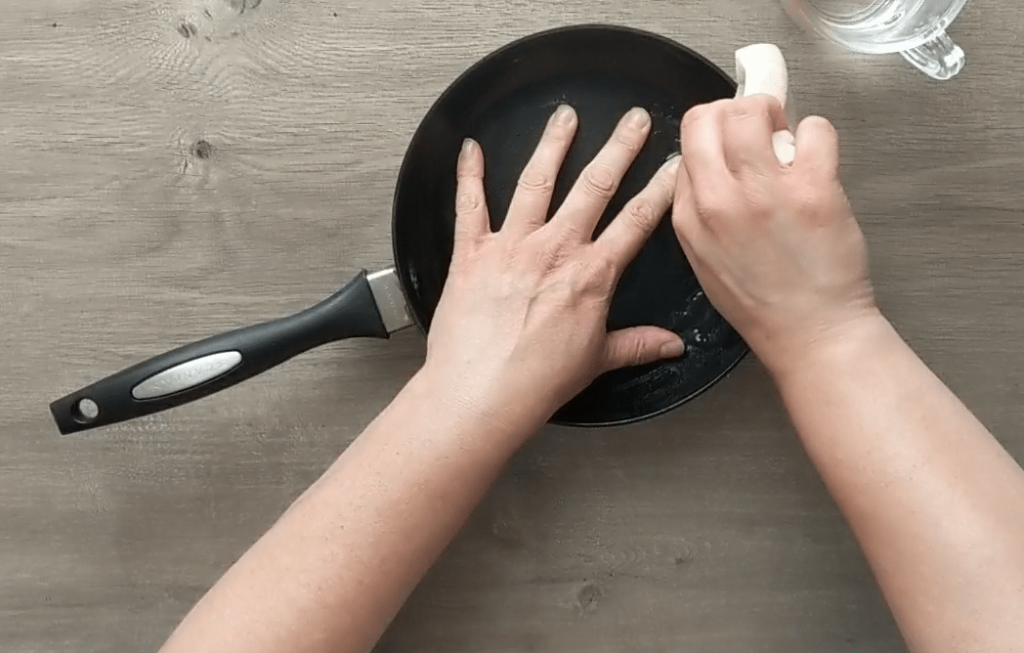
When done, be sure and do a final wash with soap and water to rinse out any residue from the cleaning sponge.
Thanks for Reading!!!
I hope you can tell that I love DIY, researching the best affordable solutions for every-day problems opportunities and documenting / sharing solutions!🙌 Hawk-Hill.com is reader-supported.
☕ Hawk-Hill.com is reader-supported. If this article saved you time or money, please consider donating $1 to help me cover the cost of hosting this website OR If you appreciate this information and want to throw a “Thanks!” my way by buying me a coffee – I would Of Course appreciate it! :]
Reader Questions and Recommendations
Readers, do you have any favorite topics / posts? What would you like to read more about in the future? As I hope you can tell from this and other articles on my site, I really enjoy DIY / a good challenge, and I’m not afraid to roll up my sleeves to figure out a great, and hopefully simple 😁 solution. So please feel free to let me know in the comments below (or reach out via social media)!
Ok Really – I’ll try to wrap this up now😂
Finally, if you’d like to continue to learn about interesting DIY options as well as how YOU can tackle creative new projects consider checking out the latest and most popular articles listed on the Hawk-Hill Home Page. I’m always trying to enjoy and write about the creative side of life so please don’t be a stranger – check back often!😍
Also chech our Pinteres account https://www.pinterest.com/curlylindsay/
If you enjoyed this post you may also enjoy reading / perusing / devouring😊 one or all of these articles as well!
- 💡4 Easy Steps to Make Your Own Sea Glass 🌊
- ❤️Bedroom Decorating Ideas for Single Women’s Master Bedrooms 🛏️
- 🏡Ikea Kitchen Cost: What I Spent for a 9×12 Kitchen Remodel 💵
It worked!! Tnks
I just noticed that Magic Eraser specifically mentions that you shouldn’t use them on non-stick pots and pans. I’m assuming that it may get the gunk off but it will also scratch up the finish on the pan as well.
https://www.mrclean.com/en-us/how-to/kitchen/clean-cakedon-casserole-pans
Correct! As I mention above, melamine sponges (what Magic erasers are made from) are abrasive. Simple scrubbing or soaking cant remove residue of oils and fats once they have polymerized to the surface of a non-stick skillet. Cleaning with a light abrasive, like a magic eraser, can remove these polymerized oils. There is a risk, but if the pan is already damaged and the abrasive cleaning stops when the sponge begins wiping clean, the risk is minimal and my pans have returned to their non-stick glory.
I should have done more research regarding what type of oils to use in a Statanium Scanpan. My favorite pan had accumulated so much gunk that it’s non-stick surface no longer worked. I discovered that ‘virgin’oils should never be used in non stick pans because some of the oil’s components have exceptionally low smoke points and it is these components that are largely responsible for the deposits on the non-stick surface rendering it ‘sticky’. For example, processed avocado oil has a smoke point about about 500 degrees F and can be used for high temperature sautéing. Virgin avocado oil on the other hand, haas a smoke point of about 325 degrees F and will thus lead to a sticky ‘non stick’ pan over time. I had been using a high quality extra virgin olive oil in my Scanpan which was probably the worst thing I could be doing. I have switched to a processed avocado oil with a smoke point of 500 degrees F.
Now, as for how to clean the gunk off my Scanpan. Well, the pan was pretty well ruined as is, so I decided to use drastic techniques because I couldn’t possibly ruin the pan any more than it was already ruined. Resurrecting my college organic chemistry, I decided that the best way to dissolve baked on oil residue from stainless steel surfaces (without destroying the surface) would be to use a concentrated solution of NaOH (sodium hydroxide) at 200 degrees F. Simple enough! I bought a can of Easy Off Oven Cleaner and had at it. I had to process the pan 6 times. I sprayed the Easy Off on the pan surface, put it in the oven at 200 degrees F for 20 minutes, rinsed the Easy Off off using soap and water and repeated this process 6 times in total. One would think that such harsh treatment would completely destroy the non-stick surface. Not so! The pan is LIKE NEW. I made myself two sunny side up eggs using no oil at all and guess what! It was non stick, as new.
I had tried the method recommended by Scanpan (boiling baking soda) and it did not do anything. Baking soda will make a slightly basic solution (in terms of pH), but the solution is insufficiently basic (not a high enough pH) to make any progress with the very stubborn baked on oil. NaOH can have a pH of 13 (out of a max of 14) and so is a very strong base. It can be used to dissolve organic material such as baked on oil residue.
So, if you are about to throw out a perfectly good Stratanium pan, you might consider my radical approach as a last ditch effort.
Wow! This is such good information! Thanks for posting this helpful reply.
I tried the Magic Eraser method … followed the instructions to the letter and when done my pan was worse than what it had been. The final step I took solved the problem … I threw the pan away and bought a new one. Anyone using Magic Eraser on a non-stick pan will find that the pan is ruined by doing so.
@ michael, My outcome was somewhat different. My favorite 1 quart Scanpan boiled dry with eggs in it for probably a good 10 minutes. I went into the office and forgot about it.Itsd a good thing I had company and finally heard the buzzer. With that said: This is what I did after carefully reading the instructions on cleaning.First I simmered the pot for about 15 minutes withe 2 tablespoons didh liquid. drained the water then added the 4 to 6 tablespoons of water and brought that to a boil. Put on rubber gloves. Put a pot holder down on the counter. Placed the hot pan on the pot holder and put on rubber gloves, got out a new Mr Clean Magic Eraserand then went to find baking soda and found I didnt have any! Im thinking well I will use baking powder. I added the baking powder to the hot water making a paste like the directions read. I did not even have to scrub vigorously, with in a few hard scrubs the pan turned shinny black and smooth and looked good as new! It was kind of a crazy story but I thought worth sharing. Carol