
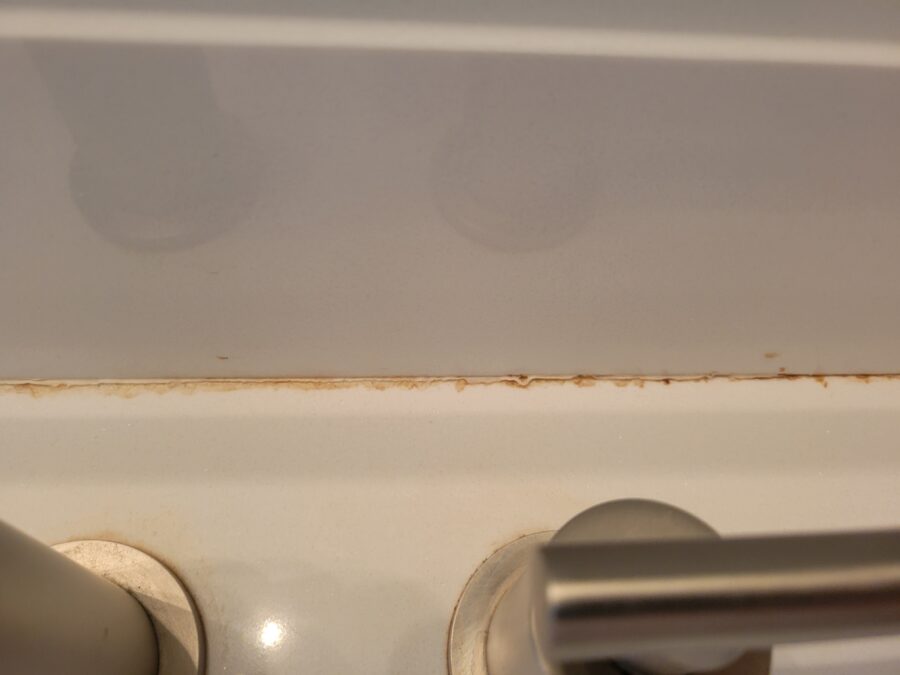
Today I’m excited to share some good ol’ DIY wisdom with you. If you’re dealing with old or moldy caulk in your home, don’t worry – I’ve got your back. In this article I’ll show you how simple it is to remove nasty old caulk like a pro.
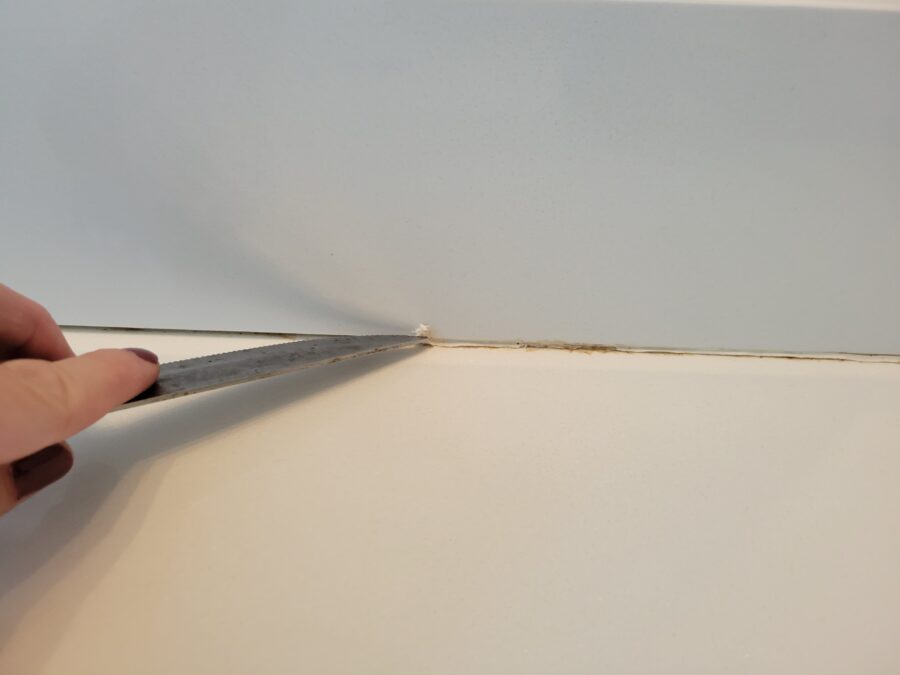
This guy used a straight razor to remove the caulk after warming it up. Totally an option – I just get nervous with straight blades so I opted for a utility scraper. You do you. 🙂
Without further ado, let’s get started!
Gather Your Supplies
Before we dive in, make sure you’ve got the right tools and supplies on hand. Here’s what you’ll need:
- Hair Dryer: Warming up the caulk makes it soft and easier to remove.
- Utility Knife or Caulk Removal Tool: You’ll need a sharp utility knife or a specialized caulk removal tool to cut through and scrape away the old caulk.
- Safety Gear: Safety first! Grab a pair of safety glasses and some gloves to protect yourself from any sharp edges.
- Pliers: Sometimes, caulk can get wedged deep into cracks. Pliers can be handy for pulling out stubborn bits.
- Rags or Paper Towels: You’ll need these to clean up any residue.
Now that you’ve got your supplies in order, let’s get to work!
Hawk-Hill.com is a participant in the Amazon Services LLC Associates Program, an affiliate advertising program designed to provide a means for website owners to earn advertising fees by advertising and linking to Amazon.com and any other website that may be affiliated with Amazon Service LLC Associates Program

Step 1: Warm up the Old Caulk

Let’s remove nasty old caulk!
Start the removal process by directing low heat from the hair dryer directly onto the section of caulk you’d like to remove. You can warm up each section as you work, or just warm up the spots of caulk that are particularly stubborn.
Step 2: Score the Old Caulk
Once the old caulk has been warmed up, carefully score it with your utility knife or caulk removal tool. Make sure to cut along both edges of the caulk bead. This will create two clean edges for easier removal.
Step 3: Gently Pry and Peel

Use your utility knife or caulk removal tool to gently pry up one of the edges you’ve scored. Be patient, and take your time (and use the hair dryer again if needed) – we don’t want to damage the surface beneath. Once you’ve got a good grip on it, start peeling the old caulk away. If it’s not coming up easily, you can use pliers to help with the removal process.
Step 4: Clean Up
After you’ve removed the majority of the old caulk, it’s time to clean up any remaining residue. A caulk remover or some rubbing alcohol can help dissolve any stubborn bits. Make sure to wipe the area clean with a rag or paper towels. Adios nasty old caulk!
Step 5: Check for Mold or Mildew
Now that you’ve got a clean slate, take a close look at the area where the old caulk used to be. If you spot any signs of mold or mildew, it’s essential to address it before re-caulking. Clean the area thoroughly with a mold and mildew remover, let it dry completely, and ensure there’s no moisture left behind.
Step 6: Re-Caulk Like a Pro

With the old caulk gone and a clean, mold-free surface, you’re ready to re-caulk like a pro. Choose a high-quality caulk that suits the area you’re working on, whether it’s a kitchen or bathroom. Apply it evenly and smoothly, and don’t forget to smooth it out with your finger for a clean finish.
TIP: Apply caulk only 2-3 inches at a time, and smooth with your finger as you go

If you get caulk somewhere you don’t want it, don’t fret, just quickly wipe it off with a damp cloth. If it has already hardened, wait until your entire project is dry (at least 20 minutes), and simply scrub the spot with a Scrub Daddy sponge.

And there you have it, friends – a simple guide to removing old caulk. Remember, patience is key, and with a little elbow grease and the right tools, you can tackle any caulk removal project like a true DIY enthusiast.
Happy renovating, y’all! And remember, there’s nothing you can’t conquer with a little DIY spirit.
Thanks for Reading!!!
I hope you can tell that I love DIY, researching the best affordable solutions for every-day problems opportunities and documenting / sharing solutions!🙌 Hawk-Hill.com is reader-supported.
☕ Hawk-Hill.com is reader-supported. If this article saved you time or money, please consider donating $1 to help me cover the cost of hosting this website OR If you appreciate this information and want to throw a “Thanks!” my way by buying me a coffee – I would Of Course appreciate it! :]
Reader Questions and Recommendations
Readers, do you have any favorite topics / posts? What would you like to read more about in the future? As I hope you can tell from this and other articles on my site, I really enjoy DIY / a good challenge, and I’m not afraid to roll up my sleeves to figure out a great, and hopefully simple 😁 solution. So please feel free to let me know in the comments below (or reach out via social media)!
Ok Really – I’ll try to wrap this up now😂
Finally, if you’d like to continue to learn about interesting DIY options as well as how YOU can tackle creative new projects consider checking out the latest and most popular articles listed on the Hawk-Hill Home Page. I’m always trying to enjoy and write about the creative side of life so please don’t be a stranger – check back often!😍
Also chech our Pinteres account https://www.pinterest.com/curlylindsay/
If you enjoyed this post you may also enjoy reading / perusing / devouring😊 one or all of these articles as well!
- 💡4 Easy Steps to Make Your Own Sea Glass 🌊
- ❤️Bedroom Decorating Ideas for Single Women’s Master Bedrooms 🛏️
- 🏡Ikea Kitchen Cost: What I Spent for a 9×12 Kitchen Remodel 💵