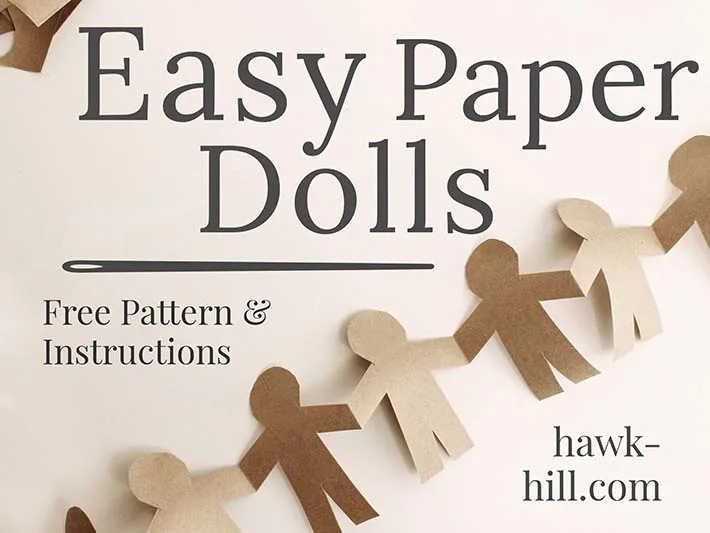
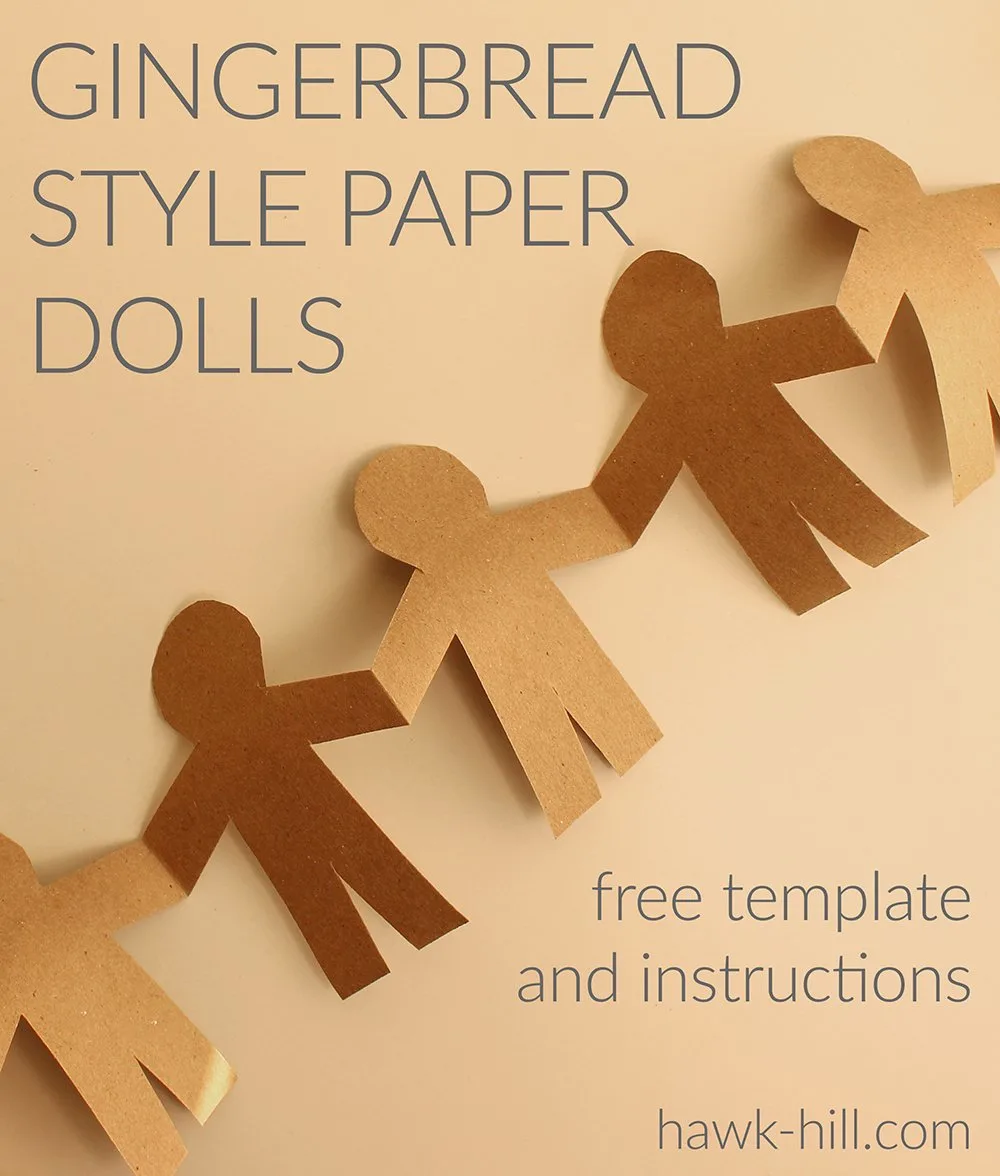
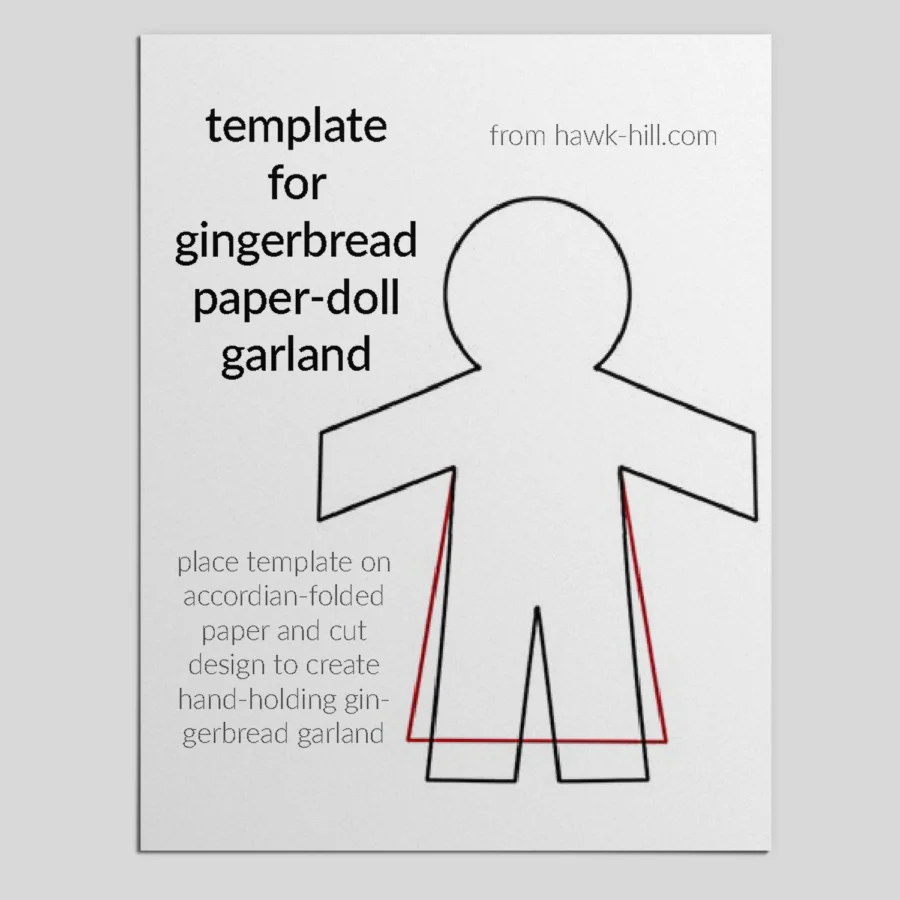
In this tutorial, I’ll show you how to use paper bags and my free template to make a paper doll chain. You can make this kid-friendly craft with recycled packing paper, gift wrap, or other big sheets of paper. My pattern is loosely based on a gingerbread man and woman, but feel free to use make modifications to my basic template- a printable PDF which you can download for FREE below.
Jump to Free Pattern Download
Here’s why I love this paper doll chain craft:
- ⏲ This project takes only a few minutes
- ♻️ It uses recycled materials you can find for free.
- 🧒🏻🧒🏽🧒🏾 Paper doll chains are an easy craft project to do with kids (unfolding the chain will seem like magic!)
- 🎄You can create unique and even elegant Christmas decorations without the ethical, environmental, and labor concerns or purchasing mass-produced decorations.
- 💰 It’s profitable! Making your own paper doll chains can even be a way to produce stuff to resell at craft shows, flea market booths, or yard sales.

This paper doll pattern is actually a template I designed over a decade ago. Back then, I was designing a custom cookie cutter for making clay Christmas ornaments. For my clay ornaments, I needed a unique paper doll-type pattern thick enough to hold up during cutting, transferring, and firing.
When I later set out to develop a paper doll pattern, I discovered that the same shape that made my clay gingerbread man-style cutouts tough enough to be handled before firing is the IDEAL shape to make strong and sturdy paper dolls. These dolls stand up to play, party decorating, or annual holiday rhythms of putting-up decorations and then taking them down for storage.
The following section may contain affiliate links. As an Amazon Associate, we earn from qualifying purchases.
Supplies You’ll Need to Make Paper Dolls:
- Paper Doll Pattern & Template (download a printable template for the paper dolls pictured here, below)
- Iron & Ironing Board (skip if your paper is new and already flat)
- Scissors
- Paper Doll Scissors for Kids – Here’s the thing, it’s slow, painful, and frustrating to make paper doll chains without really good scissors, and really good scissors aren’t safe tools for most kids. If you are creating paper dolls with kids, and want to let kids do the cutting, you’ll need to either do all the cutting for them, or let them use child-safe scissors cutting just 2 or 3 layers of paper at a time. Alternately, for older kids, bandage cutting scissors can be a good blunt-tipped option for effectively cutting multiple layers of paper (but they are still very SHARP and able to cut skin, so extreme care should be used if you are supervising kids and scissors.)
- Paper Doll Scissors for Adults – You need good scissors, not just any scissors, mama scissors. You know the really sharp scissors your mom wouldn’t let you use when you were a kid? If you’re still calling $5 scissors your “good scissors,” it’s time to get yourself a pair of mama scissors. You will HATE me if you attempt this project with basic scissors, because you’ll be stuck having to cut 2 or 3 layers at a time instead of 8+. Fiskars Razor Edge scissors are my mama scissors. They go from my fabric cutting table to paper projects like this without dulling beyond the repair of a basic scissor sharpener. (Confession, I have butchered a chicken with my Fiskars Razor scissors, ran them through the dishwasher, and gone back to cutting ribbons for Christmas wreaths!)
- Brown Paper – I made mine with used packing paper from shipments we were receiving weekly in my store at the time. Paper grocery bags cut down into flat sheets will also work. White or brown Kraft paper on rolls is perfect, but already used paper is fine. Even wrinkled or pre-printed paper is ok too, as long as one side is unprinted. (There’s a trick to getting good results using used, creased, or crinkled paper, which I’ll show you in steps 1-2.)
How to Flatten Wadded Up or Crumpled Paper
Uncrumpling paper that is bent, wrinkled, or folded is easy- in fact, using precrumpled and flattened paper for papercraft gives the final project a cool texture. I like how the smoothed wrinkles add an almost vintage look to the final paper craft.
Don’t waste new paper when you can make professional-quality paper dolls using recycled and discarded paper. Here’s how to make crumpled paper smooth again in two easy steps:
1. Crumple the Paper More (Really!)
First, wad the paper all up. Yes, really! Cumple and crinkle it uniformly. This will help make the wrinkles and folds a uniform texture instead of a blemish. Gather your family and crunch, wad, fold, or even stomp your way to paper with lots of crinkles, wrinkles, and ridges.
2. Iron the crumpled paper
Next, smooth the paper out one sheet at a time on an ironing board. With your iron set to a high-steam output, begin to iron your paper. You won’t remove the creases entirely, but as the paper becomes crisp and uniformly flat, the creases will become decoration on the paper rather than ridges that can be seen or felt. (If your iron doesn’t have steam, or the steam is not dampening your paper enough, a wet washcloth wiped over the paper before ironing will work just as well)
Caution: Irons are dangerous. Iron only with adult supervision and observe all safety warnings on your iron. Never leave an iron unattended, and monitor your paper constantly for scorch or burn marks. Always know where a fire extinguisher is, and how to use it.
How to Make a Paper Doll Chain
How to Make a Paper Doll Chain
Time required: 10 minutes
Print and Cut Template
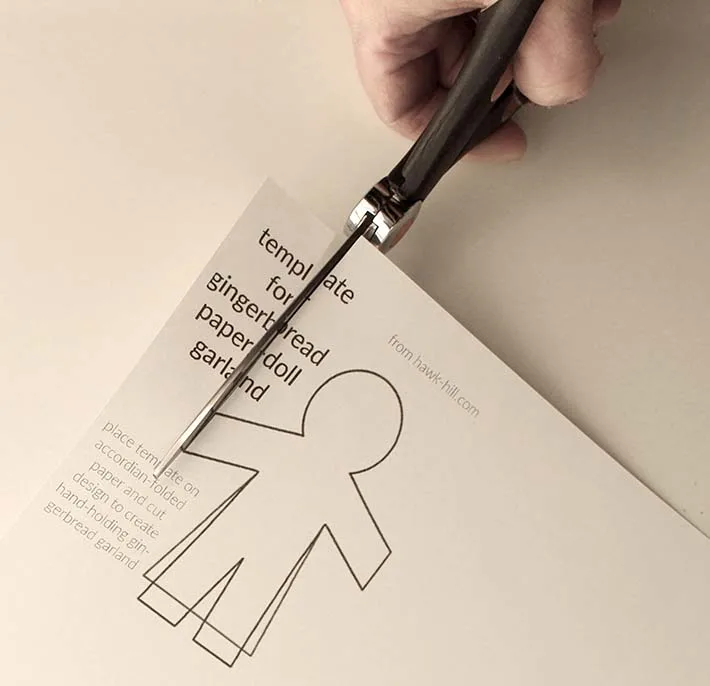
Print our free PDF pattern, and cut out the design in a simple cutout.
Cut Paper Strips
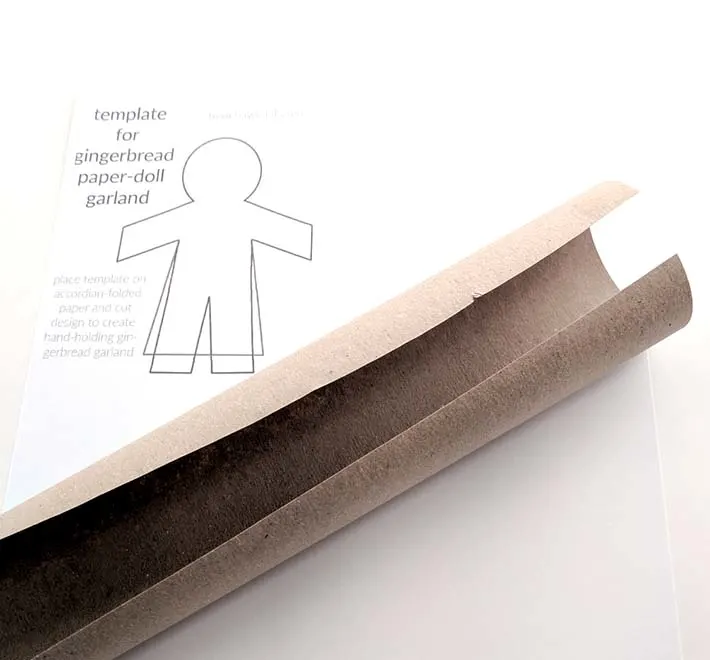
Cut long paper strips. The strips should be as wide as your gingerbread cutout is tall (a cutting mat and a disc cutter make strip cutting extra quick). Cut strips and bring the cut strips to your ironing board
Trace Outline Onto One End of Paper Strip
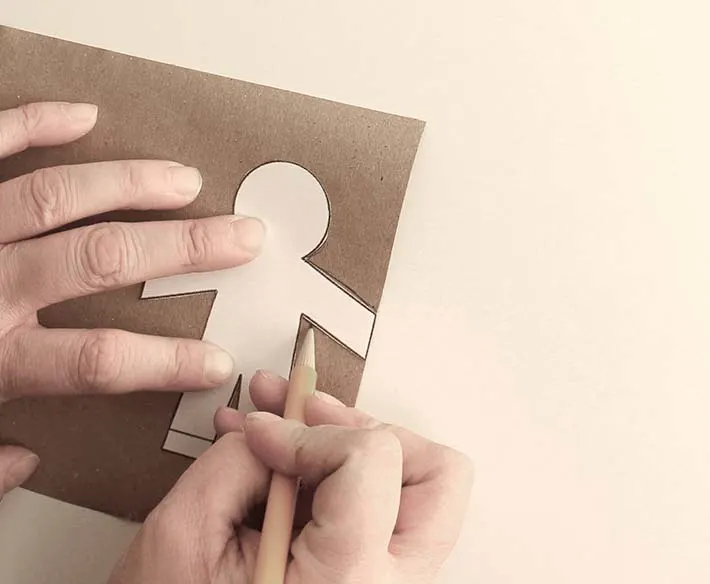
Lightly trace around the paper doll person template, being sure to line up the end of of the figure’s hand parallel to the end of the strip of paper.
Add a Marker for Folding
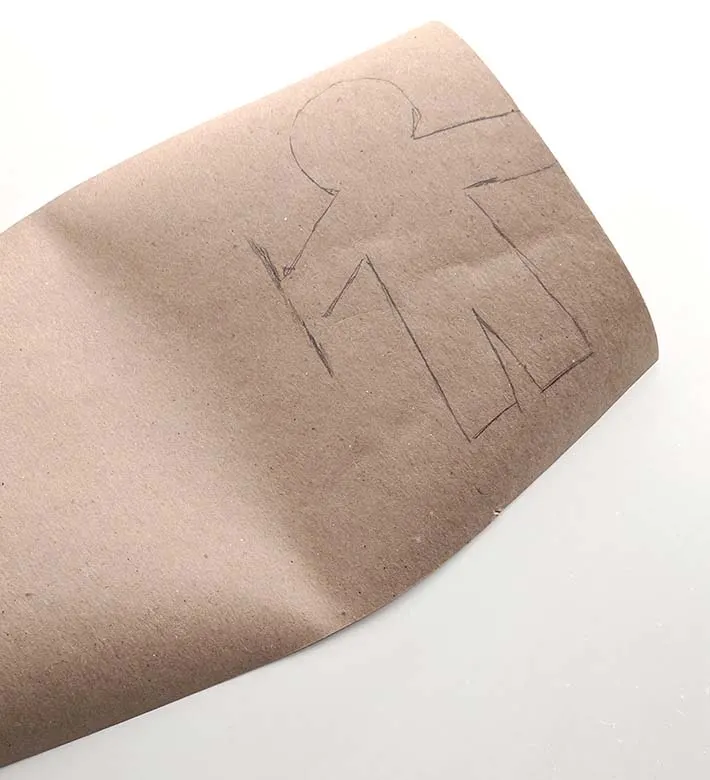
One you have traced the figure’s outline, add a strong line at the end of the hand to indicate where the paper will crease in the next step as we begin to fold the strip of paper to form a paper doll chain
Begin folding the strip
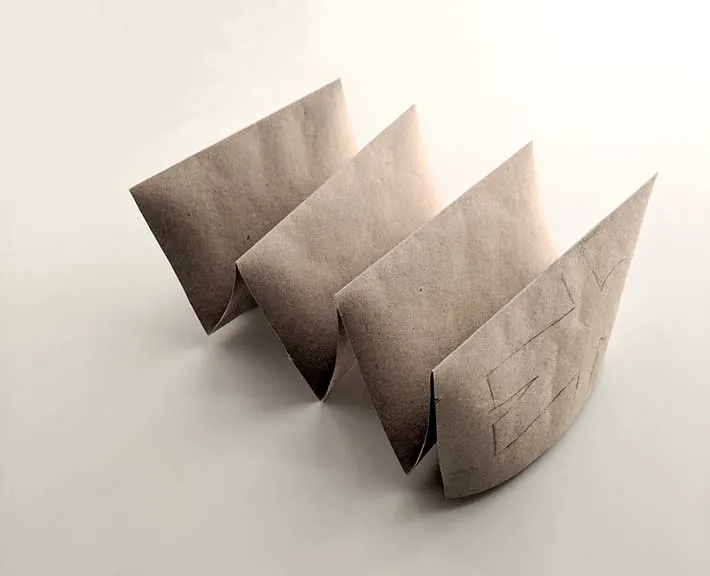
Begin folding the paper strip in an accordion pattern (folding forward in one turn, and backward in the next turn), leaving just enough space in between folds to accommodate the width of your gingerbread man pattern.
Iron for Crisper Folds
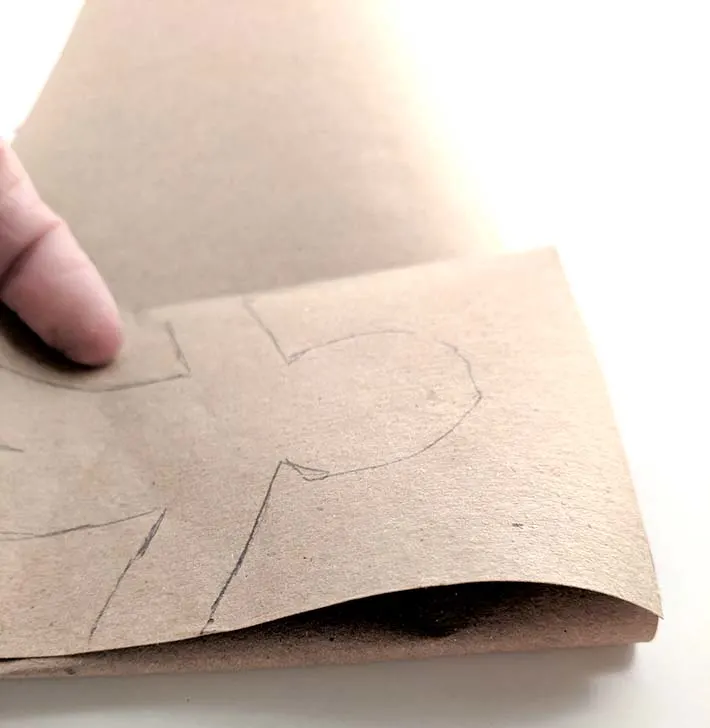
Crisp folds are even folds, and even folds help keep the template straight and each and every paper doll looking like it should all the way to the end of the chain. You can skip ironing, but I think it makes it easier!
Cut Out your Paper Doll chain by following the penciled outline
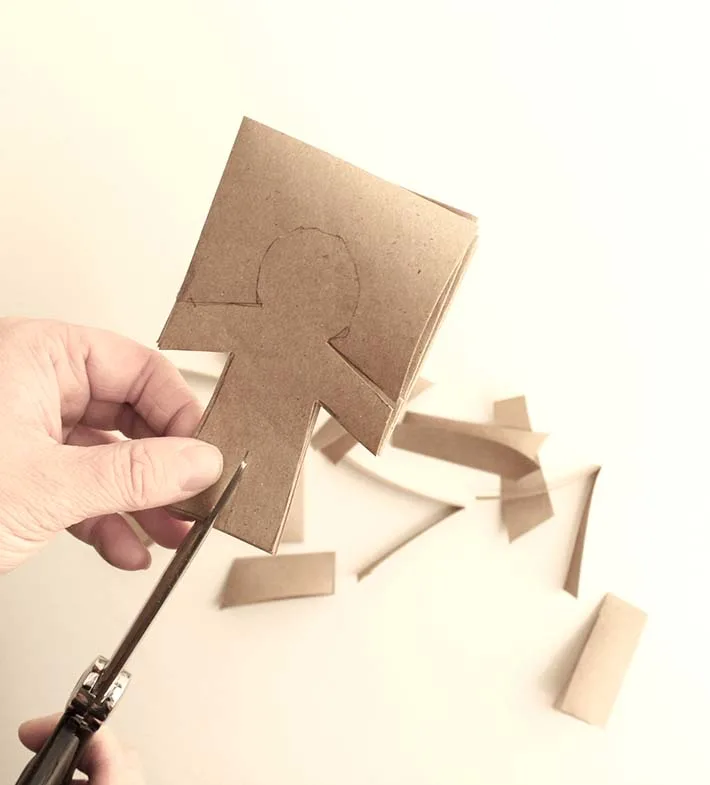
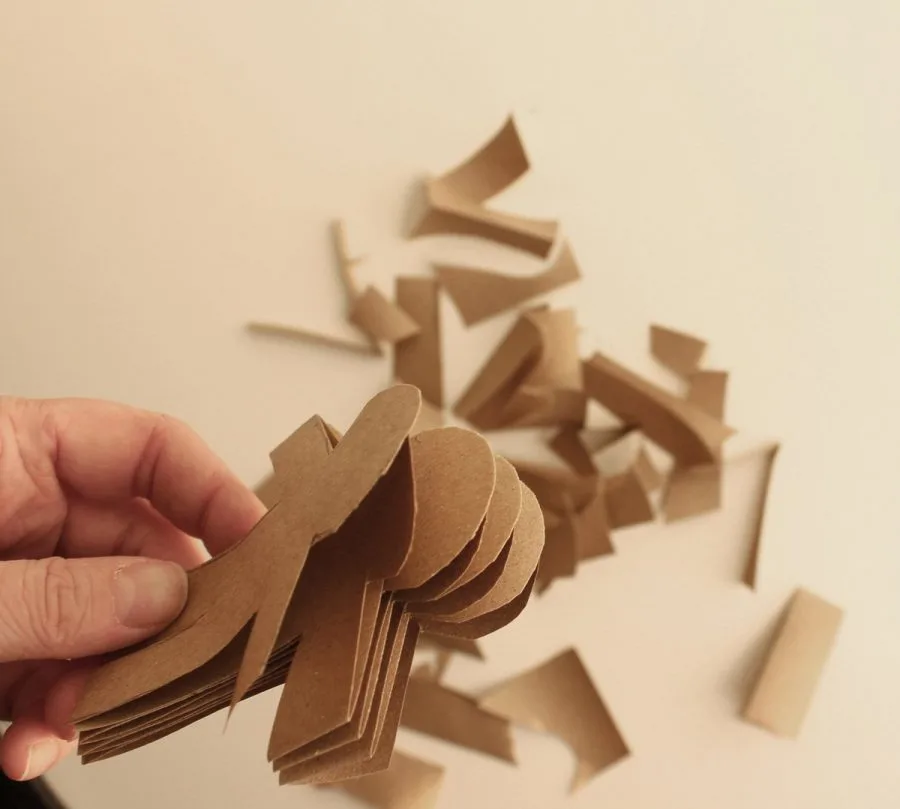
Prep a stack of folded strips, then curl up with your scissors, your folded paper strips, a bag or small box to collect paper scraps, and some Netflix and start trimming away the excess paper on the outside the outline of the paper doll pattern traced on the top of the stack. Do not trip paper edges where the doll’s hands extend off the paper- that’s where the doll hold hands with the next paper doll in the chain!
Finish Cutting and Unfold
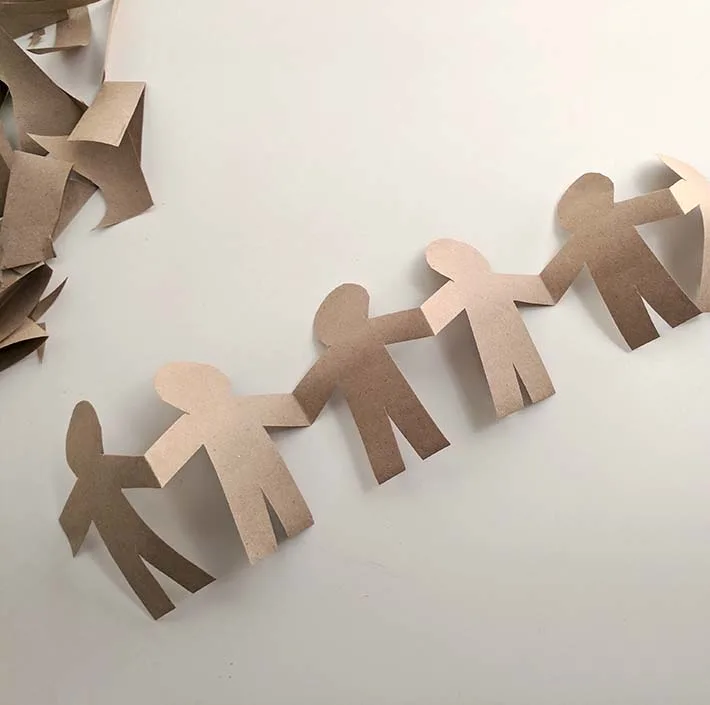
Once you’ve cut all the way around the pattern (being sure to NOT cut the portion where the doll’s hands meet) unfold your strips to reveal festive paper doll chains.
Now Draw, Color, Paint, or Decorate with plain paper doll chains
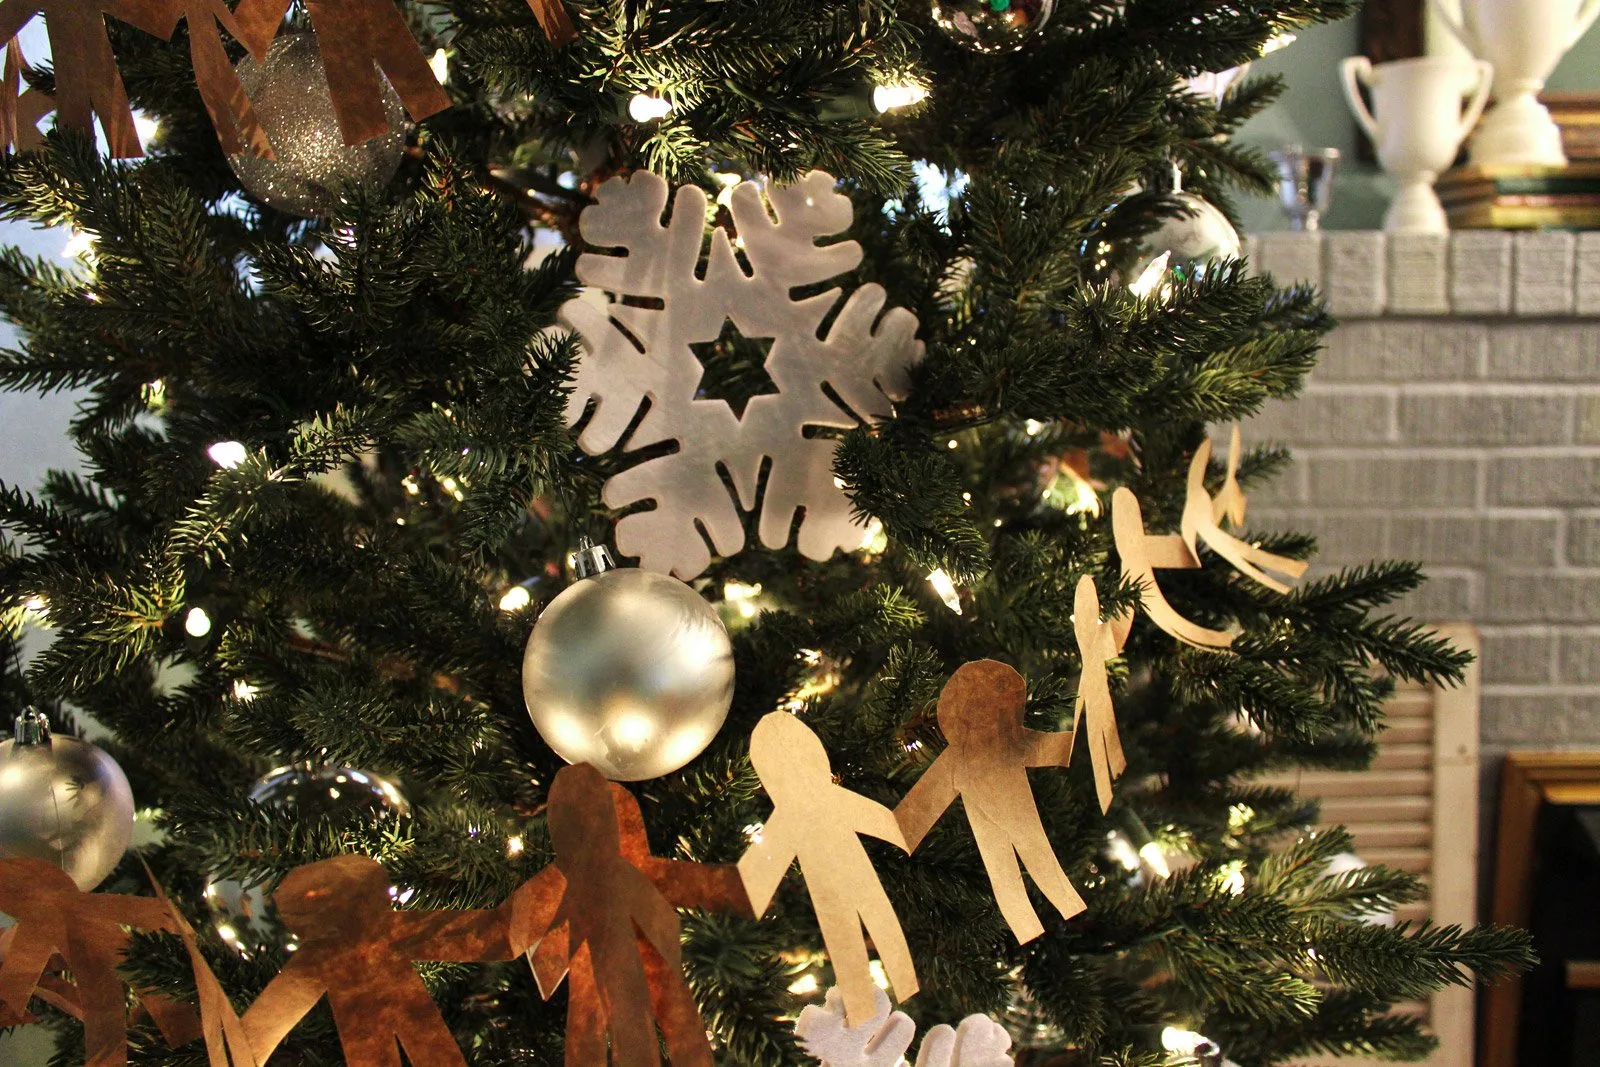
After you cut the shape into your first folded strip, unfold to reveal a chain of paper dolls, perfect for traditional or rustic style Christmas decorations or as a canvas for imaginative open-ended play with kids. When your dolls are free, pull out the crayons, markers, and paints and let kids build their paper doll community!
NOTE: Be careful to not stack more paper than your scissors can cut through with control and safety. Always, always supervise kids with scissors and if kid are cutting, never stack more paper folds than kid’s scissors can easily cut (usually a maximum of 2 or 3 sheets, depending on thickness of the paper).
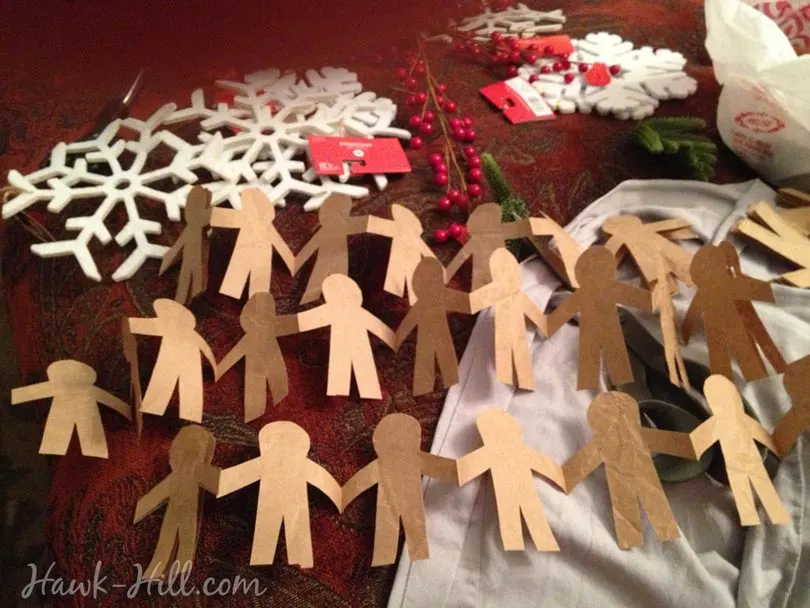
That’s it! Just a few steps to enviable paper doll chain rows that cost you nothing but a bit of time to create and can offer hours of imagination and fun for kids!
STORAGE TIP for homemade paper doll garland:
This paper doll garland can be folded and stored in an envelope for use year after year. For repeated use, at the end of the season simply fold the paper gingerbread garland back into the accordion folds, pin it in place with a binder clip, and stuff into a manila envelope.
For more compact storage that protects your garland from moisture or damage during storage, pop the folded garland into a FoodSaver bag and use a Foodsaver to remove the air from the package and seal. This method means your tender folded paper garland will come out good-as-new after a year of storage.
Why homemade decorations?
The obvious answer is cost savings, but I want to point out that “handmade” Christmas decor items sold in stores, unless marked fair trade, are typically not ethically sourced.1 The rustic, “handmade look” is easily produced in environments where unfair wages are paid to workers in harmful working conditions in developing countries.
When you hand-make your own Christmas decorations, you can create a charming handmade look. You’ll also save money and feel good knowing that you aren’t supporting companies using unfair labor or unsafe working conditions.

Paper dolls are traditionally thought of as girls’ toys, but paper doll chains are fun for boys and girls – in fact, they’re fun for the whole family. Making paper doll chains with kids encourages creativity and emphasizes community and connectedness between different people. You can use the experience of making paper dolls with kids to teach about friendship, family, faith traditions, and community. Decorate each doll with faces, clothing, and accessories to create paper dolls that match your theme or lesson plan.
Although it takes a grown-up to use sharp scissors, kids of all ages can be a part of the fun of making paper doll chains. With imagination, creativity and a few arts supplies, paper doll chains can occupy kids for an entire afternoon – they’re perfect for rainy days when kids can’t play outside and also for snow days. They’re great for sophisticated Christmas decorations or simple kid-made party decorations.
Paper doll chains are especially popular for kids ages 4-7. They’ll be amazed when you cut a single doll, which suddenly stretches into a chain of interconnected paper figures!
Making paper chains is a fun way to spend quality time with children, nieces, nephews, or babysitting clients. This, like most crafts, can be a fun way to bond and have fun as a family.

What are paper doll chains
A paper doll chain is a papercraft project in which one figure cut out of an accordion-folded piece of paper unfolds to reveal a long chain of figures holding hands.
Paper dolls are a great way to teach kids about diversity and the ways that we, as humans, are different but all connected. While this paper doll template I’ve made is based on the design of a primitive gingerbread man, you can alter the lines of this template to be as detailed as you like. The universal design of the gingerbread man shape is easy to decorate with markers, paint, or craft supplies to represent just about every form of human. Your paper doll chain can represent all kinds of different people.
Decorating with Paper Dolls
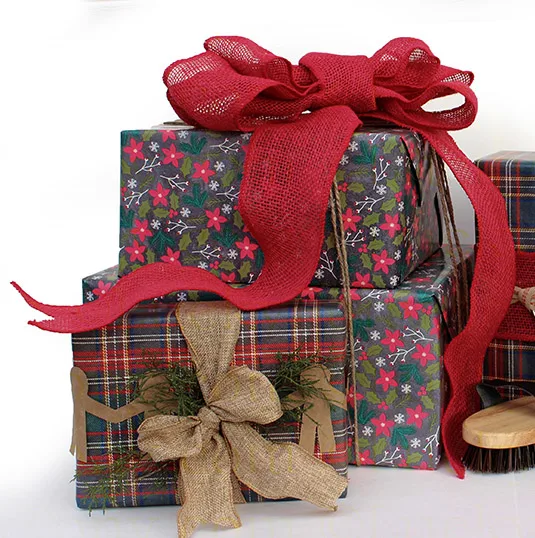
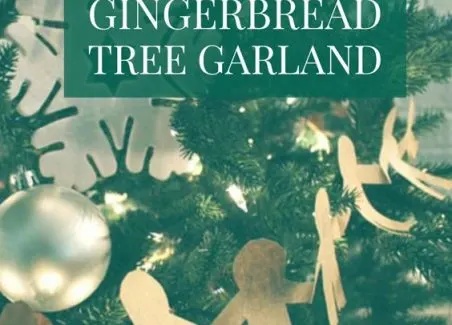
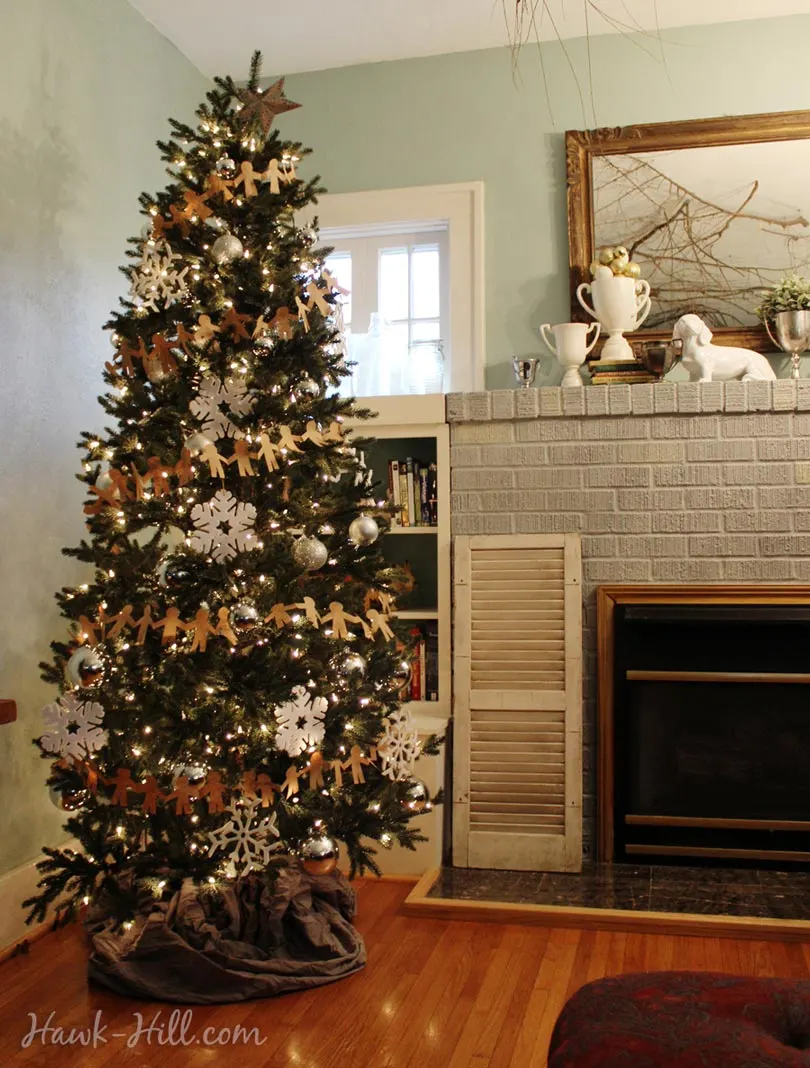
In this article, I demonstrate how to use the paper doll garland to decorate a Christmas tree. You can also use paper doll chains for party decorations or for letting kids participate in decorating a space. People often hang paper doll chains like garland – stretched across a space or opening (like a fireplace mantle or doorway arch). Each of the figures “hold hands.” Together they form a line of people strung together.
Who can make paper doll chains?
Paper doll chains can be made by anyone! This craft most appeals to younger kids, but even teenagers and adults can get into it. As long as you’ve got an adult who can safely handle scissors and some paper, you have everything you need to fill an afternoon with this fun kids craft.
Paper doll chains can even be made in mass, bagged up, and re-sold in a flea market! People love decorating with this primitive-looking decoration.
The History of Paper Doll Chains
No one is quite sure where paper dolls came from. Unfortunately, there aren’t many resources to learn more about the history of this craft. Paper doll chains probably evolved after the mass production of paper. The invention of thin, flat paper that could be cut in multiple layers at a time probably helped this craft get started.
Based on the availability of paper, this probably places paper doll chains as beginning in the early 20th century. However, garlands of figures stitched together in a similar chain-type design probably date much farther back – as long as people have been creating decorations! They were likely made from fabric scraps before manufactured paper was widely available.
Interestingly, a Google Books search of Paper Doll Chains reveals no mention before 1900 (although, their collection of older texts is very incomplete) but mentions of this type of paper dolls begin showing up in home economics and children’s crafts books starting in 1940. Here’s an example from a teacher’s conference in 1947:
“Cutting paper dolls need not be a pastime confined to inmates of mental institutions and frustrated school teachers. A young lady of my aquiaintance makes a very profitable sideline of just that- cutting paper dolls. Her work is in demand in department stores and gift shops, for unusual displays. […] These paper doll chains make attractive seasonable window displays and a circular chain makes an attractive party decoration”
Felix Kowalewski, an Art Instructor for the California School For the Deaf, 1947
Final Thoughts
This craft, like many crafts, can bring people together and strengthen relationships between people. Paper dolls give us an opportunity to think about how connected we are while also expressing our individuality through how we choose to shape or decorate our paper doll chain.
This simple template can serve as a blank canvas and an inspiration for artists who are aspiring to learn how to decorate and create simple crafts like this. Now that you know what paper dolls are, what you need to make them, the history behind this simple craft, and how to decorate them, you’re ready to get started! All you need to do now is gather your materials, and start ironing, tracing, and cutting your way to creating garlands and chains with your friends and family.
Thanks for Reading!!!
I hope you can tell that I love DIY, researching the best affordable solutions for every-day problems opportunities and documenting / sharing solutions!🙌 Hawk-Hill.com is reader-supported.
☕ Hawk-Hill.com is reader-supported. If this article saved you time or money, please consider donating $1 to help me cover the cost of hosting this website OR If you appreciate this information and want to throw a “Thanks!” my way by buying me a coffee – I would Of Course appreciate it! :]
Reader Questions and Recommendations
Readers, do you have any favorite topics / posts? What would you like to read more about in the future? As I hope you can tell from this and other articles on my site, I really enjoy DIY / a good challenge, and I’m not afraid to roll up my sleeves to figure out a great, and hopefully simple 😁 solution. So please feel free to let me know in the comments below (or reach out via social media)!
Ok Really – I’ll try to wrap this up now😂
Finally, if you’d like to continue to learn about interesting DIY options as well as how YOU can tackle creative new projects consider checking out the latest and most popular articles listed on the Hawk-Hill Home Page. I’m always trying to enjoy and write about the creative side of life so please don’t be a stranger – check back often!😍
If you enjoyed this post you may also enjoy reading / perusing / devouring😊 one or all of these articles as well!
- 💡4 Easy Steps to Make Your Own Sea Glass 🌊
- ❤️Bedroom Decorating Ideas for Single Women’s Master Bedrooms 🛏️
- 🏡Ikea Kitchen Cost: What I Spent for a 9×12 Kitchen Remodel 💵
- Marjorie Elizabeth Wood. (Dec. 24, 2012) Christmas Ornaments, Child Labor. New York Times [↩]


meital
Tuesday 10th of April 2018
Hi, this looks great! do you have the pattern for me? Thanks!
Lindsayanne
Tuesday 10th of April 2018
I am SO glad you asked! Somehow I'd forgotten to upload the PDF. Thanks to your comment it's now added to the materials list and you can download it here: http://www.hawk-hill.com/wp-content/uploads/2017/01/hawk-hill.com_gingerbread_garland_template.pdf