
Getting started with a booth at a flea market is much easier than you might think. Whether it’s an antique mall or a day market, getting started is as simple as filling out a few vendor forms. Some antique malls have waiting lists, so you might have to wait a month or more before being able to move in– plan ahead and use this time to build inventory, price items, learn how to maximize profit in a flea market booth and acquire shelves, tabletops, or display cases to use in your booth.
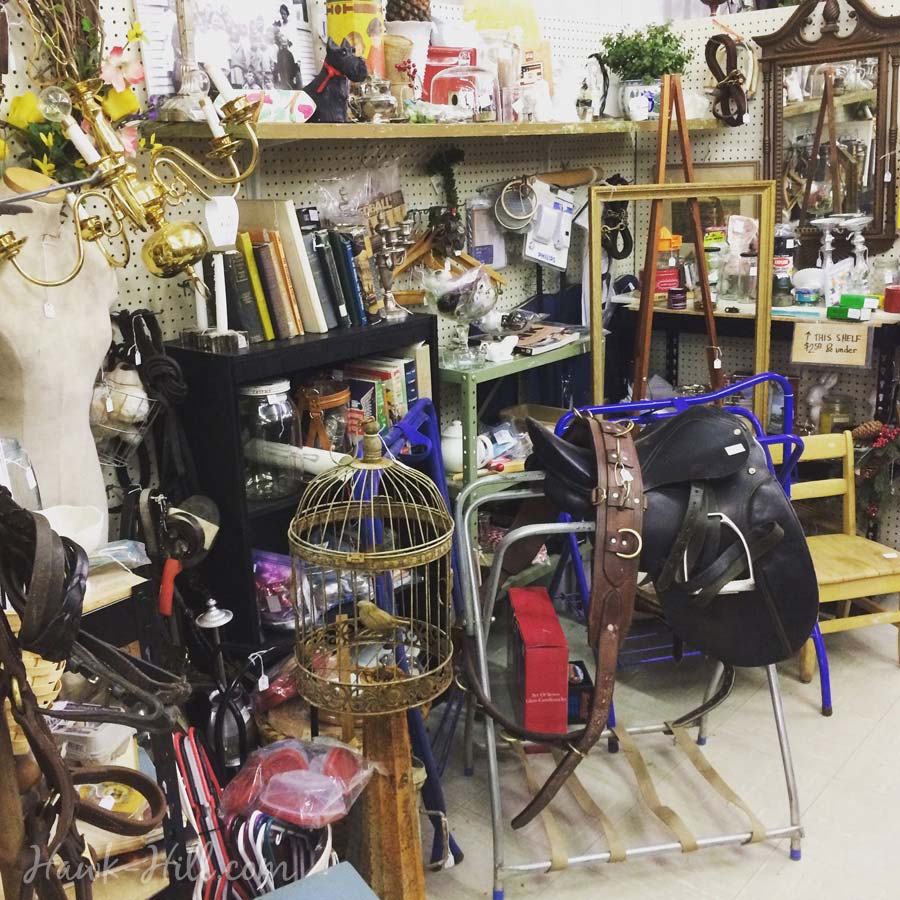
If you’ll be exhibiting at a day market (the kind of flea market that pops up one day and is gone the next) folding tables or even just sawhorses (check out my DIY article on how to make cheap sawhorses that look great) with flat boards on top. For booths in antique malls, you’ll want stable wobble-proof shelving. Mounting your shelving on the wall in your booth can leave room for larger items to sit on the floor.
Paying taxes as a flea market vendor
I’m no tax professional, and won’t claim that you should use what you read here as advice for filing or paying taxes, however, in my experience it’s not as intimidating as you might think. In fact, many antique malls take care of this aspect for you– allowing you to operate under their business license and assessing and paying any applicable sales tax as part of your booth fee. For pop up day markets, you probably will be responsible for sales tax, but many markets have an exemption to requiring a business license that allows casual sellers to show up and be vendors every now and then without having to worry about filing for a business license.
You may be surprised to learn that you may not have to pay income taxes on your income from your flea market booth. According to the tax law current as of 2021, income from reselling used household possessions that were not purchased with the intent to resell (within a certain margin) is not subject to income tax (read more about this here).
In other words, if you’re just looking for a way to downsize some extra stuff, you likely will not have to pay income taxes. But if you begin to sell for profit or begin to purchase goods with the intent to resell (and deducting those purchases as a business expense) you will need to begin treating your flea market venture as a real, small business.
Don’t let that discourage you from starting out on the journey to being a part-time or even full-time flea market seller. In many communities, you can find small business incubators that will provide free advice, help with taxes, and other support for individuals starting businesses.
Cost of running a booth at a flea market
Costs can vary DRAMATICALLY from market to market. For example, at one of America’s largest pop-up flea markets – Canton Trade Days in Texas, a booth for one day can cost anywhere from $50 to $450! At small regional flea markets, the booth fee for a pop-up flea market is generally between $20 and $50 for a day or a weekend. In established, indoor antique malls, where security, climate control, and building maintenance are provided for you (but where sales tend to be a little slower) the monthly price tends to hover around $100 a month plus a percentage of each sale.
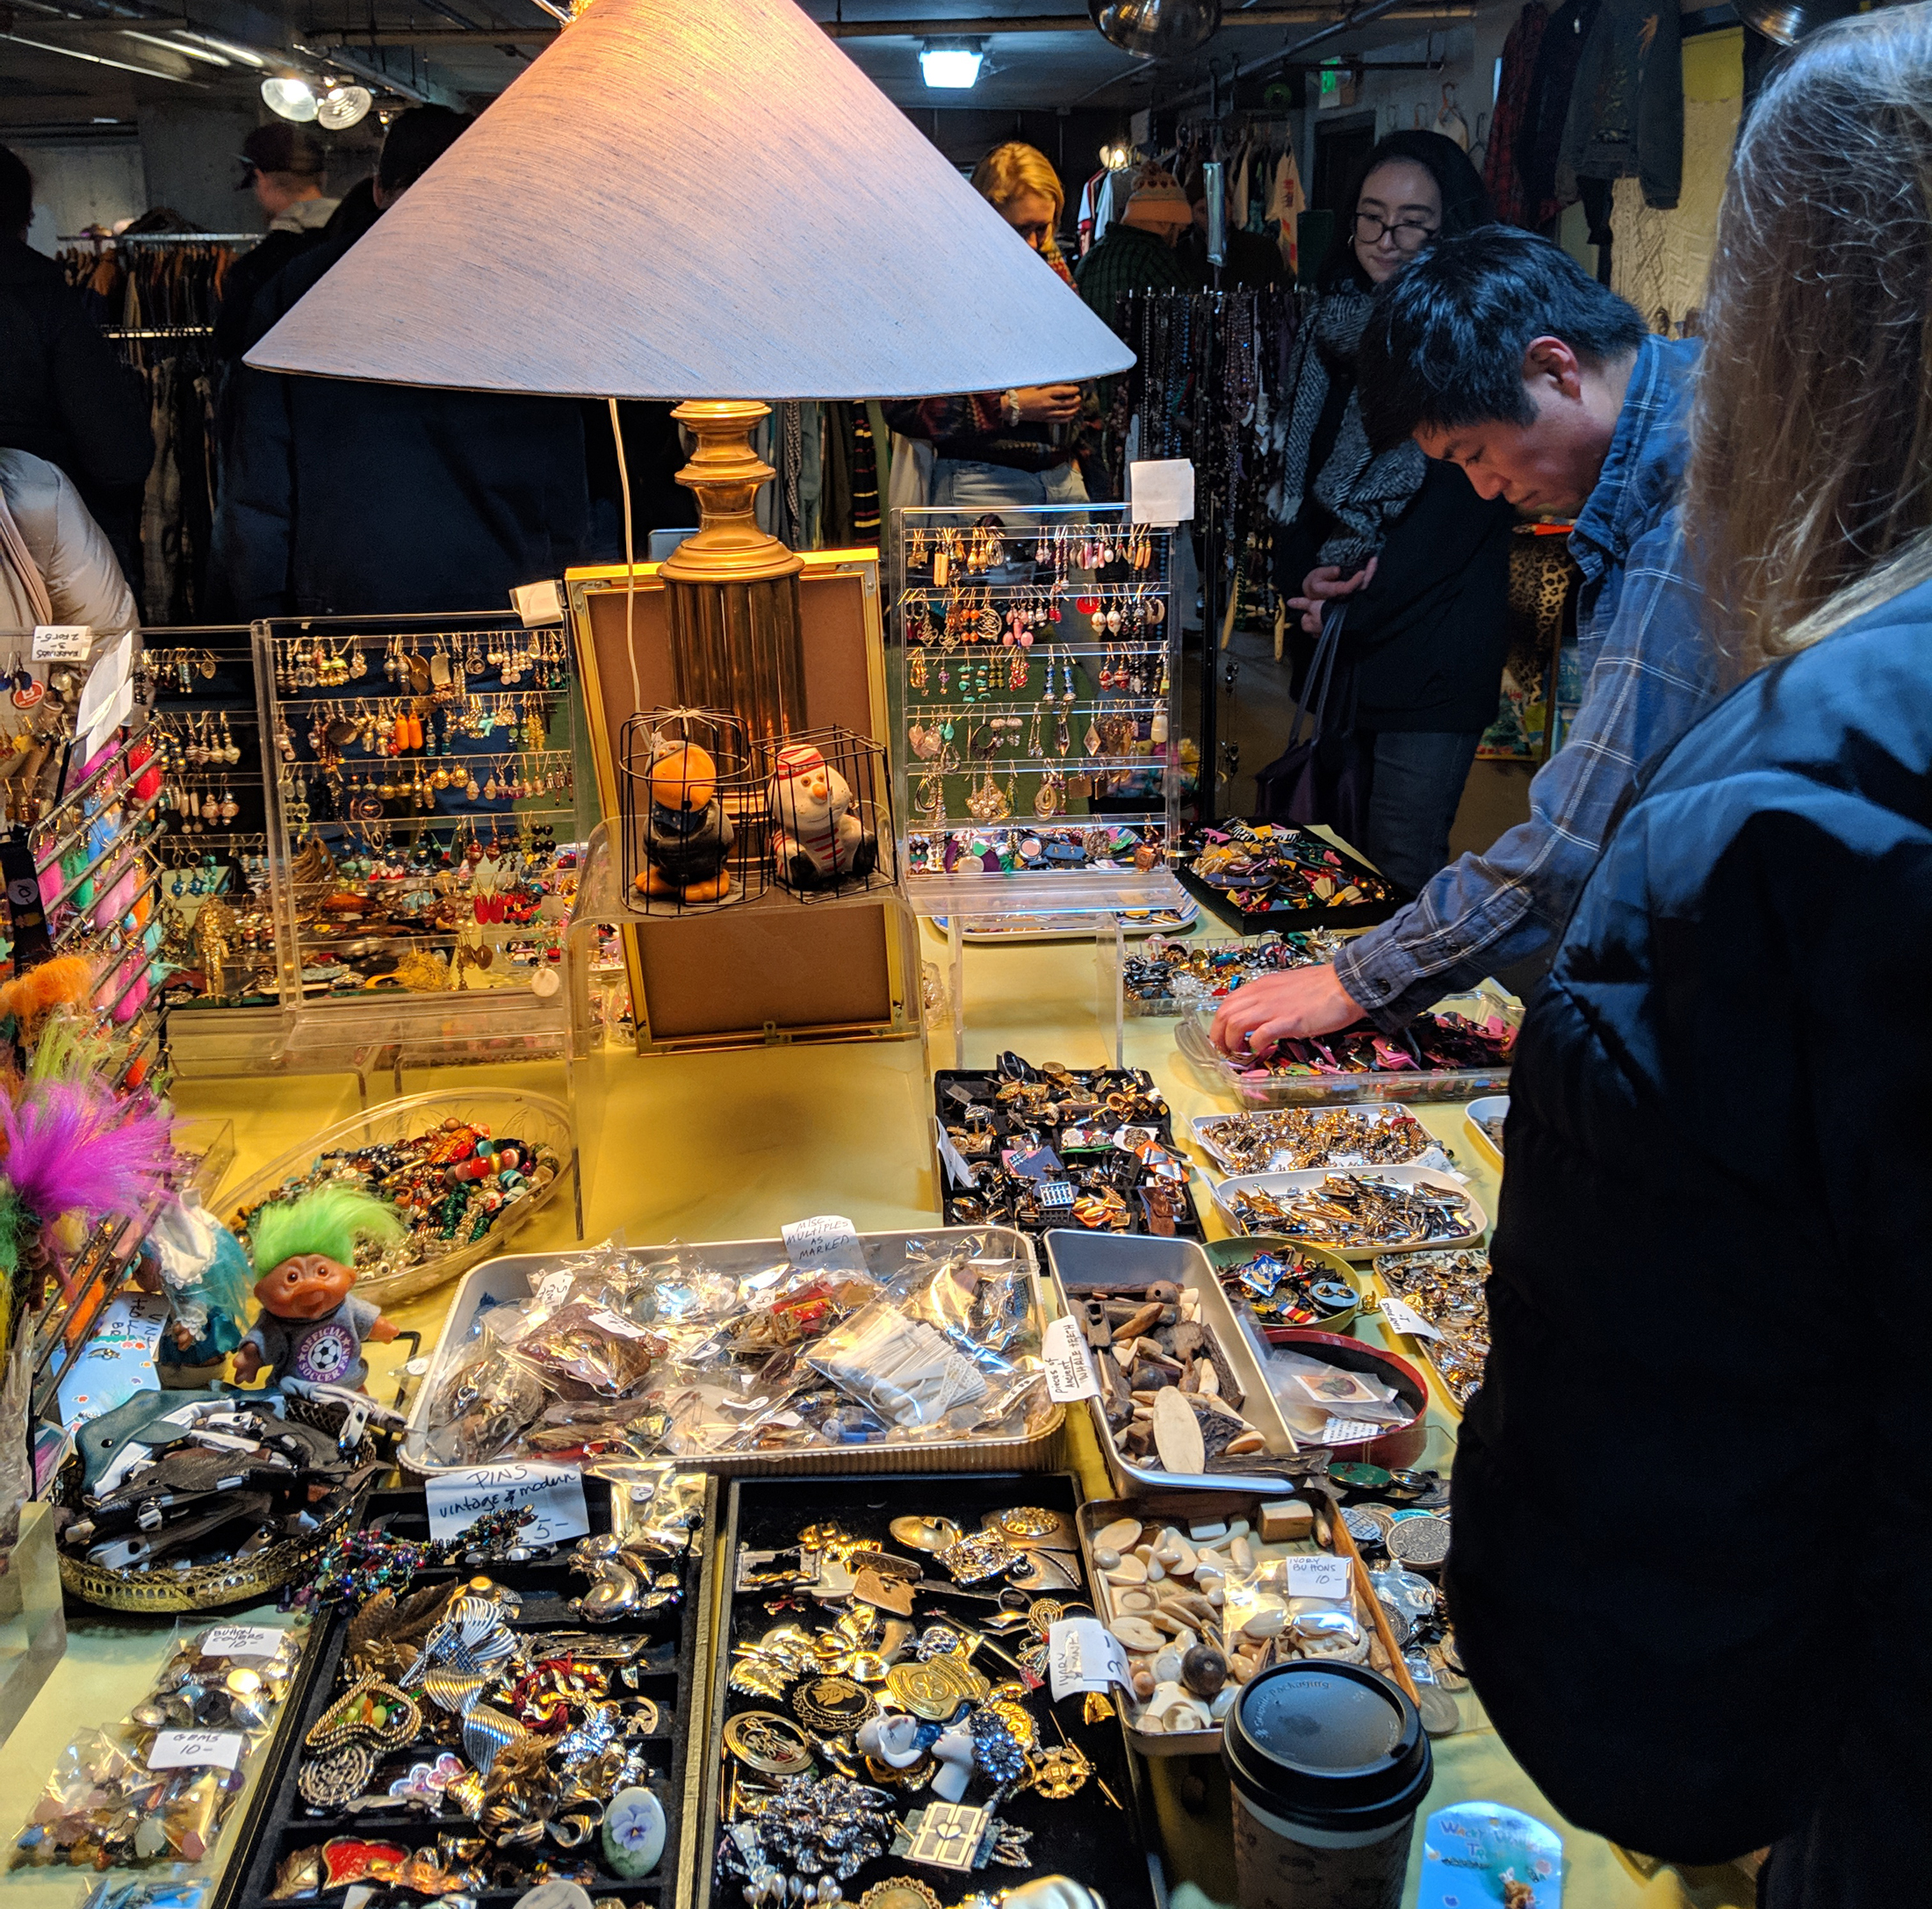
Flea market booth hack: how to draw in buyers
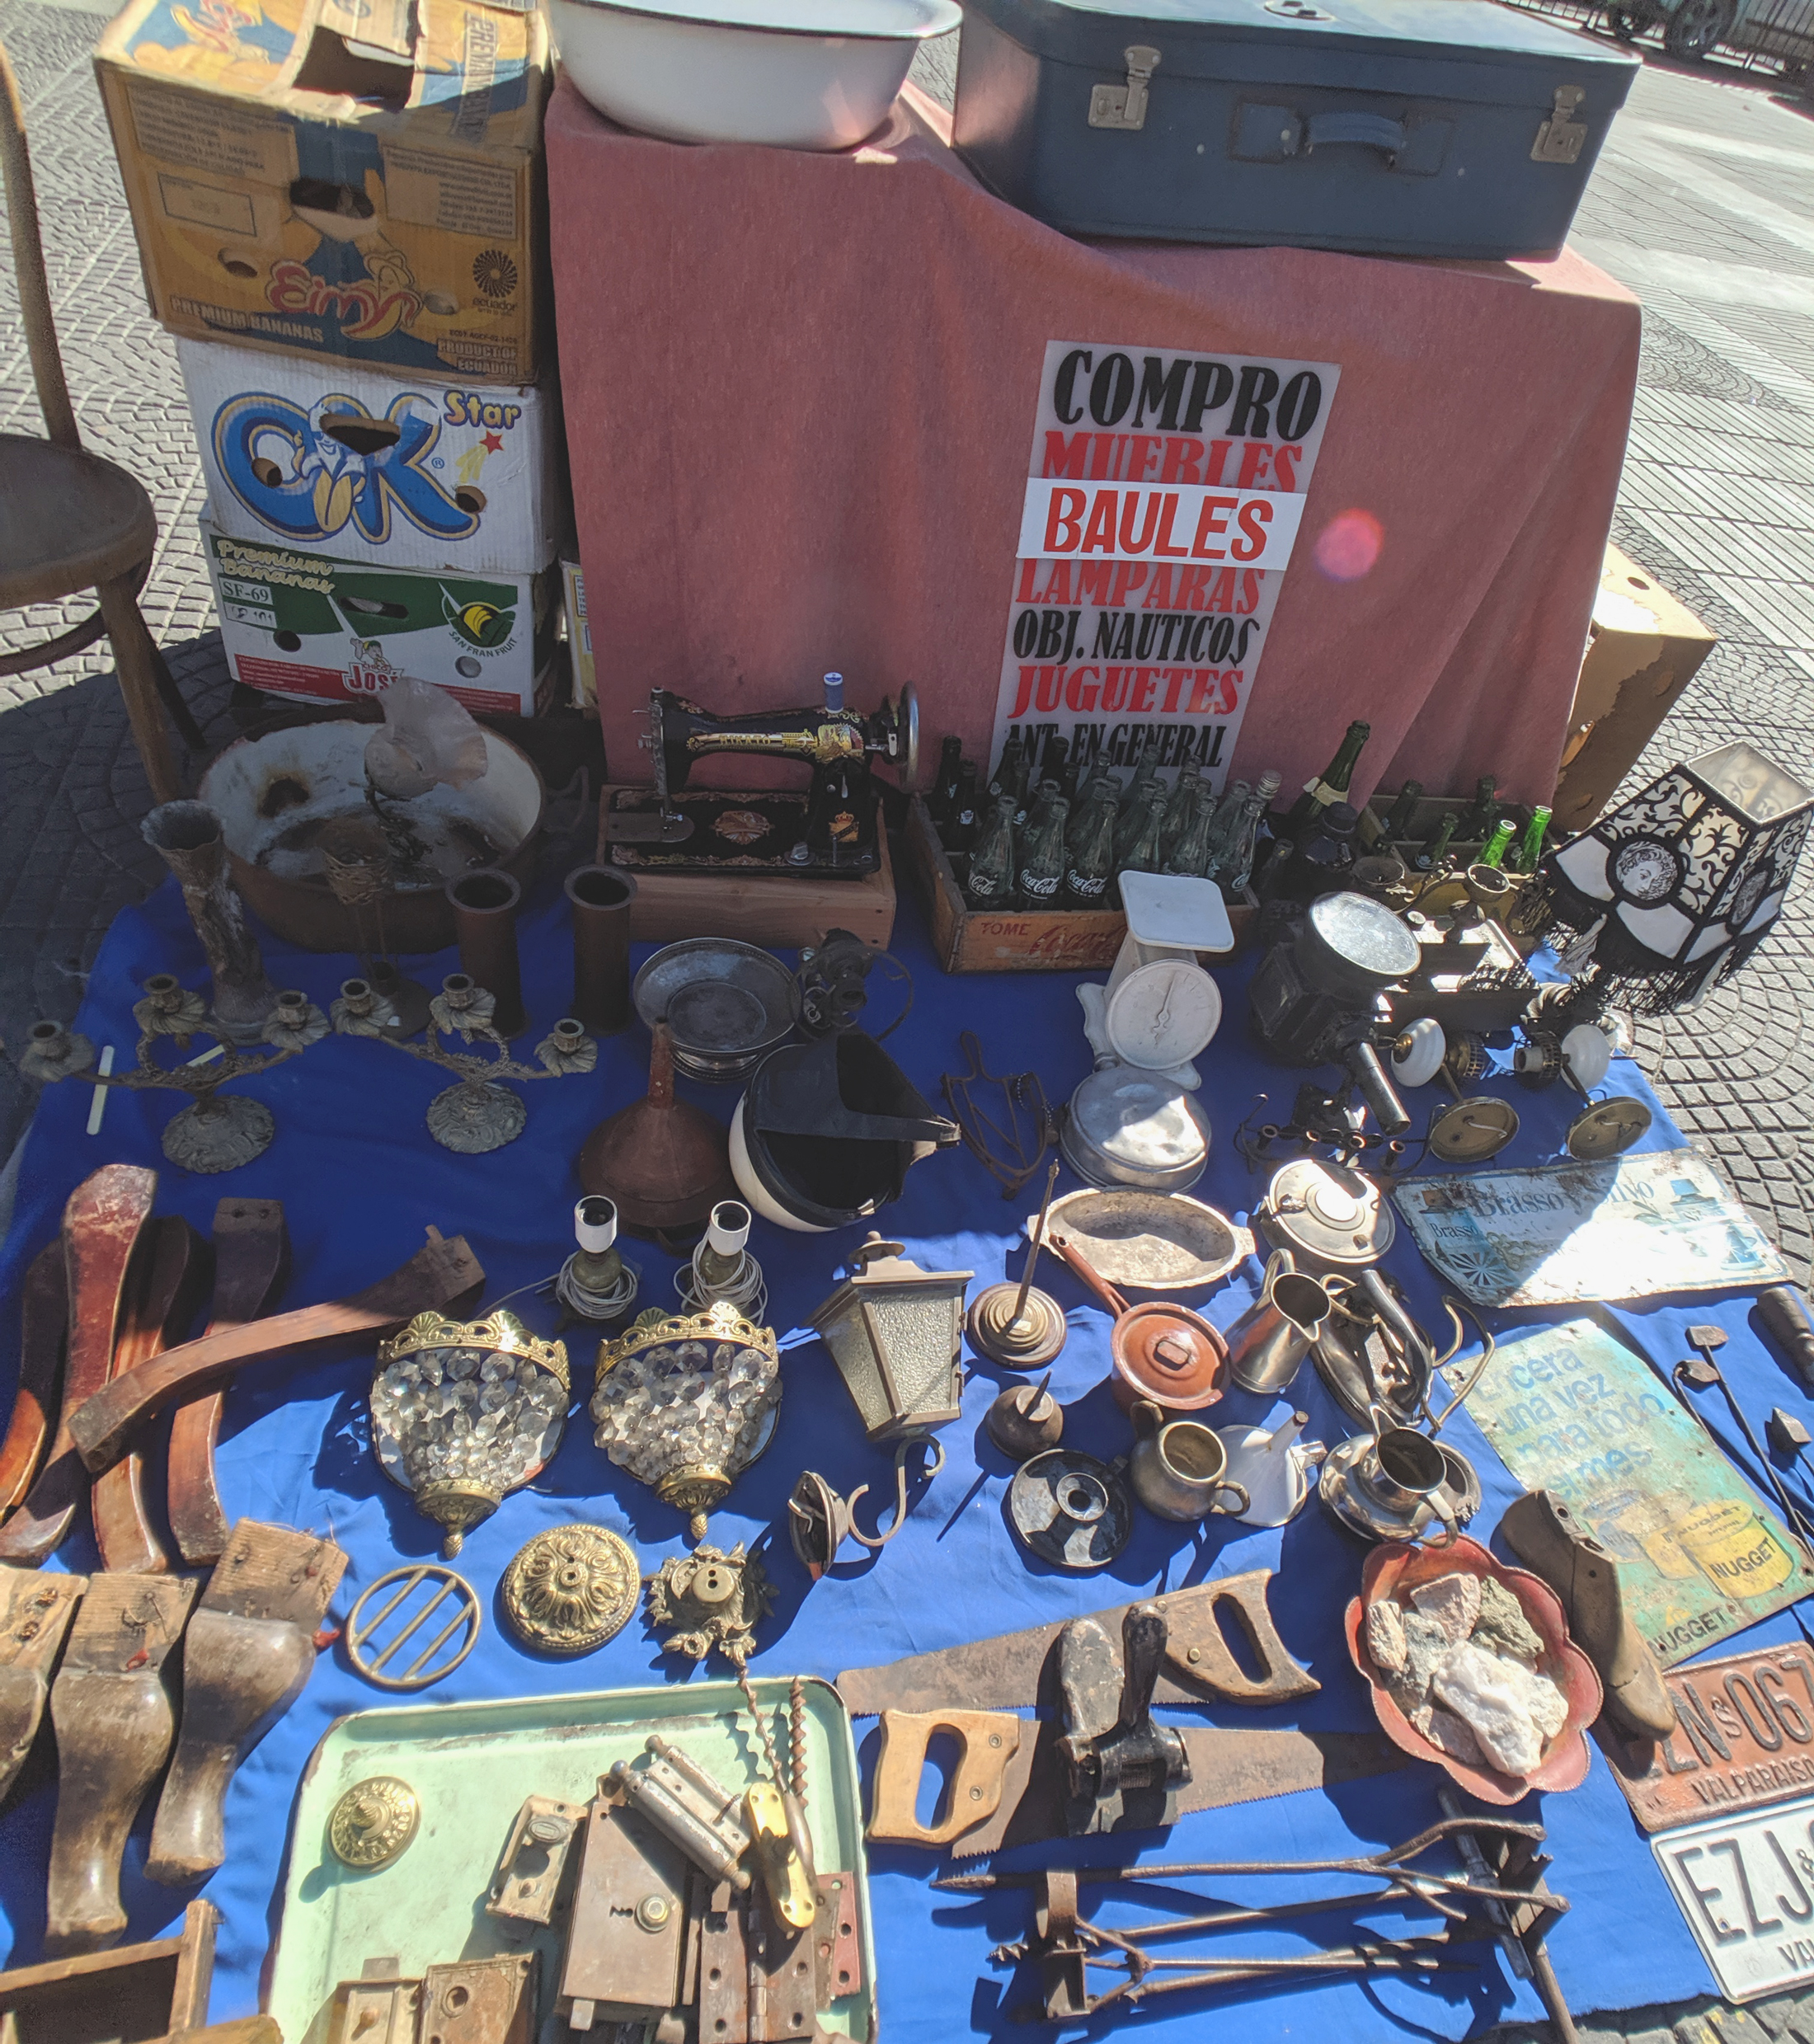
My very best tips for attracting buyers to your flea market booth is this: Never have new/modern inventory, and never make exceptions to this rule. Every market is a little bit different, and a street market has a lot more wiggle room for inventory diversity, but if you’ve located your flea market booth in an antique mall, my advice is to never ever have anything new in your booth – as soon as you add a bag of old Bratz dolls or that foot spa you got as white elephant gift, you cheapen the value of your booth to potential buyers.
Sure, you can sell those items in a flea market booth, but I operate my booth successfully with the theory that the presence of ‘unwanted junk’ cheapens your entire booth, discouraging curiosity about your inventory among individuals looking for– and willing to pay for- quality vintage treasures.
Income Estimates – What To Expect as a Profit
Flea market reseller incomes can vary dramatically depending on your type of inventory, the location of your booth, and the foot traffic passing by. It’s also directly related to the amount of time that you are willing to spend learning about the business, sourcing good booth inventory, pricing and repricing, and managing your business. If you make it a full-time job, you can probably make a full-time income, but it takes savvy and start up money.
Realistically, most fleamarket sellers are just making a little extra money on the side to cover bills, or to justify fun purchases. Many retirees enjoy managing a flea market business as a way to downsize their own belongings and keep busy with a hobby-business.
Additional Resources
Some Hints on Flea Market Selling:
How to Price Items in a Flea Market Booth
4 Reliable Sources for Free Flea Market Inventory
And some relevant posts for creating or rehabbing potential merchandise:
How to Clean and Deodorize Vintage Luggage
How to Restore, Preserve, and Frame a Keepsake Horse Shoe
DIY: How to Make Your Own Sea Glass at Home
How to Make a Christmas Wreath from an Antique Horse Harness Collar
Restoring a Beautiful Finish on Worn Leather Goods
Instructions for Building a Stylish DIY Sawhorse Table for $25
Removing Rust from Found Objects without Scrubbing
DIY: How to Turn a Hardwired Light Fixture (i.e. a Chandelier) Into a Lamp with Plug
How to use a Flea Market Booth to Make a Profit while Organizing your Home
A fleamarket booth is an excellent way to reduce clutter in your home while making double or even triple the profit of a garage sale! Downsizing and getting rid of all the excess stuff that we accumulate has been shown to correlate to greater levels of happiness and satisfaction. But what if you could take all the stuff you don’t need, and instead of giving it away like many minimalist or tiny living gurus encourage, you could actually sell it to finance an extra car payment, better self-care, or even a vacation?
When I downsized from a 3 bedroom, 3 bathroom farmhouse with three outbuildings all the way down to a 12′ x 17′ studio apartment in downtown Seattle, I had a LOT of stuff to get rid of- I had no trouble finding inventory for my flea market booth. Instead of simply trucking things to goodwill (which I did, but always with a good inventory list of what was donated so I could acquire a receipt and itemize the donation on my taxes) I sold many items in a flea market booth.
Throughout the Midwest, and even extending to both coasts (though less common in the Pacific Northwest) flea markets are an excellent way to get rid of your stuff while often recouping the return on your initial investment– or sometimes even a profit!
You might think of flea markets as seedy weekend swap meets or as bourgeois shopping curated by pickers and antique dealers, but the reality is that many flea markets are open with regular business hours throughout the week and serve as a great location for anyone– folks like you and me– to get rid of their stuff without the hassle, time, and the privacy-invading issues of hosting a garage sale.
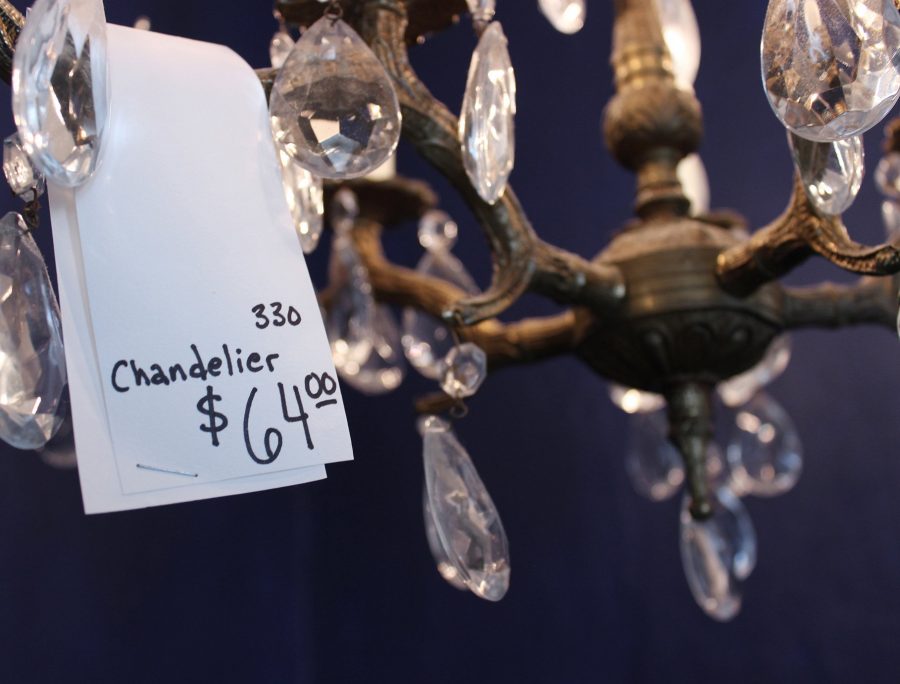
When I downsized, I was able to make a significant profit off of many of my belongings – which I mostly picked up at garage sales and flea markets in the first place! Flea markets are a great alternative to garage sales because prices are generally set far, far higher than at garage sales. A vintage glass bowl that might sell for $1-2 at a garage sale can easily sell for $5 or even $10 in a flea market.
Flea market administrators often take a booth fee and the percentage of sales – but this generally does not exceed 20% of the total sales, and is a bargain if you consider that you’ll be able to sell most items for 2 to 5 times as much as you would at a garage sale (where the investment of your time is also a significant overhead expense to consider.)
What You’ll Need to Get Started:
After many trips hauling items home from garage sales to my own garage, then watching them clutter my garage while I waited to price, so I could “eventually” take the item to my flea market booth, I developed a new system for pricing items for my flea market booth.
Instead of bringing things home, I started taking things directly to my fleamarket booth to price there. Sometimes bringing things home is unavoidable, like for cleaning or a quick spray-paint, but just cutting down on the number of things traipsing through my garage helped streamline my fleamarket business and boost profits.
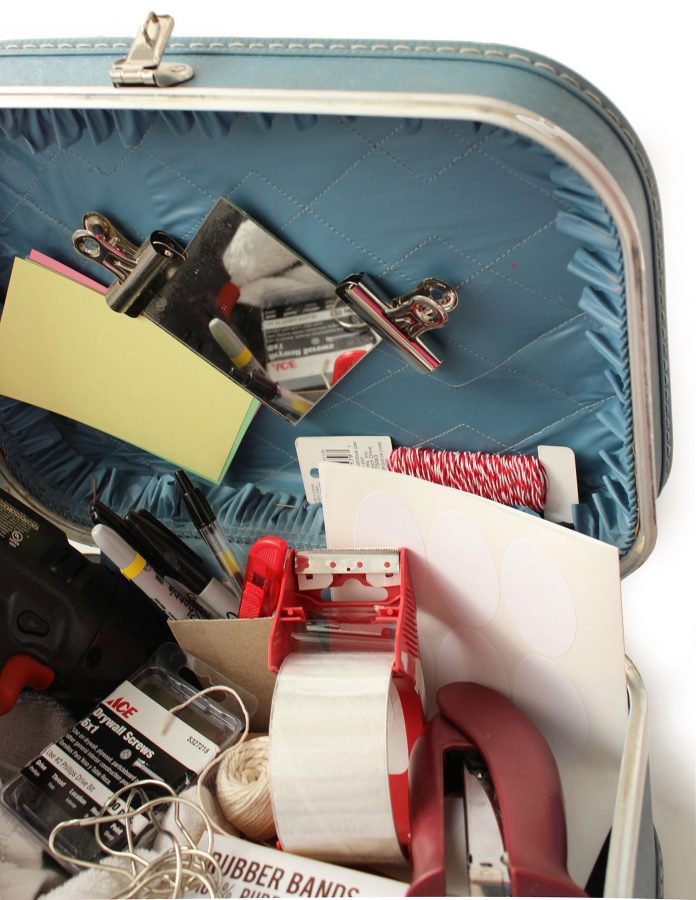
Over time and many trips, I began to cultivate a kit that had everything I’d need when I arrived at my flea market booth to reorganize, restock, and reprice. Below I’ve itemized the contents of my kit and why these items made my life as a flea market seller much easier and far more profitable:
TIP: keep this kit in your vehicle so you can move items straight from a garage sale trip or recycling center run into your flea market booth without the extra step of taking them home to price.
Hawk-Hill.com is a participant in the Amazon Services LLC Associates Program, an affiliate advertising program designed to provide a means for website owners to earn advertising fees by advertising and linking to Amazon.com and any other website that may be affiliated with Amazon Service LLC Associates Program
NOTE: This article is written particularly for flea market booths in flea market facilities that are staffed and open during regular business hours, however, if you run a weekend flea market where you are present with your items this method still works. You probably have a dedicated place, such as a cargo trailer, where you store items between weekend sales. Just keep this kit in your trailer and move things directly from your post-shopping-trip haul into the trailer of inventory.
This kit includes all the items you might need to price a variety of items for your flea market booth. I recommend keeping this kit in a case or easy-to-carry tool caddy. After awhile of keeping it in a caddy, I now use the vintage train case shown because it latches shut securely and is easy to carry in the back of my SUV where I usually price things and into my flea market booth where it is often necessary to replace missing price tags or add markdowns on items that have not sold. A basic, lightweight toolbox is a more durable option for packing your kit.
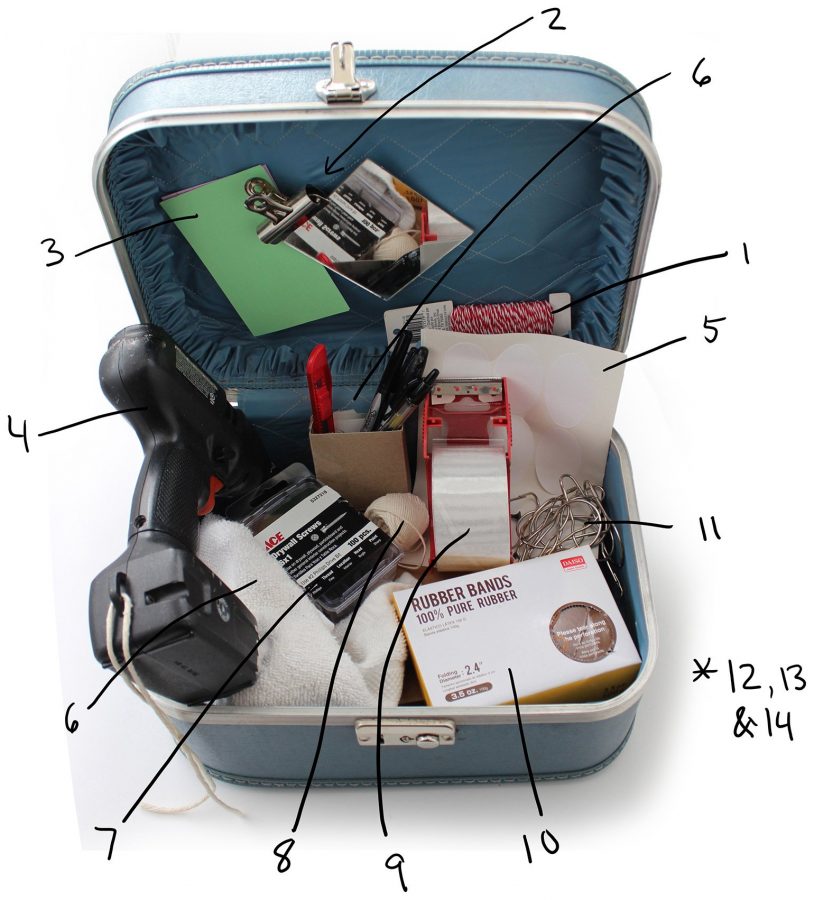
Contents of My Flea Market Booth Tool Kit
1. String or jute.
In this case, I’m using a decorative bakers twine which can be used to bind together items or attach price tags.
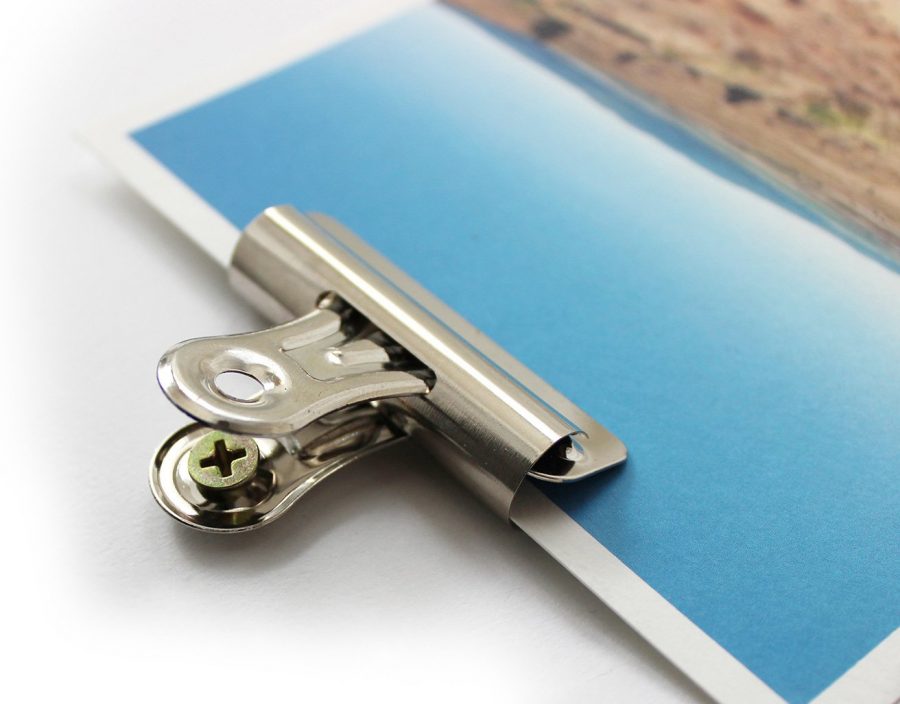
2. Bulldog Clips
If you plan to sell art, postcards, magazines, children’s books, vintage ephemera, or any other flat and somewhat fragile items, bulldog clips are well worth the investment. These clips look stylish and the holes in the clip hook neatly on small nails or larger screws. Hanging art with clips means your pieces are visible and won’t be damaged by shopped flipping through a bin or box of paper items.
If your booth is unattended, you may find the clips disappear with the items as they sell, but at 30¢ – 50¢ each, if they prevent loss/damage of even one or two pieces every few months, they’ll pay for themselves. To prevent loss, just use drywall screws to secure the clips directly into a large board mounted on the wall of your booth (as shown below). This keeps inventory displayed vertically while ensuring that the clips don’t get sold with your inventory.
3. Colored Cardstock
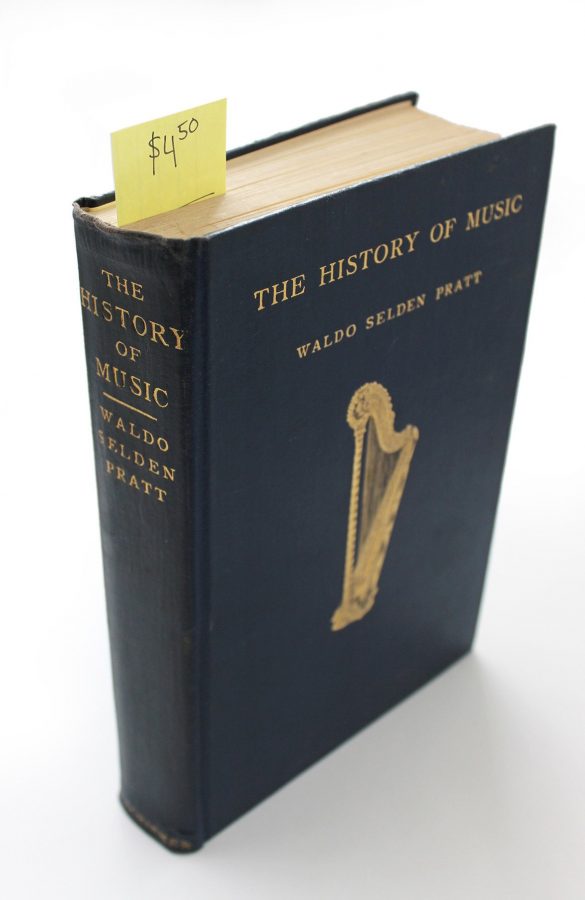
Card stock makes excellent price tags. These card stock strips to price books in a highly visual way to reduce the amount of handling the books receive. Similarly, whenever I have particularly expensive or fragile items in my booth I use an index card as an extra large price tag. If prices are visually really clear, customers are less likely to handle the item unless they are not serious about purchasing. Colored Cardstock can be used to color-code sale tags.
4. Cordless Drill
This Cordless Drill has proved invaluable in my kit. This is mostly for trips to my booth where I might need to move a shelf or add or remove heavy duty hanging planter hooks which I use to display chandeliers or other heavy hanging items.
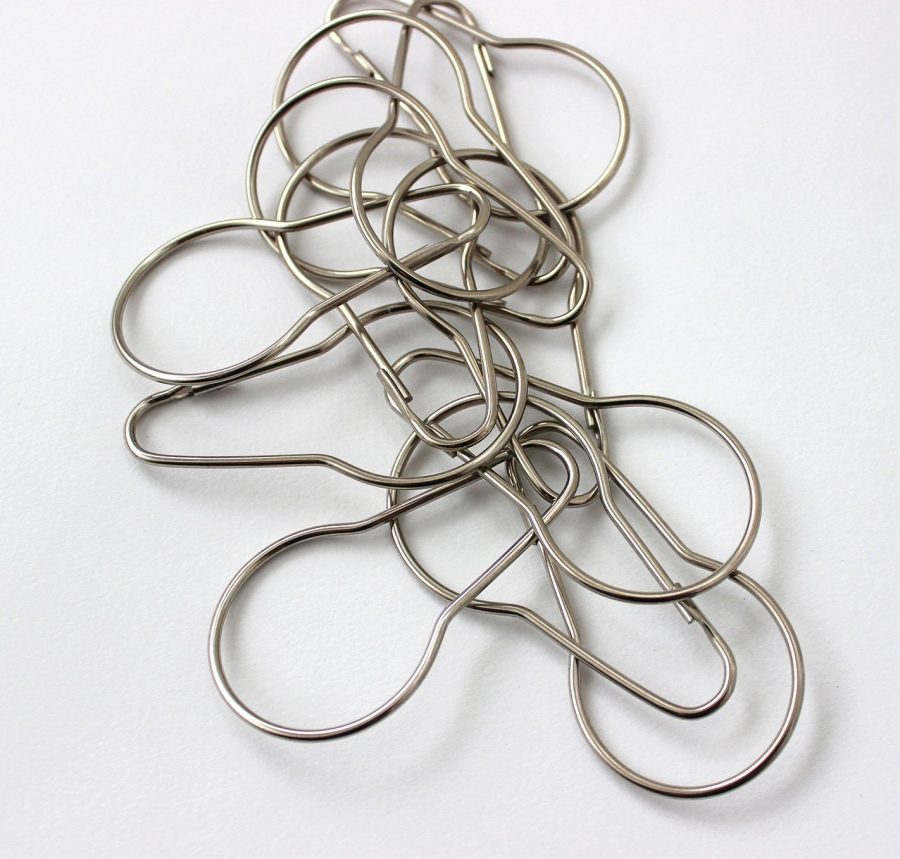
5. Price tags.
Your kit should stay stocked with multiple kinds of price tags. When I took this photo I was out of hanging tags, but my kit typically includes both blank sticker tags and string tags of varying sizes.
pricetag – hang-tag style price tags
– I buy the medium/small 1.092 x .75 inch tags to save a little money, but they require an extra-fine-tip pen to get booth number, a good description, and price fit legibly on the tag. (The Pilot G2 in ultra-fine .38 mm tip is my go-to pen for tags, journaling, and basically all writing- and works fabulously for tags)
pricetags – blank round stickers – I like big round stickers for pricing as the round stickers draw the eye better, especially on broad flat surfaces. My advice for price stickers is to go BIG. Stickers with well-marked prices, visible from shelf or surface, mean less people handling them items, jostling nearby items, rearranging the display, etc.
6-1. Pens and A Box Knife.
Keep hands of various sizes on hand. Fine tip pens work well for when lots of information needs to be put on the price tag and Sharpies (double tip) – are helpful for making the oversized tags for high-value items. Keeping a snap off box knife in your kit is also super handy for various reasons, including cutting string.
6-2 Clean rags.
I got distracted while making the image, so there are two 6’s 🙂 Always keep rags handy in your kit, often things the dusted before pricing and you may need it to tidy up your booth when repricing.
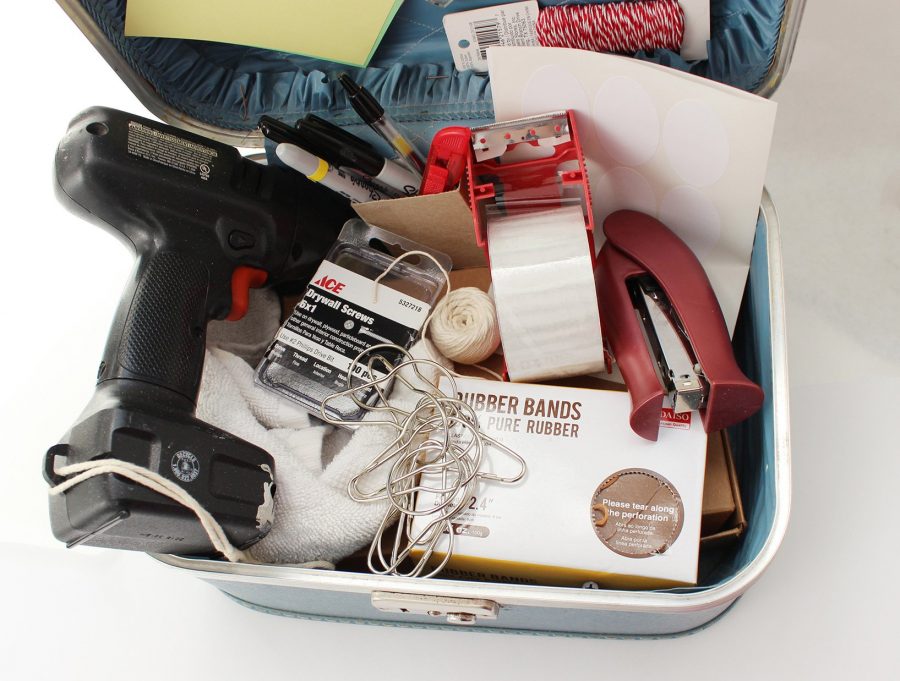
7. Coarse Thread Drywall Screws
If you are allowed to screw into your backdrop, Coarse Thread Drywall Screws are essential for hanging and rehanging various items. Drywall screws are my go-to screw- these will screw in without pre-drilled holes into most surfaces and hold tight in drywall, plywood, lumber, or peg board. (Just be smart about weights, and always use studs for heavy loads!) I keep 10-12 in the bottom of my flea market tote, the ability to add an extra hook is priceless when refreshing my booth.
8. String.
See above. Basically, I recommend keeping a couple kinds of string and jute in your case. Jute is more helpful for us together while while string is great for hanging price tags.
9. Heavy Duty Packing tape
Keep a small roll of Heavy Duty Packing tape handy. Don’t go for the cheap stuff here, especially in a booth you don’t maintain often- the name-brand heavy duty tape works well for several purposes: 1. reattaching price stickers that aren’t staying attached (weak adhesive on some stickers doesn’t work well with some vintage surfaces like wood, fabric, or rusted metal.) 2. Sealing and resealing clear bags semi-permanently. 3. Hanging signs.
10. Rubber Bands.
Always essential, and you’ll never know when you need them, you probably don’t need a box, but keep a bundle in your kit.
11. Golf towel hooks or Shower Curtain Hooks.
These are actually just lightweight versions of Shower Curtain Hooks, but for some reason, I’ve been able to find them priced a bit cheaper when they are labeled as golf towel hooks. I love having these hooks in my booth because they are a fraction of the price of peg hooks and work for a number of purposes. They can collect items together and a lot such as hardware any group of things that have holes, but they also work well for hanging linens or for piercing through a plastic bag to hang, and hanging framed art. Then hang well from screws, peg hooks, or, bent quickly from a C shape to an S shape, directly on pegboard.
NOT PICTURED (but important)
12. Scissors
Scissors – A good pair of scissors is a must have for repricing, cutting new tags, removing string tags, etc.
13. Price Tagging Gun
At around $10 for a tagging gun and 1200 fasteners, a Price Tagging Gun is the best investment I ever made in my flea market booth (worth noting if you are also a crafter- tagging guns make the basting part of a sewing project 80% faster).
Using squares of cardstock, a tagging gun can simultaneously punch a hole in the cardstock and attach it securely to items that are fabric/textile, have cardboard packaging, or that have eyelets or small holes.

14. Stapler
Keep a compact stapler in your caddy for repricing. I recommend stapling a new pricetag over an old pricetag when lowering prices on items that haven’t sold. This method is faster and allows the customer to still see the old price tag- letting them feel like they are getting a great deal.
15. Peg Hooks
– Most flea markets sell these on site, for vendors, but don’t get stuck with their high prices. Order in advance (more than you think you’ll need) and always keep 6-8 extras in your caddy.
Final Thoughts
With this basic kit you can reduce your time spent pricing items for your flea market booth and increase profit. I’d love to hear how this simple list works for you, or what items you find are essential in your own fleamarket pricing toolkit.
Thanks for Reading!!!
I hope you can tell that I love DIY, researching the best affordable solutions for every-day problems opportunities and documenting / sharing solutions!🙌 Hawk-Hill.com is reader-supported.
☕ Hawk-Hill.com is reader-supported. If this article saved you time or money, please consider donating $1 to help me cover the cost of hosting this website OR If you appreciate this information and want to throw a “Thanks!” my way by buying me a coffee – I would Of Course appreciate it! :]
Reader Questions and Recommendations
Readers, do you have any favorite topics / posts? What would you like to read more about in the future? As I hope you can tell from this and other articles on my site, I really enjoy DIY / a good challenge, and I’m not afraid to roll up my sleeves to figure out a great, and hopefully simple 😁 solution. So please feel free to let me know in the comments below (or reach out via social media)!
Ok Really – I’ll try to wrap this up now😂
Finally, if you’d like to continue to learn about interesting DIY options as well as how YOU can tackle creative new projects consider checking out the latest and most popular articles listed on the Hawk-Hill Home Page. I’m always trying to enjoy and write about the creative side of life so please don’t be a stranger – check back often!😍
Also chech our Pinteres account https://www.pinterest.com/curlylindsay/
If you enjoyed this post you may also enjoy reading / perusing / devouring😊 one or all of these articles as well!
- 💡4 Easy Steps to Make Your Own Sea Glass 🌊
- ❤️Bedroom Decorating Ideas for Single Women’s Master Bedrooms 🛏️
- 🏡Ikea Kitchen Cost: What I Spent for a 9×12 Kitchen Remodel 💵